
3
Contents
Document Revision History ········································································· 2
1. Introduction ······················································································· 2
2. Technical Details ················································································· 3
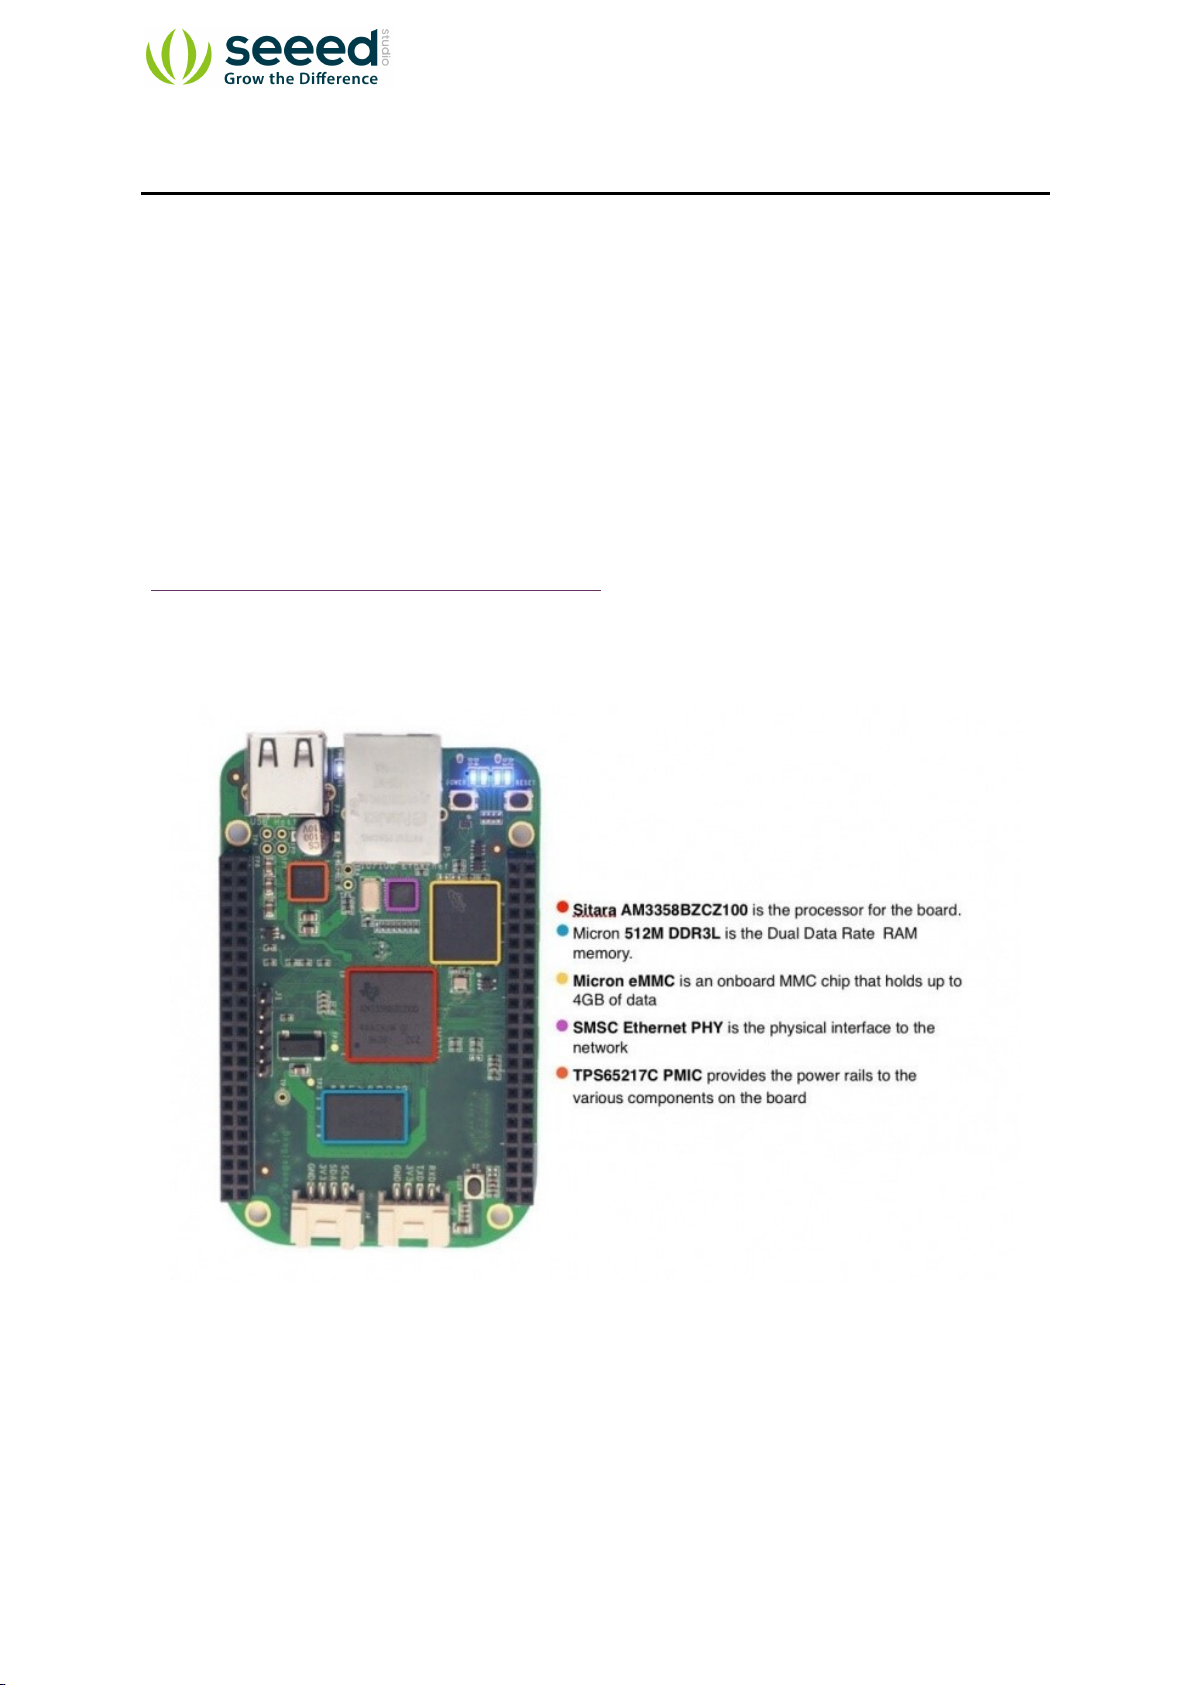
3. Hardware Overview ············································································· 4
3.1 Design materials ···················································································· 4
3.2 Headers······························································································· 5
3.2.1 Cape Expansion Headers ······························································· 5
3.2.2 65 Possible Digital I/Os ·································································5
3.2.3 PWMs and Timers········································································· 6
3.2.4 Analog Inputs ·············································································· 7
3.2.5 UART··························································································· 7
3.2.6 I2C ······························································································ 8
3.2.7 SPI ······························································································ 9
4. Software ·························································································· 10
4.1 Software Support···················································································10
4.2 Getting Started ·····················································································10
4.3 Cloud9 IDE ·························································································10
4.4 Update image ·······················································································11
4.4.1 Step1: Download the latest microSD card image ·······································11
4.4.2 Step2: Install compression utility··························································12
4.4.3 Step3: Decompress the image······························································12
4.4.4 Step4: Install SD card programming utility ··············································12
4.4.5 Step5: Connect SD card to your computer ···············································12
4.4.6 Step6: Write the image to your SD card··················································12
4.4.7 Step7: Eject the SD card ····································································13
4.4.8 Step8: Boot your board off of the SD card···············································13
5. Resources························································································· 14


