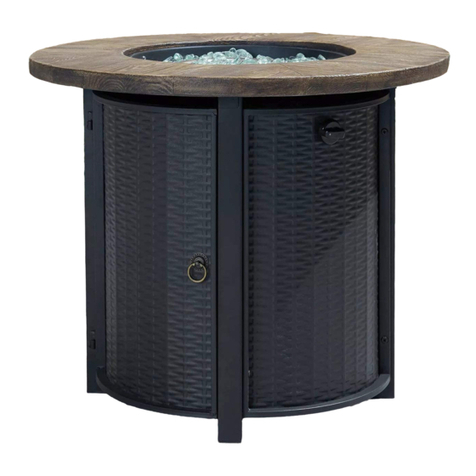
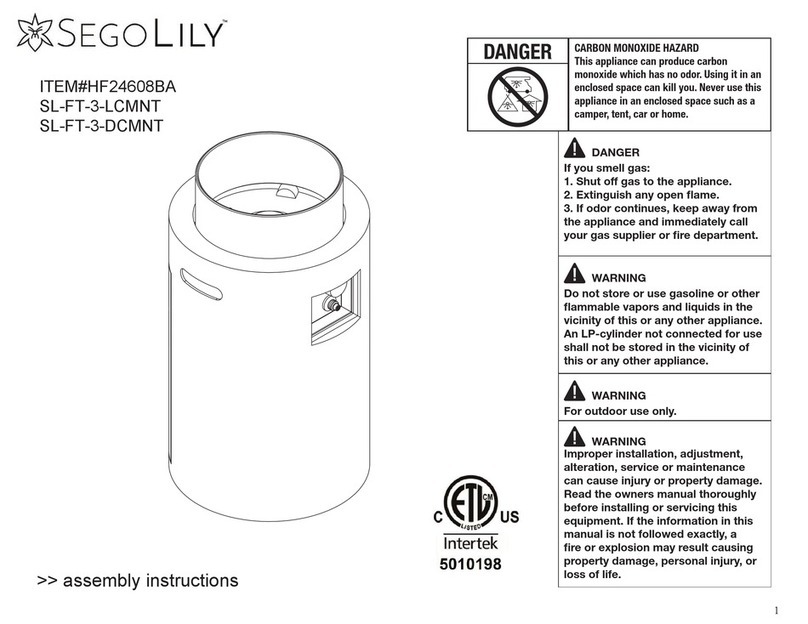
Sego Lily Cheyenne 32 x 20 Fire Table User manual

WARNING: For outdoor use only (domestic)
WARNING: Improper installation, adjustment, alteration, service
or maintenance can cause injury or property damage. Read the
installation, operating, and maintenance instructions thoroughly
before installing or servicing this equipment.
WARNING
Do not store or use gasoline, or other
flammable vapors and liquids, in the
vicinity of this or any other appliance.
A LP-cylinder not connected for use shall
not be stored in the vicinity of this or any
other appliance.
DANGER If you smell gas:
1. Shut off gas to the appliance
2. Extinguish any open flame
3. If odor continues, keep away
from the appliance and immediately
call your gas supplier or fire
department.
WARNING
Chemicals known to the State of
California to cause cancer, birth defects,
or other reproductive harm are created
by the combustion of propane.
WARNING
Byproducts of the combustion of
propane contain chemicals known
to the State of California to cause
cancer or other reproductive harm.
DANGER CARBON MONOXIDE HAZARD
This appliance can produce carbon
monoxide which has no odor. Using
it in an enclosed space can kill
you. Never use this appliance in an
enclosed space such as a camper,
tent, car, or home.
32" x 20" Fire Table

1
ASSEMBLY INSTRUCTIONS
IMPORTANT,RETAIN FOR FUTURE REFERENCE. READ CAREFULLY.
32" x 20" Fire Table

2
TABLE OF CONTENTS
Cheyenne 32" x 20" Fire Table Assembly
Pre-Assembled Parts List ............................................................................................................... 3
Parts List ................................................................................................................................................. 4
Hardware................................................................................................................................................. 5
Assembly ............................................................................................................................................... 6
Operation ............................................................................................................................................ 23
Safety Information ......................................................................................................................... 21
Maintenance ...................................................................................................................................... 24
Troubleshooting ...............................................................................................................................25
Warranty .............................................................................................................................................. 26
Gas Tank Cover Assembly ...........................................................................................................13

3
Part C.FIRE TABLE / COLUMN PARTS INTRODUCTION
Below is an introduction to all the parts that forms your Fire Table / Column.
Each part is different and holds its own function.
DO NOT attempt to change and or remove any part(s) thereof.
In the event of servicing and or operational issues, contact Qualified Services Technical Support and or
seek Qualified Service Technician.
This line art below demonstrates the internal components of the Burner.
For your convenience all of the above components are individually described on the next page.
9
Guard
Thermocouple
Ignition Pin
Main Frame
of Fire Table
Glass
stone
Burner
Nozzle
Corrugated Pipe
SwitchingValve
Regulator Valve with
Gas Hose
Control Knob
Ignitor
PRE-ASSEMBLED PARTS LIST
Here below is an introduction to all the parts that forms your Fire Tabe/Column.
Each part is dierent and holds its own function.
DO NOT attempt to change and or remove any part(s) thereof.
In the event of serviving and or operational issues, contact qualied qervices technical support and
or seek qualied service technician.
This line art below demonstrates the internal components of the burner.
1
2
3
4
5
6
7
8
9
10
11
12

4
PARTS LIST
Item Description QTY.
A
B
C
D
H
E
F
G
A
B
C
H
G
D
F
F
Metal lid
AA Battery
Panel C
Panel D
Storage cover
Panel F
Table top
Adjustable foot
1
1
2
1
1
1
1
4

5
Item Picture Description Qty.
1Bolt (M6* 40MM) 4
2Bolt (M6* 35MM) 8
8
4M6 Washer 12
3Bolt (M6*20MM)
5Allen Wrench 1
Hardware

6
Attach panel (D) and the panel (E) to the table top (F) using 4pcs of Bolts (1)
and 4pcs M6 washer (4) with Allen Wrench (5). Do no fully tighten.
1.
F
D
4
1
5
E

7
2.
Attach panel (C) with Panel (D) and Panel (E) together using 8pcs Bolts (2) and 8pcs
M6 washer (4) with Allen Wrench (5). Do not fully tighten.
4
2
5
C
C

8
3. Attach advjustable foot (G) to the bottom of fire pit using 8pcs of Bolts (3)
with Allen Wrench (5). Tighten the bolts.
G
3
5

9
4. Put the metal lid (A) on the table top of the fire pit. Then tighten all the bolts
with the allen wrench.
A

10
5. Pour the box of lava rocks into the body of the fire place.
DANGER: To ensure proper function, the guard on this burner should be free of
lava rocks at all times.

11
7
3. Turn the cylinder valve on the tank clockwise to close the propane tank.
6.

12
8
4.
Attach the pre-assembled regulator from the body (12) to the cylinder valve by
turning the regulator coupling nut clockwise. Make sure it is fastened securely
and tighten connections by hand only. Place door panel (D) back on the body
(C) of the fire column.
7. Attach the pre-assembled regulator from the body to cylinder valve by turning
the regulator coupling nut clockwise. Make sure it is fastened securely and
tighten connections by hand only.

13
ASSEMBLY INSTRUCTIONS
Gas Tank Cover
IMPORTANT,RETAIN FOR FUTURE REFERENCE. READ CAREFULLY.

14
Hardware
Item Picture Description Qty
1Bolt (M6*15MM)
Bolt (M6*35MM)
M6 Washer
Allen Wrench
4
212
312
4 1
Attach panel (A) and panel (B) to the panel (C) using 4pcs of Bolts (2) and 4pcs
M6 washer (3) with Allen Wrench (4). Do not fully tighten.
1.
C
AB
2
4
3

15
Attach panel (D) to the panel (A) and the panel (B) using 4pcs of Bolts (2)
and 4pcs M6 washer (3) with allen wrenches (4). Fully tighten.
2.
D
A
B
3
2
4
C

16
Attach metal stand (E) to bottom of gas tank cover using 4pcs of Bolts (2)
and 4pcs M6 washer (3) with Hex Bolt Driver (4). Fully tighten.
3.
E
2
4
3

17
Attach panel (F) to the panel (C) using 4pcs of Bolts (1) with Allen Wrench
(4). Fully tighten.
4.
4
1
3
F
C

18
After all bolts are tightened, you can use it!
5.

19
Place the 20 lb. propane gas tank (not included) into the tank holder.
Turn the wing screw on the outside of the tank holder clockwise to tighten
the tank into the tank holder.
6.
DANGER
Propane tank must be a minimum of 60 inches away from the fire table at all times
!
Table of contents
Other Sego Lily Outdoor Fireplace manuals
