User Manual [en] 7
Installing the Fiber Adapter
General Information
The Fiber Adapter is mounted on the outside of the printer back panel.
To mount the Fiber Adapter to the printer mainboard, it is mounted from the
outside over a pre-punched and removable cut-out in the printer´s back plate.
The connection to the printer is established via an internal RJ-45 cable. Power is
supplied via the USB cable by means of an internal USB port of the printer.
Step 1: ’Prepare the printer’ 8
Step 2: ’Gain Access to the Printer Mainboard’ 8
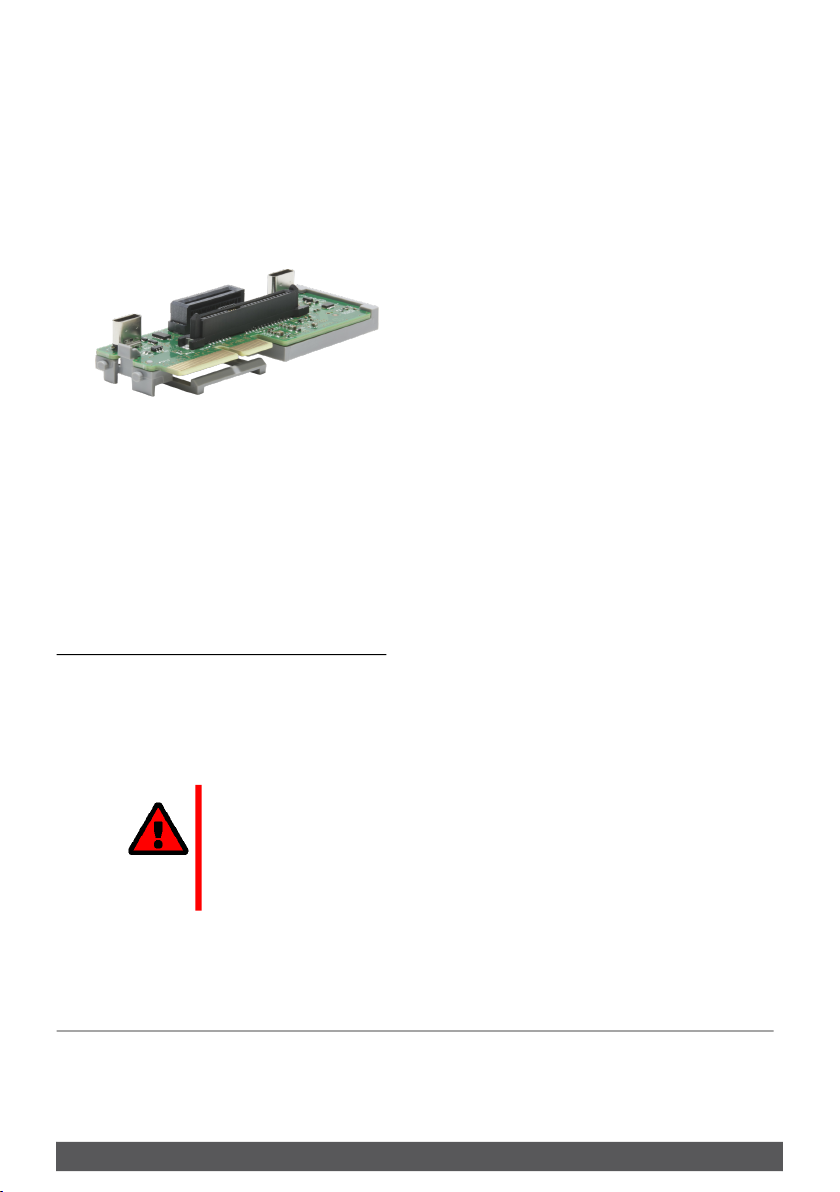
Step 3: ’Mounting the Riser Card (if necessary)’ 8
Step 4: ’Installing the Fiber Adapter’ 10
Step 5: ’Connecting the USB Cable to the Printer Mainboard’ 11
Step 6: ’Reinstall Printer Mainboard Cover’ 12
Step 7: ’Connect the Fiber Adapter to the Network’ 12
Step 8: ’Turn the Printer On’ 12
Important:
Installation steps may vary slightly depending on
printer model:
The Fiber Adapter was developed for a series of
supported printer models which vary in design. All
printer model specifics cannot be provided for in this
manual. Follow the general steps of this manual and
adapt them if needed. In case of questions, contact our
support team 1!
WARNING
The Fiber Adapter must only be installed by qualified
personnel.
WARNING
Before mounting the device, take all necessary
precautions to avoid electrostatic discharges.
WARNING
The printer circuit board may be damaged if it is
touched!
Do not touch the circuit board with hands or tools.