Seko SekoTronic 150 User manual

USER’S GUIDE
V. 2.0.A

Important
This equipment cannot be used for applications
included in art. 1 par. 2 letter (a) of Decree 90/384/EEC.
Not to be used for direct sales to the public.

1 General Information page 1
1.1 Important Safety Guidelines page 1
1.2 Mechanical Installation page 2
1.3 Connections page 3
1.4 Replacement of the Fuse page 4
1.5 Maintenance page 5
1.6 General Safety Guidelines page 6
2 Use Description page 9
2.1 General Information page 9
2.2 Switching-On page 11
2.3 Alphanumeric Writing of Names and Numbers page 12
2.4 Recipe Programming Activity (Setting and Modifying Recipe) page 13
2.5 Recipe Execution Activity (Making Loads and Feedouts) page 16
2.6 Manual Weighing Activity (Scale Activity) page 19
2.7 Weighing Activity by Preset page 21
3 Functions page 23
3.1 Programmed Total Modifying page 23
3.2 No-Load Tare page 24
3.3 Weight Block page 25
3.4 Ingredient Jump page 26
3.5 Target Weight Restore page 27
3.6 Special Function Menu page 28
3.6.1 Skip to the Next Ingredient page 29
3.6.2 Mixing Time page 30
3.6.3 Ingredient Usage Check page 31
3.6.4 Date Programming page 32
3.6.5 Clock Programming page 32
3.6.6 Recipe Clear page 33
3.6.7 Clearing of the Ingredient Name File page 34
3.6.8 Supply Voltage Check page 35
Appendix A Error Codes page 36
Appendix B Setting Summary page 39
Appendix C Technical Specifications page 40
Appendix D Options page 41
Index

Figure 1

1Chapter 1
1.1 - IMPORTANT SAFETY GUIDELINES
Before connecting the equipment to the supply voltage, read the following Safety
Guidelines, in order to protect yourself and the equipment from any serious
danger.
• Read all the instructions for the installation, before connecting the supply
voltage and alarm cable.
• Follow all the instructions and precautions concerning the equipment.
Immediately disconnect the supply voltage and alarm cable in the following cases:
• If the connecting cables or the connectors are worn out or damaged.
• If liquid is present, even in the form of moisture, inside the equipment.
• If the case of the equipment shows damage or breaks.
• If it is felt that the equipment requires maintenance or repair.
tWarning: before cleaning the mixer wagon with high pressure jets of water,
disconnect the connection cables, remove the equipment from the mixer
wagon and protect the connectors of the connection cables from water
infiltration. Also take great care to see that the load cells, junction box, alarm
device and other options are not exposed to direct jets of water. y
tWarning: before carrying out welding operations on the mixer wagon, always
disconnect the connection cables. In order to prevent the welding current
from passing through the load cells, it is necessary to short circuit the body of
the load cells with a cable having a suitable cross section, besides positioning
the pliers of mass as close as possible to the welding point. y
1General Information

2 General Information
USERS’S GUIDE
1.2 - MECHANICAL INSTALLATION
No special precautions are necessary for the mechanical installation.
The equipment must be installed on a perfectly flat surface, stable and devoid of
vibrations, using the special "Dovetail" fixing system (Figure 2).
The case has an IP65 degree of protection (totally protected against dust and jets
of water).
tWarning: do not install the equipment near heat sources or in the vicinity of
intense magnetic fields (motors, magnets, etc.). y
Figure 2

3Chapter 1
USERS’S GUIDE
1.3 - CONNECTIONS
The equipment is connected by two connectors of the series MS/MIL - C5015
(see Figure 3). The 5 pole connector, identified by a blue label with the word
SENSOR written on it, is meant for connecting the sensors extension cable,
identified by a blue colored band. The 3 pole connector identified by a red label
with the word POWER/ALARM written on it, is meant for connecting the supply
voltage and alarm cable, identified by a red colored band.
Other connectors can be installed when the equipment is preset for the connection
with options.
tWarning: before making the connections, make sure that the equipment and
the option devices (option) are switched off. y
tWarning: do not force the insertion between the connector of the cable and
that of the equipment, because, if the two do not connect easily, they are
probably incompatible. Before inserting each connector, it is necessary to
verify the type, the position and the reference notch, as inserting the
connectors incorrectly could cause serious damage to the equipment.
After having inserted the connector, screw down the metal fixing ring.
To disconnect the connector, unscrew the metal fixing ring and take the
connector out by holding it by the tip and not by pulling at the cable. y
Figure 3

4 General Information
USERS’S GUIDE
1.4 - REPLACEMENT OF THE FUSE
Before starting to replace the fuse, try to find out the possible causes which could
have caused the break (short circuits in the power wires of the equipment,
humidity, breakdown of electronic components inside the equipment, ect.).
Proceed with the replacement of the fuse, using one having the same
characteristics, after having identified the cause of the break.
To replace the fuse, follow the operations described below.
1. Take a 3.15 Ampere, 5x20mm fast fuse.
tWarning: if the equipment is supplied with the Three Power Outputs option,
use a fuse by 6.3 Ampere, 5x20 mm, fast type. y
tWarning: disconnect the supply voltage and alarm cable before opening the
case. y
2. Unscrew the 8 fixing screws and open the case, taking special care with the
internal connections of the equipment.
3. Identify on the printed circuit board, the fuse holder indicated by the symbol
F4 and placed near the connecting wires (see Figure 4).
4. Remove the fuse-holder cap and replace the fuse.
5. Replace the fuse-holder cap, and close the case, paying special attention to
the connecting wires, screw the 8 fixing screws.
Figure 4

5Chapter 1
USERS’S GUIDE
1.5 - MAINTENANCE
The weighing systems for mixer wagons do not require special maintenance
operations. However, in order to prevent problems in running or breakdowns, it is
advisable to carry out the following operations periodically:
• Check the perfect running of the power wires outside the equipment; also
check for the presence of oxides or humidity at the connection points.
It must be remembered that, very often in areas where food items are handled,
small rodents may be present, which can attack the cables placed even in
places that are not easily accessible.
• Check that the load cells do not show bruises; presence of any rust on the
body of the load cell does not impair proper running. Instead, check the
perfect adhesion between the silicon sealant and the body and the silicon
sealant and the cover, paying special attention to the presence of any cracks
in the sealant, as it may cause infiltration of moisture.
• Check that none of the accessories of the equipment show the presence of
bruises or signs of burning.
• Check, by loading a known weight on the mixer wagon, the correspondence
of the loaded weight with the displayed weight of the equipment.
• Check the fastening of all the screws present on the parts that constitute the
weighing system.
If the equipment needs cleaning operations, use a damp cloth, soft and without
fluff. Never use sprays, solvents, abrasives, pointed or cutting objects which may
damage the case.

6 General Information
USERS’S GUIDE
1.6 - GENERAL SAFETY GUIDELINES
This equipment has been tested and resulted conform with the requirements of the
Directive 89/336/EEC on the Electro-magnetic Compatibility, and with the
requirements of the Directive 90/384/EEC on the Non-Automatic Weighing
Instruments.
As regards 89/336/EEC, the equipment results in accordance with the limits
imposed for environments of the light industry and for residential and commercial
environments.
This equipment cannot be used for applications included in art. 1 par. 2 letter (a)
of Decree 90/384/EEC.
The equipment, described in this guide, can present anomalies in the functioning
or causing them to the equipments that surround it or connected with it, if it isn't
installed and used in strict accordance with the instructions described below. In
any case, it's not sure that these anomalies don't happen in a specific installation.
If some trouble should appear, contact Technical Service and Support that can
suggest some stratagems to adopt for eliminating the discovered troubles.
For respecting the Standards, it's also
compulsory to point out, in a clear, easily
readable and indelible way, the Max. Capacity
of the instrument indicated in kilogram or ton,
before the equipment is put on the market. Near
the connectors there is a label for identifying
the products (see Figure 5). It has been
purposely prepared for being completed with
the indication of the true Max. Capacity of the whole weighing
system. The Max. Capacity value to be pointed out is the least one
among the one of the equipment, the one of the load cells and the one of the
mechanical structure of the mixer wagon.
The conformity with the Directives is ensured only if original accessories and
spare parts are used.
Any modification or intervention on the equipment that isn't approved in writing
by Label could annul its conformity to the Guidelines and make its use forbidden.
Figure 5

7Chapter 1
USERS’S GUIDE
Key Description
Figure 6


9Chapter 2
2.1 - GENERAL INFORMATION
tWarning: if, during the operation, the display shows the blinking symbol b
or the writings [ LOWBAT ] or [ H.BAT ] or [ OV.LOAD ] or [ ERR-xx ], refer to
the Appendix A - Error Codes. y
rCaution: if you wish to check the supply voltage of the equipment, use the
Supply Voltage Check Function (chap. 3.6.8). r
rCaution: the Mixing Time Function can be executed simultaneously with all
the other Activities. In this case the display shows the symbol d. r
rCaution: the equipment follows Technical Procedures that enable to program
different Preferences (see Appendix B - Setting Summary), to meet the real
requirements by the user in the best way. For this reason it is recommended,
when installing the equipment, to program the preferences according to your
needs; for further information apply to the Technical Service and Support. r
rCaution: in the contents of this Guide, the weight display and the operating
procedures are described considering that the Preferences are set with the
default values in the Technical Procedures. If the default values of the
Preferences have been changed it is necessary to consider this in every
situation for a correct reading of the Guide. r
2Use Description

10 Operating Description
USERS’S GUIDE
During the operation the display can show the following symbols:
bindicates the battery charge condition (fixed or blinking).
PROG. indicates if the Recipe Programming Activity is being performed.
AUT. indicates if the Recipe Executing Activity is being performed.
MAN. indicates if the Manual Weighing Activity or if the Weighing
Activity by Preset is being performed.
ANIMAL indicates that the current Recipe is programmed for Animal Number.
REC.% indicates that the Reciping Mode Preference has been programmed
by Percentage.
MENU indicates that the Special Function Menu is selected.
mindicates that the Skip to the Next Ingredient Function is
programmed in Manual mode.
2FN indicates that the Alphanumeric Writing is active.
ALARM indicates the activation of the alarm device (siren).
g, kg, t, lb indicate the measure Unit of the displayed weight.
%indicates that the displayed value is referred to a percentage.
dindicates that the Mixing Time Function is active.
SET-UP indicates that the Technical Procedures are being performed.

11Chapter 2
USERS’S GUIDE
2.2 - SWITCHING-ON
1. Check the correct connection of the sensors extension cable, the supply
voltage and alarm cable, and the option devices.
2. Switch the equipment on pressing the key On/Off.
If the Switching-On/Off Method Preference has been programmed in
Automatic, the equipment automatically switches on by powering it.
3. The display shows the writing [ SEKO WELCOME ] or the message set in the
Welcome Message Preference.
The equipment enters the Manual Weighing Activity.
If instead the Activity at Switching-On Preference has been programmed in
Automatic, the equipment enters the Recipe Programming Activity.
4. If necessary, carry out the No-Load Tare Function (chap. 3.2).
5. To switch the equipment off press the key On/Off.
The display shows the writing [ GOOD BYE ].
If the Switching-On/Off Method Preference has been programmed in
Automatic, to switch the equipment off press the key On/Off or cut it off.
rCaution: if during the Recipe Execution Activity the equipment switches off
accidentally due to a voltage drop, a special procedure makes the equipment
re-position automatically in the point where it had been cut off at the next
Switching-On. r

12 Operating Description
USERS’S GUIDE
2.3 - ALPHANUMERIC WRITING OF NAMES AND NUMBERS
The Alphanumeric Writing of Names and Numbers allows to program letters and
numbers, using the keys qor z(e), for a simple programming of names or
numbers relevant to the Recipes, Ingredients, Pens, etc.
The Alphanumeric Writing is activated pressing the key 2FN. The display shows
the symbol 2FN and the cursor is represented by the blinking symbol _.
rCaution: after having pressed the key 2FN, the only possibility for leaving the
field unchanged is quitting immediately pressing the key OK. r
If the selected field is numeric, the cursor positions on the first character on the
right of the display. If instead the selected field is alphanumeric, the cursor
positions on the first character on the left of the display.
To set the desired number or letter use the keys qor z(e).
To set the character “space”, select the character _.
If the keys qor z(e) are not pressed for 2 seconds the equipment automatically
confirms the set character, and the cursor is positioned on the next character.
To delete the last entered character, press the key Clear. To delete further
characters, press repeatedly the key Clear.
To delete the original value or name of the field, after pressing the key 2FN, press
the key Clear.
To quit the Alphanumeric Writing confirming the performed modifications, press
the key OK.
tWarning: if an out-of-range value is entered in a numeric field, when
pressing the key OK the display shows the error [ ERR-24 ]; when the key is
released, the display shows again the original value. y

13Chapter 2
USERS’S GUIDE
2.4 - RECIPE PROGRAMMING ACTIVITY
The Recipe Programming Activity allows to display and program the Recipes, or
to select the Recipe to be executed in the Recipe Execution Activity.
The operating mode of the Recipe Programming Activity is determined by the
programming, in the Technical Procedures, of the following Preferences:
Unit, Decimal Point, Recipes and Ingredients Number, Date Format, Reciping
Mode.
The equipment manages an Ingredient Name File able to store up to 1500
different names of Ingredients, besides 15 fixed names (ING 1... ING 15).
It is possible to assign to the Recipes names of at most 6alphanumeric characters.
The programming of the Ingredients to be loaded or unloaded is always performed
in absolute value (always with positive sign). The equipment automatically
recognizes if a loading or unloading operation is being performed. Therefore, it is
possible to program in the same Recipe values both relating to loading and
unloading operations.
The Recipes can be programmed in two different ways, by Total or by Percentage,
according to the programming of the Reciping Mode Preference. The selection of
the Percentage mode is signalled on the display by the displaying of the symbol
REC.%. Further, the Recipe programming can take place even by Animal Number,
setting an Animal Number other than zero.
In the Recipe by Totals the Ingredient weight to be programmed must be set with
kilogram or pound resolution, for the total value of the single Ingredient to be
loaded or unloaded. If the Recipe is also by Animal Number the Ingredient weight
to be programmed is referred to the Single Animal and must be set with
resolution 0.01kg/lb.
In the Recipe by Percentage the Ingredient weight must be programmed according
to the percentage to be dosed with resolution 0.1%, referred to the Total Weight to
be loaded or unloaded. The setting of the Total Weight takes place in the Recipe
Execution Activity. If the Recipe is also by Animal Number the Ingredient weight
is referred to the Single Animal, and must be programmed to the percentage to be
dosed with resolution 0.1% referred to the Total Weight of the Single Animal to
be loaded or unloaded. The setting of the Total Weight of the Single Animal takes
place in the Recipe Execution Activity.

14 Operating Description
USERS’S GUIDE
1. At the Switching-On the equipment automatically enters the Manual
Weighing Activity. The display shows the symbol MAN. and the writing
[ MANUAL ]. To select the Recipe Programming Activity press the key
Prog./Start for 2 seconds. If instead the Activity at Switching-On Preference
has been programmed in Automatic, the equipment directly enters the Recipe
Programming Activity at the Switching-On, displaying the symbol PROG. and
the writing [ recipe_name ].
2. To select the Name of the Recipe to be programmed or executed press the key
Recipe or Recipe and e. If no name has been assigned to the selected
Recipe, the display shows the writing [ RIC. xxx ], where xindicates the
progressive number of the selected Recipe.
3. To modify the Recipe Name (max. 6alphanumeric characters), press the key
2FN and use the Alphanumeric Writing.
4. To delete the Recipe (Recipe Name, Name and weight of the Ingredients in the
Recipe) press the key Menu and use the the Recipe Clear Function.
5. If you do not want to program a Recipe by Animal Number go to point 6,
otherwise follow the next points. When a Recipe has been programmed by
Animal Number the display shows the symbol ANIMAL.
a) Press the key Animal.
The display shows alternatively the writing [ N.HEADS ] and the previously
programmed value.
b) Program the animal number (max. 900) using the keys qor z(e), or
pressing the key 2FN to use the Alphanumeric Writing.
c) To display the Programmed Total Weight for Single Animal press the key
Net/Total and hold it pressed. The display shows alternatively the writing
[ TOT.PER HEAD ] and the Programmed Total Weight of the Single Animal.
d) To end, press the key Animal or the key OK.
6. To select the Ingredient to be programmed press the key Ingr. or Ingr.
and e. The display shows alternatively the writing [ ingredient_name ] and
the Ingredient programmed weight.
If no name has been assigned to the selected Ingredient, the display shows the
writing [ INGxxx ] where xindicates the progressive number of the selected
Ingredient. If the Ingredient relates to a Recipe by Totals, the display shows
the weight with kilogram/pound resolution; if the Recipe is programmed also
by Animal Number, the display shows the weight with resolution 0.01kg/lb.
If the Ingredient relates to a Recipe by Percentage or by Percentage and by
Animal Number the display shows the weight with resolution 0.1%.

15Chapter 2
USERS’S GUIDE
7. If you want to program the Ingredient Name (max. 6 alphanumeric
characters), press the key 2FN for 2 seconds and use the Alphanumeric
Writing. If a new Ingredient Name is created, it is automatically stored in the
Ingredient Name File, too. If the File is full, the display shows for 2 seconds
the error [ ERR- 27 ] and the Ingredient Name is stored neither in the current
Ingredient nor in the Ingredient Name File.
It is possible to select an Ingredient Name already used in another Recipe by
pressing the key Menu and using the keys qor z(e), until the display
shows the wished Ingredient Name. To confirm press the key OK. To quit
without confirming the selected Ingredient Name, press the key Menu.
8. To program the wished weight value use the keys qor z(e), or press the key
2FN and use the Alphanumeric Writing.
rCaution: if the key 2FN is pressed for more than 2 seconds, the programming
procedure for the Ingredient Name is selected (par. 7). r
If the Ingredient relates to a Recipe by Totals, the max. weight that can be set
for single Ingredient is 30,000kg/lb, while if it relates to a Recipe by Animal
Number the max. weight that can be set is 300.00kg/lb.
If the Ingredient relates to a Recipe by Percentage or by Percentage and by
Animal Number the max. value that can be set is 100.0%.
The weight must always be programmed with positive value both for the
loading and the unloading.
rCaution: program in the same Recipe both the values to be both loaded and
unloaded to optimize the loading and unloading operations. r
9. To select another Ingredient press the key Ingr. or Ingr. and e.
To program another Ingredient repeat the procedure from point 6.
10. To display the Total Programmed Weight of the Recipe, press the key
Net/Total and hold it pressed. The display shows the writing [ TOTAL ] and
the Programmed Total Weight.
rCaution: if the Mixing Time Function is active, the display shows the
symbol d. r
rCaution: in the Recipe Programming Activity it is also possible to:
• Press the key Tare to activate the No-Load Tare Function.
• Press the key Menu to activate the Special Function Menu.
• Press the key Net/Total to activate the Programmed Total Modifying
Function.
• Press the key Prog./Start to enter the Recipe Execution Activity.
• Press the key Man./Zero to enter the Manual Weighing Activity. r

16 Operating Description
USERS’S GUIDE
2.5 - RECIPE EXECUTION ACTIVITY
The Recipe Execution Activity allows to perform the previously programmed
Recipes in the Recipe Programming Activity.
The selection of the Recipe to be executed is made in the Recipe Programming
Activity.
The operating mode of the Recipe Execution Activity is determined by the
programming, in the Technical Procedures, of the following Preferences:
Display Resolution, Unit, Decimal Point, Date Format, Language, Reciping Mode,
Automatic Zero-Tracking, Prealarm Threshold, Queue Time, Weight Displaying.
If, during the Recipe Execution Activity the equipment switches off accidentally
due to a voltage drop, a special procedure makes the equipment re-position
automatically in the point where it had been cut off after the Switching-On.
1. In the Recipe Programming Activity select the Recipe to be executed and press
the key Prog./Start.
The display shows the symbol AUT. and the writing [ START ].
If the Reciping Mode Preference has been programmed by Percentage, before
starting the loading or unloading operation it is necessary to program the
Recipe Total Weight. The selection of the Percentage mode is signalled by the
displaying of the symbol REC.%. To program the Total Weight, use the keys q
or z( e), or press the key 2FN and use the Alphanumeric Writing. The max.
value that can be programmed is 60,000kg/120,000lb; if the Recipe is
programmed by Animal Number, the max. value that can be programmed is
200.00kg/400.00lb.
If the Total Weight has been programmed by the keys qor z( e), press the
key OK to confirm and start the execution.
2. The execution starts always from the first Ingredient with weight other than
zero. The selection of a Recipe programmed by Animal Number is signalled on
the display by the lighting of the symbol ANIMAL.
3. The display shows alternatively the writings [ ingredient_name ] and
[ PE: xxxx ] where PE indicates that the execution of a Recipe has started,
while xindicates the value of the weight to be loaded or unloaded.
If an Ingredient with weight heavier than 9,900kg/lb is executed, the display,
instead of showing the writing [ PE: xxxx ], shows the writing [ P: xxxxx ].
After having loaded or unloaded 5% of the programmed weight, the display
displays shows the weight continuously.
Other manuals for SekoTronic 150
1
Table of contents
Popular Industrial Electrical manuals by other brands

PCB Piezotronics
PCB Piezotronics 352B10 Installation and operating manual

Burkert
Burkert 8605 Series operating instructions

WEG
WEG FHU ACW400 Installation instruction
Murata
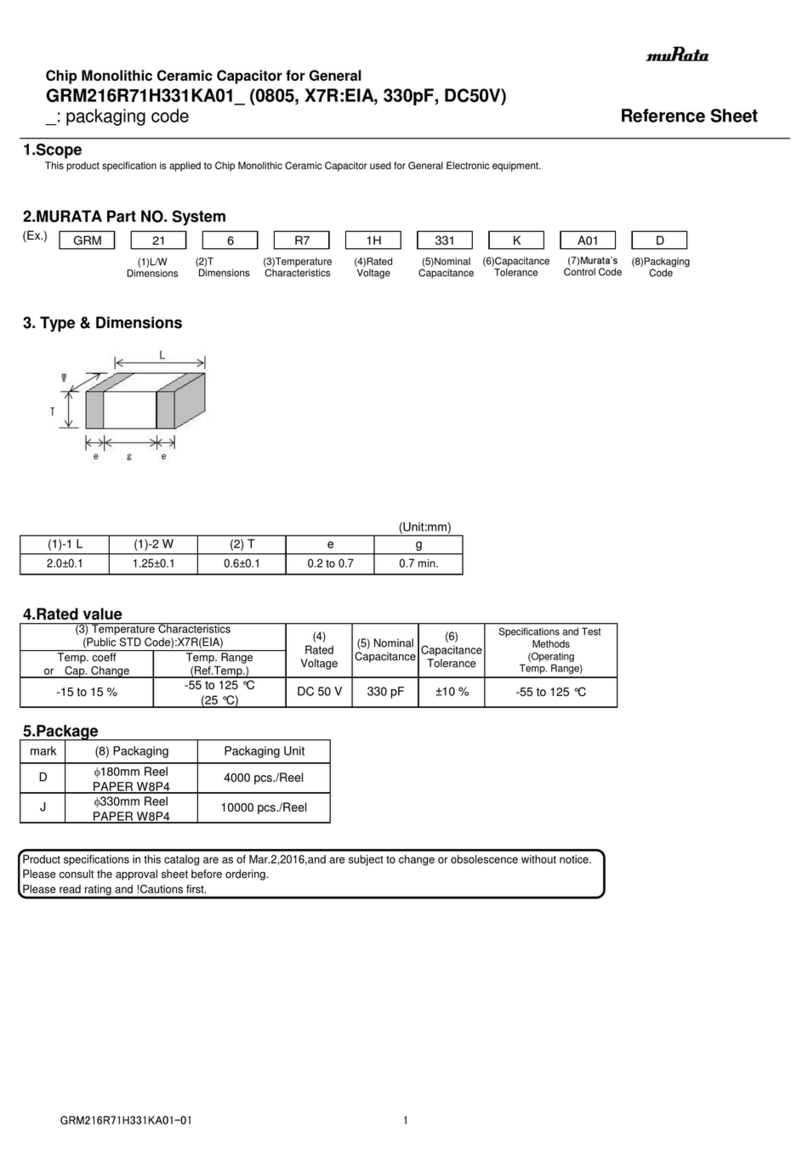
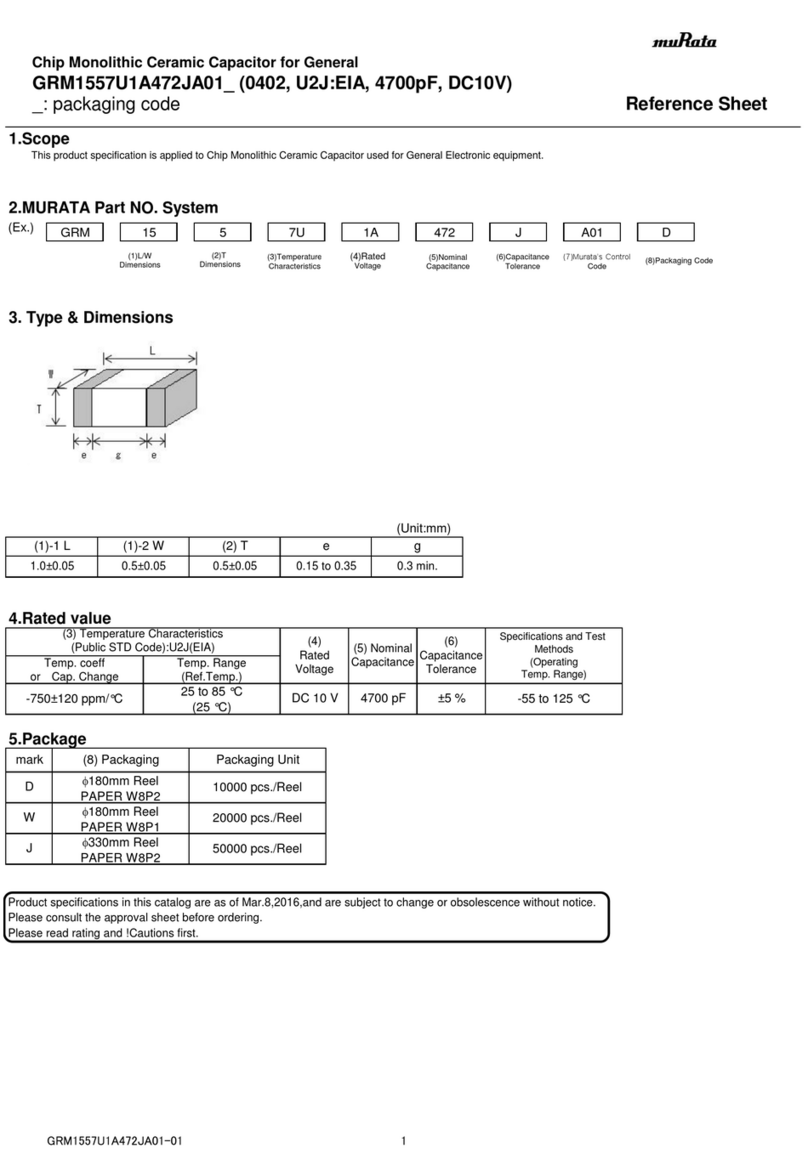
Murata GRM1557U1A472JA01 Series Reference sheet

Huawei
Huawei PowerCube 500 V200R001C10 quick guide
Stahl
Stahl 8118 Series operating instructions

Stagemaker
Stagemaker SR Technical guide

Zimmer
Zimmer GEP5000 Series Installation and operating instructions
Murata
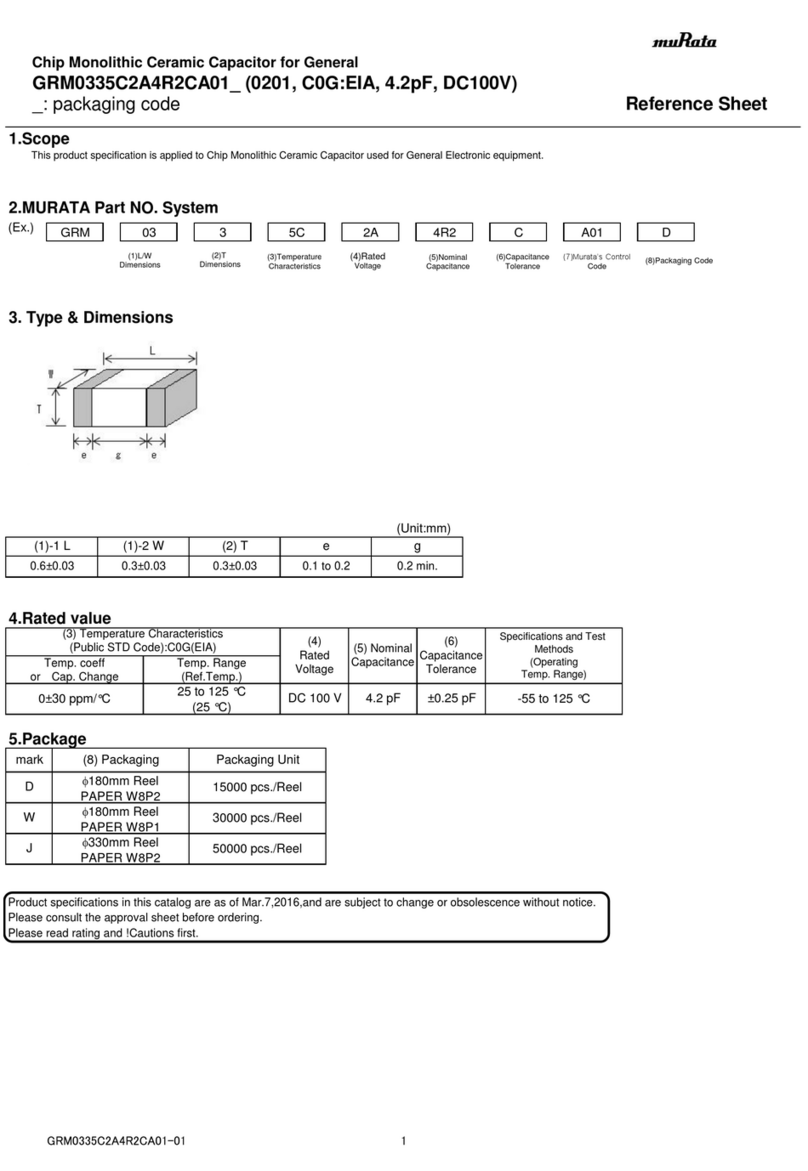
Murata GRM0335C1H3R1BA01 Series Reference sheet
Murata
Murata GRM0225C1C120GA03 Series Reference sheet
Basler
Basler ESD 201 instruction manual
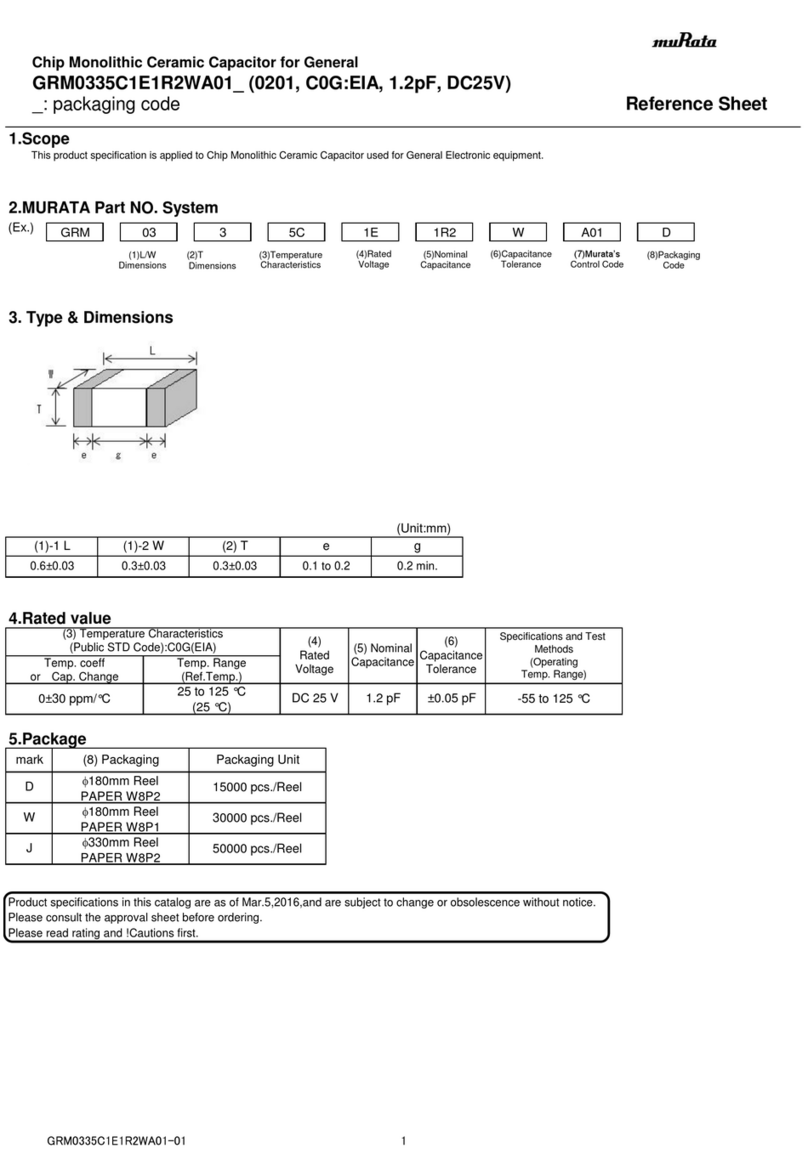
Murata
Murata GRM0335C1E1R2WA01 Series Reference sheet
