INSTRUCTION MANUAL CODE 80340 REV A May 2019 (It can be modied without notice) Page: 4
J.P. SELECTA s.a.u. Autovía A-2 Km 585.1 Abrera 08630 (Barcelona) España Tel 34 93 770 08 77 Fax 34 93 770 23 62
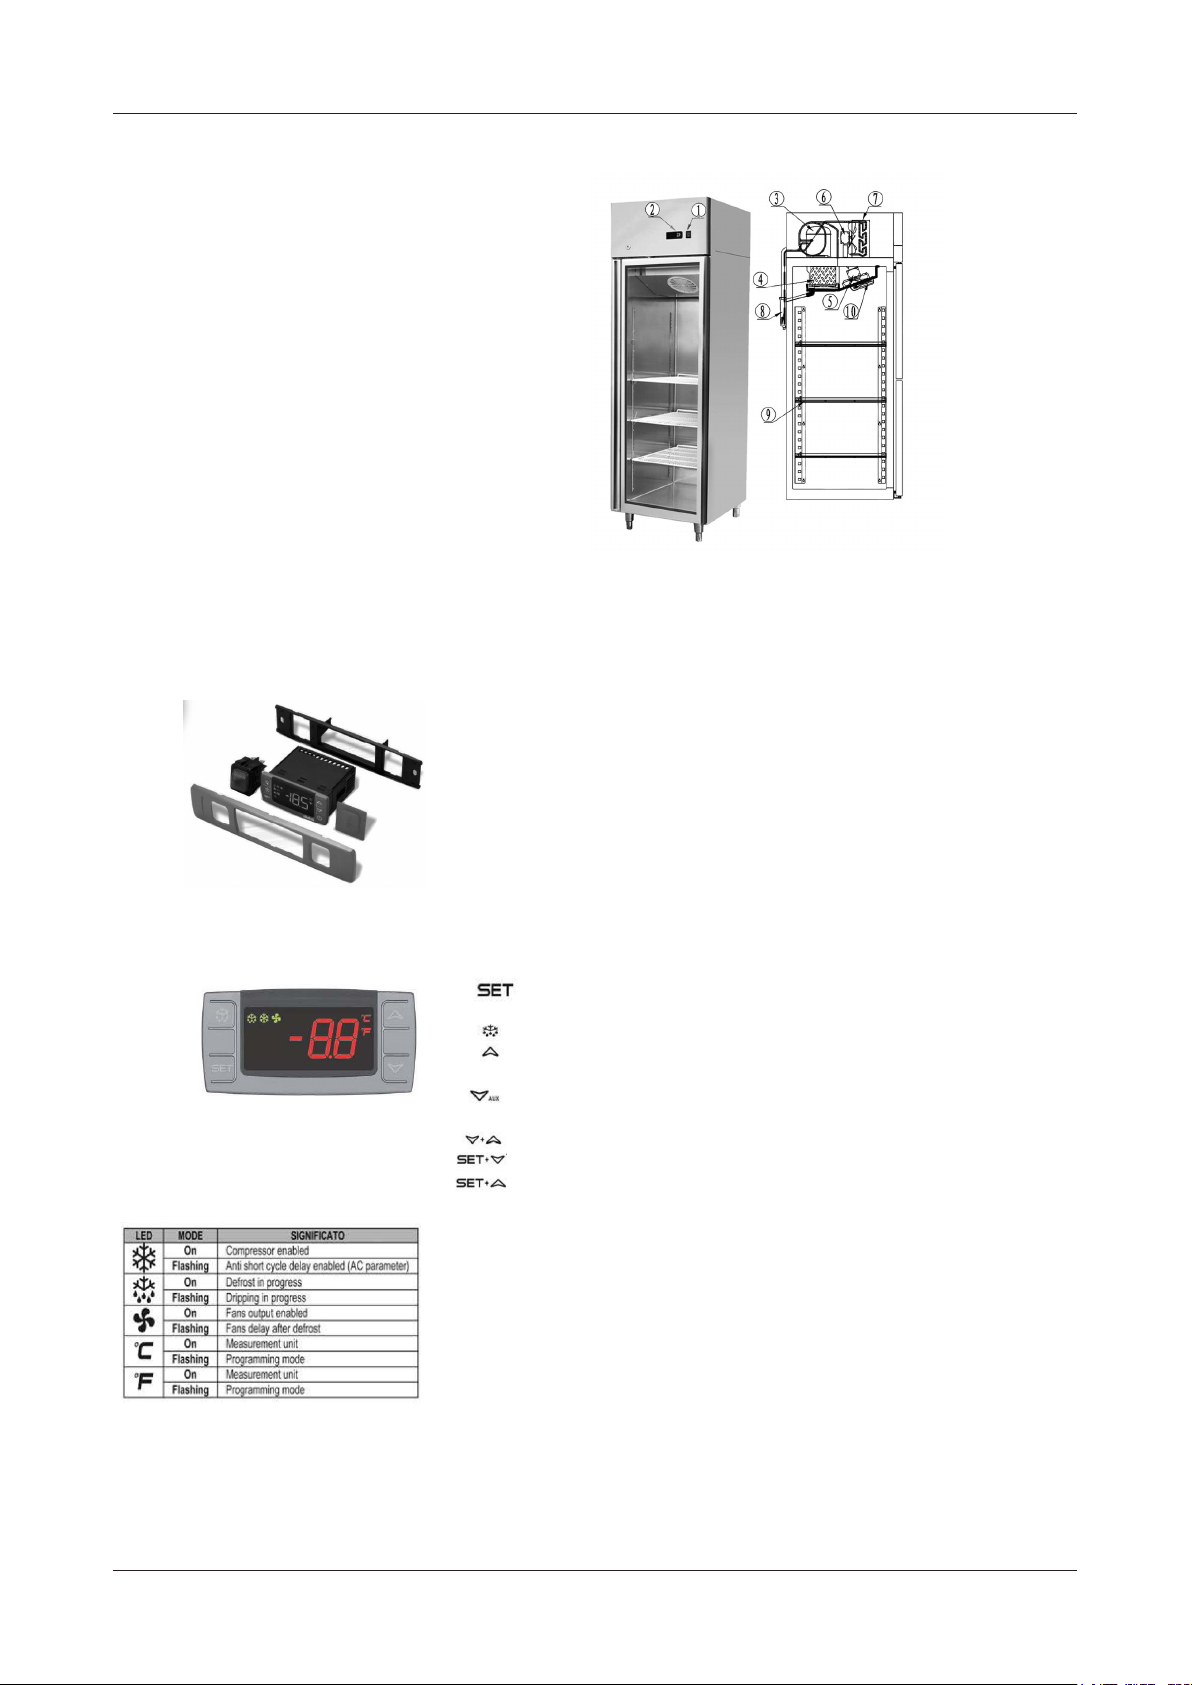
6 Unidad de control
El refrigerador está controlado desde una “unidad de control digital” y un inter-
ruptor principal con luz piloto en el panel superior del armario.
El interruptor principal con luz piloto sirve para encender la fuente de alimen-
tación.
El piloto verde se enciende para indicar que la unidad está conectada a la red
eléctrica y para empezar a trabajar.
El piloto verde se apaga para indicar que la unidad está desconectada y no tra-
baja. La “unidad de control digital” es para la regulación de todos los parámetros
para proporcionar el correcto funcionamiento del armario refrigerador. Por favor
consulte todos los parámetros en el capítulo 13 de este manual.
Este manual forma parte del equipo y es muy importante en caso del avería o
atención técnica. Consérvelo siempre junto al equipo.
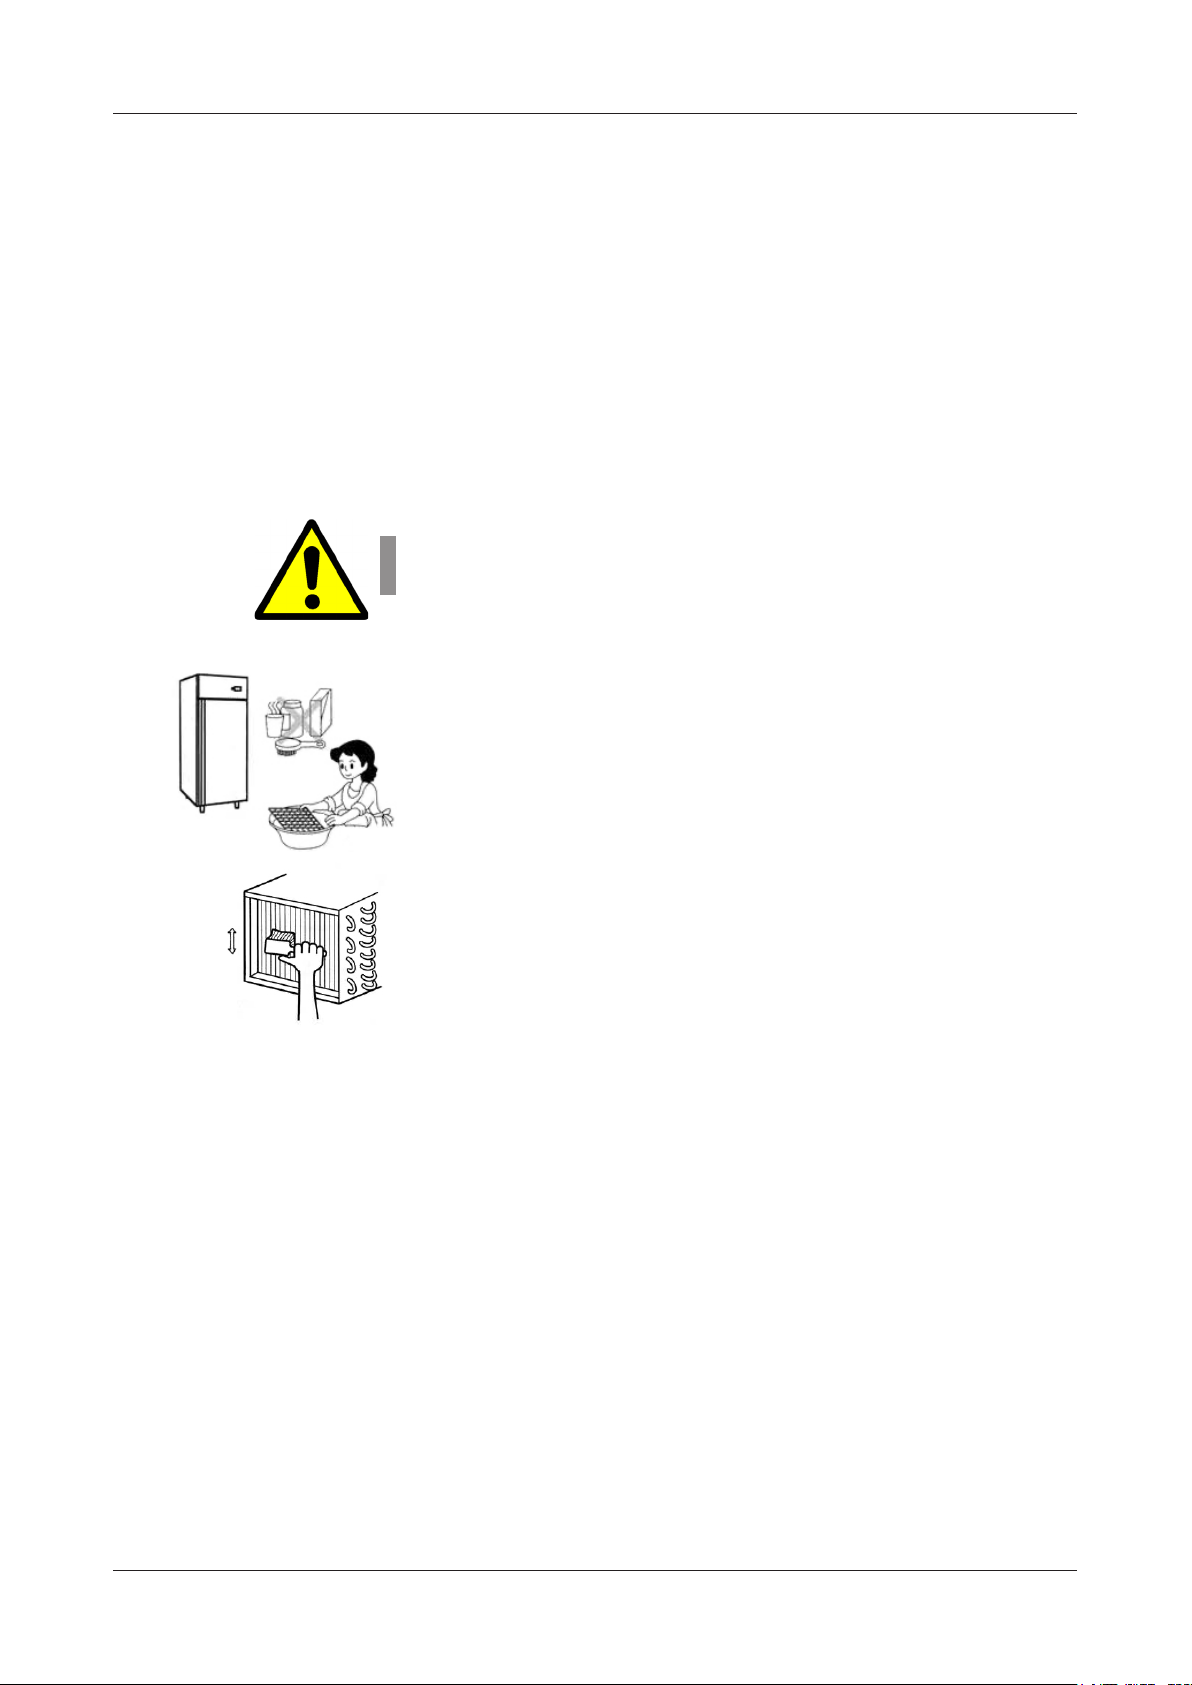
7 Manipulación
El armario refrigerador llega encintado y empaquetado en una caja de cartón
encima de un palet de madera.
El armario refrigerador debe ser transportado y manipulado con cuidado para
evitar poner en peligro a personas u objetos.
Nunca coloque un armario refrigerador con una unidad de refrigeración incorpo-
rada sobre un lado o lo ponga del revés ya que puede dañar o poner en peligro
el funcionamiento de la unidad de refrigeración.
No nos hacemos responsables de los daños o defectos que surjan directa o
indirectamente del manejo inadecuado de los equipos o el incumplimiento con
las garantías indicadas anteriormente.
8 Procedimiento de instalación
· Colocar el armario refrigerador en la zona más ventilada y fría de la sala. No
instalarlo cerca de fuentes de calor o de luz directa.
· Retirar las correas que sujetan el embalaje de cartón
Retirar el cartón
Retirar la cinta protectora
Retirar la cinta metálica de transporte del compresor (destornillador estrella)
y el soporte de la puerta (sin tornillos). Marcadas con una etiqueta amarilla.
· Limpiar el armario refrigerador con detergente suave y luego secarlo con un
trapo suave.
. Una vez ubicado y antes de ponerlo en marcha se recomienda que esté unas
24h sin arrancar, para que el aceite y el gas del compresor queden en su posición.
9 Conexión de la alimentación
Esta operación debe ser llevada a cabo por personas cualicadas y profesionales.
El armario refrigerador se entrega con un cable de conexión completo para la
conexión a la red eléctrica.
Un disyuntor magnetotérmico (no incluido) debe instalarse entre los puntos de
alimentación y el cable de alimentación del armario refrigerador.
9.1 Antes de proceder asegurarse de que:
· El voltaje de la red eléctrica corresponde al voltaje del armario refrigerado
que viene indicado en la etiqueta de características; para asegurar una correcta
operación es esencial que la tensión de alimentación esté en un rango de +/-
10% de la tensión nominal de la unidad.
· El sistema electrónico al que se conecta el armario refrigerador cumple los
requisitos estándar actuales.
· Las conexiones eléctricas y la instalación del disyuntor termomagnético han
sido realizadas por personal cualicado.