Sencor SWK 2090BK Repair manual

EN VARIABLE TEMPERATURE
ELECTRIC KETTLE
Translation of the original manual
SWK 2090BK

SWK 2090BK

A
1
2
3
4
5
6
7
8
9
B
1
23

- 1 - Revision 09/2022
Copyright © 2022, Fast ČR, a.s.
EN Variable Temperature Electric Kettle
Important safety instructions
READ CAREFULLY AND STORE FOR FUTURE USE.
• This appliance may be used by children 8 years of
age and older and by persons with physical or mental
impairments or by inexperienced persons, if they are
properly supervised or have been informed about how to
use the appliance in asafe manner and understand the
potential dangers.
• Children must not play with the appliance.
• Cleaning and maintenance performed by the user must
not be performed by children unless they are older than 8
years of age and under supervision.
• Keep the appliance and its power cord out of reach of
children younger than 8 years of age.
• In the event that the power cord is damaged, have it
repaired at aprofessional service centre to prevent causing
adangerous situation. It is forbidden to use the appliance if
it has adamaged power cord.
• This appliance is designed for domestic use and similar
locations such as:
– kitchens in stores; offices and other workplaces;
– in agriculture;
– for guests of hotels, motels and other similar locations;
– in bed and breakfast establishments.

- 2 - Revision 09/2022
Copyright © 2022, Fast ČR, a.s.
• Never wash the appliance under running water or
submerge it in water or another liquid.
• If the electric kettle is overfilled, then boiling water could
splash out.
Warning:
Do not open the lid of the kettle when it is running
and while water is boiling.
If the lid position can be adjusted, always locate it so
that the steam flows away from the handle.
• Make sure that no water or any other liquid splashes
on the power plug or the power socket, and that the hot
steam emitted from the appliance is also kept away. If this,
nevertheless, occurs, disengage the circuit breaker of the
power socket and then carefully dry the power socket and
the power plug before further use.
• The surfaces of the appliance that come into contact with
food must always be cleaned according to the instructions
in this user’smanual.
Warning:
Incorrect use may lead to injuries.
• The surface of the heating element retains residual heat
after use.
Attention:
Hot surface.

- 3 - Revision 09/2022
Copyright © 2022, Fast ČR, a.s.
ELECTRICAL SAFETY
• Before connecting the kettle to apower socket check that the voltage stated on the rating label matches the electrical voltage in the socket.
• Connect the kettle only to aproperly grounded socket.
Attention:
This kettle is not designed to be controlled using aprogrammed device, external timer switch or remote control.
• Never use the kettle in the near vicinity of abath, shower or swimming pool.
• Do not wash the kettle or its base under running water and do not submerge it or its base in water or another liquid.
• Always disconnect the kettle from the power socket if you will not be using it or before moving or cleaning it.
• Ensure that the power cord does not come into contact with water or moisture.
• Take care not to spill water on to the connector when placing the kettle on to the base stand and when taking it off the base stand.
• Do not place heavy items on the power cord. Make sure that the power cord does not hang over the edge of atable and that it is not touching ahot
surface.
• Do not disconnect the kettle from the power socket by pulling on the power cord. This could damage the power cord or the power socket. Disconnect
the cord from the power socket by gently pulling the plug of the power cord.
• If the power cord is damaged, have it replaced at aspecialised service centre. It is forbidden to use the kettle if it has adamaged power cord or plug.
• To avoid the danger of injury by electrical shock, do not repair the kettle yourself or make any adjustments to it. All repairs of this kettle should be
carried out at an authorised service centre. Tampering with the appliance during the warranty period may void the warranty.
SAFETY DURING USE
• Do not place the kettle on window sills or on unstable surfaces. Always place the kettle on astable, even and dry surface.
• Only use the kettle with the base that was supplied with it. Do not use the base supplied with this kettle for other types of kettles.
• Use the kettle only for boiling water.
• Although the kettle is protected against damage caused by accidentally turning it on without water, do not use it empty. Incorrect use may
negatively affect its working order and lifetime.
• Always take the kettle off the base stand before filling it.
• Check that the lid is securely closed before starting the kettle. Do not open the lid or handle it in any way while the water is boiling.
• The body of the kettle is heated up while water is boiled. Do not touch the hot surface. This could cause skin burns. Use the handle for lifting and
carrying the kettle.
• Do not place any items or kitchen utensils (e.g. spoons for stirring and serving food) into the kettle while it is boiling water or maintaining
atemperature (depending on the kettle model).
• Pay extra attention when handling akettle filled with hot water.
• Be especially careful when pouring water out of the kettle to avoid scalding by the boiling water or steam.
• Do not place the kettle on an electric or gas stove or in its vicinity, do not place it in the vicinity of an open fire or an appliance that is asource of heat.
• Clean it according to the instructions in chapter Cleaning and maintenance.
• Do not use the kettle when it is not functioning correctly or after it has fallen on the floor, been submerged in water or is showing visible signs of
damage or if leaking. Hand it over to an authorised service centre for inspection or repair.

- 4 - Revision 09/2022
Copyright © 2022, Fast ČR, a.s.
• Prior to using this appliance, please read the user’smanual
thoroughly, even in cases, when one has already familiarised
themselves with previous use of similar types of appliances. Only use
the appliance in the manner described in this user’smanual. Keep
this user’smanual in asafe place where it can be easily retrieved for
future reference.
• We recommend saving the original cardboard box, packaging
material, purchase receipt and responsibility statement of the vendor
or warranty card for at least the duration of the legal liability for
unsatisfactory performance or quality. In the event of transportation,
we recommend that you pack the appliance in the original box from
the manufacturer.
. . . . . . . . . . . . . . . . . . . . . . . . . . . . . . . . . . . . . . . . . . . . . . . . . . . . . . . . . . . . . . . . . . . .
DESCRIPTION OF THE KETTLE
A1 Open lid button
A2 Lid
A3 Spout
A4 Filtration strainer
(cannot be removed)
A5 Water level mark
A6 Base with acentral connector
A7 Control panel
A8 Handle
A9 LED light for the inside of the
kettle
. . . . . . . . . . . . . . . . . . . . . . . . . . . . . . . . . . . . . . . . . . . . . . . . . . . . . . . . . . . . . . . . . . . .
DESCRIPTION OF THE CONTROL PANEL
B1 Temperature setting LED
indicators
B2 On/Off button
B3 Set temperature button
– 50, 70, 80 or 90°C.
. . . . . . . . . . . . . . . . . . . . . . . . . . . . . . . . . . . . . . . . . . . . . . . . . . . . . . . . . . . . . . . . . . . .
BEFORE FIRST USE OF THE KETTLE
1. Remove all wrapping material from the kettle and its base A6.
2. Fill the kettle with clean water up to the maximum water mark. Boil
the water and empty the contents of the kettle. Repeat this process 2
to 3 times.
Note:
To boil water in the fast boil kettle proceed according to the
instructions in chapter Using the kettle.
3. Now the kettle is ready for operation.
. . . . . . . . . . . . . . . . . . . . . . . . . . . . . . . . . . . . . . . . . . . . . . . . . . . . . . . . . . . . . . . . . . . .
USING THE KETTLE
1. Set the desired length of the power cord. Push the power cord into
the groove in the base A6. Place the base A6 on astable, even and
clean surface.
2. Press button A1 to open the lid A2, then fill the kettle with the
required amount of water. The water level must reach at least the
minimum mark (0.5l) and must not exceed the maximum mark (2l).
After filling it, close the lid A2 and make sure that it is secured in the
closed position.
Attention:
Do not fill the kettle when it is placed on the base A6.
When filling the kettle, there is arisk of water splashing
out.
3. Place the kettle on the base A6 and insert the power cord plug
into apower socket. When the power cord is connected to apower
socket, ashort beep will be made and all the LED indicators B1 and
the LED light A9 will light up for an instant and another beep will be
made. The kettle will then switch to stand-by mode and is ready for
use. The default temperature setting is 100°C.
4. Possible uses of the kettle:
4.1 Boil water
• To start the water boiling process, press button B2. Abeep confirms
that the button was pressed. The kettle will start heating water to
100°C. The LED light A9 is lit red. When the water starts to boil, the
kettle will turn off automatically. Two beeps are made and the LED
light A9 will turn off.
Note:
The water boiling process can be stopped at any time by
again pressing button B2.
4.2 Heating water to aselected temperature
• Use button B3 to set the heating temperature 50, 70, 80 or 90°C.
The temperature setting changes each time button B3 is pressed.
Each press of the button is accompanied by ashort beep. The
temperature setting is signalled by the respective LED indicator B1
being lit. To start the process of heating water to the set temperature,
press button B2. LED light A9 will be lit:
–50°C – dark green (baby porridge)
–70°C – blue (green tea)
–80°C – violet (white tea)
–90°C – light green (instant coffee)
–100°C – red (black/fruit/herbal tea)
• When the water is heated to the set temperature, the kettle will turn
off automatically. Two beeps are made and the LED light A9 will turn
off. LED indicator B1 remains lit for approximately one minute after it
is turned off. Then it turns off and the kettle switches to the stand-by
mode.
Note:
If you set atemperature using button B3 and then do not
press button B2 to start the water heating process, after 15
seconds the kettle will switch to the stand-by mode and the
respective LED indicator B1 will turn off.
The temperature setting can be changed while the appliance
is running.
The process of heating water to aset temperature can be
stopped at any time by again pressing button B2.
If you set atemperature that is lower than the current
temperature of the water inside the kettle, abeep will be
made after button B2 is pressed and the kettle will turn off
automatically.
4.3 Keep warm mode
• This mode is usually used when you wish to heat water to arequired
temperature and then maintain it at this temperature, or when you
wish to boil water and then keep it warm.
• Use button B3 to select the required temperature 50, 70, 80, or
90°C. The respective LED indicator B1 will be lit. Press button B2 and
hold it down for approx. 3 seconds. The respective LED indicator B1
will start flashing, the coloured LED light A9 will be lit as described
in point 4.2 and the process of heating water to the set temperature
will start. When the set temperature is reached, two beeps are made
and the kettle automatically switches to the keep warm mode. In
this mode, the heating element automatically switches on and
off to maintain the set temperature. The keep warm mode ends
automatically after 30 minutes. Two short beeps are made, the LED
light A9 and the respective LED indicator B1 will turn off, and the kettle
will switch to the stand-by mode.
• Using the above described method, it is possible to set the keep
warm mode after previously boiling or heating water according to
described points 4.1 and 4.2. If, for this mode, you set atemperature
that is lower than the current water temperature inside the kettle, two
beeps will be made when the kettle is started. This signals that the set
EN Variable Temperature Electric Kettle
User'smanual

- 5 - Revision 09/2022
Copyright © 2022, Fast ČR, a.s.
temperature has already been reached. Water will cool down to the
set temperature and will then be maintained at this temperature. The
keep warm mode ends automatically after 30 minutes.
• To quickly switch the kettle from the stand-by mode to the keep warm
mode, press and hold down button B2 for 3 seconds. Water will be
maintained at atemperature of 50°C.
Note:
If you set atemperature using button B3 and then do not press
button B2 to start the maintain set temperature mode, after 15
seconds the kettle will switch to the stand-by mode and the
respective LED indicator B1 will turn off.
It is not possible to change the set temperature in the keep
warm mode.
The keep warm mode can be stopped at any time by pressing
button B2.
Attention:
If the kettle is not located on the base A6, the buttons
on the control panel A7 will not react to being pressed.
Lifting the kettle off the base will cancel all previous
settings. When the kettle is placed back on to the
base A6, ashort beep will be made and all the LED
indicators B1 and the LED light A9 will light up for an
instant and another beep will be made. The kettle
will then again switch to stand-by mode and is again
ready for use.
This kettle is not calibrated for scientific or laboratory
purposes. The actual water temperature may differ by
±5°C from the set water temperature.
Attention:
Do not turn on the kettle when it is empty. Incorrect use
may negatively affect its lifetime. If you accidentally
turn on the kettle without water inside, after ashort
time asound will be made, the LED light A9 will turn
off and the kettle will turn off. Wait until the heating
element cools down. This is indicated by asound and
all the LED indicators B1 and the LED light A9 turning
on for an instant. Then the kettle will switch to stand-
by mode and is again ready for use.
5. Pour the boiled or heated water into aprepared container, cup or
mug. Make sure that the kettle remains in avertical position when
it is carried, particularly if it is filled all the way up to the maximum
mark.
6. If you wish to open the kettle to refill it, be especially careful when
opening the lid A2 to avoid scalding by the escaping steam.
7. After you finish using it, disconnect the power cord from the power
socket. Empty the kettle and allow it to cool down.
. . . . . . . . . . . . . . . . . . . . . . . . . . . . . . . . . . . . . . . . . . . . . . . . . . . . . . . . . . . . . . . . . . . .
CLEANING AND MAINTENANCE
1. Removing limescale deposits
• Limescale deposits inside the kettle may negatively affect its lifetime,
so it is important to regularly remove it based on how frequently
the kettle is used. During standard use (3 to 5 times per day), we
recommend water scale deposits be removed:
–once per month in areas with hard and very hard water;
–once every two to three months in areas with soft and medium
hard water.
• To remove limescale deposits it is possible to use:
–8% white vinegar, generally available in stores. Fill the kettle with
1 litre of water and¼ litre of vinegar. Bring the solution to aboil and
leave it to act in the kettle for 2 hours. Then empty the kettle and
before further use, boil clean water in it four to five times.
–citric acid. Boil 1.5 l of water in the kettle, into the boiled water,
add 30 g of citric acid and allow the solution to act for about 30
minutes. Then empty the kettle and before further use, boil clean
water in it four to five times.
2. Cleaning the outer surface
• Before cleaning, disconnect the power cord from the power socket.
Empty all the contents from the kettle and allow the kettle to cool
down.
• To clean the external parts of the kettle, use adry cloth or acloth
lightly dipped in aweak solution of neutral kitchen detergent. After
applying the detergent, wipe the surface with alightly damp cloth and
then wipe dry.
• To clean the base A6, use only adry cloth.
• For cleaning, never use steel wool, cleaning products with an abrasive
effect, petrol and other solvents.
Attention:
Do not wash the kettle or its base A6 under running
water and do not submerge it or its base A6 in water
or another liquid.
. . . . . . . . . . . . . . . . . . . . . . . . . . . . . . . . . . . . . . . . . . . . . . . . . . . . . . . . . . . . . . . . . . . .
TECHNICAL SPECIFICATIONS
Rated voltage range................................................................................220−240 V
Rated frequency...........................................................................................50/60 Hz
Rated power input.............................................................................1850–2200 W
Nominal capacity..........................................................................................................2l
We reserve the right to change text and technical specifications.
. . . . . . . . . . . . . . . . . . . . . . . . . . . . . . . . . . . . . . . . . . . . . . . . . . . . . . . . . . . . . . . . . . . .
INSTRUCTIONS AND INFORMATION REGARDING THE DISPOSAL OF
USED PACKAGING MATERIALS
Dispose of used packaging material at asite designated for waste in your
municipality.
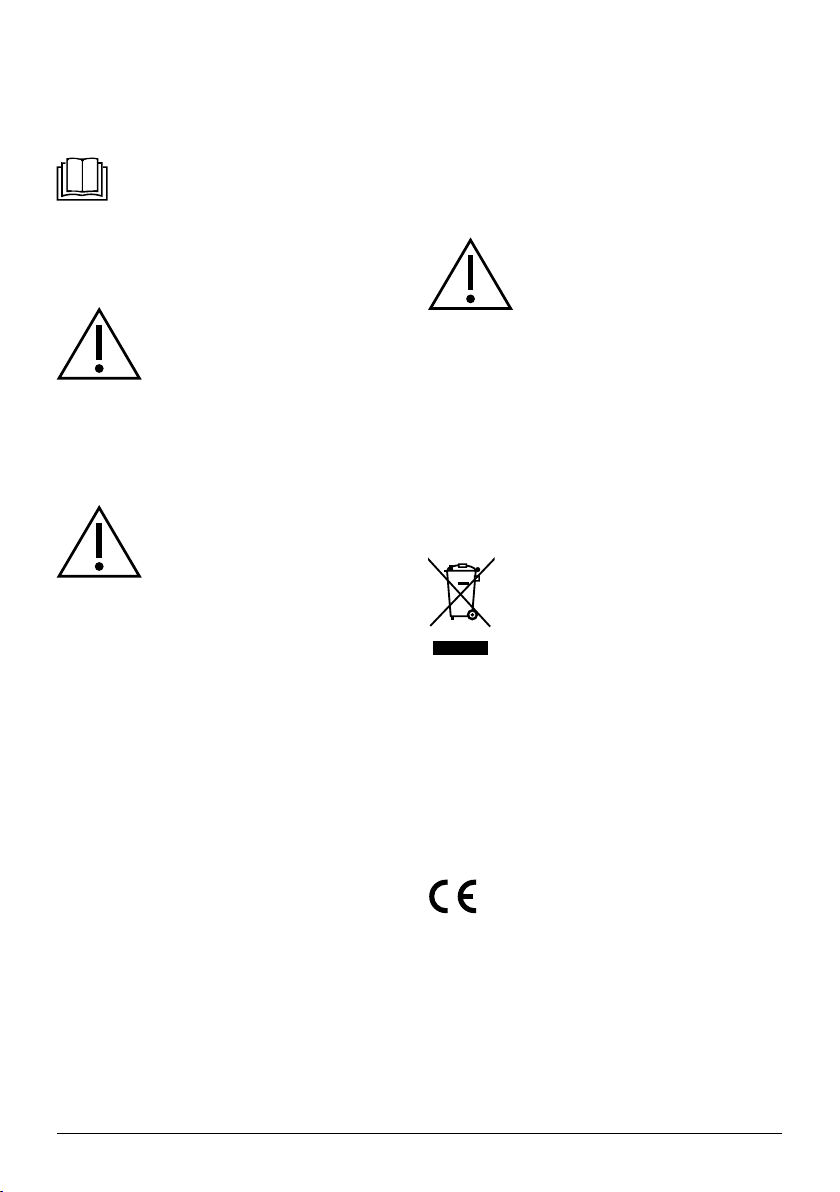
DISPOSAL OF USED ELECTRICAL AND ELECTRONIC EQUIPMENT
This symbol on products or original documents means that
used electric or electronic products must not be added to
ordinary municipal waste. For proper disposal, renewal and
recycling hand over these appliances to determined
collection points. Alternatively, in some European Union
states or other European countries you may return your
appliances to the local retailer when buying an equivalent
new appliance.
Correct disposal of this product helps save valuable natural resources
and prevents potential negative effects on the environment and human
health, which could result from improper waste disposal. Ask your local
authorities or collection facility for more details.
In accordance with national regulations penalties may be imposed for the
incorrect disposal of this type of waste.
For business entities in European Union states
If you want to dispose of electric or electronic appliances, ask your retailer
or supplier for the necessary information.
Disposal in other countries outside the European Union.
This symbol is valid in the European Union. If you wish to dispose of this
product, request the necessary information about the correct disposal
method from the local council or from your retailer.
This product meets all the basic requirements of EU
directives related to it.

FAST ČR, a.s.
U Sanitasu 1621
CZ-251 01 Říčany
www.sencor.eu
Table of contents
Other Sencor Kettle manuals

Sencor
Sencor SWK 7300WH Repair manual

Sencor
Sencor SWK 1280SS User manual

Sencor
Sencor SWK 0930WH User manual

Sencor
Sencor SWK 1501GR User manual

Sencor
Sencor SWK 157XXX-NAB1 User manual

Sencor
Sencor SWK 1810WH-NAB1 User manual

Sencor
Sencor SWK 1770GG User manual

Sencor
Sencor SWK 7500WH User manual

Sencor
Sencor SWK 2080BK User manual

Sencor
Sencor SWK 1200 User manual

Sencor
Sencor SWK 7700GG User manual

Sencor
Sencor SWK 1757SS User manual

Sencor
Sencor SWK 1746BK User manual

Sencor
Sencor SWK 102BL User manual

Sencor
Sencor SWK 1791WH User manual

Sencor
Sencor SWK 1001 User manual

Sencor
Sencor SWK 1500 User manual

Sencor
Sencor SWK 2000 User manual

Sencor
Sencor SWK 1700WH Repair manual

Sencor
Sencor SWK1753 User manual