- 3 - 06/2023
2023, .
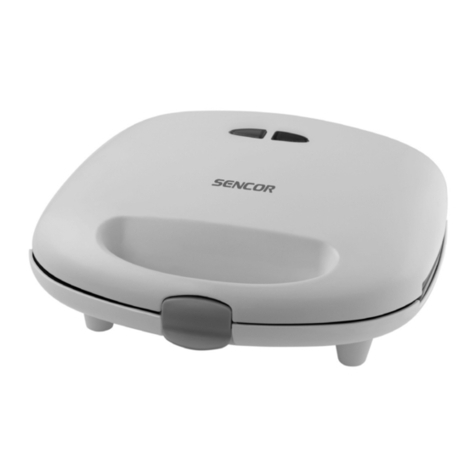
DESCRIPTION OF THE APPLIANCE
A1 Red indicator light – indicates
the connection to themains
socket
A2 Green indicator light –
indicates heating of the baking
plates
A3 Thermally insulated handles
A4 Lock for easy locking
andunlocking of handles
A5 Removable grilling plates
A6 Removable waffle plates
A7 Removable plates for toasting
sandwiches
. . . . . . . . . . . . . . . . . . . . . . . . . . . . . . . . . . . . . . . . . . . . . . . . . . . . . . . . . . . . . . . . . . . .
BEFORE FIRST USE
• Before first use, remove the appliance and its accessories form the
packaging and remove all promotional labels and tags. Check that
neither the appliance nor any of its components is damaged.
• Wipe the baking surfaces of the removable plates with aslightly damp
cloth and then wipe them dry with adry cloth.
• We recommended you allow the sandwich maker to run empty for
5–7 minutes before first use for each pair of baking plates, so that any
odours present are removed from the plates.
Note:
When first turned on there may be light smoke emitted.
This is due to the heating of internal components and it will
pass in amoment.
. . . . . . . . . . . . . . . . . . . . . . . . . . . . . . . . . . . . . . . . . . . . . . . . . . . . . . . . . . . . . . . . . . . .
REPLACING THE BAKING PLATES
Unplug the sandwich maker from the power outlet and allow it to cool
before replacing the baking plates.
1. Removing the baking plates: Move lock towards the handle to
release the bottom baking plate and then remove it. In the same way
release and remove the top plate.
2. Inserting the baking plates: Slide the bottom edge of the baking
plate under the left or right hinge. Fold the plate down and push in
towards the casing of the sandwich maker until you hear an audible
click. Now the plate is secured in the correct position by locks. In the
same way attach the top plate. Always use plate of the same type.
. . . . . . . . . . . . . . . . . . . . . . . . . . . . . . . . . . . . . . . . . . . . . . . . . . . . . . . . . . . . . . . . . . . .
USING THE SANDWICH MAKER
1. Select asuitable type of plate for the type of food that you wish to
prepare and insert it into the sandwich maker. Coat the baking plates
with alittle butter or cooking oil.
2. Connect the sandwich maker to apower socket. Both indicator
lights on the top panel will light up. The red indicator light indicates
connection to apower source. Green indicator light indicates heating
of the baking plates.
3. Close the sandwich maker, for faster heating of the baking plates.
4. Prepare the food you wish to cook before the plates heat up.
5. When the baking plates are heated to the set temperature, the green
indicator light is turned off.
Note:
The heating indicator light turns on and off. This shows that
the set temperature of baking plates is maintained.
6. Open the sandwich maker and place the prepared food on the
bottom plate. Using the handle, close and press the upper baking
plate toward the lower one. Secure the handle with the lock.
Note:
If you insert too much food or pieces that are too large into
the sandwich maker, then it will not be possible to close it.
In such acase it will be necessary to remove some of the
food or to cut the food into smaller pieces. Do not force the
sandwich maker shut, as this may damage it.
7. After 2 to 3 minutes release the lock, open the top plate and remove
the finished meal or continue cooking if necessary. To remove the
meal use awooden or heat-resistant plastic spatula. Do not use
afork, aknife or anything else made of metal. This may damage the
non-stick coating.
8. Before inserting further food into the sandwich maker close it and
wait until the green indicator light turns off.
9. After finishing using the sandwich maker, disconnect it from the
power socket.
. . . . . . . . . . . . . . . . . . . . . . . . . . . . . . . . . . . . . . . . . . . . . . . . . . . . . . . . . . . . . . . . . . . .
CLEANING AND MAINTENANCE
• Before cleaning, unplug the power cord from the mains socket and
allow the appliance to cool down.
• Do not use abrasive cleaning agents, solvents, or any substances to
clean any parts of the appliance that could damage the surface of
the appliance. No part of this appliance is intended to be washed in
adishwasher or under running water.
Warning:
To prevent the risk of electric shock, do not submerge
the appliance, plug or power cord in water or any
other liquid.
• Clean the non-stick surface of the baking plates after each use. This
will prevent abuild-up of burnt pieces of food residue. To clean, use
amoist, soft cloth. If some burnt food residue is left on the baking
plates, sprinkle with water and mild dish detergent. Wipe clean
afterwards with aclean, moist cloth.
• The baking plates are easier to clean if lukewarm.
• Wipe outer surface of the sandwich maker with asoft wet cloth and
dry completely off.
Storage
• If you will not be using the appliance for an extended period of
time, unplug the plug from the mains socket, allow the appliance to
cool down and clean it according to the instructions in the chapter
“Cleaning and Maintenance”.
• Before storing, ensure that the appliance and all accessories are
thoroughly clean and dry.
• Store the appliance in adry, clean, and well-ventilated place away
from extreme temperatures and out of the reach of children or pets.
. . . . . . . . . . . . . . . . . . . . . . . . . . . . . . . . . . . . . . . . . . . . . . . . . . . . . . . . . . . . . . . . . . . .
TECHNICAL SPECIFICATIONS
Sandwich Makerwith Removable Plates
Rated voltage range............................................................................. 220−240 V~
Rated frequency........................................................................................ 50−60 Hz
Rated power input............................................................................................. 750 W
We reserve the right to change the text and technical specifications.
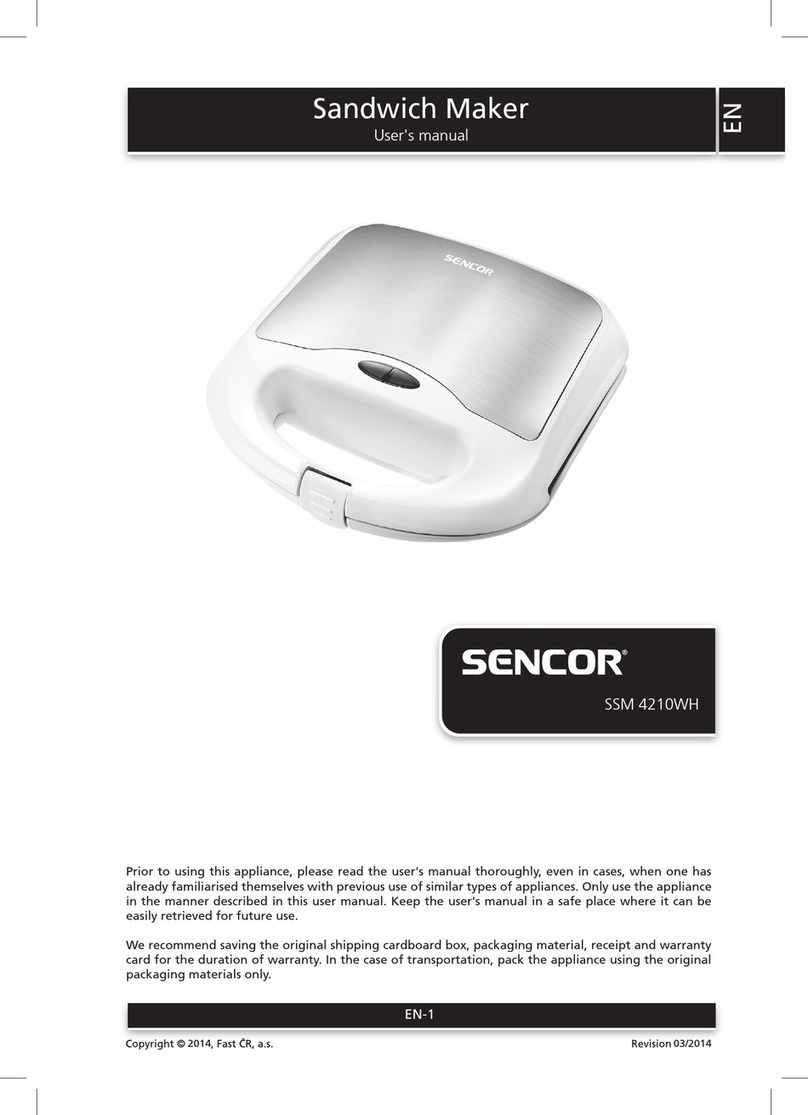
EN Sandwich Maker with Removable Plates
User manual
