manuals.online logo
Brands
  1. Home
  2. •
  3. Brands
  4. •
  5. Sengoku
  6. •
  7. Heater
  8. •
  9. Sengoku OR-77 Guide

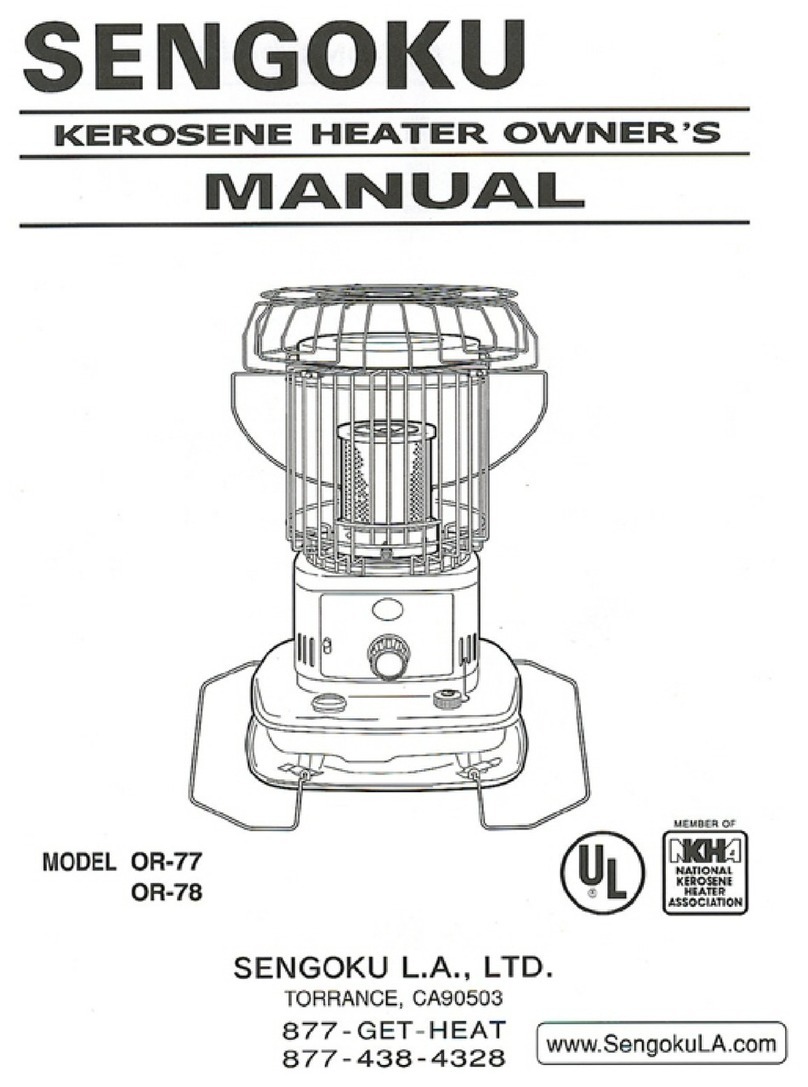
Sengoku OR-77 Guide

1
Step 6
Unscrew the screw which holds the wind
cover and take off the wind cover.
Step 5
Unscrew 4 wing nuts.
Step 4
Carefully lift off the case.
Step 3
Unscrew 4 screws from the each side of
the case.
Step 2
Remove the wick adjusting knob by pull-
ing straight out. Remove the tank cap.
Step 1
Remove the batteries from the heater.
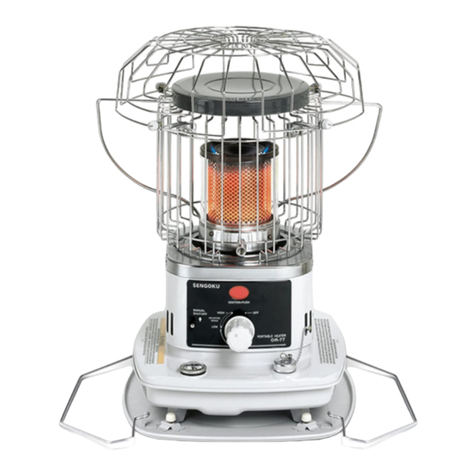
These Instructions are for the following models: OR-77 and OR-78.
Wick replacement should be performed on a completely cool heater after the tank is empty
and the remainder of the kerosene in the heater has been burned off.
Wick Replacement Instructions for Omni Radiant Kerosene Heaters
2
Wick Replacement Instructions for Omni Radiant Kerosene Heaters
Step 12
Insert the pinion on the inside of the wick
control shaft into top portion of the rack
of the wick holder.
Step 11
Replacement wick has a black line. Fold
the new wick and slide it into the holder
up to the line. The black line on the
outside of the wick should match the top
edge of the holder. Then carefully press
the wick against the teeth inside the
holder to obtain a rm grip.
Step 10
Remove the wick from the holder by
folding it inward. Loosen it from the sharp
metal teeth in the inner surface of the
holder and then slide it out.
Step 9
Remove the sleeve from the assembly.
Step 8
Pull out the wick holder assembly.
Step 7
Remove the automatic ignition assembly
by unscrewing 2 screws.
3
Wick Replacement Instructions for Omni Radiant Kerosene Heaters
Step 18
Check the function of safety shut off
mechanism by pushing down the manual
shut off lever or upsetting the pendulum.
Step 17
Check height of wick (10+-1mm). Check for
correct clearance between wick holder and
draft tube (all around). This can be done eas-
ily using 5/32 or 3/16 dia. drill bit.
Step 15
Position the adjuster shaft to the front of the
heater. Use the knob to rotate the wick con-
trol shaft clockwise by ¾ turn. This rotates the
ratchet clockwise by ¾ turn. Turn the knob
clockwise and counter-clockwise a few times to
make sure that the wick travels up and down
smoothly. Hold the latch to prevent the safety
shut off device from being activated.
Step 16
Reinstall the automatic ignition assembly.
Snug, but do not tighten 4 wing nuts on
the mounting studs, then raise the wick to
the full “up” position, and evenly tighten
wing nuts in several steps.
Step 14
Ensure that the rubber gasket is in place
and slide the wick and holder back on the
draft tube. Rotate them 90 degrees left
and right and up and down until the wick
slides freely.
Step 13
Replace the wick adjusting knob on its
shaft and check to see that the spring
of the wick adjuster assembly is free of
torque (has no tension).
4
Wick Replacement Instructions for Omni Radiant Kerosene Heaters
Step 21
Ensure the proper chimney position. In-
stall the batteries in the battery case. Fill
the tank with clean, pure 1-K kerosene.
Wait at least 60 minutes for kerosene to
fully saturate the new wick.
Step 19
Replace the wind cover.
Step 20
Replace the cabinet, tighten 4 screws and
reinstall the wick adjusting knob.

Other manuals for OR-77

2

This manual suits for next models

1

Other Sengoku Heater manuals

Sengoku OR-77 User manual

Sengoku

Sengoku OR-77 User manual

Sengoku HeatMate HME-GS10 User manual

Sengoku

Sengoku HeatMate HME-GS10 User manual

Sengoku MGN-110 User manual

Sengoku

Sengoku MGN-110 User manual

Sengoku Mega-23K User manual

Sengoku

Sengoku Mega-23K User manual

Sengoku MGN-110 User manual

Sengoku

Sengoku MGN-110 User manual

Sengoku OR-77 User manual

Sengoku

Sengoku OR-77 User manual

Sengoku MGN -110 User manual

Sengoku

Sengoku MGN -110 User manual

Popular Heater manuals by other brands
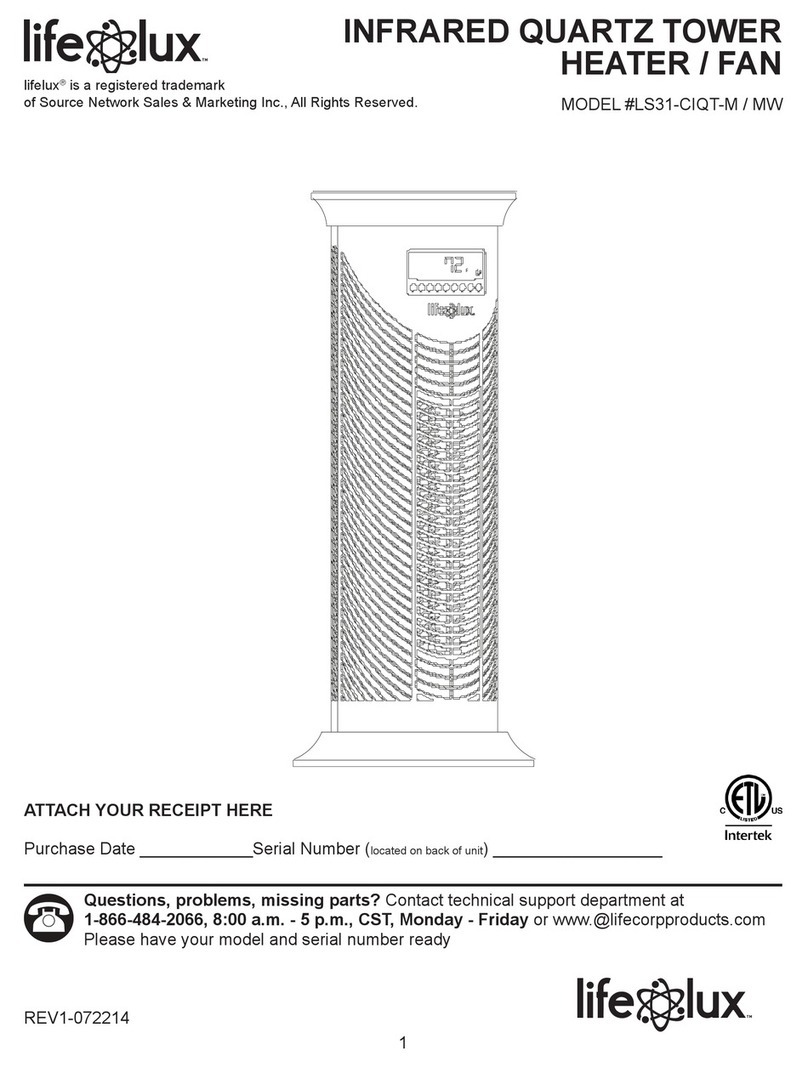
Lifelux LS31-CIQT-M user manual

Lifelux

Lifelux LS31-CIQT-M user manual
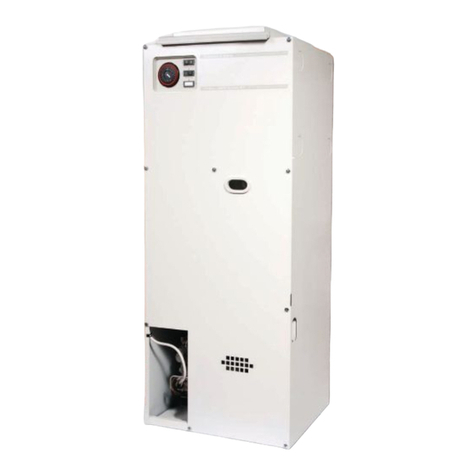
Johnson & Starley HI-SPEC J25RS Series Installation, commissioning & servicing instructions

Johnson & Starley

Johnson & Starley HI-SPEC J25RS Series Installation, commissioning & servicing instructions
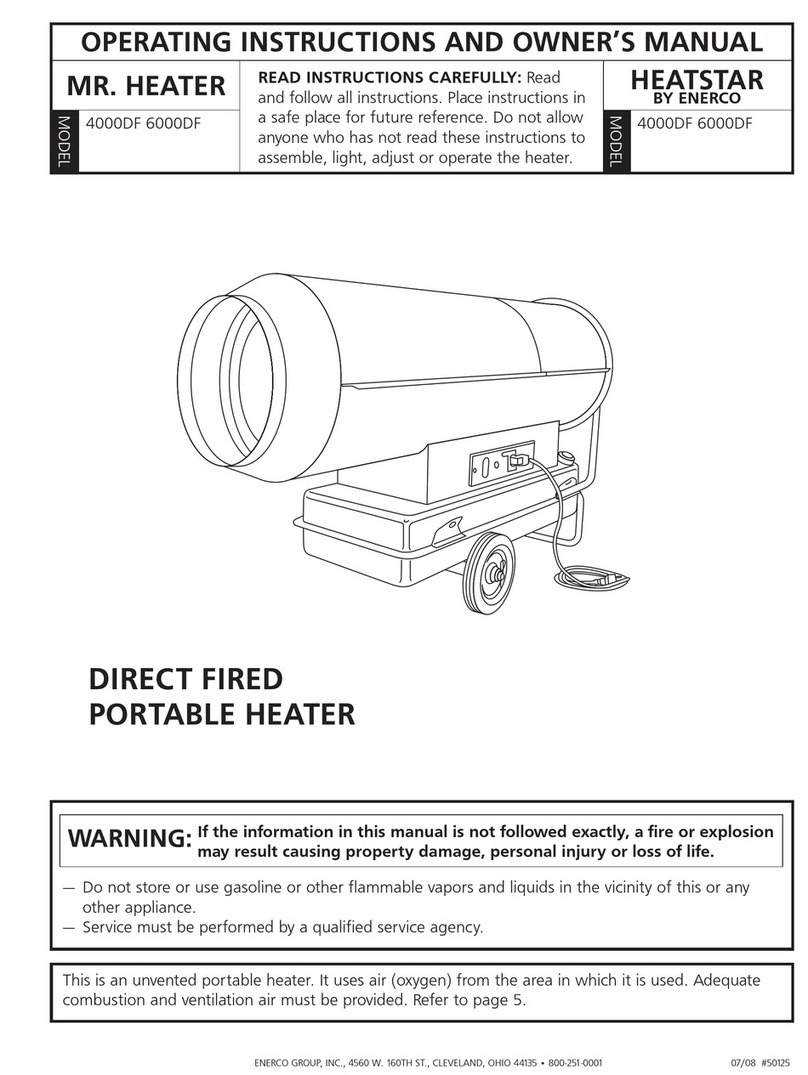
MrHeater 3500DF operating instructions

MrHeater

MrHeater 3500DF operating instructions

ENERCORP HEATSTAR HST 45 Operating instructions and owner's manual
ENERCORP

ENERCORP HEATSTAR HST 45 Operating instructions and owner's manual

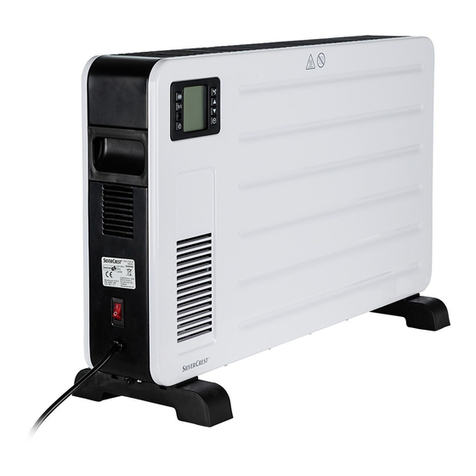
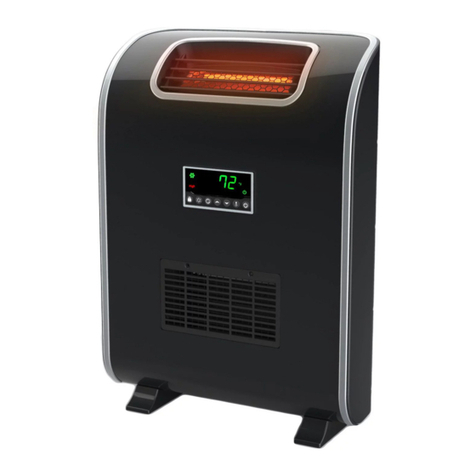
Silvercrest SKD 2300 D4 operating instructions
Silvercrest

Silvercrest SKD 2300 D4 operating instructions

Life Smart ZCHT1074US manual

Life Smart

Life Smart ZCHT1074US manual
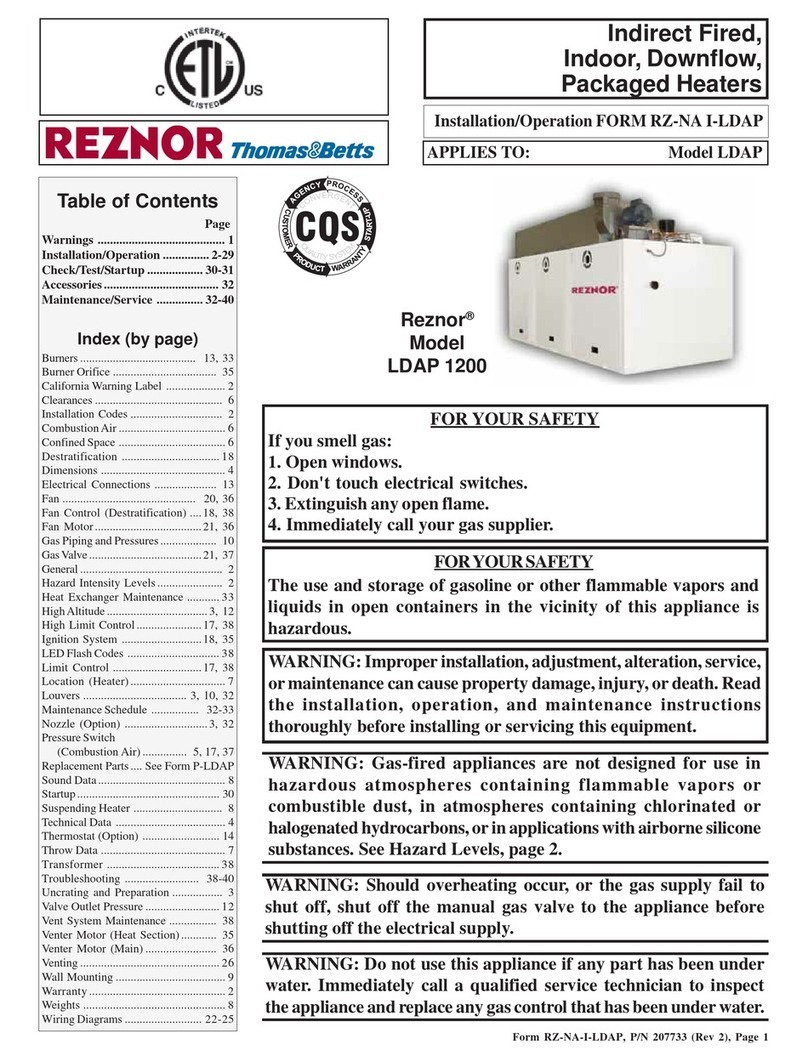
Procom PCFA125V-C owner's manual

Procom

Procom PCFA125V-C owner's manual

Lifepro LS-3W-BPIQT user manual

Lifepro

Lifepro LS-3W-BPIQT user manual

Silvercrest SWG 500 A1 Operation and safety notes

Silvercrest

Silvercrest SWG 500 A1 Operation and safety notes

MO-EL SHARKLITE 712N-712NED Use and maintenance

MO-EL

MO-EL SHARKLITE 712N-712NED Use and maintenance

MO-EL PETALO Series Use and maintenance

MO-EL

MO-EL PETALO Series Use and maintenance

Procom MN180TPA-B OWNER'S OPERATION AND INSTALLATION MANUAL

Procom

Procom MN180TPA-B OWNER'S OPERATION AND INSTALLATION MANUAL

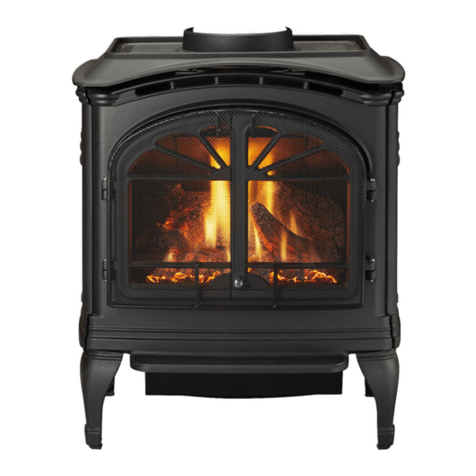
Thomas&Betts Reznor LDAP 1200 Installation & operation
Thomas&Betts

Thomas&Betts Reznor LDAP 1200 Installation & operation

Heat & Glo TIARA I-B owner's manual

Heat & Glo

Heat & Glo TIARA I-B owner's manual
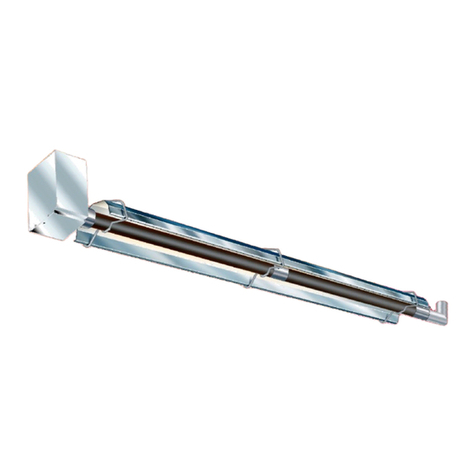
Ambirad Vision Series Installation operation & maintenance

Ambirad

Ambirad Vision Series Installation operation & maintenance

prime3 SFH61 owner's manual

prime3

prime3 SFH61 owner's manual

MrHeater MH12 Assembly and operating instructions
MrHeater

MrHeater MH12 Assembly and operating instructions

Watts WFC-03 HCM RF 230 installation manual

Watts

Watts WFC-03 HCM RF 230 installation manual

manuals.online logo
manuals.online logoBrands
  • About & Mission
  • Contact us
  • Privacy Policy
  • Terms and Conditions

Copyright 2025 Manuals.Online. All Rights Reserved.