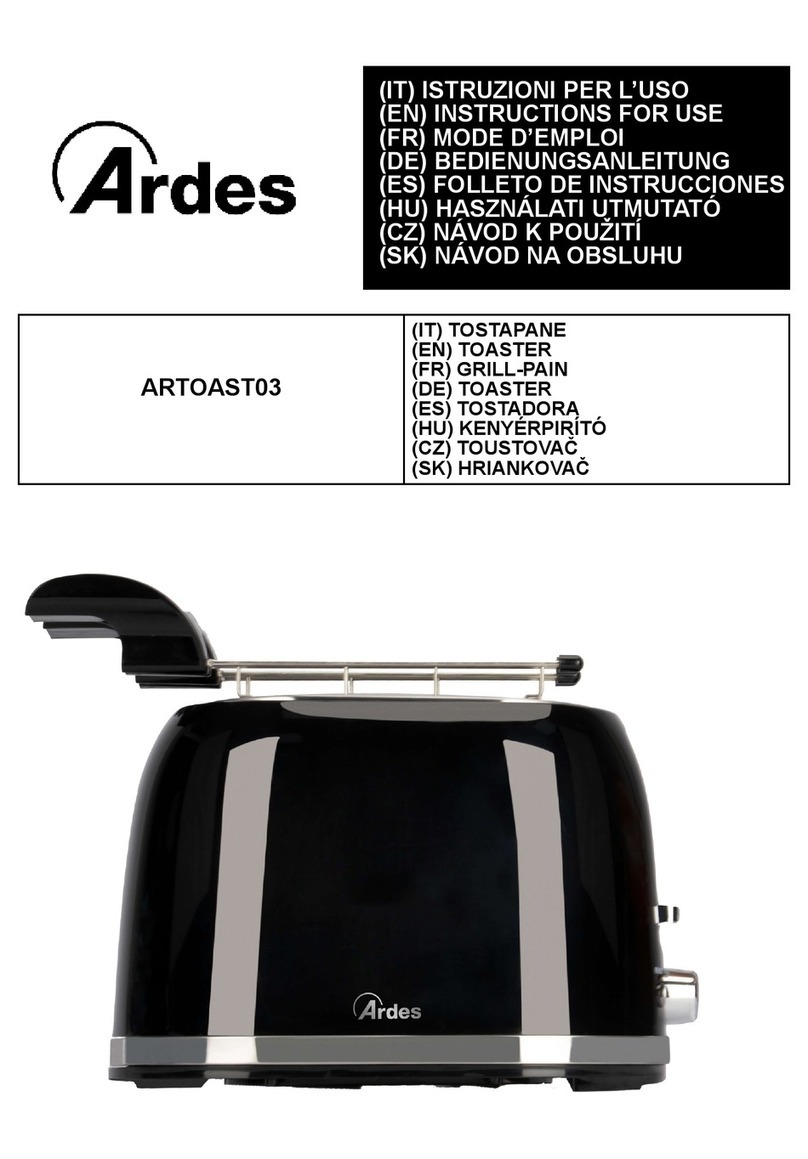
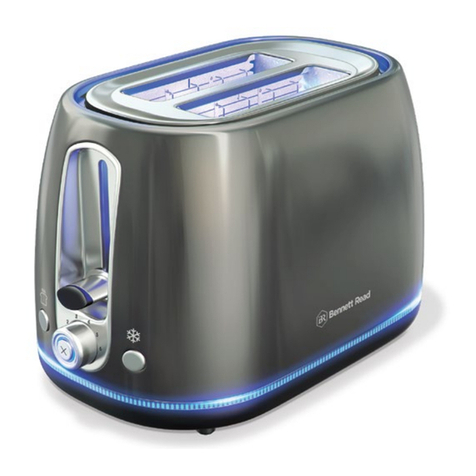
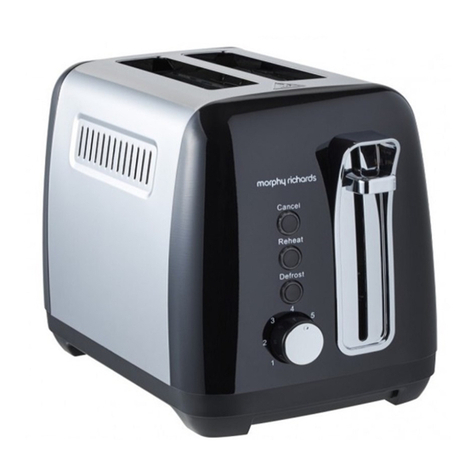
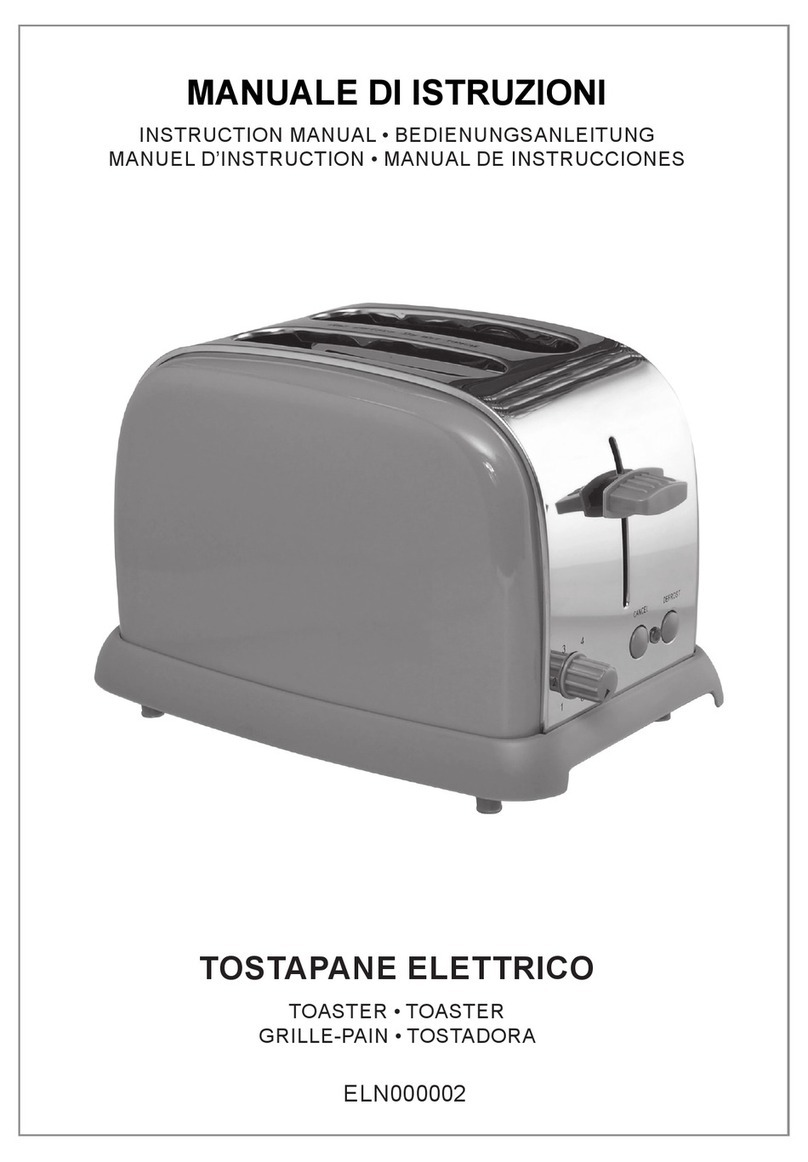
SensioHome 2 Slice Toaster User manual

2 Slice Toaster
User Instructions


CONTENTS
Introduction ............................................................................................................... 2
Product Safety ....................................................................................................... 3-4
Electrical Safety .................................................................................................... 5-6
Before First Use.......................................................................................................... 7
Features ....................................................................................................................... 8
Controls ....................................................................................................................... 9
Using your Toaster...................................................................................................10
A Guide to Toasting .................................................................................................11
Troubleshooting.......................................................................................................11
Care and Cleaning....................................................................................................12
Storage .......................................................................................................................12
Servicing ....................................................................................................................12
Guarantee .................................................................................................................13
Due to our policy of continuous improvement, the actual product may dier
slightly from the one illustrated in this booklet.
1

2
INTRODUCTION
Thank you for purchasing this product
You may already be familiar with using a similar product, but do please take time to
read these instructions – they have been written to ensure that you get the very best
from your purchase.
Safety is important
To ensure your safety and safety of others, please ensure you read the Product Safety
and Electrical Safety information before you operate this product.
Please pay particular attention to any warnings and cautions contained
in these instructions.
Keep these instructions in a safe place for future reference.

3
PRODUCT SAFETY
Please read these instructions before operating this appliance.
WARNING!
Hot toast can burn. Do not place or operate your Toaster near or below curtains,
or any other combustible material. Do not leave your Toaster unattended when
it is being used.
• Always ensure the appliance is only used by a responsible adult.
• Always use this appliance on a stable, level surface, close to a power socket
and out of reach of young children.
• Always ensure that hands are dry before handling the plug or switching
on the appliance.
• Always carry out regular checks on the appliance and power cord. Should there
be any signs of damage, do not attempt to use or repair. This appliance has no
user serviceable parts.
• Always ensure that your toaster is not used under a cupboard or close to a wall
as this may cause scorching.
• Always ensure that the bread ts easily into the slots, torn or extra thick slices
can cause your toaster to jam.
• Always exercise caution when removing any bread lodged in the slots,
so as not to damage the internal mechanism or heating elements.
• Always lift your toaster from underneath, do not place your ngers inside
or near the bread slots.
• Always unplug this unit when not in use and before cleaning.
• Always allow the appliance to fully cool down before cleaning or storing.
• Never immerse the appliance, cord or plug into water or any other liquid.
This is to protect against electrical shock.
• Never use this appliance for other than intended use. This appliance is for
household use only. Do not use outdoors.
• This appliance can be used by children aged from 8 years and above and persons
with reduced physical, sensory or mental capabilities or lack of experience and
knowledge if they have been given supervision or instruction regarding the use
of the appliance in a safe way and understands the hazards involved. Children
shall not play with the appliance.

PRODUCT SAFETY
• Never let the power cord hang over the edge of a worktop, touch hot surfaces
or become knotted, trapped or pinched.
• Never place on or near heat sources.
• Never leave this appliance unattended during use.
• Never touch the exposed metal parts of the toaster during use as they will
become very hot during use.
• Never operate this toaster near or below combustible materials, such as curtains,
as this may be a re risk.
• Never attempt to remove bread that has lodged in the slots without rst
unplugging your toaster from the mains supply. Cool completely before
attempting to remove toast that has jammed.
• Never use a metal object e.g. knife to remove/release bread that is lodged
in the toaster.
• Never operate this toaster by means of an external timer or separate
remote control system.
4

ELECTRICAL SAFETY
IMPORTANT
Read these instructions thoroughly before using this appliance or connecting it to the
mains supply. A 13 amp BS1362 ASTA approved fuse must be tted.
This appliance must be earthed. There are no user-serviceable parts inside this appli-
ance.
Always refer servicing to qualied service personnel.
The mains lead of this product is not replaceable by the user. If the mains lead
is damaged, the entire appliance should be taken to an approved Service Centre.
Do not allow this product to be exposed to rain or moisture during use or storage.
Before switching on, make sure that the voltage of your electricity supply is the same
as that indicated on the rating plate. Connecting it to any other power source may
cause damage.
This product may be tted with a non-rewireable plug. If it is necessary to change
the fuse in the plug, the fuse cover must be retted. If the fuse cover becomes lost
or damaged, the plug must not be used until a suitable replacement is obtained.
If the plug has to be changed because it is not suitable for your socket, or due to
damage, it should be cut o and a replacement tted, following the wiring instructions
shown. The old plug must be disposed of safely because inserting it into a 13 amp
socket could cause an electrical hazard.
5

ELECTRICAL SAFETY
The wires in the power cable of this product are coloured in accordance with
the following code:
Blue = Neutral Brown = Live Green/Yellow = Earth
If the markings on the terminals of your plug do not correspond to the colours of the
wires in the power cable, proceed as follows:
• The wire which is coloured Blue must be connected to the terminal which is
marked Nor coloured Black.
• The wire which is coloured Brown must be connected to the terminal which is
marked Lor coloured Red.
• The wire which is coloured Green/Yellow must be connected to the terminal
which is marked with the earth symbol ( ) or coloured Green, or Green/Yellow.
6

BEFORE FIRST USE
CAUTION:
Do not immerse the toaster, main body, power cord or the plug in water
or any other liquids.
Remove any packaging material from inside the toasting slots
and any promotional labels. You may wish to keep the packaging for future use.
Wipe the body of the toaster to remove any manufacturing dust with a soft
damp cloth prior to use.
Before using your toaster for the rst time operate once on a medium setting
without any bread. There may be a slight burning smell or a light smoking
this is normal and not a cause for concern.
7

8
FEATURES
Power: 230V~, 50/60Hz
750W
Extra Lift
Feature
Cancel
Feature
Cool-Touch
Housing
Hinged
Crumb Tray
Browning
Control Dial

9
CONTROLS
Variable Browning Control
The Browning Control Dial regulates the colour of the toast. Lower settings produce
lighter toast and higher settings produce darker toast.
When setting the browning control, remember that dryer or thinner slices of bread
will toast quicker, and will require a lower setting. Very fresh bread and thick slices
will require a higher setting.
Cancel Function
The toasting process can be stopped at any time by turning the Browning Control Dial
to the cancel function ().
High Lift Feature
The high lift feature uses the loading handle to help you to remove the toast. When
toasting has nished, simply lift the loading handle upwards from its rest position
to raise the toast. This is ideal for smaller items such as crumpets.
NOTE: In the unlikely event that the bread becomes jammed switch o the toaster
at the power outlet before carefully easing out the bread, taking care not to damage
the heating element. DO NOT use a knife or other metal utensil to remove bread
from the toasting slot.

10
USING YOUR TOASTER
Selecting Toast Colour
1. The Browning Control Dial is located at one end of your Toaster. Simply turn the
Dial to the desired toast colour, (1) for light toasting, (6) for dark toasting.
2. For your rst toasting, it is best to position the Browning Control Dial in the
middle (3-5), and then adjust each subsequent toasting to your preference.
Toasting
1. Place your Toaster on a at, level surface. Insert one slice of bread into each slot.
2. Press the Toasting Lever located on one end of your Toaster downward until it
locks into place. This will lower the bread into position and automatically begin
toasting. The toast will pop up when it has reached the selected colour. (For best
results, allow toaster to cool for one or two minutes between toasting cycles).
3. The Toaster will be ready to toast again when the toasting lever locks into place
when pushed downward.
4. Should you desire to stop the toasting before reaching the selected colour, turn
the Browning Control Dial to the Cancel function, ( )and the toast will pop up.
5. When you press the Toasting Lever down at the start of the toasting cycle, or
when you use the Cancel Function to raise the toast, you may notice a small
ash of light in the toast slot at the end opposite the toasting control. This ash
of light, caused when the power switch opens and closes, is normal with any
high-wattage appliance.
Extra Lift Feature
To remove smaller breads and bagels, or items such as crumpets or English muns,
lift the carriage control lever approximately 20mm above the resting position.
WARNING
Do not place pastry items with runny-type frosting or open lling in toaster.
To protect against risk of re, do not put rice cakes in this Toaster.

11
A GUIDE TO TOASTING
• Toasting is a combination of cooking and drying the bread. The heating element
causes the moisture to evaporate from the bread and then dries the bread
and toast is the result.
• Moisture levels dier between one type of bread and another, which in turn
will vary the toasting times.
• When toasting raisin or other fruit breads; remove any loose raisins or fruit
from the surface of the bread before putting it into your toaster. This will
prevent fruit pieces from falling into your toaster or sticking to the guard
wires in the toasting slot.
TROUBLESHOOTING
Issue Possible Cause Solution
The loading handle of
toaster does not lock
into place
The toaster has not been
switched on at the power
outlet
Switch on at the power
outlet
There is a slight burning
smell or smoke coming
from the toaster when
rst used
This is normal and not cause
for concern, it is simply
dust being burnt-o from
the elements
Before rst use, operate
the toaster on a medium
setting without any bread
Toast is burning Staler or thinner slices of
bread will toast more rapidly
than fresher breads
Toasting only a single slice
of bread
Set a lower setting
to prevent burning
Toast is not toasted
enough
Fresh bread, whole-wheat,
thicker slices of bread or
crumpets will take longer to
toast as it has more moisture
within the bread
Breads with a very uneven
surface
Set a higher setting for
a longer toasting time
Toast is trapped in the
toaster
Smaller items of toast have
been toasted
DO NOT insert anything into
the bread slots to remove
toast
Use the high-lift feature
to remove smaller items
of toast

12
CLEANING
Cleaning
Before cleaning your Toaster, unplug it from the mains supply and allow it to cool down
completely. Clean the outer surface with a soft damp cloth only.
WARNING!
Never immerse any part of your Toaster, its cord or plug in water or any other liquid.
Crumb Removal
Crumbs can catch and burn if allowed to build-up. The frequency of cleaning will
depend on how often the toaster is used.
Crumbs can easily be removed by holding the toaster over a dustbin and opening the
hinged ap underneath the toaster. Ensure that you re-lock the ap after emptying
the crumbs out.
STORAGE
Ensure that the toaster has completely cooled down and is clean before storing away.
Store your appliance in its packing box or in a clean dry place.
SERVICING
If you drop or damage your toaster it should not be used until it has been examined
by an authorised service centre or appliance technician. Always refer servicing
to qualied service personnel.

1313
GUARANTEE
This product is guaranteed for twelve months from the date of original purchase.
Any defect that arises due to faulty materials or workmanship will either be replaced
or refunded where possible during this period by the dealer from whom you
purchased the unit.
The following conditions apply:
• The guarantee does not cover accidental damage, misuse, cabinet parts, knobs
or consumable items.
• The product must be correctly installed and operated in accordance with the
instructions contained in this manual.
• It must be used only for domestic purposes.
• The guarantee will be rendered invalid if the product is re-sold or has been
damaged by inexpert repair.
• Specications are subject to change without notice.
• The manufacturer disclaims any liability for the incidental
or consequential damages.
• The guarantee is in addition to, and does not diminish your statutory
or legal rights.
• Valid in the UK only.
Customer Helpline: 0345 467 6743
DISPOSAL INFORMATION
Waste electrical products should not be disposed of with
household waste.
Please recycle where facilities exist. Check with your local
authority for recycling advice.
For technical queries, please contact:
MPL Home Ltd, IMEX, 575-599 Maxted Road,
Hemel Hempstead, Herts, HP2 7DX

MPL Home Ltd, IMEX, 575-599 Maxted Road,
Hemel Hempstead, Herts, HP2 7DX
312810
Table of contents
