910020 de-en-fr-nl ma 2012 8/18
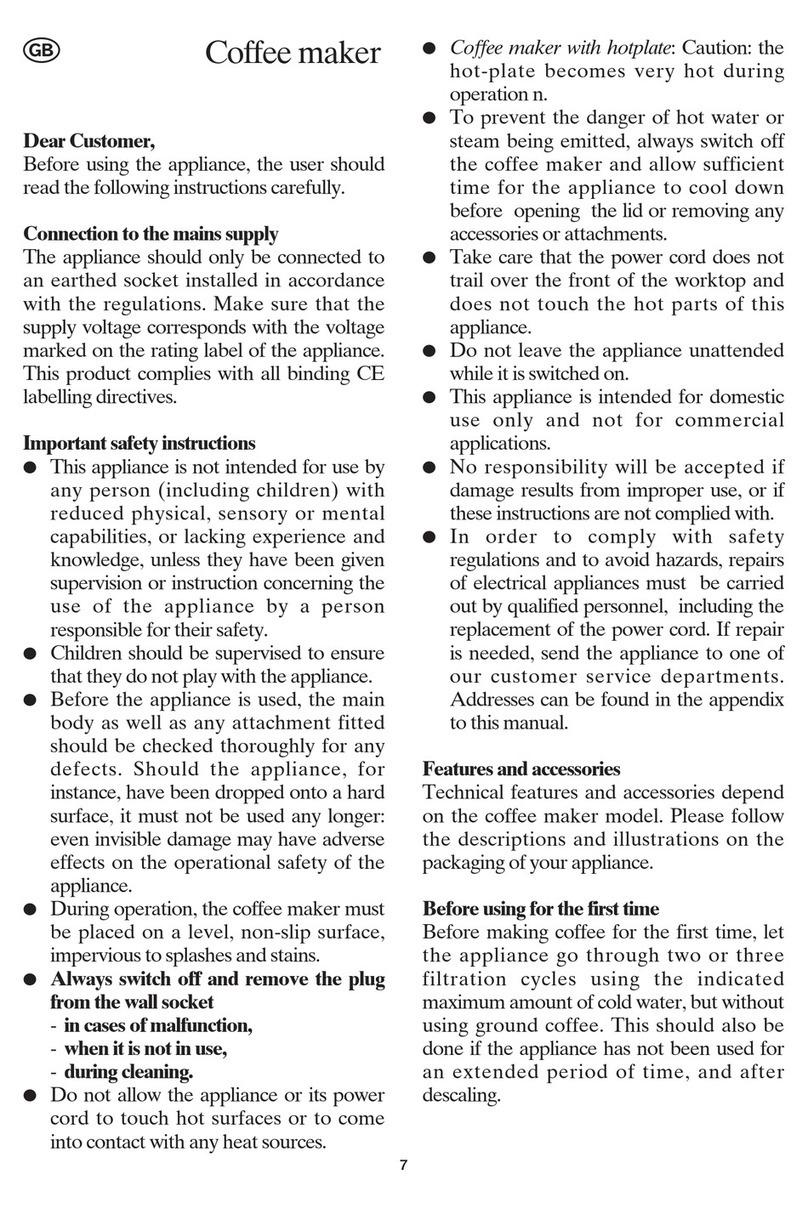
these instructions are not complied with.
Inorder to comply with safety regulationsz
and to avoid hazards, repairs of electrical
appliances must be carried out by qualied
personnel, including the replacement
of the power cord. Ifrepairs are needed,
please send the appliance to one of our
customer service departments. e
addresses can be found in the appendix to
this manual.
Before using for the rst time
Before making coee for the rst time, let the
appliance gothroughtwo or three ltration
cycles using the indicated maximum amount
of cold water, but without using ground coee.
is should also be done if the appliance has
not been used for an extended period of time,
and aer descaling.
General information
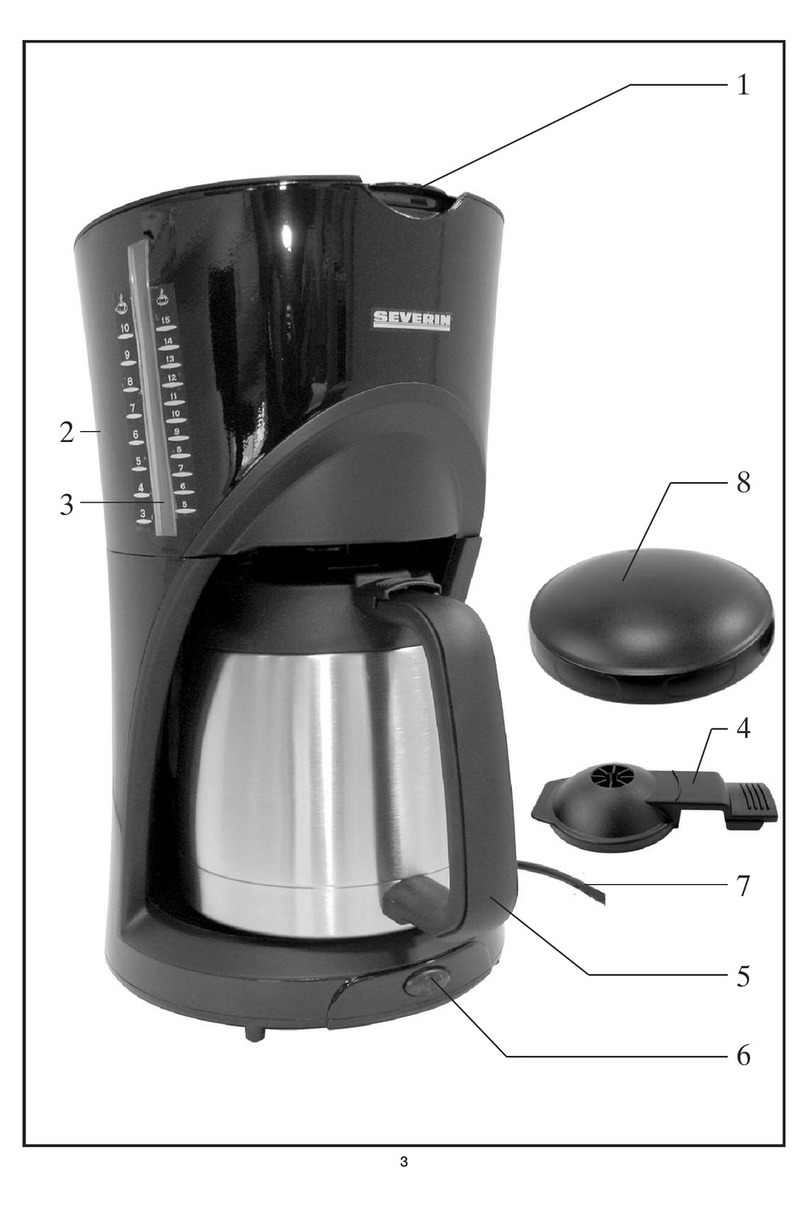
A measuring scale on the water container–
facilitates lling the container with the
correct amount of clean water. With a
dual-scale, the lescale is used for regular-
sized cups of approx.125ml, while the right
scale is used for smaller cups. Make sure
that the indicated maximum amount of
water is not exceeded.
Ifseveral consecutivebrewing cycles arez
required, let the appliance cool down for
approx. 5 minutes aer each cycle.
Important note:zWhen lling the
appliance with fresh water shortly a
er
abrewing cycle is completed, there is
adanger of scalding from hot water or
steam escaping throughthe water outlet.
Making coee
Filling with water:–
Open the lid and ll the container with the
desired quantity of water.
Inserting the paper lter:–
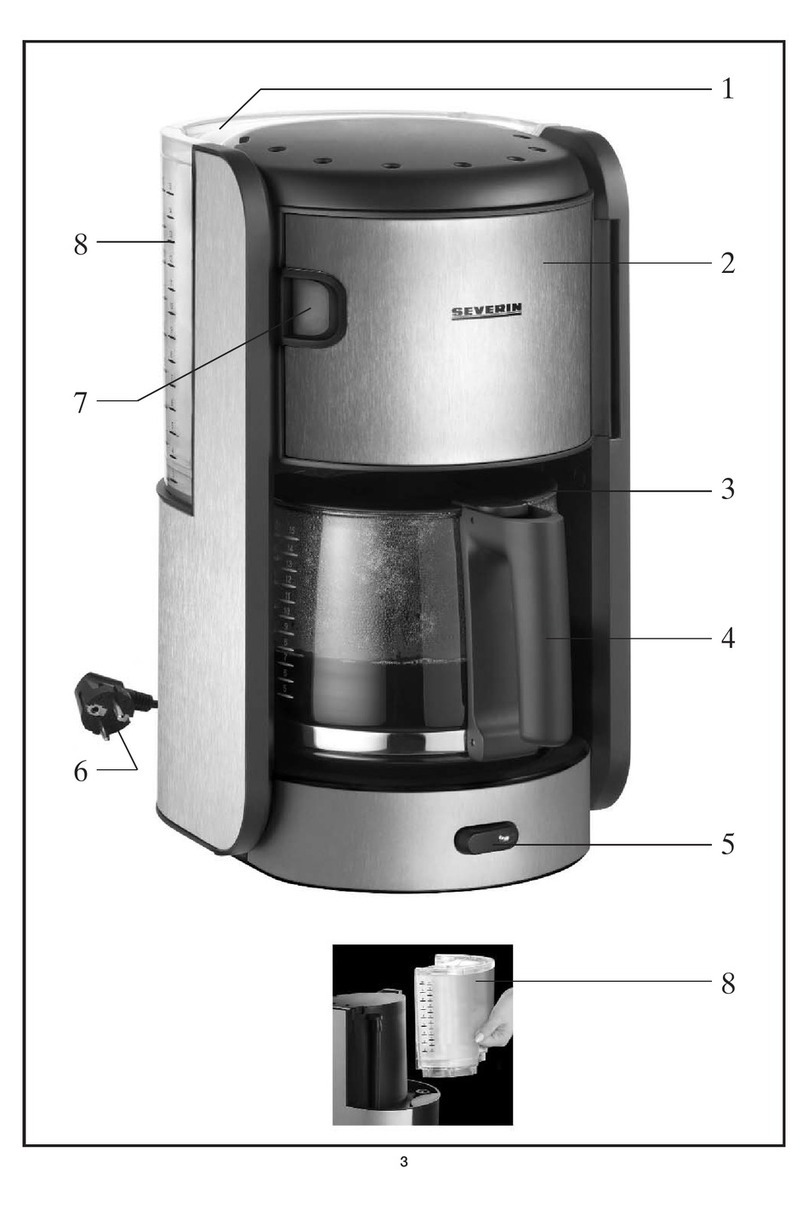
Open the swing-out lter and insert asize-4
paper lter into the lter holder, rst folding
down the perforated sides of the lter.
Filling with ground coee:–
For each regular-sized cup (125ml), ameasure
of about 6 g (= 1½ - 2 teaspoons) of medium
or nely ground coee will be required. Close
the swing-out lter aerwards, ensuring that
it locks into place.
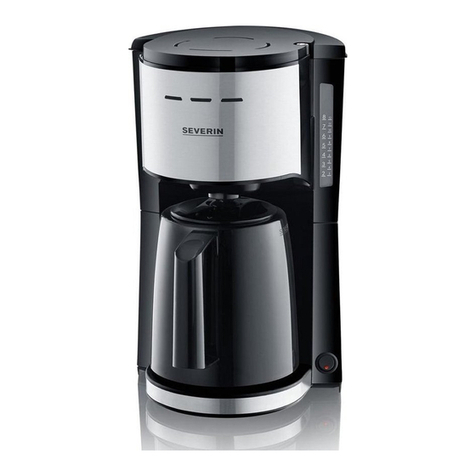
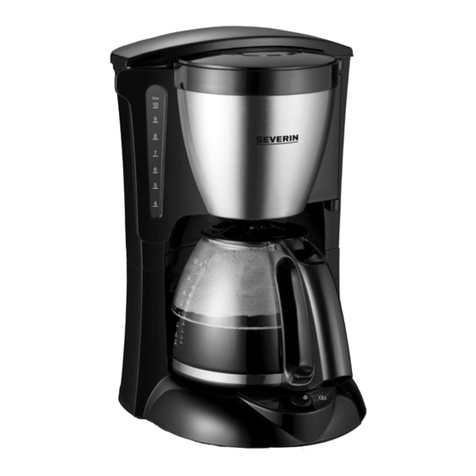
Preparing the glass carafe:–
Place the drip-throughlid onto the carafe and
close it. Ensure that the two arrow marks on lid
and carafe are properly aligned before placing
the carafe into the appliance. Ifcorrectly
inserted, the lid will disable the drip-stop
mechanism in the lter holder during the
brewing cycle.
Starting the brewing cycle:–
Insert the plug into asuitable wall outlet
and use the Start button to switch the coee
maker on. eltration cycle starts and the
water passes throughthe lter. eLED
indicator lamplights up.
Removing the glass carafe:–
Wait until all the water has passed through
the lter before the carafe is removed from the
appliance. Once the brewing cycle is complete,
the appliance switches oautomatically and
the LED indicator lampgoes out. Tointerrupt
the brewing cycle, disconnect the appliance
from the mains.
Switching o the coee maker:–
Removethe plug from the wall outlet aer
use.
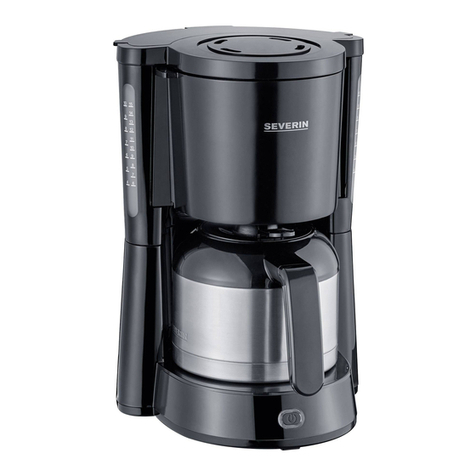
Heat-retaining carafe
For technical reasons the screw-in lid does–
not close hermetically. erefore always
hold the carafe in an upright position when
lled with coee.
Keeping the coee hot–:Aheat-conserving
carafe accumulates heat energy. erefore
the carafe should preferably be lled to
its maximum capacity. If it is only partly
lled, the temperature will not be held as
eciently. Ifyou rinse out the carafe with
hot water before use, the coee will be kept
warm for alonger time.
During brewing, and also while pouring–
the coee from the heat-retaining carafe,
the drip-throughlid does not need to
be removed and should remain in place.
Topour the coee, turn the lid counter-
