104 x 142 mm
9
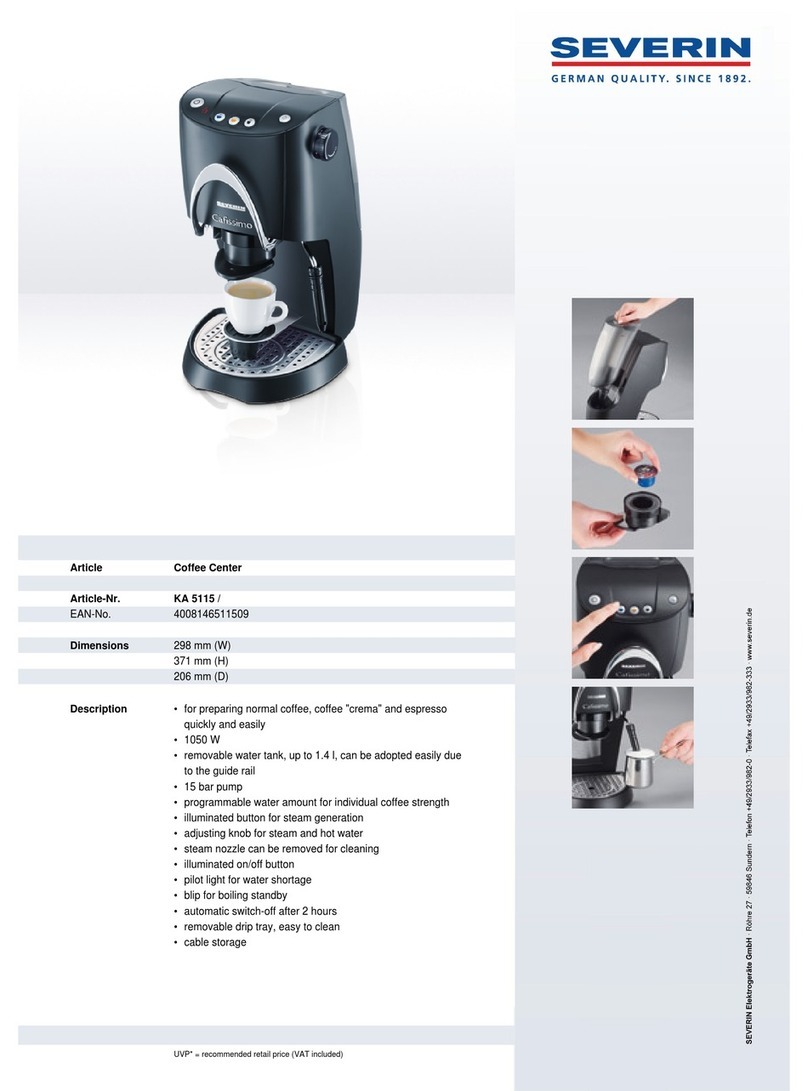
Cappuccino-Zubereitung
Die für die Cappuccino-Zubereitung
benötigte Milch können Sie während der
Espressozubereitung mit der Dampfdüse
aufschäumen.
∙Füllen Sie ein hitzebeständiges
Kännchen mit ca. 100 ml frischer kalter
Milch (Kühlschranktemperatur).
∙Das Kännchen sollte nur ca. zur Hälfte
mit Milch gefüllt sein, damit diese nicht
überschäumen kann.
∙Stecken Sie die Aufschäumhilfe auf die
Dampfdüse.
∙Bereiten Sie nun die gewünschte
Menge Espresso zu. Optimal ist die
Verwendung von 4 Tassen Espresso.
∙Der Dampf kann entnommen werden,
sobald sich die Glaskanne bis zur Hälfte
mit fertigem Espresso gefüllt hat. Bei
einer geringen Zubereitungsmenge
kann der Dampf kurz vor Beendigung
des Espressodurchlaufes entnommen
werden.
∙Stellen Sie den Kombischalter in
die Position und halten Sie das
Kännchen mit Milch so unter die
Aufschäumhilfe, dass diese sich immer
knapp unter der Oberäche der Milch
bendet.
∙Drehen Sie den Kombischalter auf die
Position . Die Dampfdüse ist geöffnet.
∙Mit dem Kännchen für 40-45 Sekunden
kreisende Bewegungen durchführen.
∙Schalten Sie nach dem Aufschäumen
den Kombischalter wieder zurück auf
das Espressosymbol ( ), um die
Espresso-Zubereitung fortzusetzen.
∙Nach Beendigung der Zubereitung ein
geeignetes Gefäß unter die Dampfdüse
halten und den Kombischalter in die
Position stellen. Warten, bis kein
Dampf mehr austritt.
∙Die aufgeschäumte Milch mit einem
Löffel auf den fertigen Espresso
geben. Das Mengenverhältnis sollte
1/3 Espresso, 1/3 warme Milch und 1/3
Milchschaum sein.
Heißdampf separat zubereiten
∙Füllen Sie die Glaskanne bis zum
unteren Teilstrich mit Wasser und
gießen Sie es in den Wasserbehälter.
∙Füllen Sie die aufzuschäumende Milch
oder das zu erhitzende Getränk in ein
hitzebeständiges Gefäß (max. zur Hälfte
füllen).
∙Wenn Sie Milch aufschäumen wollen,
setzen Sie die Aufschäumhilfe auf die
Dampfdüse.
∙Halten Sie das gefüllte Gefäß so unter
die Dampfdüse/Aufschäumhilfe, dass
diese sich immer knapp unter der
Getränkeoberäche bendet.
∙Stellen Sie den Kombischalter auf das
Dampfsymbol ( ). Die Dampfdüse ist
geöffnet.
∙Nach kurzer Aufheizzeit tritt der heiße
Dampf aus.
∙Mit dem Kännchen für 40-45 Sekunden
kreisende Bewegungen durchführen.
∙Nach der Zubereitung ein geeignetes
Gefäß unter die Dampfdüse halten und
den Kombischalter in die Position
stellen. Warten, bis kein Dampf mehr
austritt.
