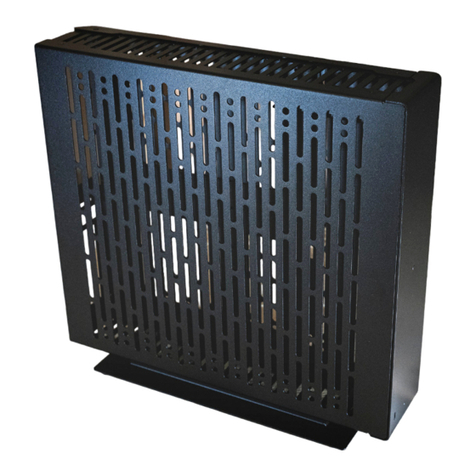
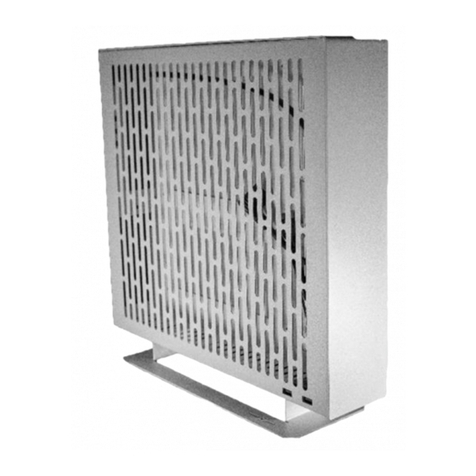
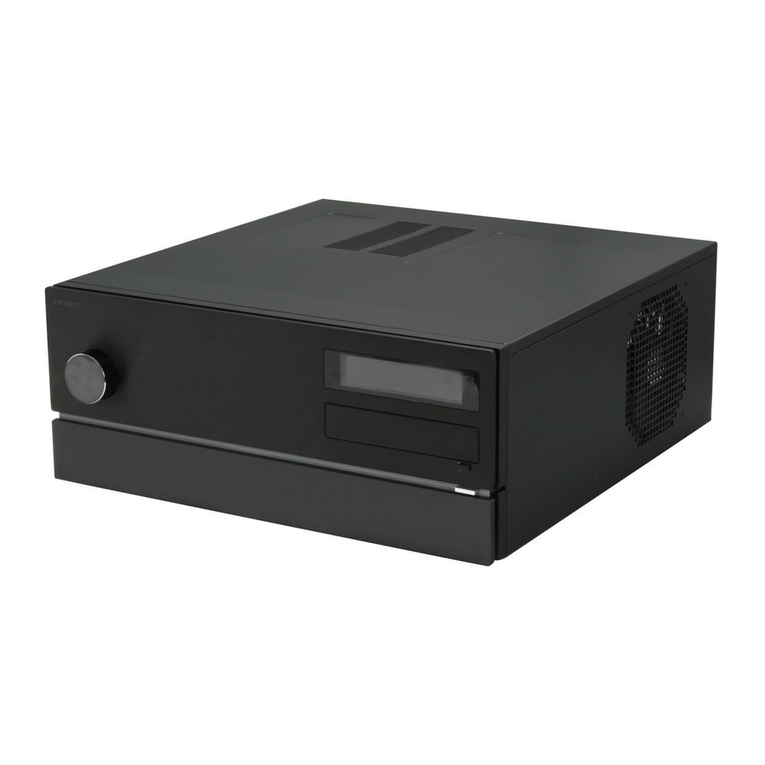
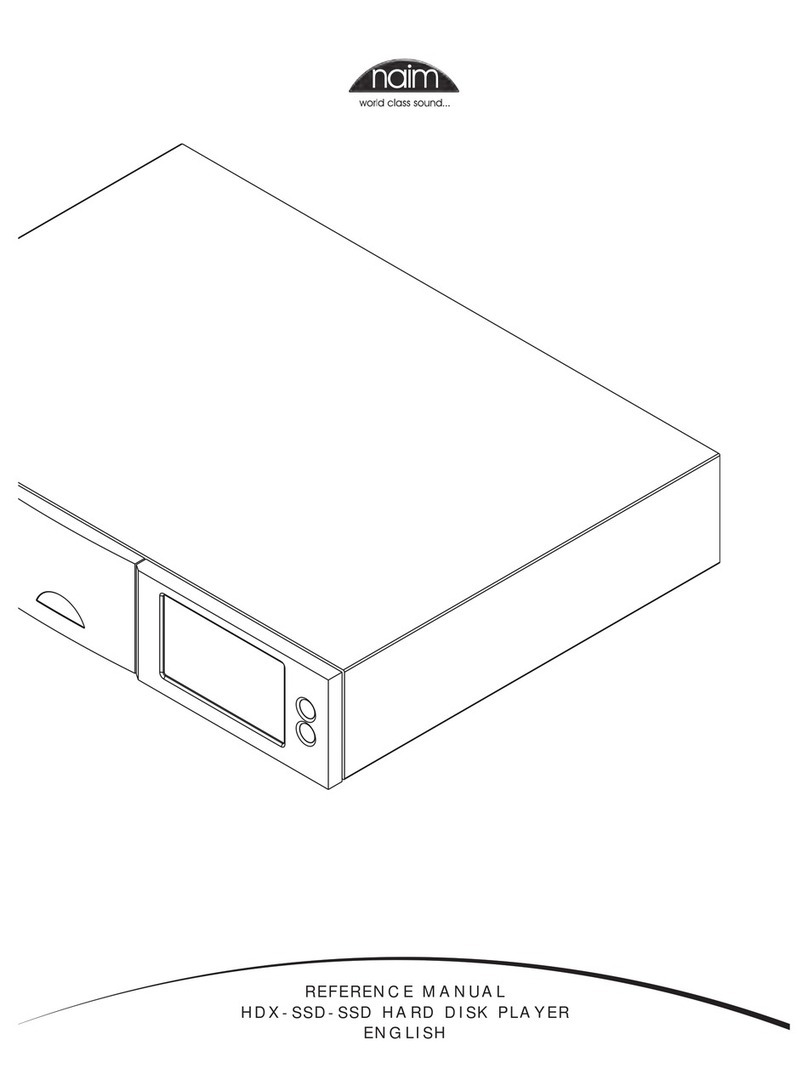
SFF time N-ATX User manual

SFF time N-ATX manual
1
Dear customer,
Thank you for purchasing the SFF time N-ATX case. Please read the full compatibility list before assembling your PC and make sure that your
components fit. You can find it on sfftime.com.
If you have any doubts about choosing your components, or steps in this manual, please contact us via email on [email protected], and we will
be glad to assist you.
Important notes:
- always use correct screwdriver tip for corresponding bolts (PH1 or PH2)
- always use correct bolt type
- do not overtighten the bolts
- do not force any components in, each component should be installed without using excessive force

SFF time N-ATX manual
2
Included with case:
PSU bracket
GPU bracket
HDD side bracket
PCI cover
Hex tool
Mounting hardware

SFF time N-ATX manual
3
1. Preparing the case – removing side panels (part 1)
- your case will come with side panels and HDD bracket attached
- you need to remove them before putting other components into the case
- unscrew six bolts that hold side panels, marked in the picture

SFF time N-ATX manual
4
2. Preparing the case – removing side panels (part 2)
- pull side panels towards the back side of the case approximately 1 cm
- lift side panels upwards, away from the case

SFF time N-ATX manual
5
3. Preparing the case – removing HDD bracket (part 1)
- unscrew nut that holds HDD bracket using provided tool or with 5.5 mm socket or wrench and save it for later use

SFF time N-ATX manual
6
4. Preparing the case – removing HDD bracket (part 2)
- slide HDD bracket towards the top of the
case, and lift it up
- remove the washer that sits under the
bracket and save it for later use

SFF time N-ATX manual
7
5. Installing the motherboard – preparing standoffs (part 1)
- case comes with standoffs installed for ITX
or DTX motherboard. If you are going to
install larger motherboard, please install
additional standoffs (see next page)
- to install standoffs, you need a standoff and
bolt that holds it
- screw the standoff to the bolt with your
hands
- to tighten the standoff, use a screwdriver
and provided tool like shown in the picture

SFF time N-ATX manual
8
6. Installing the motherboard – preparing standoffs (part 2)
- following pictures show standoff configurations for different
motherboard sizes
- always install correct standoffs, otherwise you could damage the
motherboard

SFF time N-ATX manual
9
7. Installing ITX motherboard in alternative position - OPTIONAL
- installing ITX motherboard in alternative position (5 mm higher than
the standard) is only necessary when installing 4 slot GPU taller
than 135 mm
- you need to remove the tab at the top of the motherboard IO cutout,
and install four motherboard standoffs in alternative position
- to remove the tab, rotate it back and forth until it falls off, and sand
down any remaining material with a narrow file
-do not do this unless you use a tall 4 slot gpu

SFF time N-ATX manual
10
8. Installing the motherboard – bolts and cables
- prepare the motherboard by installing CPU,
RAM, M.2 drives, and CPU air cooler if using
one
-install the IO shield
- align the motherboard on standoffs
- screw the motherboard down using provided
bolts
- after installing the motherboard, connect
internal USB 3.0 cable and power switch
connector
- if you are not sure about motherboard
connector positions, please consult its manual

SFF time N-ATX manual
11
9. Installing GPU riser cable – preparing standoffs (up to 3 slot GPU)
- install standoffs the same way as motherboard
standoffs, using screwdriver and provided tool
- position standoffs according to your GPU thickness
- this picture shows standoffs installed for 2.3 - 3 slot
GPU, positions on the left are for 1 and 2 slot
GPUs, while position on the right is for 4 slot GPU

SFF time N-ATX manual
12
10. Installing GPU riser cable – preparing standoffs (4 slot GPU)
- if using 4 slot GPU install riser standoffs in the
rightmost position like shown in the picture
- remove the PCI cover by unscrewing two
bolts on the back of the case
- be sure to have ITX motherboard installed in
the alternative position if using tall 4 slot GPU

SFF time N-ATX manual
13
11. Installing GPU riser cable – riser and bolts
- screw down the female end of the riser onto
previously installed standoffs
- install the male end of the riser into the
motherboard
- depending on your configuration, you may
need to bend the riser like shown in the
picture

SFF time N-ATX manual
14
12. Installing the GPU – GPU bracket
- before installing the GPU, you need to attach the
GPU bracket to the GPU like shown in the picture
-put a washer under the bolt that holds the GPU
bracket
- screw down the GPU to the GPU bracket
- make sure that the back of the GPU bracket is
aligned to the GPU’s PCI bracket

SFF time N-ATX manual
15
13. Installing the GPU – GPU
- install the GPU into the riser
- be sure that it is fully seated

SFF time N-ATX manual
16
14. Installing the GPU – bolts
-put a washer under the bolt that holds
the GPU bracket
- screw down the GPU bracket to the case
with two bolts

SFF time N-ATX manual
17
15. Installing the power supply – PSU bracket
- select the power supply orientation:
- for ATX power supplies, rotate both the power supply and the
bracket
- for SFX power supplies rotate only the power supply, and orient
PSU bracket like shown on the second picture
- put the power supply on a flat surface
- take the power supply mounting bracket and put in next to the
power supply like shown in the picture
- bottom of the power supply bracket and the power supply should
be on the same level
- screw down the power supply to the bracket using four bolts
-please use the bolts supplied with your PSU, as they vary in
length

SFF time N-ATX manual
18
16. Installing the power supply – cable
- before installing the power supply into
the case, insert male end of the AC
cable into the connector on the power
supply like shown in the picture
- if using ATX power supply, make
sure that the rear side of the power
supply is flush with the
motherboard tray after inserting it
into the case, otherwise you won’t be
able to properly fit the HDD bracket

SFF time N-ATX manual
19
17. Installing the power supply – bolts
- screw the power supply bracket to the case from the
front and the back side of the case using four provided
countersunk screws
- please note that these screws are different than ones
used for mounting the motherboard and the GPU

SFF time N-ATX manual
20
18. Installing hard drives – rear 3.5” HDD
- if you are using a long 3 slot GPU, you can install one
3.5” hard drive directly on the motherboard tray
- align the drive and screw it to the case using three
provided silver-colored bolts
Other SFF time Enclosure manuals
Popular Enclosure manuals by other brands
Altronix
Altronix Trove2M2 Installation guides
LaCie
LaCie THUNDERBOLT SERIES user manual
Rockford Fosgate
Rockford Fosgate PUNCH RFT4061 Installation & operation
Martin Audio
Martin Audio Touring and Theatre WTUB Specifications
HP
HP TeemTalk Terminal Emulator 7.0 Replacement instructions

QNAP
QNAP TR-004 Quick installation guide
