SGS SAT610 User manual

FOR YOUR SAFETY
PLEASE READ THESE INSTRUCTIONS CAREFULLY
AND RETAIN THEM FOR FUTURE USE.
OWNER’S MANUAL
SAT610
AIR POLISHER

PAGE 3
PAGE 2
WARNING
Read and understand instructions before use.
Always wear eye/face and hand protection.
IMPROPER OPERATION OR MAINTENANCE OF THIS
PRODUCT COULD RESULT IN SERIOUS INJURY AND
PROPERTY DAMAGE. RISK OF EYE OR HEAD INJURY
WHAT COULD HAPPEN HOW TO PREVENT IT
Air powered equipment and power tools
are capable of propelling materials such as
fasteners, metal chips, sawdust and other
debris at high speed which could result in
serious eye injury.
Always wear approved safety glasses with
side shields.
Disconnect air hose when tool is not in
use.
Compressed air can be hazardous.
The air system can cause injury to soft
tissue areas such as eyes and ear. Particles
or objects propelled by the air stream can
cause injury.
For additional protection use an approved
face shield in addition to safety glasses.
Tool attachments can become loose or
break and fly apart, propelling articles at
the operator and others in the work area.
Make sure that any attachments are se-
curely assembled.
RISK OF FIRE OR EXPLOSION
WHAT COULD HAPPEN HOW TO PREVENT IT
Abrasive tools such as sanders and grind-
ers, rotating tools such as drills and impact
tools such as nailers, staplers, wrenches,
hammers and reciprocating saws are
capable of generating sparks which could
result in ignition of flammable materials.
Never operate tools near flammable sub-
stances such as petrol, naphtha, cleaning
solvents etc.
Work in a clean, well-ventilated area free
of combustible materials.
Never use oxygen, carbon dioxide or
other bottled gases as a power source for
air tools.
Exceeding the maximum pressure rating
of tools or accessories could cause an
explosion resulting in serious injury.
Use compressed air regulated to a maxi-
mum pressure at or below the rated pres-
sure of any attachments.
Never connect to an air source that is
capable of exceeding 200 psi.
Always verify prior to using the tools that
the air source has been adjusted to the
rated air pressure range.
SAFETY INSTRUCTIONS
WWW.SGS-ENGINEERING.COM

PAGE 5
PAGE 4
RISK OF LOSS OF HEARING
WHAT COULD HAPPEN HOW TO PREVENT IT
Long term exposure to noise produced
from the operation of air tools can lead to
permanent hearing loss.
Always wear hearing protection.
INHALATION HAZARD
WHAT COULD HAPPEN HOW TO PREVENT IT
Abrasive tools such as grinders, sanders
and cut-off tools generate dust and abra-
sive materials which can be harmful to the
lungs and respiratory system.
Always wear a properly fitting facemask or
respirator when using such tools.
Some materials such as adhesives and tar
contain chemicals whose vapours could
cause serious injury with exposure.
Always work in a clean, dry, well-ventilated
area.
RISK OF ELECTRIC SHOCK
WHAT COULD HAPPEN HOW TO PREVENT IT
Using air tools to attach electrical wiring
can result in electrocution or death.
Never use nail/staplers to attach electrical
wiring while energized
This tool is not provided with an insulated
gripping surface. Contact with a “live”
wire will also make exposed metal parts of
the tool “live” and can result in electrocu-
tion.
Avoid body contact with grounded sur-
faces such as pipes, radiators and refriger-
ators. There is an increased risk of electric
shock if your body is grounded.
Fasteners coming in contact with hidden
electrical wiring could cause electrocution
or death.
Thoroughly investigate the work piece for
possible hidden wiring before performing
work.
RISK OF CUT OR BURNS
WHAT COULD HAPPEN HOW TO PREVENT IT
Tools that cut, shear, drill, staple, punch &
chisel are capable of causing serious injury.
Keep the working part of the tool away
from hands and body.
SAFETY INSTRUCTIONS
RISK OF INJURY
WHAT COULD HAPPEN HOW TO PREVENT IT
A tool left unattended or with the air hose
attached can be activated by unauthorized
persons leading to injury.
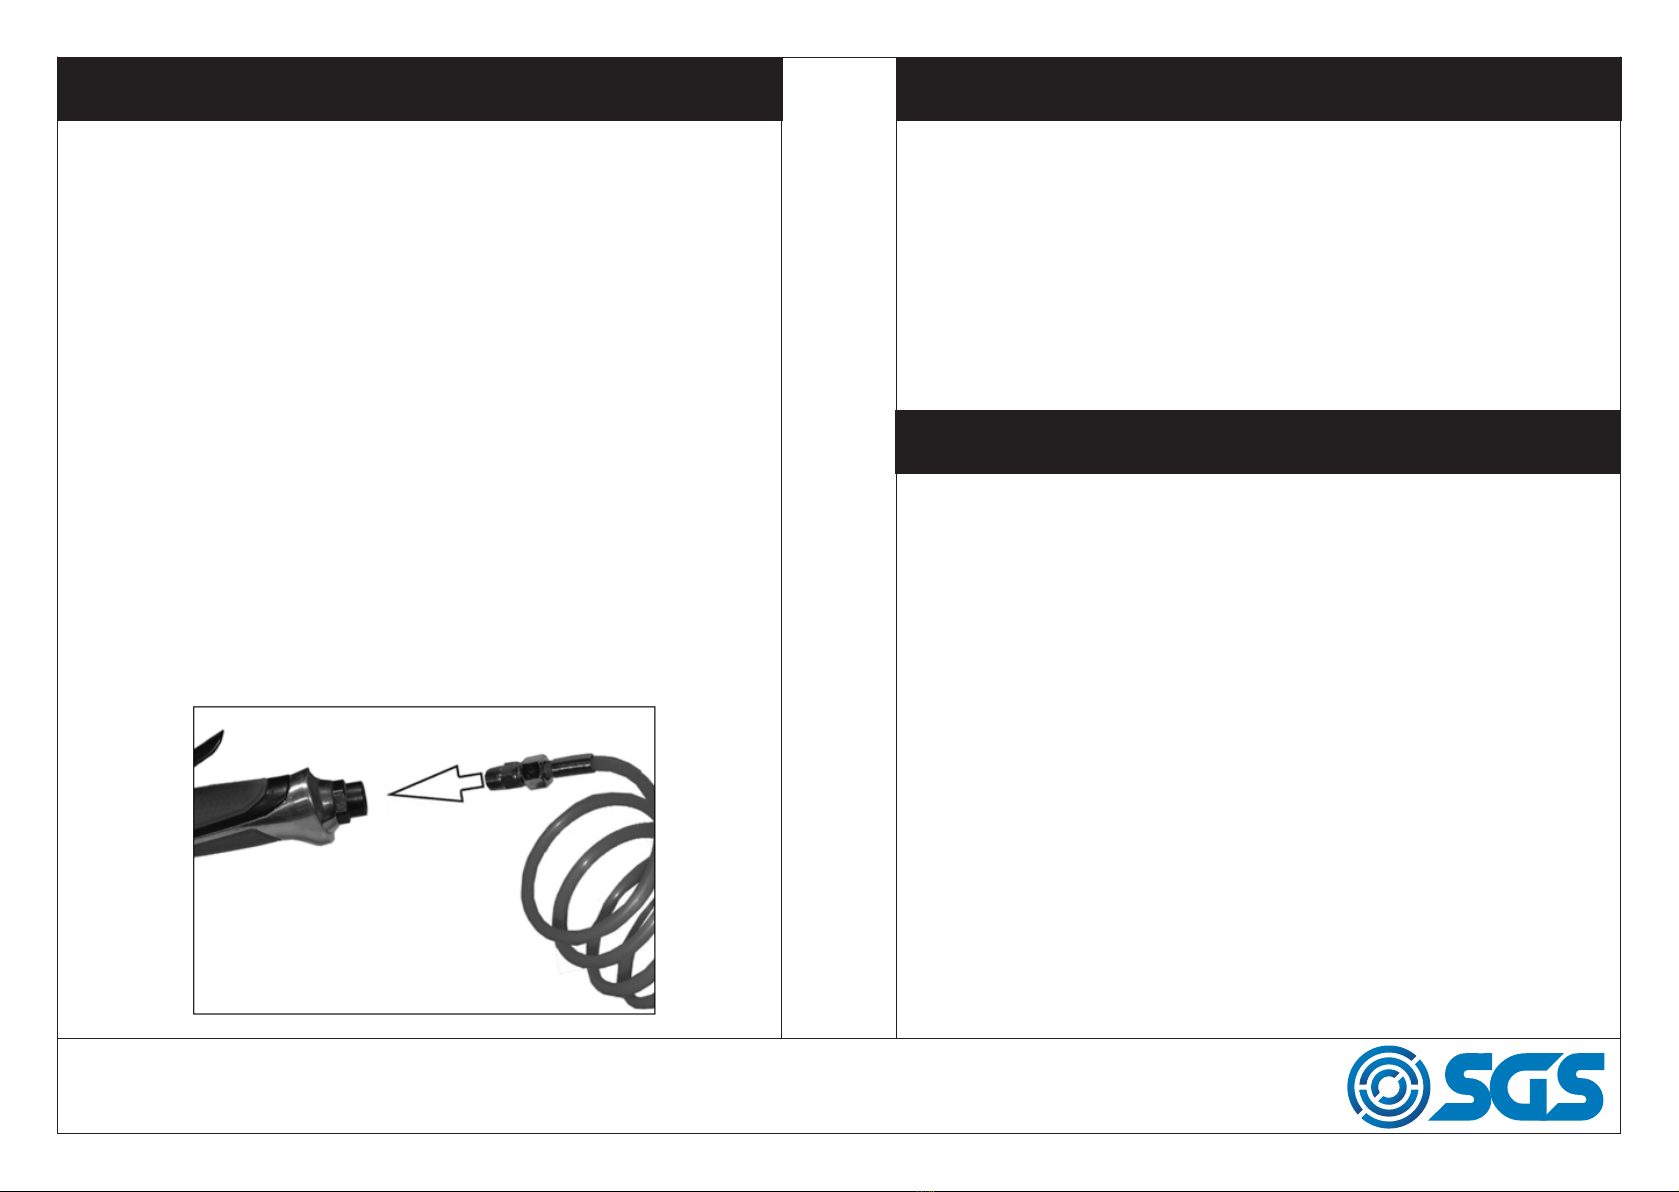
Remove air hose when tool is not in use
and store tool in secure location away
from reach of children and untrained users.
Air tools can inadvertently propel fasten-
ers or other materials in work area.
Use only parts, fasteners and accessories
recommended by SGS Engineering.
Keep work area clean and free of clutter.
Keep children and others away from tool
while it is in operation.
Keep work area well lit.
A wrench or a key that is left attached to a
rotating part of the tool increases the risk
of personal injury.
Remove adjusting keys and wrenches
before turning the tool on.
Using inflator nozzles for duster applica-
tions can cause serious injury.
DO NOT use inflator nozzles for duster
applications.
Air tools can become activated by acci-
dent during maintenance or tool changes.
Remove air hose to lubricate or add grind-
ing attachments, sanding discs, drills, etc.
to the tool.
Never carry the tool by the hose.
Avoid unintentional starting. Don’t carry
the tool with a finger on the trigger.
Only an authorised service representative
should perform repair servicing.
Air tools can cause the work piece to
move upon contact, leading to injury.
Use clamps or other devices to prevent
movement.
Loss of control of the tool can lead to
injury to self or others.
Never use tool while using drugs or
alcohol. Don’t over-reach. Keep proper
footing and balance. Keep handles dry,
clean and free from oil/grease. Stay alert.
Watch what you are doing. Use common
sense. Do not operate the tool when you
are tired.
SAFETY INSTRUCTIONS
WWW.SGS-ENGINEERING.COM

PAGE 7
PAGE 6
SAFETY INSTRUCTIONS
RISK OF INJURY
WHAT COULD HAPPEN HOW TO PREVENT IT
Fasteners could ricochet or be propelled
causing serious injury or property damage.
Never point or discharge tool at self or
others. Do not pull trigger unless tool con-
tact safety device is against work surface.
Never attempt to drive fasteners into hard
surfaces such as steel, concrete, or tile.
Avoid driving a fastener on top of another
fastener. Position tool carefully so that
fasteners will be delivered to the proper
location.
Improperly maintained tools and accesso-
ries can cause serious injury.
Maintain the tool with care.
Keep a cutting tool sharp and clean. A
properly maintained tool, with sharp cut-
ting edges, reduces the risk of binding
and is easier to control.
There is a risk of bursting if the tool is
damaged.
Check for misalignment or binding of mov-
ing parts, breakage of parts and any other
condition that affects the tool’s operation.
If damaged, have the tool serviced and
repaired before use.
Use only accessories identified by SGS En-
gineering as suitable for use with specific
tools.
Use of an accessory not intended for a
specific tool increases the risk of injury to
persons.
RISK OF ENTANGLEMENT
WHAT COULD HAPPEN HOW TO PREVENT IT
Tools which contain moving elements, or
drive other moving parts, such as grinding
wheels, sockets, sanding discs, etc. can
become entangled in hair, clothing, jewel-
lery and other loose objects resulting in
severe injury.
Never wear loose fitting clothes or apparel
that contains loose straps or ties which
could become entangled in moving parts
of the tools. Remove any jewellery, watch-
es, identifications, bracelets or necklaces
which might become caught by the tool.
Keep hands away from moving parts. Tie
up or cover long hair. Always wear proper
fitting clothing and other safety equip-
ment when using the tool.
SETTING UP THE AIR LINE
1. Make sure that the air compressor being used for the air tool opera-
tion supplies the correct output (CFM).
2. Have the tool in the “off” position when connecting the tool to the air
supply.
3. Use normal 90 PSI (or ranging from 6.0 to 8.0kg) air pressure while
running the tool. High pressure and unclean air will shorten the tool’s
life due to faster wear and may also create a hazardous situation.
4. Drain water from air compressor tank daily as well as any condensa-
tion in the air lines. Water in the air line may enter the tool and dam-
age the tool mechanisms at operation.
5. Clean the air inlet filter cartridge weekly. The recommended hook-up
procedure can be viewed in the diagram below.
6. Line pressure should be increased accordingly to make up for extra
long air hoses (usually over 8 metres). The minimum hose diameter
should be 1/4” I.D. and the fittings should have the same inside
dimensions. But usually a 3/8” I.D. air hose is recommended for air
supply to get the best function of air tool operation.
7. Use proper hoses and fittings. We do not suggest connecting quick
change couplings directly to the tool since they may cause failure due
to vibration. Instead, add a leader hose and connect coupling be-
tween air supply and hose whip.
8. Check hoses for wear before individual use. Make certain that all con-
nections are securely fastened.
WWW.SGS-ENGINEERING.COM

PAGE 9
PAGE 8
CONNECTING THE AIR SUPPLY
Pour 2-3 drops of airline oil into the air inlet. This should be done regard-
less of whether or not a lubricated air supply is to be used.
Connect a suitable hose to the tool as shown using the airline connector
supplied with the tool.
If required, connect an in-line mini oiler to the tool.
A mini oiler helps to prolong the life of the air tool. Remove the oil fill
screw from the side of the mini oiler and fill with air-line oil
WARNING: COMPRESSED AIR CAN BE DANGEROUS. ENSURE THAT
YOU ARE FAMILIAR WITH ALL PRECAUTIONS RELATING TO THE USE
OF AIR COMPRESSORS AND COMPRESSED AIR SUPPLY.
If a mini-oiler is not being used, run a few drops of oil through the tool
before use. It can be entered through the inlet strainer or via the hose at
the nearest connection to the air supply.
Connect the other end of the hose to the compressor.
Turn on the air supply and check for air leaks. Rectify any found before
proceeding. PTFE tape may be useful for sealing threaded connections.
Your air tool is now ready for use.
CARE & MAINTENANCE
The tool should be lubricated before each use with air tool oil (not in-
cluded). Air tool oil is available from SGS Engineering. During continuous
operation, the tool should be oiled every 1 to 2 hours. This may be done
using an in-line oiler or manually.
1. Disconnect the tool from air supply.
2. Place a few drops of air tool oil into the air inlet. Avoid the misuse
of thicker oil which may lead to the reduced performance or mal-
function.
3. Connect the tool to the air supply. Run the tool without load for a
few seconds to distribute the oil through the tool. Any excess oil
may be propelled from the air exhaust area so point the tool in a
safe direction.
Check the air inlet screen filter for blockage and clean if necessary.
DISCONNECTING THE AIR SUPPLY
1. Do not disconnect the air supply hose until the compressor has been
shut down and the compressed air released.
2. Refer to the compressor instruction manual for the procedure to shut
down and vent the compressed air.
3. Once the pressure has been released, disconnect the air supply hose
from the air tool.
WWW.SGS-ENGINEERING.COM

PAGE 11
PAGE 10
PARTS DIAGRAM PARTS LIST
No Description Part No No Description Part No
1 Main Housing 902916 16 Rear Plate 902933
1-1 Copper Cover 902917 17 Rotor 902934
2 Soft Grip 902918 18 Rotor Blade 902935
3 Muffler Stand 902919 19 Collar 902936
4 Air Regulator 902920 20 Cylinder 902937
5 Plug 902921 20-1 Pin 902938
6 O-ring 902922 21 Front Plate 902939
7 Spring 902923 22 Ball Bearing 902940
8 Steel Ball 902924 23 Partial Spindle 902941
9 Valve Pin 902925 24 Set Screw 902942
10 Trigger 902926 24-1 Set Screw 902943
11 Pin 902927 25 Drive Spindle 902944
12 Air Vent 902928 26 Ball Bearing 902945
12-1 Screw 902929 27 Retaining Ring 902946
13 Top Cover 902930 28 3” Backing Pad 902947
14 O-ring 902931 29 Spindle Lock Pin 902948
15 Ball Bearing 902932
WWW.SGS-ENGINEERING.COM

EC Declaration of Conformity
This is an important document and should be retained
MANUFACTURER’S NAME:
TYPE OF EQUIPMENT:
PART NUMBER:
I, the undersigned, hereby declare that the equipment specied above
conforms to the above European Communities Directive(s) and
Standard(s).
PLACE:
DATE: (Signature)
Robert Wyatt
Company Secretary
Derby, UK
24th MAY 2018
SGS Engineering (UK) Ltd
West Side Park
Raynesway
Derby, DE21 7AZ
AIR POLISHER
SAT610
2006/42/EC Machinery Directive
EN ISO 11148-8:2011
APPLICATION OF EC COUNCIL DIRECTIVES / STANDARD:
Table of contents
Other SGS Sander manuals
Popular Sander manuals by other brands

NSI Solutions
NSI Solutions Seam Phantom SP-A2 instruction manual

Hafco
Hafco DS-12H instruction manual

Festool
Festool ETS 125 REQ instructions

MasterCraft
MasterCraft 054-2437-2 instruction manual

Bosch
Bosch 06033A3006 Original instructions

CH Hanson
CH Hanson Norse 9681119 Operating instructions & parts manual