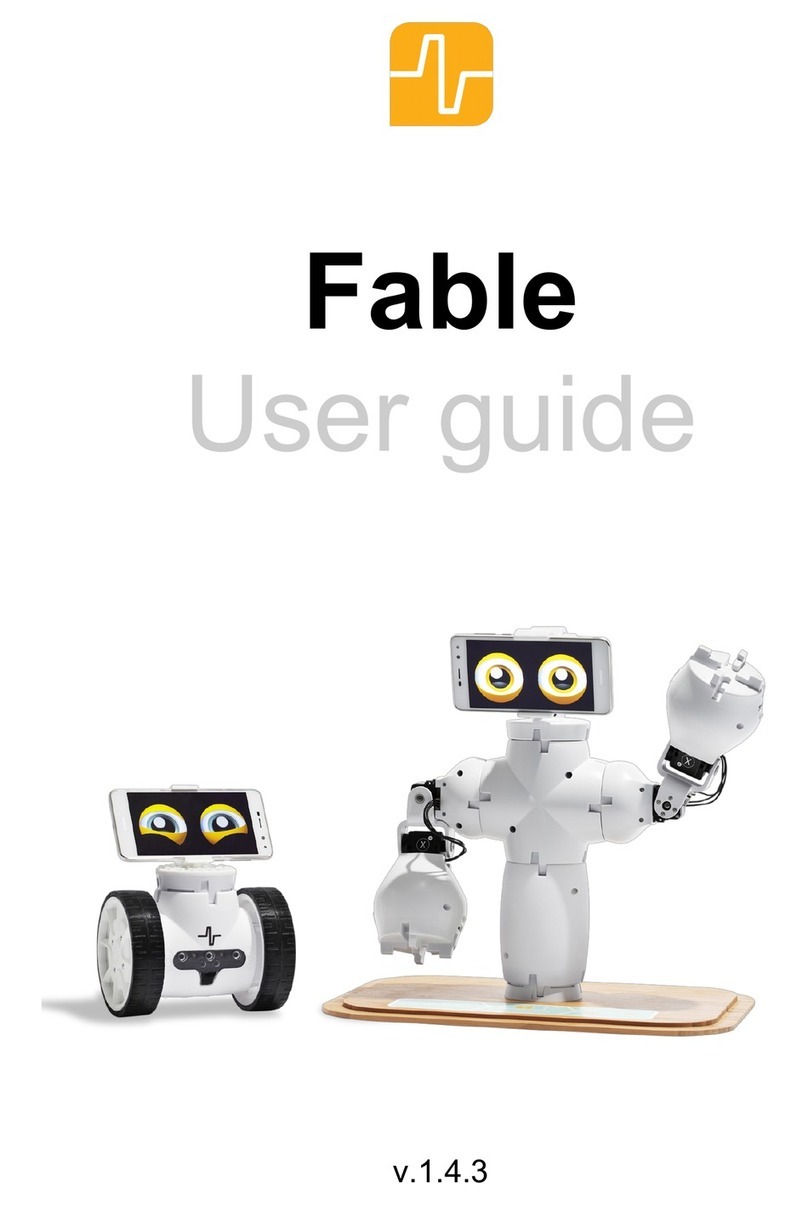
Shape Robotics Fable User manual

User Guide
45286


45286
Contents
Chapter 1: Fable at a Glance ...........................................................................................................................................2
The Fable System ........................................................................................................................................................................................2
Hub ...................................................................................................................................................................................................................5
Joint Module.................................................................................................................................................................................................6
Spin Module..................................................................................................................................................................................................8
PC Software................................................................................................................................................................................................10
Interface of the PC Software ...............................................................................................................................................................11
Chapter 2: Get Started...................................................................................................................................................12
Install Fable Blockly.................................................................................................................................................................................12
Install Fable Blockly on Windows......................................................................................................................................................13
Install Fable Blockly on Mac.................................................................................................................................................................14
Install Fable Blockly on iOS for iPad .................................................................................................................................................15
Install the Hub Driver (Windows 7 and 8)......................................................................................................................................16
How to Write a Program........................................................................................................................................................................18
Chapter 3: Basics............................................................................................................................................................19
Turning the Joint Module On/Off .....................................................................................................................................................19
Turning the Spin Module On/Off ......................................................................................................................................................20
Battery Management .............................................................................................................................................................................21
Wireless Communication......................................................................................................................................................................22
Chapter 4: Troubleshooting..........................................................................................................................................23
Hub Not Found .........................................................................................................................................................................................23
Module Not Found..................................................................................................................................................................................24
Module Overloaded................................................................................................................................................................................24
Unable to Connect Fable Face to Hub ............................................................................................................................................24
Chapter 5: Safety, Handling, and Support ..................................................................................................................25
Important Safety and Handling Information ...............................................................................................................................25

The Fable System
The Fable robot system is a modular robotic system that makes it easy and fun for anybody to build their own robots. While
creating robots, students can learn about math, physics, programming, innovation, engineering, and more.
The Fable system consists of the components shown here, and many more module types are under development.
2
CHAPTER 1: FABLE AT A GLANCE

Construction System
The Fable modules are either passive (containing no electronics) or active (containing electronics, servo motors, or sensors)
and are assembled using a strong magnetic connector system.
Magnetic connector
3
CHAPTER 1: FABLE AT A GLANCE

Fable Robots
Different types of robots can be assembled in seconds by snapping various Fable modules together.
4
CHAPTER 1: FABLE AT A GLANCE

Hub
The Fable Hub provides wireless communication between the PC, tablet, or smartphone and one or several modules.
PC: To use with a PC, the hub must be connected with a USB cable. On some operating systems, a driver must be installed.
iPad: To use with a tablet or smartphone, the hub must be powered using a USB charger or PC. The tablet or smartphone
can then connect via Bluetooth.
Pairing: To pair a group of modules with a hub, users must select the same light color by pressing the color selector
buttons on each device.
USB cable
Color selector
Color light pair indicator
5
CHAPTER 1: FABLE AT A GLANCE

Joint Module
The Fable Joint Module provides movement to Fable robots using two strong servos: X and Y.
Wireless communication: Joint modules are controlled wirelessly using the hub.
Servos: The two servos are identified as X and Y, and their position can be set from -90 to 90 degrees. The speed of
movement can be controlled, and the angle can be measured.
Pairing: Joint modules have a button that, if pressed, will change the LED color. The color of the light indicates the type
of hub that would be able to detect the module. Only matching colored devices can communicate with each other (for
example, red modules with red hubs).
Self-protection: Joint modules continuously monitor the load and temperature on the servos and the battery level. As a
self-protection mechanism, modules will automatically turn off if an overload or low-battery-level event is detected. You
should avoid overloading, blocking, or pulling locked servos because they can be damaged.
Servo Y
Servo X
Color selector
6
CHAPTER 1: FABLE AT A GLANCE

ID: Each joint module has a unique ID on its back. This ID is used to identify the module in the Fable programming software.
On/off: An on/off switch is located on the back of the joint module.
Battery: The joint module contains a rechargeable battery capable of two to three hours of normal operation. The battery
is charged using a standard micro USB charger. Charging can take several hours depending on how depleted the battery is
and the type of charger used.
Module ID
On/off switch
USB connector
7
CHAPTER 1: FABLE AT A GLANCE

Spin Module
The Fable Spin Module enables the system to drive around on wheels. This is accomplished with the help of two motors: A
and B. It also uses 10 sensors: three light sensors, three color sensors, three proximity sensors, and an infrared sensor with a
transmitter and receiver.
Wireless communication: Spin modules are controlled wirelessly using the hub.
DC motors: The two motors are identified as A and B, and their position can be set from -32,768 to 32,767 degrees, marking
a complete revolution every 360 degrees in each direction. The direction of the two motors is mirrored, which means that
to move in the same direction, one of the motors has to be set to an angle opposite of the other. The speed of movement
can be controlled, and the angle can be measured at any time.
Headlights: The spin module has two headlights on the front (the side with the glass protector on it). The user can turn
these on or off.
Light sensors: The spin module contains three light sensors that detect light sources in the surrounding area (for example,
sunlight or room lights) or directed light (for example, a camera flash). The intensity of these light sources can be measured
as a percentage, from 0 (no light) to 100 (strong light). The intensity can be measured at any time.
Color sensors: The spin module contains three color sensors that detect a color that is positioned up to three centimeters
away. The color will have a red-green-blue (RGB) value. The observed color is strongly sensitive to light. The headlights
should be on before you try to detect a color. The color detected can be measured at any time.
Proximity sensors: The spin module contains three proximity sensors that can detect objects in front of the module. The
sensors work similar to a parking assistance system in a vehicle, which alerts drivers to obstacles in the way. The proximity
of an obstacle can range from 0 (no obstacles detected) to 100 (obstacle detected very close to the module). The proximity
to a detected obstacle can be measured at any time.
8
CHAPTER 1: FABLE AT A GLANCE

IR sensor: The infrared sensor has two parts that enable communication between multiple spin modules. A spin module
can be instructed to transmit a message through the IR transmitter, while it and other modules can be instructed to wait for
a message through the IR receiver. The user can trigger the module to do an action (such as spin around) when it receives
the message. Alternatively, the user can trigger an action to occur when a message is not received (such as detect a ball
that passes in front of the IR sensor).
Pairing: Spin modules have a button that, if pressed, will change the LED color. The color of the light indicates the type
of hub that would be able to detect the module. Only matching colored devices can communicate with each other (for
example, red modules with red hubs).
Self-protection: Spin modules continuously monitor the load and temperature on the motors and the battery level. As a
self-protection mechanism, modules will automatically turn off if an overload or low-battery-level event is detected. You
should avoid overloading, blocking, or pulling locked servos because they can be damaged.
ID: Each spin module has a unique ID on the back of the module. This ID is used to identify the module in the Fable
programming app.
On/off: A button is located on the front of the spin module, over the glass protector. Pressing and holding it for three
seconds will turn the module on or off.
Battery: The module contains a rechargeable battery capable of two or three hours of normal operation. The battery is
charged using a standard micro USB charger. Charging can take several hours depending on how depleted the battery is
and the type of charger used.
Light Sensor 2
Color Sensor 2
Proximity Sensor 2
Light Sensor 1
Color Sensor 1
Proximity Sensor 1
Light Sensor 3
Color Sensor 3
Proximity Sensor 3
IR ReceiverIR Transmitter
Motor BMotor A
9
CHAPTER 1: FABLE AT A GLANCE

PC Software
Users can program their robots by using the Fable software, Fable Blockly. The interface supports block-1and text-2based
programming:
The software supports three complexity levels:
Simple: Block-based programming for beginners or younger pupils. A limited number of blocks makes the interface easily
accessible.
Advanced: Block-based programming for more experienced users or older pupils. It supports more advanced features such
as math, functions, logic and variables.
Python: Text-based programming using the Python programming language.
Simple Python
Advanced
1Based on Google Blockly
2Based on Python
10
CHAPTER 1: FABLE AT A GLANCE

Interface of the PC Software
The interface contains the following sections:
The main menu contains buttons for:
• Running or stopping a program.
• Setting up a project – starting a new project and loading, saving, or opening an example.
• Opening the settings menu.
• Turning on the camera, which can be used for some programs.
• Reading the getting-started guide.
• Switching between block-based (Blockly) and text-based programming (Python).
Programming categories are visible when you use block-based programming. All available blocks are sorted and placed in
a category based on their function (for example, all available arithmetic operations are placed in the Math category).
Drag blocks from the programming categories to the programming area. These blocks will now be a part of the program
that will be executed when the user presses the Run button in the main menu. The application uses vertical order to
determine which block gets executed first. If the program is in Python mode, this area is replaced by a big space that allows
code editing.
The status bar shows the connected hub and all active modules that are paired with it. If a program is executed and has
errors, those errors will be shown in the status bar.
All available blocks correspond directly to Python code, which makes the transition to text-based programming a bit easier.
The Python code section visualizes how the constructed program in the programming area will look like if it were written
in Python.
Some blocks allow users to plot data, such as the data read from a sensor. The result is shown in the plotting area of the
app.
11
CHAPTER 1: FABLE AT A GLANCE

Install Fable Blockly
The newest version of the software can be downloaded and
installed from Pitsco.com/Shop/Fable. From there, select the
product you purchased and navigate to the Downloads section of
the product detail page.
Supported operating systems:
• Windows 7, 8, and 10
• Mac OS starting with Mac OS X 10.10 Yosemite
• iOS for iPad
Please note that:
• On Windows 7 and 8: You need a driver for the Fable Hub.
Please refer to the section Install the Hub Driver (Windows 7
and 8).
• On iPad: Some of the features are not available. If you are
using an older hub (purchased before spring 2019), you
might need a firmware update to make it compatible with
iPad. Please contact Pitsco Education support for more
12
CHAPTER 2: GET STARTED

Install Fable Blockly on Windows
1. After you have selected your operating system, click Save File on the dialog box.
2. After the le has nished downloading, go to the destination folder and double-click the Fable Setup icon.
After you have double-clicked the Fable Setup icon, you should see a dialog box with a progress bar indicating
the status of the installation process.
3. Plug in the hub to your PC’s USB port. If you’re running Windows 7 or 8, see the Install the Hub Driver
(Windows 7 and 8) section.
4. Start the PC program by clicking this icon located on your desktop:
13
CHAPTER 2: GET STARTED

Install Fable Blockly on Mac
1. On Yosemite, download the version of the software specically made for that version of Mac OS. Otherwise,
download the standard Mac OS version.
2. Open the downloaded le to start the installation process.
3. Drag the Fable icon on top of Applications. This will install the app.
4. Plug in the hub to your Mac’s USB port. Fable Blockly can be started from the Launchpad or the list of applications.
14
CHAPTER 2: GET STARTED

Install Fable Blockly on iOS for iPad
1. Launch the AppStore and nd Fable Blockly.
2. Press the install button.
3. Once downloaded, plug in the hub either to a computer’s USB port or to a power supply.
15
CHAPTER 2: GET STARTED

Install the Hub Driver (Windows 7 and 8)
A driver for the hub only needs to be installed on Windows 7 and 8.
1. Windows will alert you that the driver is not installed. When this happens, visit Pitsco.com/Shop/Fable, select
the product you purchased, and navigate to the Downloads section of the product detail page. From here,
download the driver and unzip the folder to your device.
2. Locate the hub in the Windows Device Manager under Other devices, right-click it, and select Update Device
Software.
Note: Your hub might be called a dongle in your installation files.
Note: Your hub might be labeled as a dongle in your device manager.
16
CHAPTER 2: GET STARTED

3. Browse your computer to nd the folder containing the driver that you downloaded. Accept if Windows warns
you that the driver is unsigned.
4. The hub driver should now be installed. It can be checked in the Ports drop-down in the Device Manager
window. The hub will automatically be assigned as a COM port.
17
CHAPTER 2: GET STARTED

How to Write a Program
To get started with programming Fable, follow these instructions:
1. Turn on a joint module.
2. Pair the hub with the module (make sure to match the light colors).
3. Create a test program like this:
4. Click the Run button located in the software’s main menu.
5. Observe the behavior. If the program was created correctly, the joint module should move back and forth
between two positions at one-second intervals.
6. You can stop the program by clicking the Stop button. You can experiment with this program by changing the
example code.
Endless loop Angle of Servo X
Angle of Servo Y
ID of joint module
Servo speed in percent
18
CHAPTER 2: GET STARTED
Other manuals for Fable
1
Table of contents
Other Shape Robotics Robotics manuals
