Shenghua SHB320-D650-F Installation instructions

SHB320-D650-F - desk user instruction
Parts list
1. Control box ------------------------------------- 1 pc
2. Handset ----------------------------------------- 1 pc
3. Power cord ------------------------------------- 1 pc
4. Lifting column ---------------------------------- 2 pcs
5. 1.5 m patch cord ------------------------------ 2 pcs
Technical specifications
1. Input------------------------------------------------ 110~220 VAC
2. Output power ------------------------------------ 24 VDC
3. Load capacity ----------------------------------- 1400 N
4. Max speed --------------------------------------- 30 mm/s
5. Stroke --------------------------------------------- 650 mm
6. Min install dimension -------------------------- 605 mm
7. Operation temperature ------------------------ 0-40
℃
8. Duty cycle ---------------------------------------- max.10% or 2 min on and 18 min off
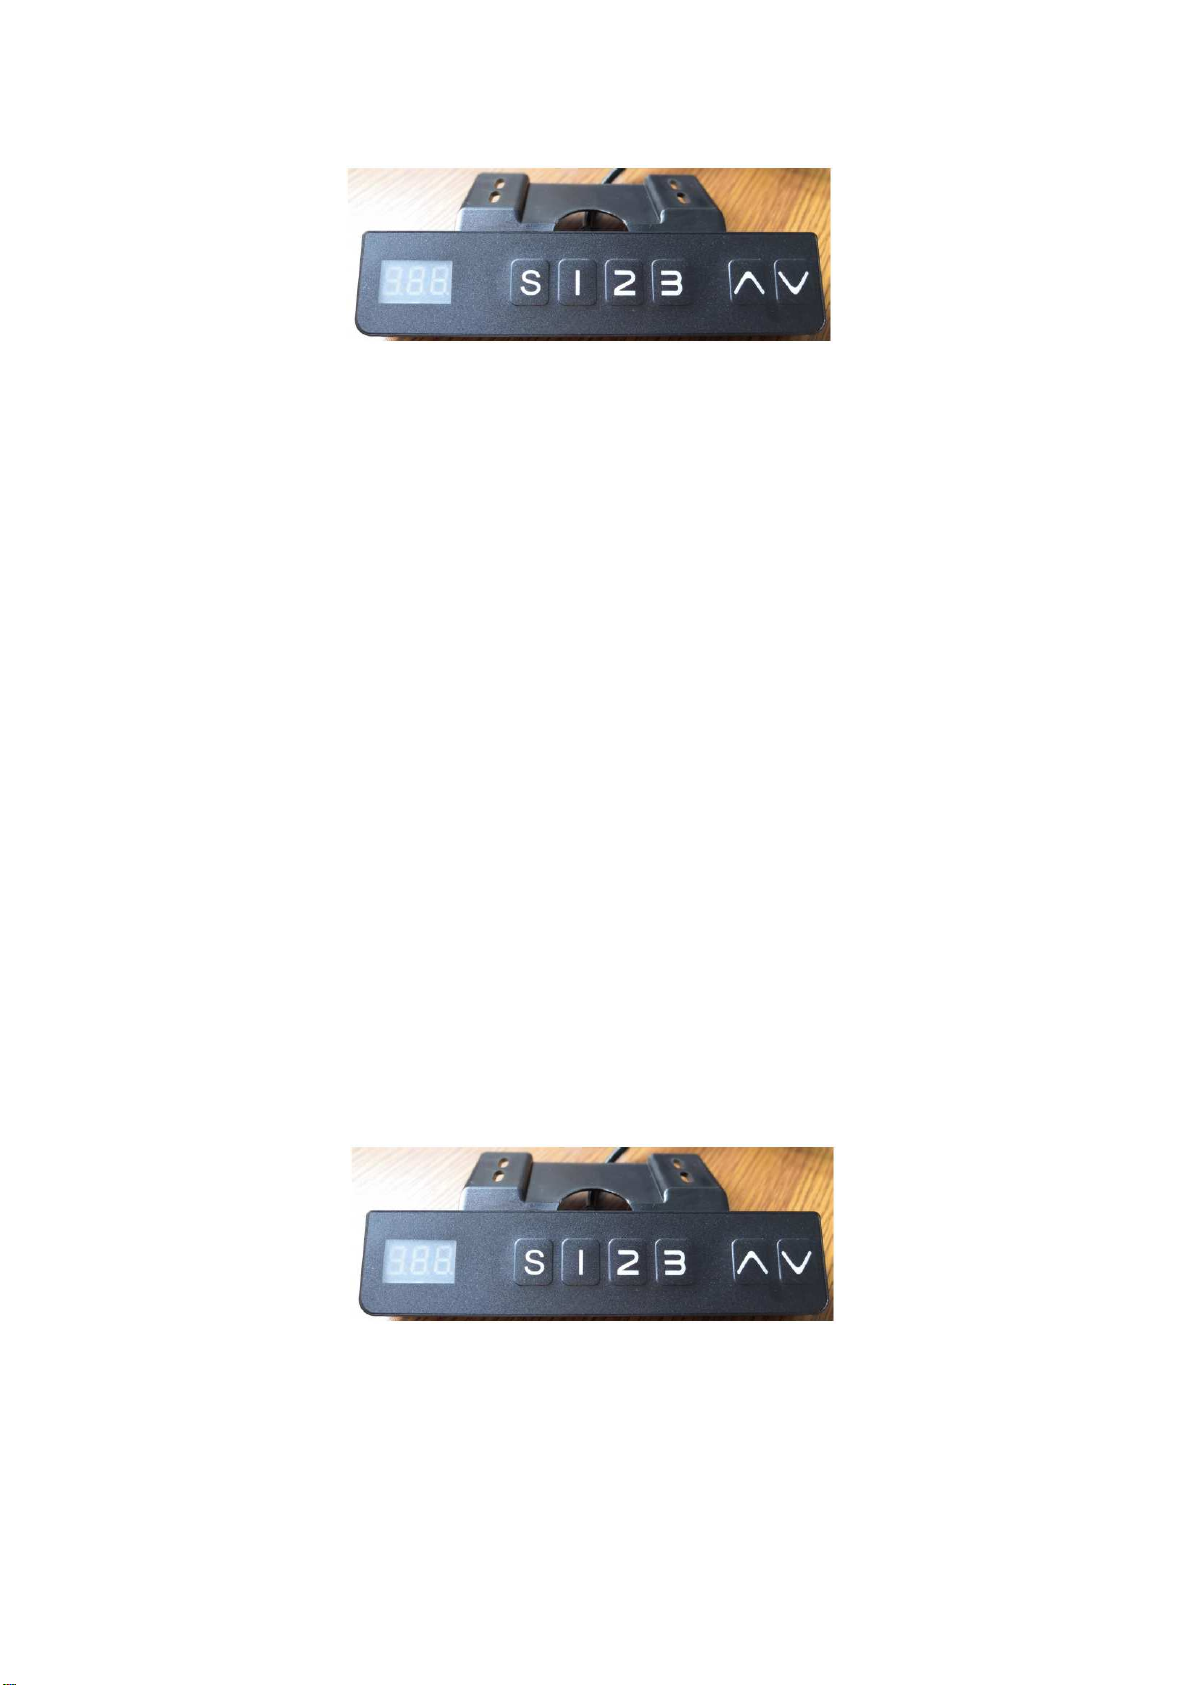
Direction for use
1. Correctly connect the control box, handset, power cord, lifting column & patch cord – picture above.
2. Plug the power cord into 110~220 VAC outlet the LCD display will show “PON” for seconds indicating a positive power connection system
resetting. After resetting the LCD display will display 605 (mm), reset finished.
Reset:
Press and hold the “Down” button until handset display "RES" and then release button, the desk will begin to lower until to the lowest
height then slightly rise. Reset finished.
3. After reset, press and hold “Up” button, lifting column will rise, release to stop.
4. After reset, press and hold “Down” button, lifting column will lower, release to stop.
5. How to set the memory buttons:
Page 1 of 4
After pressing and holding “Up/Down” button to a height, press button “S” first, then press button 1, this height will be remembered by button 1.
Still pressing and holding “Up/Down” button to another height, press button “S”, then press button 2, this height will be remembered by button 2.
The same way, the button 3 can remember other heights. After memory, press 1/2/3 button, desk will motion to the height it remembers, press
“Up” and “Down” button. The motor will be stopped.
Trouble shooting
If the LCD Controller displays error codes when raising or lowering the desk, a reset will be required.
1. The lifting columns are at different heights, reset required.
2. Motor error (E01/E02/E03/E04)
These error codes mean can't detect motor hall plate signal or control box detect one lifting column is over loaded,it’s one kind protection. Please
take away large load, pls reset. If it fails.
The patch cord connected with M1/M2/M3 port has an error and needs to be reset. Should a reset fail to resolve the issue one or more motors
will need to be replaced.
3. Control box temperature protection (HOT)
This indicates that the control box temperature is above 75
℃
or the system has been in continuous use for 2min or more. The lifting columns are
locked out for up to 18 min as a safety precaution. For an urgent reset, unplug the power cord.
4. Motors asynchronous (E06)
The lifting columns are not asynchronous (height differential >10mm), faults have occurred with the motor or other components, reset required
(no load capacity)
5. Overload protection (E07)
Desk load in excess of 140kg, user needs to reduce load, then reset or just need to wait for 3 sections, it will recover.
6. Low voltage protection (E08)
Power voltage is too low for product, it’s kind protection signal. And it will recover as soon as voltage returns to normal.
7. High voltage protection (E09)
Power voltage is too high for product, it’s kind protection signal. And it will recover as soon as voltage returns to normal.
Warranty notice
1. This product must be used under the correct technical parameters.
2. Keep away from liquids, corrosives, gases and dusty environments.
3. Do not open any of the components, doing so will void any and all service support and manufactures warranties.
"1" button - return to previous menu
"Up" / "Down" button - select menu
“S” button - confirm menu
Changing between cm and inch - 1Un
Hold down button “S” for 3 seconds, handset will display “S---", then release pressing button “S” and press button “S” again, the code “1Un” will then appear.
Press button “S” to enter.
1. It will display S1, You can press “S” button to preserve cm display and please wait for 2 seconds it will display current height (cm).
2. After it displays S1, you can press button “Up”/”Down” to change it to “In”, press button “S” to preserve Inch display and please wait for 2 seconds
it will display current height (Inch).
Page 2 of 4

Setting handset display brightness - 2br
1. Hold button “S” for 3 seconds. Handset will display “S---", then release pressing button “S” and press button “S“ again to enter, the code “1Un”
will then appear.
2. Press button “Up”/”Down” to be “2br”, then press button “S” to enter, this will display current display brightness level (H/N/L).
L means low brightness, N means normal brightness, H means high brightness.
3. Press button “Up”/”Down” to select your favourite brightness level, then press button “S” to preserve and quit, please wait for 2 seconds and it will
display current height.
Adjusting sound - 3bE
1. Hold down button “S” for 3 seconds. Handset will display “S---", then release pressing button “S” and press button “S” again to enter, the code
“1Un” will then appear.
2. Press button “Up”/”Down” to be “3bE” then press button “S” to enter, this will display current sound situation (OFF/ON).
OFF means handset has no sound, ON means handset has sound.
3. Press button “Up”/”Down” to select OFF or ON, then press button “S” to preserve and quit, please wait for 2 seconds and it will display current
height.
Adjust upward sensitivity - 4Fu
1. Hold down button “S” for 3 seconds.Handset will display “S---", then release pressing button “S” and press button “S” again to enter, the code
“1Un” will then appear.
2. Press button “Up”/”Down” to be “4Fu”,then press button “S” to enter, this will display current upward sensitivity level (L5). We have 9 levels of
upward sensitivity, from L1 to L9. L1 is the most sensitivity, L9 is the least sensitivity. L5 is our factory setting upward sensitivity.
3. Press button “Up”/”Down” to select your favourite upward sensitivity level, then press button “S” to preserve and quit, please wait for 2 seconds
and it will display current height.
Adjust downward sensitivity - 5Fd
1. Hold down button “S” for 3 seconds.Handset will display “S---", then release pressing button “S” and press button “S” again to enter, the code
“1Un” will then appear.
2. Press button “Up”/”Down” to be “5Fd” then press button “S” to enter, this will display current upward sensitivity level (L5).
We have 9 levels of upward sensitivity, from L1 to L9. L1 is the most sensitivity, L9 is the least sensitivity. L5 is our factory setting upward
sensitivity.
3. Press button “Up”/”Down” to select your favourite upward sensitivity level, then press button “S” to preserve and quit, please wait for 2 seconds
and it will display current height.
Adjust vibration Sensitivity - 6FS
1. Hold down button “S” for 3 seconds.Handset will display “S---", then release pressing button “S” and press button “S” again to enter, the code
“1Un” will then appear.
2. Press button “Up”/”Down” to be “6FS”, then press button “S” to enter, this will display current vibration sensitivity level (L5). We have 9 levels of
vibration sensitivity, from L1 to L9. L1 is the most sensitivity, L9 is the least sensitivity. L5 is our factory setting vibration sensitivity.
3. Press button “Up”/”Down” to select your favourite vibration sensitivity level, then press button “S” to preserve and quit, please wait for 2 seconds
and it will display current height.
Adjust the lowest height display and height range - 7SH
1. Hold down button “S” for 3 seconds. Handset will display “S---", then release pressing button “S” and press button “S” again to enter, the code
“1Un” will then appear.
2. Press button “Up”/”Down” to be “7SH”, then press button “S” to enter, this will display “H1b”, you also can press button “Up”/”Down”, so that it will
diplay “L1L” and “L1H”.
H1b mean to set the lowest position height display.
L1L mean to set the lowest postion
L1H mean to set the highest position
3. Press button “Up”/”Down” to be “H1b”, then press button “S” to enter, will display current lowest height, you can press button “Up”/”Down” to
adjust the height display, then press button “S” to preserve and quit, please wait for 2 seconds and it will display new lowest height.
4. Press button “Up”/”Down” to be “L1L”, then press button “S” to enter, will display current lowest height, you can press button “Up” set a new
lowest position, then press button “S” to preserve and quit, please wait for 2 seconds and it will display height. New lowest position finished
setting.
5. Press button “Up”/”Down” to be “L1H”, then press button “S” to enter, will display current highest height, you can press button ”Down” to set a
new highest position, then press button “S” to preserve and quit, please wait for 2 seconds and it will display height. New highest position finished
setting.
Page 3 of 4

6. After setting, desk can only motion between new lowest position and new height position.
Switching between modes - 8Hc
1. Hold down button “S” for 3 seconds. Handset will display “S---", then release pressing button “S” and press button “S” again to enter, the code
“1Un” will then appear.
2. Press button “Up”/”Down” to be “8Hc”, then press button “S” to enter, this will display current mode ”001”.
We have two modes for your choosing.:
001 mode: you need to keep pressing up or down button so that desk will motion.
002 mode: you only need to press one time up or down button, the desk will motion, click press any button the motion will be
stopped.
3. Press button “Up”/”Down” to select your favourite mode (001 or 002), then press button “S” to preserve and quit,pls wait for 2 seconds and it will
display current height.
Adjust time reminder - 9St
1. Hold down button “S” for 3 seconds. Handset will display “S---", then release pressing button “S” and press button “S” again to enter, the code
“1Un” will then appear.
2. Press button “Up”/”Down” to be “9St”, then press button “S” to enter, this will display 0.0H (means no time reminder, H means hour)
3. Press button “Up”/”Down” to select your favourite reminder time (like 1.5H means 1.5 hour), then press button “S” to preserve and quit,pls wait for
2 seconds and it will display current height.
Note:
When handset time reminder beep, press any button, the beep will disappear. The time reminder beep will last for 30 seconds for 1 time, if no pressing any
button.
Adjust bounce height - 10H
1. Hold down button “S” for 3 seconds. Handset will display “S---", then release pressing button “S” and press button “S” again to enter, the code
“1Un” will then appear.
2. Press button “Up”/”Down” to be “10H”, then press button “S” to enter, this will display current bounce height.
3. Press button “Up”/”Down” motion your desk to your favourite bounce height, then press button “S” to preserve and quit, please wait for 2 seconds
and it will display current height.
Restore factory settings - 11r
1. Hold down button “S” for 3 seconds. Handset will display “S---", then release pressing button “S” and press button “S” again to enter,the code
“1Un” will then appear.
2. Press button “Up”/”Down” to be “11r”, then press button “S” to enter.
3. Then press button “S” to preserve and quit, please wait for 2 seconds and it will display current height.
Fatigue test mode - 12d
1. Hold down button “S” for 3 seconds. Handset will display “S---", then release pressing button “S” and press button “S” again to enter, the code
“1Un” will then appear.
2. Press button “Up”/”Down” to be “12d”, then press button “S” to enter.
It will appear , press 5 times button “1” continuously, you can enter into fatigue mode selecting menu. There will be 5 modes for your
choosing:
OFF: no fatigue test
51: Level 1 fatigue test, continue working, no stop
52: Level 2 fatigue test, upward and downward 1 time then rest for 4 minutes
53: Level 3 fatigue test, upward and downward 1 time then rest for 6 minutes
54: Level 4 fatigue test, upward and downward 1 time then rest for 10 minutes
3. Please press “Up” and “Down” to select your favourite fatigue mode, then press button “S” to preserve.
4. You can press “UP” button to begin fatigue test, also you can quit the fatigue test by unpluging the power cord.
Page 4 of 4
Table of contents
Popular Indoor Furnishing manuals by other brands


HOMCOM
HOMCOM 310-057 manual

YOTRIO
YOTRIO MS WILLOW VALLEY Assembly instruction

Furniture of America
Furniture of America CM-BK931-TT Assembly instructions

Chromcraft
Chromcraft HCU 38 operating manual

Furniture of America
Furniture of America FOA-BK972 Assembly instructions

Sorelle
Sorelle Farmhouse Room Assembly instruction

Home affaire
Home affaire Adriana 43949663 Assembly instructions

BLACK RED WHITE
BLACK RED WHITE GRACE B186-KOM1D1S Assembly

DITALIA
DITALIA CD - 107 Assembly instructions

Courtyard Creations
Courtyard Creations KTS816H-WM Assembly instructions

Ercol
Ercol TREVISO DESK 2334 instructions

Badger Basket
Badger Basket 98855 Assembly instructions