Shield AVR-LCD User manual

This manual contains important safety instructions
Keep this manual handy for future reference
AVR-LCD
Battery Back-up UPS

Specifications
Input voltage
Output voltage
Output wave-form
Output frequency
Battery rating
Back-up time
Noise level
Operating temperature
Capacity 600/800VA 1000/1500VA
Input voltage
Output voltage
Output wave-form
Output frequency
Battery rating
Back-up time
Noise level
Operating temperature
Capacity 2000/3000VA
175-275Vac±5Vac
198-242Vac±5Vac
PWM/DC
50Hz or 60Hz
7Ah / 9Ah×4
7Ah / 9Ah×2
3 - 20 mins
Less than 45dB
0 ~ 45°
145-290Vac±5Vac
195-255Vac±5Vac
PWM/DC
50Hz or 60Hz
7Ah / 9Ah×1
3 - 20 mins
Less than 45dB
0 ~ 45°
1

UPS Working Modes
Test the UPS on Battery back-up
To test the UPS on battery back-up, disconnect or switch off the
utility power supply. Your PC should continue to function normally.
Powering on the UPS
Push the main power button on the UPS to switch on the UPS. The
LCD will come one and display and input and output voltage. After
this, the UPS will be ready for operation.
Silence function
In battery mode, short press the main button to enable or disable
the alarm. The alarm can not be turned off if the UPS is low on
battery or is over loaded.
Auto-run
In battery mode, the UPS runs till the batteries are drained. After
the batteries are drained, the UPS cuts off and switches back on
automatically once the utility power is back.
Overload Protection
If the UPS has been overloaded when in operation, it will cut off
power automatically to the load after its assigned overload alarm
time.
Low battery shut-off
When the battery is about to be completely depleted, the UPS will
shut down automatically so as the maintain good battery health.
Switching off the UPS
When utility power is normal
Press the main power button for 3 seconds to cut off UPS output
and put the UPS on AC standby mode.
When on battery back up
Press the main power button for 3 seconds, the UPS will switch off
after a long beep.
2

UPS Working Modes
Please go through the trouble shooting chart below for the most
common problems. If the UPS fails to operate properly, please
review the flowing steps before calling the service center.
Is the UPS plugged in to the correct working outlet?
Is the line voltage within the specified rating?
Is the fuse, breaker or circuit protector on the back-panel
open?
Please submit the following information to your closest service
center.
Model number and serial number.
Date of problem occurrence.
Full description of the problem.
3

UPS overloaded and not
connecting to AC
Please connect AC and
reduce load
The input fuse is burnt or
the breaker is off
Replace the fuse or reset
the breaker. Remove
some of the load and
check if the load has a
short-circuit or is faulty.
UPS overloaded and not
connecting to AC
Please connect AC and
reduce load
The UPS had failed Please contact your
service center for repair
or replacement.
The UPS switches to
battery mode with the
utility present
Save the work on your PC
and shut down the
operating system.
Back-up time less than a
minute
Turn off the system and
restart to charge again.
Overload Please reduce load
Battery not fully charged Recharge the battery for
atleast 12 hours and
chech again.
Charging unit fault Please send to the
service center for repair
or repalcement.
UPS overloaded and not
connecting to AC
UPS trouble shooting chart
The buzzer beeps every 8
seconds
The buzzer beeps every 1
second
Back-up time less than
specified
Possible causes Actions to take
Symptoms
4

Inspect the following items inside box
User’s Manual
UPS
Mains Cord
Before installation, please read and understand the following
instructions:
Unpacking and inspection
Examine the packing carton for damage. Notify your dealer
immediately if damage is observed. Store the packing in a safe
place for possible future trans-shipment of the UPS.
Positioning the UPS
Position the UPS on a sturdy, dry surface in a well-ventilated area
away from direct sources of heat. Leave at least 100 mm clearance
all around the UPS to provide adequate ventilation.
Installation and Operation
The UPS is intended for indoor use only. Although your UPS is very
rugged, its internal components are not sealed from the environ-
ment. Kindly note the following:
Avoid direct sunlight.
Avoid excessive heat.
Avoid excessive humidity or liquids.
Avoid excessive dust.
5

Connect the UPS to power.
Connect the Power Cord, to a verified grounded 3-wire receptacle.
Do not power the UPS using a surge suppressor or power strip.
Switch the utility power ON.
Connect the equipment to the UPS
Now connect your load to be protected (computer, monitor etc.) to
the AC Output receptacles at the rear of the UPS.
Do not connect a surge suppressor, power strip, or extension cord
to the UPS outlet.
Enable the UPS by turning on the Power ON/OFF switch, which is
situated on the front panel.
The UPS is now ready to use. Switch on your equipment and you are
ready to function.
6

Safety Notice
The product contains voltages, which are potentially hazardous.
Qualified service personnel should perform all repairs.
Do not try to open the cover and to service the system yourself, no
user serviceable parts inside. Refer servicing to qualified service
personnel only. The product has its own internal energy source
(battery). The output receptacles may be live even when the
product is not connected to an AC supply.
Warning
In case of fire risky, please change the fuse with the same kind and
same rate or reset the breaker. The product is intended for indoor
use only. Kindly note to avoid excessive heat, dust, humidity or
liquids.
AFTER SHIPMENT FROM THE FACTORY THE BATTERY NEEDS
RECHARGING. IF NOT USED FOR A LONG PERIOD OF TIME, THE
BATTERY WILL START SELF-DISCHARGING, WHICH MAY RESULT IN
A SHORT SERVICE LIFE OF THE BATTERY OR MAY EVEN CAUSE
DAMAGE TO IT DURING WARRANTY PERIOD. CARE SHOULD ALSO
BE TAKEN TO AVOID EXCESSIVE TEMPERATURE AROUND THE UPS,
WHICH COULD ALSO RESULT IN REDUCING SERVICE LIFE OF THE
BATTERY. TO ACHIEVE MAXIMUM SERVICE LIFE FROM THE
BATTERY THE ABOVE INSTRUCTIONS SHOULD BE FOLLOWED.
BATTERY MAINTENANCE / BATTERY CHARGING
The UPS battery charges whenever the UPS is connected to utility
power & is switched ON. It typically requires more than 12 hours to
charge fully. Operating runtime is reduced until the battery is fully
charged.
7

LCD Display
AC input voltage
Output voltage
Battery capacity
Load level
UPS is working in battery mode
UPS is working in AC mode
UPS can turn on automatically
Fan is working (models without fan have no indication)
Alarm is on mute except when UPS is on over-load or low
battery.
8

1) When UPS is charging
When battery is not fully charged, the battery
capacity indicator will continuously increase the level
indicator which shows that the UPS is charging.
When the battery is fully charged, the battery capacity
indicator will show full on the level indicator.
2) When UPS is in AC mode
AC input voltage
UPS output voltage
Level of battery capacity and if the battery is charging
The load level. If overloaded, the load level indicator
flickers and overload alarm comes on
2) When UPS is in battery mode
No AC input indication
Battery output voltage in battery mode
Battery level indicator. If the battery is low, the
indicator flickers and the UPS beeps every one second
The load level. If overloaded, the load level indicator
flickers and overload alarm comes on
LCD Display
9

Warranty Certificate
Serial No
Customer Name
Contact Person
Address
Telephone No
Email Address
Date Of Puchase
Dealer Signature Customer Signature
10

www.shield.systems
Table of contents
Other Shield UPS manuals
Popular UPS manuals by other brands
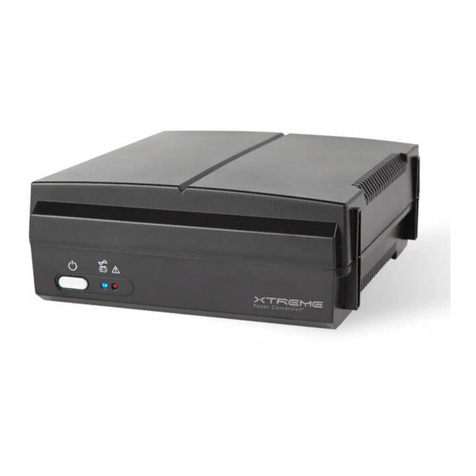
Xtreme Power Conversion
Xtreme Power Conversion XVT 600VA user manual

Lowell power
Lowell power UPSA6-850 User & installation manual
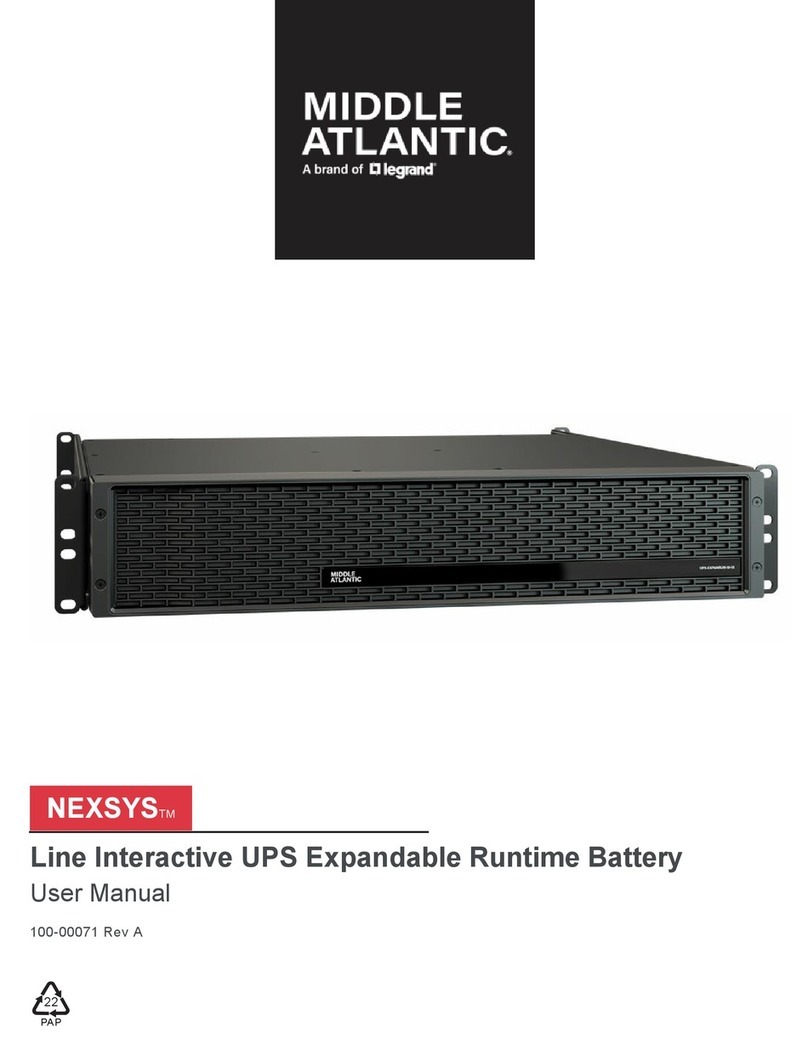
LEGRAND
LEGRAND MIDDLE ATLANTIC NEXSYS UPX-EXPANRUN-10-15 user manual
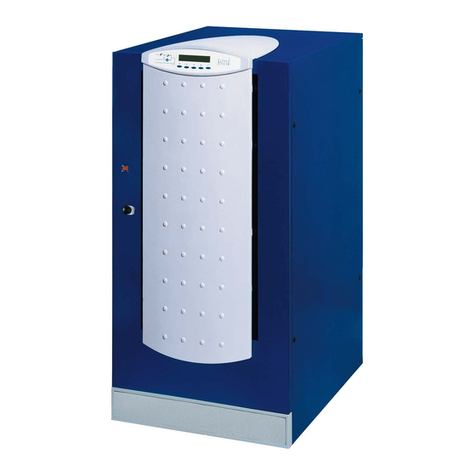
Astrid
Astrid UPS HALLEY/E Series product manual
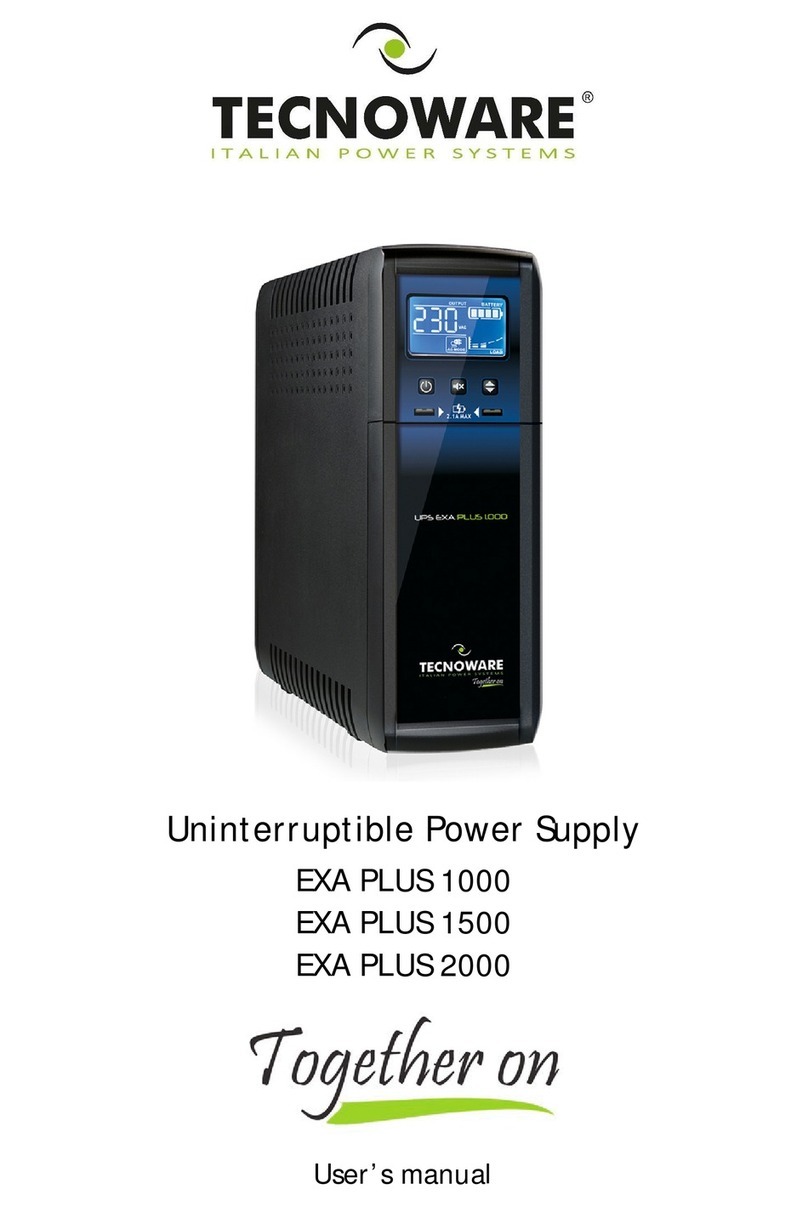
Tecnoware
Tecnoware EXA PLUS 1000 user manual

Borri
Borri GALILEO UPS manual
