Sidebar Duo User manual

Page 1
www.supersidebar.com
SIDEBAR DUO & LT6500
Congratulations!! You are now the proud owner of a SIDEBAR Beverage System. This
electronically controlled system will provide years of trouble-free service when properly
installed.
Please read the directions carefully.
GETTING STARTED
I. COMPONENT LOCATIONS
1.) Determine the location of your Dispensing Tower (If installing the Duo, be sure to
plan accordingly for beer supply locations). Check for obstructions under or behind your
mounting surface (pull out drawers may need modified in some cases).
2.) Determine the location of the pump unit (should be in a dry location). The pump unit
will need to be installed below the Dispensing Tower and above the tops of the supply
bottles. For best performance, keep the pump unit as close to the bottles as possible. The
distance from the pump unit to the tops of the bottles should not exceed 8 inches.
II. TOWER (SIDEBAR LT6500 & SIDEBAR DUO) INSTALLATION
1.) Once you have determined the exact location of the tower, drill a 1.25 inch diameter
hole for the supply lines and control cable opening. This location should be in the center
of where the tower will be installed.
2.) Feed the beverage supply lines through the 1.25 inch opening.
3.) Using a pencil or marker, mark the four holes at the base of the tower, make certain
the tower is properly faced forward and centered over the 1.25 inch opening.
4.) Once the Tower is in the appropriate location and the holes have been marked,
remove the tower and drill a 7/32” pilot hole at each of the four markings. NOTE:
granite, tile or stone surfaces may need professional drilling to prevent damage to the
counter surfaces.
5.) Place the provided rubber gasket over the drilled holes; feed the supply lines through
the 1.25 inch opening and place the Tower correctly over the gasket and pilot holes.
Using the provided stainless steel mounting screws, secure the tower the surface. Use
care not to “strip” the screw heads.

Page 2
www.supersidebar.com
III. PUMP UNIT INSTALLATION
1.) Identify the location of your supply bottles and place the Pump Unit NO higher than 8
inches from the tops of your bottles. The shorter the length from the bottles to the pump,
the better - you may need to cut and shorten the intake lines to accommodate your
installation –make certain the length of the lines will reach the bottom of each bottle.
2.) Route the supply lines from the tower (longer lines with black conduit) to the pump
unit and connect the five blue fittings. You will hear a “click” confirming they are
properly seated.
IV. CABLE CONNECTIONS
1.) Connect the control cable from the Tower to the pump unit (CAT5E Data Cable).
Make sure the cable locks securely into place. You should hear a “click” confirming the
connection.
2.) Connect the orange power plug into the pump unit (you may need to press firmly).
The orange power connector is POLARITY PROTECTED and therefore impossible to be
inserted incorrectly
3. Plug in the IP119 Optional 110 volt AC Adapter or connect the power wires to a 12V
DC power source (red wire to positive and black to ground).
VI. FINAL CHECKOUT & LINE PRIMING:
1.) Have your 5 supply bottles ready to go. You will need a pitcher or container of water
to prime each of the five lines, you will also need a cup or glass under the Tower to catch
the water you are pumping.
2.) Using the manual primer pump, take one of the supply lines and insert it into the small
opening, gently pump liquid through the line until it drips from the Tower spout. Remove
the line from the primer pump and place it into the supply bottle. Make certain the end of
the line reaches the bottom of the bottle. Press the corresponding selector button (as
marked on the bottle topper) until the contents of the bottle have reached the dispensing
spout. Repeat this process for the remaining 4 lines. If any of the lines do not
successfully prime - DO NOT HOLD THE BUTTON DOWN! Attempt to force water
through the line again and repeat this step.

Page 3
www.supersidebar.com
3.) Once you have primed all of your lines, your system is just about ready to go! You
may adjust the portion settings on the top of the pump unit. Each of the settings is
factory set to the maximum. (The pumps will run as long as you hold the button down).
You can adjust each of the five (5) pumps by turning the knobs counter-clockwise. The
minimum setting will stop the pump after it has dispensed approximately one (1) ounce.
You may make small adjustments to increase the pre-measured amount for each of the
selectors.
4.) Your system is now ready for use! If you use the larger 1.75 liter bottles, you may
purchase the larger bottle toppers from our website or by calling our office.
SPECIAL PRECAUTIONS
1.) Never operate the system without liquid! A delicate impeller assembly drives the
pumps used in this system. This assembly is dependant on the liquid it is pumping for
lubrication.
2.) Types of Liquid: DO NOT use thick liqueurs, or any syrup-like products with this
system. USE only non-carbonated, pulp free beverages.
3.) Never place the bottles above the dispensing spout! If a bottle is placed above the
dispensing spout, the liquid will siphon out of the spout and empty the bottle.
4.) Fuse replacement: Should you ever need to replace the fuse, use a 4 AMP SLO-BLO
Fuse only! Never use an over rated or foil wrapped fuse.
5.) Do not allow liquid to be spilled on the pump unit. Liquid entering the pump housing
may damage the electronic circuitry and void the warranty. If liquid is accidentally
spilled on the pump unit, carefully remove the fuse and allow the unit to completely dry.
DO NOT USE FOR 48 HOURS. If the system is not used when wet, percentages are
high that the unit has not been permanently damaged.
5.) If a bottle is emptied - DO NOT RUN THE PUMP DRY! Replace the bottle or flush
the lines with the manual primer pump. For best results, replace bottles prior to being
completely emptied.
6.) If the system is not going to be used for an extended period of time - Clean and flush
the lines with “SUPER SIDEBAR Line Cleaner & Conditioner”. It is recommended that
you clean the lines every 4-6 months. It may be necessary to manually prime the system
when restarted.

Page 4
www.supersidebar.com
TROUBLE SHOOTING
A. If a selection does not dispense properly, check for the following:
1. Empty Bottle
2. A crimped or obstructed line somewhere between the bottle and the dispensing spout.
3. A supply line is pushed to far into a bottle, causing the pick-up line to be sucked to the
bottom or side of a bottle.
4. A bottle connectors’ vent hole is obstructed creating a vacuum inside the bottle. Clear
the obstruction with a small wire or paper clip.
B. If a pump does not run when you press a selector button, do the following:
1. Check that the control cable is properly locked into place, remove the cable check for
any obstructions in the port and reconnect.
2. Check the four (4) items in section A, and then press the button rapidly. DO NOT
HOLD THE BUTTON DOWN. Several one-second contacts should free the pump.
3. If the pump does not free itself, remove the supply line from the respective bottle and
force water through the pump with the manual primer pump that is supplied with the
system until it flows from the spout. Then press the selector button rapidly, this should
free the pump and restore operation.
LIMITED WARRANTY
SIDEBAR Beverage Systems warrant each our products to be free of defects in material and workmanship for a period
of 12 months (1 Year) from the date of sale when used in a non-commercial application. SIDEBAR Beverage Systems
will repair or replace at its option those products or parts that are found to be defective during this period, providing the
customer is registered the warranty online or has mailed in the warranty card to our office. All repairs or replacements
will take place at the SIDEBAR Beverage Systems facility.
This warranty shall not apply if the system has been repaired or altered outside of our facility; or if the product has been
subject to misuse, neglect, accident, theft incorrect wiring, or to use in violation of the instructions furnished by
SIDEBAR Beverage Systems. SIDEBAR Beverage Systems is not responsible for personal injury or property damage
resulting from improper installation or usage not intended by SIDEBAR Beverage Systems.
All units returned for repairs within the warranty period must be shipped at the customer’s expense. After repairs or
replacements have been made, the system will be returned via ground service at no charge.
This warranty is in lieu of all other warranties, expressed or implied.
All Rights Reserved, US PATENT PENDING - ©2011
SIDEBAR Beverage Systems, Super SIDEBAR, SIDEBAR Liquor Tower and SIDEBAR Duo are registered
trademarks of SIDEBAR Beverage Systems, Inc.
This manual suits for next models
1
Table of contents
Popular Beverage Dispenser manuals by other brands
Bunn
Bunn iMIX-3S Illustrated parts catalog

UBC Cool
UBC Cool KegMaster-2 owner's manual
CombiSteel
CombiSteel 7065.0005 user manual
Fetco
Fetco CBS-2151XTS user guide
Cecilware
Cecilware MT-2-ULAF Operator's manual
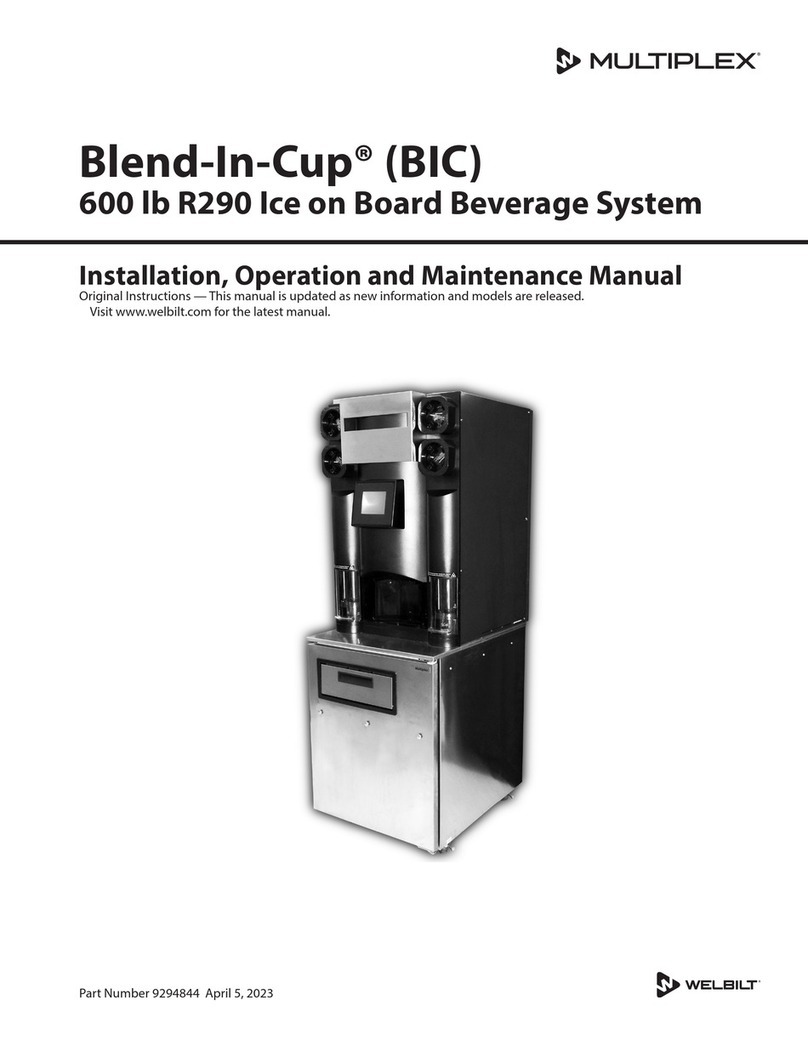
Multiplex
Multiplex WELBILT Blend-In-Cup MB-8-1PP6 Installation, operation and maintenance manual
