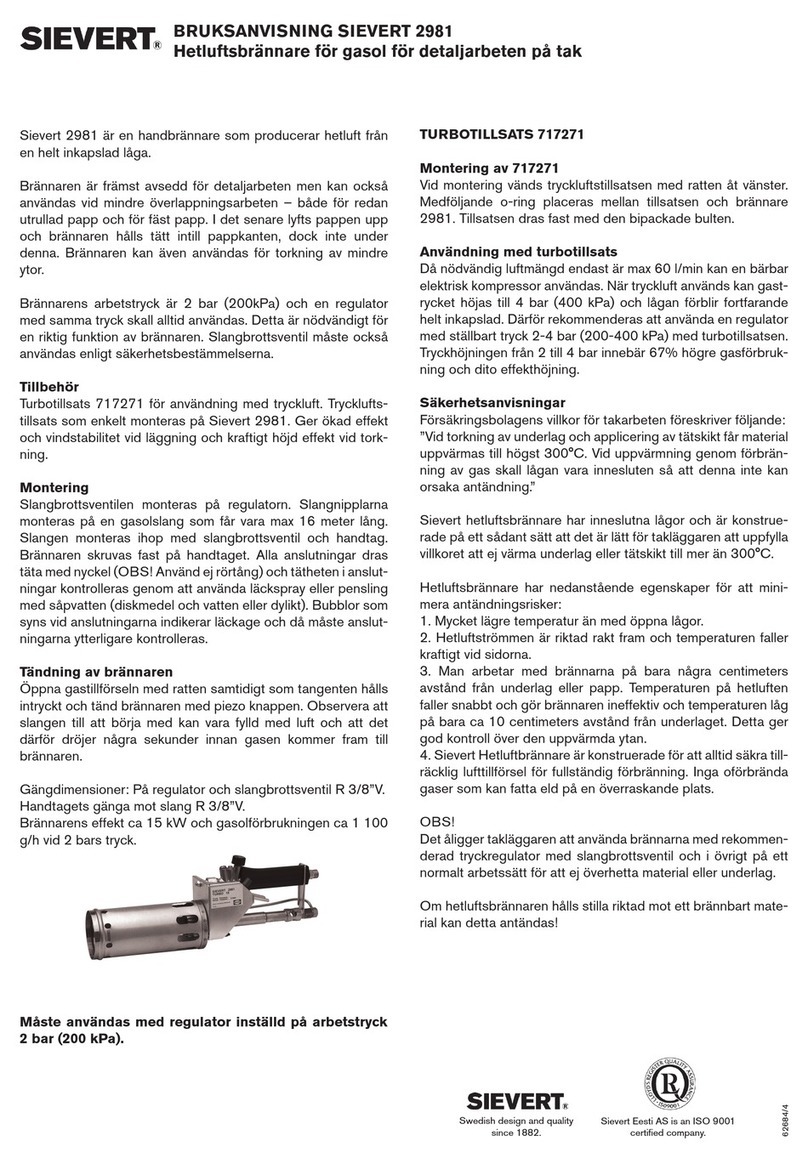
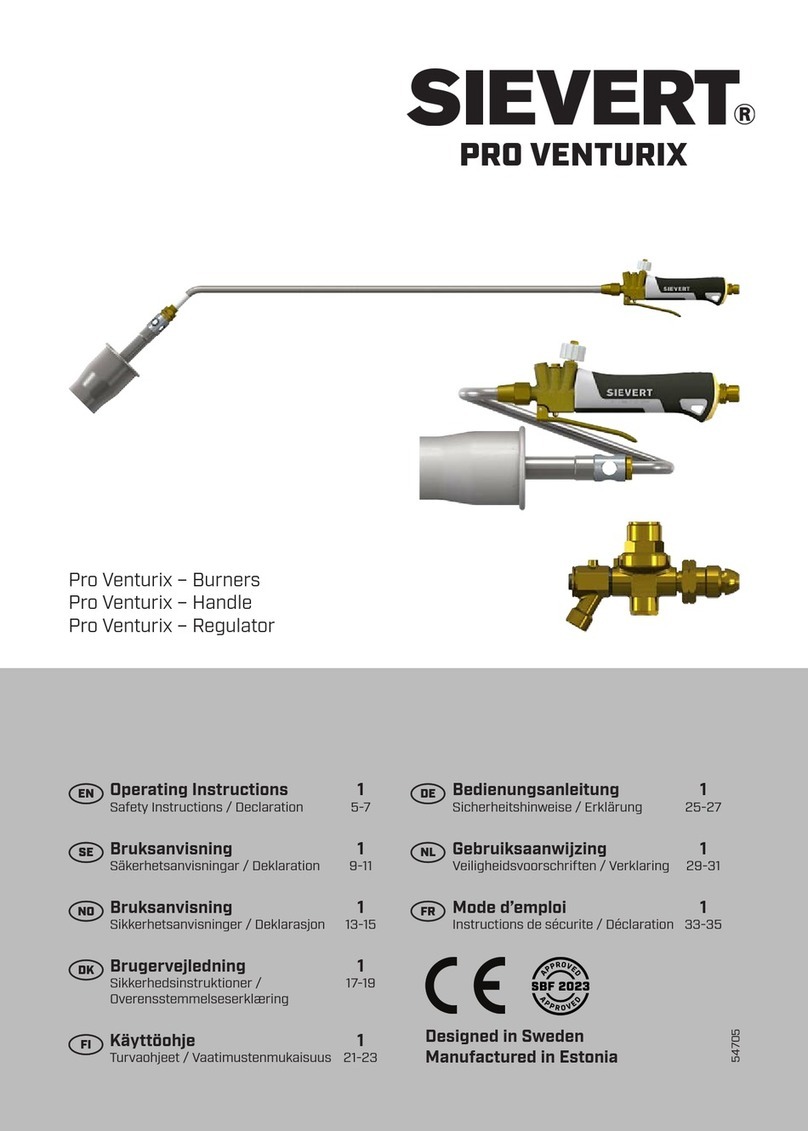
Sievert MultiTorch Spark User manual

MULTITORCH
INSTRUCTIONS
INSTRUCCIONES
Supplied By
ROTHERNBERGER US, INC
7130 Clinton Rd
Loves Park IL 61111
USA
55076
1
2
1
3
MultiTorch Spark MultiTorch Brass
4
ON
OFF 1
3
871902- Standard Burner Tip
872002- Standard Precision Burner Tip
872305- Flat Flame Burner Tip
872505- Power Burner Tip
884205- Ultra Precision Burner Tip
1 SAFETY INFORMATION
1.1 Ensurethatthesealingsareinplaceandingoodconditionbeforettingthegascylinder.
1.2 Never use an appliance with damaged or worn seals and never use a leaking, damaged or malfunctioning
appliance.
1.3 Alwayschangeortthegascylinderinasafeplace,ONLYOUTSIDE,awayfromanysourceofignitionsuch
asnakedames,pilotlights,electricresandawayfromotherpeople.
1.4 Ifyouhavetocheckthegassoundnessoftheappliance,dothisoutside.Usesoapywateronly.NEVERUSE
AFLAMETOCHECKFORLEAKS.
1.5 Iftherehasbeenaleakageyouhavetobeextracarefulandevacutethegasbyventilation.NotethatLPGas
isheavierthanair.Thereforeitcaneasilyaccumulateintrenchesorbelowgroundlevel.
1.6 Never leave the torch unattended when lit.
1.7 Thisapplianceconsumesoxygenandmustonlybeusedinwellventilatedareas-minumum177ft³/h.Avoid
thefumesfromuxes,lead-basedpaint,andallmetalheatingoperations.
1.8 Usetheapplianceonsafedistancefromwallsandothercombustiblematerials.Alwayschecktomakesure
thatnointendedsurfacesormaterialsarebeingheated.Heatingasurfacemaycauseheattobeconductedto
adjoiningsurfacesthatmaybecombustibleorbecomepressurizedwhenheated.
1.9 Becarefulwhenusingtheapplianceoutdoorsonsunnyorwindydays.Brightlightmakesithardtoseethe
torch’same.Windmaycarrythetorch’sheatbackatyouoratothersurfacesormaterialsnotintededfor
heating.
1.10 Neverusetheappliancewhileundertheinuenceofalcohol,drugsorotherintoxicatingsubstances.
1.11 Keeptheapplianceoutofreachforchildren.
1.12 Failuretoapplytheseinstructionsmaycausepropertydamage,personalinjuriesordeath.
2. HANDLING THE APPLIANCE
2.1 Beawarethattheburnertipofthetorchcangetexceptionallyhotduringuse.Becarefulnottotouchthe
burner tip or other hot parts of the appliance during and after use.
2.2 Donotmisusetheappliance,oruseitforanythingforwhichithasnotbeendesignedfor.
2.3 Handletheappliancewithcare.Donotdrop,throw,orotherwiseabusetheappliance.
2.4 Neverattempttomodifythetorch’sconstructionandneveruseunapprovedaccessoriesorfuels.
2.5 Alwayswearprotectiveglovesandsafetyglaseswhilehandelinghotwork.
2.6 Makesurethetorchisplacedonalevelsurfacewhenconnectedtothegascylindertoreducetheriskof
accidentaltipover.Becarefulnottopointthetorchinadirectionwhichcouldcausenearbyobjectstoignite
when the torch is set down.
2.7 Becarefulnottooverheatnearbymaterials.
2.8 Alwayshaveareextinguisherclosebywhenusingtheappliance.
2.9 Usingthetorchwithalowamecancausedamagetotheburnertube.Onlyuselowameduringlimitedtime.
2.10 Storage:Alwaysdisconnectthegascylinderfromtheappliancewhennotinuse.Storethegascylinderin
asafe,dryandcoolplaceawayfromheat,directsunlightandoutofreachforchildrenoranyonewhohasnot
readtheinstructions.Neverstoregascylindersinbasementsorotherplacesunderground.
3. ASSEMBLING THE APPLIANCE
3.1 Makesuretheapplianceiscoolwhenconnectingordisconnectingcylinderandotheraccessories(Fig.B).
3.2 Ensurethatthecontrolknob(1)isturnedo(turnedfullyclockwise).
3.3 Keepthegascylinder(4)uprightwhenttingittotheappliancevalve.
3.4 Placethevalveadequatelyontopofthegascylindervalve(asshowninFig.B).
3.5 Gentlyscrewthegascylinderintothevalve.Becarfeulnottotthegascylindercrossthreaded.NOTE!
Screw hand tight only. Do not over tighten or you will damage the gas cylinder valve.
3.6 Ensurethatacompletegassealhasbeenmade.Ifyouhavetocheckthegassoundnessoftheappliance,do
thisoutdoors.Donotcheckforleakswithanakedame.Usewarmsoapywateronly,appliedtothejoints
andconnectionsoftheappliance.Anyleakagewillshowupasbubblesaroundtheleakagearea.Ifyouare
indoubtorifyoucanhearorsmellgas,donotattempttolighttheappliance.Unscrewthegascylinderand
contactyourlocaldealer.
4. INTERCHANGEABLE BURNER TIPS FOR MULTITORCH BRASS
4.1 NOTE!Beawarethattheburnertipmaybeveryhotafteruse.Takecautionandwearprotectiveglovesand
safetyglassestopreventinjuries.
4.2 Assemblyofburnertip(asshowninFig.D).Theburnertip(3)fortheMultiTorchBrasshasainterchangeable
connection.placetheburnertipontothethreadingandturnclockwiseuntilrmlyandtightlyinplace.
4.3 Toremovetheburner,followtheinstructionsinreversedorder.
5. OPERATING APPLIANCE MULTITORCH SPARK
5.1 Pointtheapplianceawayfrombodyandammableobjects.Neverlookintotheburnertube.
5.2 Turnthecontrolknob(1)counterclockwisetoopenthevalve,pressthetrigger(2)toignitetheburner.
5.3 Toturnotheappliance,turnthecontrolknobclockwiseuntilitstops.
6. OPERATING APPLIANCE MULTITORCH BRASS
6.1 Pointtheapplianceawayfrombodyandammableobjects.Neverlookintotheburnertube.
6.2 Turnthecontrolknob(1)counterclockwisetoopenthevalve,useaintstrikertoignitetheame.Neveruse
matches or a lighter to ignite the torch.
6.3 Toturnotheappliance,turnthecontrolknobclockwiseuntilitstops.
7. CHANGING THE GAS CYLINDER
7.1 Shutthevalvewiththecontrolknob(1).Besuretheameisexstinguished,theburnertiphascooleddown
andnootherameisnearby.Taketheapplianceoutdoors,awayfromotherpeople.Unscrewthegascylinder
from the valve and do not use the appliance if the sealings are cracked or worn down. Avoid cross threading
byputtingthevalveontothegascylinderscrewthreadstraightandscrewonhandtightonly,asdescribedin
section 3.
WARNING
Thistorchisusedwithaammableproduct.Failuretocomplywiththesewarningsandinstructionsmayresultinare
orexplosionthatmaycausedamageonproperty,seriouspersonaldamageorevendeath.
Thisproductcanexposeyoutochemicalsincludinglead,whichisknowntotheStateofCaliforniatocausecancerand
birthdefectsorreproductiveharm.Formoreinformationgotowww.P65Warnings.ca.gov.
Washhandsafterusing.
2
SIEVERT® is a registered trademark of SIEVERT AB JOINT STOCK COMPANY SWEDEN.
US
ESP
US
IMPORTANT: Read these instructions carefully and familiarize yourself with the product before fitting the
appliance to the gas cylinder. Review the instructions periodically to maintain awareness. Retain these
instructions for future reference. This appliance shall be used exclusively with Sievert gas cylinders. It may
be hazardous to attempt to fit other types of gas cylinders.
BRASS
SPARK
A
B C
D E
Connection CGA 600
Gas Content 14.1 oz
Temperature 3500 o F
221197 - Sievert MAPP Gas
Connection CGA 600
Gas Content 14.1 oz
Temperature 3500 o F
220997 - Sievert Propane Gas

8. AFTER USE
8.1 Makesurethatthevalveiscompletelyshutbyturningthecontrolknob(1)fullyclockwiseuntilitstops.Donot
useexcessiveforce.
8.2 Unscrewthetorchfromthegascylinder.Alwaysremovegascylinderfromtorchwhennotinuse.
9. ROUTINE SERVICE AND MAINTENANCE
9.1 Alwaysensurethatthesealingsareinplaceandingoodcondition.Inspectthemeverytimeyouassemblethe
appliance.Ifsealingsaredamagedorworn,donotusethetorch.Forserviceandrepiarseesection10,under
warrantyseesection12.
10. SERVICE AND REPAIR
10.1 No user serviceable parts inside.
10.2 Nevermodifytheappliance.Thismaycausetheappliancetobecomeunsafetouseandmaycauseproperty
damage,personalinjuriesordeath.Warrantyexpiresiftheapplianceismodied
10.3 Periodicallycheckjointsandcouplingstoinsureagainstlooseconnectionsandleakage.
11. ACCESSORIES
11.1 UseonlySievertbrandaccessories.AccessoriesnotbrandedSievertmaycausepropertydamage,personal
injuries or death.
11.2 Becarefulwhenttingaccessories.Avoidtouchinghotparts.
11.3 OnlyuseSievertcylindersforthisappliance(Fig.E).
11.4 Anydicultiesinobtainingreplacementgascylindersoraccessories,applydirectlyto:
RothenbergerUSA,INC.,ROCKFORD-IL
12. WARRANTY
12.1 Sievertwarrantstotheoriginalpurchaserthatthisproductisfreefromdefectsinmaterialandworkmanship
foraslongasyouownyourMultiTorchSparkorMultiTorchBrass.Thiswarrantyisvalidforallpurchasesof
theMultiTorchSparkandMultiTorchBrassonorafterMay1,2023.Thiswarrantydoesnotapplytoproducts
that has been damaged as a result of improper maintenance, accident or other missuse, or which fails to ope
rateduetonormalwearandtear.Thiswarrantyisvoidiftheproductisrepairedormodiedinanywayby
anyoneotherthanSievert.
12.2 Sievertwillreplacetheproductifitprovestobedefectiveinmaterialsorworkmanship.Thesoleobligationof
Sievertandyourexclusiveremedyunderthiswarrantyarelimitedtosuchreplacement.
12.3 Tomakeaclaimunderthiswarranty,contactanySievertretailerorcontactSievertdirectlyat(815)639-1319.
Pleaseprovideproofofdateofpurchasewhenmakingaclaim.
12.4 Sievertmakesnootherwarrantiesconcerningtheproducts.InnoeventshallSievertbeliableforincidentalor
consequentialdamages.Somestatesdonotallowtheexclusionorlimitationofincidentalorconsequential
damages,sotheabovelimitationorexclusionmaynotapply.
12.5 Thiswarrantygivesyouspeciclegalrights,andyoumayalsohaveotherrightswhichvaryfromstateto
state.
1 INFORMACIÓN RELATIVA A LA SEGURIDAD
1.1 Asegúresedequelasjuntasestáncolocadasyenbuenestadoantesdeconectarelcilindrodegas.
1.2 Noutilicenuncaunaparatoconlasjuntasdañadasodesgastadas,ynoutilicenuncaunaparatoconfugas,
dañadooquefuncionemal.
1.3 Cambieoconectesiempreelcilindrodegasenunlugarseguro,SOLOENEXTERIORES,lejosdecualquier
fuentedeignicióncomollamasdesnudas,lucespiloto,chimeneaseléctricasylejosdeotraspersonas.
1.4 Sitienequecomprobarlaestanqueidaddelgasdelaparato,hágaloalairelibre.Utilicesolamenteaguajabo
nosa.NUNCAUTILICEUNALLAMAPARACOMPROBARSIHAYFUGAS.
1.5 Sisehaproducidounafuga,hayqueextremarlasprecaucionesyevacuarelgasmedianteventilación.
TengaencuentaqueelgasLPesmáspesadoqueelaire,porloquepuedeacumularsefácilmenteenzanjas
o bajo el nivel del suelo.
1.6 Nunca deje el soplete sin supervisión cuando esté encendido.
1.7 Elaparatoconsumeoxígenoysedebeutilizarsolamenteenáreasbienventiladas-mínimo177pies³/h
(54m³/h).Eviteloshumosdelosfundentes,lapinturaabasedeplomoytodaslasoperacionesdecalenta
miento de metales.
1.8 Utiliceelaparatoaunadistanciaseguradelasparedesyotrosmaterialescombustibles.Siempreasegúrese
dequenoseesténcalentandopiezasomaterialessinintención.Calentarunasuperciepuedehacerqueel
calorpaseasuperciesadyacentesquepuedensercombustiblesosepresuricenalcalentarse.
1.9 Tengacuidadocuandouseelsopleteenexteriores,endíassoleadosoconviento.Laluzbrillantedicultala
visión de la llama del soplete. El viento puede llevar el calor de la llama de regreso hacia usted hacia usted o
haciaotrassuperciesomaterialesquenosedeseancalentar.
1.10 Noutilicenuncaelaparatobajolosefectosdelalcohol,lasdrogasuotrassustanciastóxicas.
1.11 Mantengaelaparatofueradelalcancedelosniños.
1.12 Sinosecumplenestasinstrucciones,sepuedenproducirdañosmateriales,lesionescorporalesgravesola
muerte.
2. MANEJO DEL APARATO
2.1 Tengaencuentaquelapuntadelquemadordelsopletepuedecalentarseexcepcionalmenteduranteeluso.
Tengacuidadodenotocarlapuntadelquemadorniotraspartescalientesdelaparatoduranteydespuésde
su uso.
2.2 Nohagaunmalusodelaparatoniloutiliceparaalgoparaloquenohayasidodiseñado.
2.3 Manejeelaparatoconcuidado.Nolodejecaer,nilolancenilouseinadecuadamente.
2.4 Nuncaintentemodicarlaconstruccióndelsopleteynuncautiliceaccesoriosnicombustiblesnoaprobados.
2.5 Siempreuseguantesprotectoresygafasdeseguridadparamanipularlaspiezascalientes.
2.6 Asegúresedequeelsopleteestécolocadosobreunasupercieniveladacuandoloconectealcilindrodegas
parareducirelriesgodevuelcoaccidental.Asegúresedequeelsopletenoestéapuntandoenunadirección
quepuedaprovocarquelosobjetoscercanosseenciendancuandoseapoyeelsoplete.
2.7 Tengacuidadodenosobrecalentarlosmaterialesenlosalrededores.
2.8 Siempretengaunextintordeincendioscercadelaparatocuandoloestéutilizando.
2.9 Elusodelsopleteconunallamabajapuedecausardañoseneltubodelquemador.Utiliceunallamabaja
durante un tiempo limitado.
2.10 Almacenamiento:Desconectesiempreelcilindrodegasdelaparatocuandonoloutilice.Guardeelcilindro
degasenunlugarseguro,secoyfresco,lejosdelcalor,laluzsolardirectayfueradelalcancedelosniños
ocualquierpersonaquenohayaleídolasinstrucciones.Noalmacenenuncacilindrosdegasensótanosu
otroslugaressubterráneos.
3. MONTAJE DEL APARATO
3.1 Asegúresedequeelaparatoestéfríocuandoconecteodesconecteelcilindroyotrosaccesorios(Fig.B).
3.2 Asegúresedequelaperilladecontrol(1)estéapagada(giradacompletamenteenelsentidodelasagujas
delreloj).
3.3 Mantengaelcilindrodegas(4)enposiciónverticalcuandoloconectealaválvuladelaparato.
3.4 Coloquelaválvulaadecuadamentesobrelaválvuladelcilindrodegas(comosemuestraenlaFig.B).
3.5 Enrosquesuavementeelcilindrodegasenlaválvula.Tengacuidadodenocolocarelcilindrodegascon
roscacruzada.NOTA: Enrosque a mano solamente. No apriete demasiado o dañará la válvula del
cilindro de gas.
3.6 Asegúresedequeseharealizadounselladodegascompleto.Sitienequecomprobarlaestanqueidaddel
gasdelaparato,hágaloalairelibre.Nocompruebelasfugasconunallamadesnuda.Utiliceúnicamente
aguajabonosatibia,aplicadaenlasunionesyconexionesdelaparato.Cualquierfugaapareceráenforma
deburbujasalrededordelazonadefuga.Sitienedudasosipuedeoíruolerelgas,nointenteencenderel
aparato.Desenrosqueelcilindrodegasypóngaseencontactoconsudistribuidorlocal.
4. PUNTAS DE QUEMADOR INTERCAMBIABLES PARA MULTITORCH BRASS
4.1 NOTA:Tengaencuentaquelapuntadelquemador(3)puedeestarmuycalientedespuésdeluso.Tenga
cuidadoyutiliceguantesprotectoresygafasdeseguridadparaevitarlesiones.
4.2 Montajedelapuntadelquemador(comosemuestraenlaFig.D).Lapuntadelquemador(3)paraelMulti
TorchBrasstieneunaconexiónintercambiable.Coloquelapuntadelquemadorenlaroscaygírelaenel
sentidodelasagujasdelrelojhastaquequedermeybiencolocada.
4.3 Paradesmontarelquemador,sigalasinstruccionesenordeninverso.
5. FUNCIONAMIENTO DEL APARATO MULTITORCH SPARK
5.1 Apunteelaparatoendirecciónopuestaalcuerpoylosobjetosinamables.Nuncamiredentrodeltubodel
quemador.
5.2 Girelaperilladecontrol(1)ensentidocontrarioalasagujasdelrelojparaabrirlaválvula,presioneelgatillo
(2)paraencenderelquemador.
5.3 Paraapagarelaparato,girelaperillaenelsentidodelasagujasdelrelojhastaquesedetenga.
6. FUNCIONAMIENTO DEL APARATO MULTITORCH BRASS
6.1 Apunteelaparatoendirecciónopuestaalcuerpoylosobjetosinamables.Nuncamiredentrodeltubodel
quemador.
6.2 Girelaperilladecontrol(1)ensentidocontrarioalasagujasdelrelojparaabrirlaválvula,utiliceunpercutor
de pedernal para encender la llama. No utilice nunca cerillas o un encendedor para encender el soplete.
6.3 Paraapagarelaparato,girelaperilladecontrolenelsentidodelasagujasdelrelojhastaquesedetenga.
7. CAMBIO DEL CILINDRO DE GAS
7.1 Cierrelaválvulaconlaperilladecontrol(1).Asegúresedequelallamaestéapagada,quelapuntadelqu
emadorsehayaenfriadoyquenohayaningunaotrallamacerca.Lleveelaparatoalairelibre,lejosdeotras
personas.Desenrosqueelcilindrodegasdelaválvulaynoutiliceelaparatosilasjuntasestánagrietadas
odesgastadas.Eviteelroscadocruzadocolocandolaválvularectaenlaroscadelcilindrodegasyatornillán
dola solo a mano, como se describe en la sección 3.
8. DESPUÉS DE SU USO
8.1 Asegúresedequelaválvulaestécompletamentecerradagirandolaperilladecontrol(1)completamenteen
elsentidodelasagujasdelrelojhastaquesedetenga.Noempleeunafuerzaexcesiva.
8.2 Desenrosqueelsopletedelcilindrodegas.Retiresiempreelcilindrodegasdelsopletecuandonoloutili
ce.
9. SERVICIO Y MANTENIMIENTO DE RUTINA
9.1 Asegúresesiempredequelasjuntasestáncolocadasyenbuenestado.Inspecciónelascadavezquemonte
elaparato.Silasjuntasestándañadasodesgastadas,noutiliceelsoplete.Paraelservicioylareparación,
consultelasección10;paralagarantía,consultelasección12.
10. SERVICIO Y REPARACIÓN
10.1 Nohaypiezasreparablesporelusuarioenelinterior.
10.2 Nomodiquenuncaelaparato.Estopuedehacerqueelaparatonoseasegurodeusarypuedecausar
dañosmateriales,lesionespersonalesolamuerte.Lagarantíacaducasisemodicaelaparato.
10.3 Compruebeperiódicamentelasjuntasylosacoplamientosparaasegurarsedequenohayaconexiones
sueltas ni fugas.
11. ACCESORIOS
11.1 UtilicesoloaccesoriosdelamarcaSievert.LosaccesoriosquenoseandelamarcaSievertpuedencausar
daños materiales, lesiones personales o la muerte.
11.2 Tengacuidadoalcolocarlosaccesorios.Evitetocarlaspartescalientes.
11.3 ParaesteaparatoutiliceexclusivamentecilindrosSievert(Fig.E).
11.4 Encasodedicultadesparaobtenercilindrosdegasderepuestooaccesorios,diríjasedirectamentea:
RothenbergerUSA,INC.,ROCKFORD–IL
12. GARANTÍA
12.1 Sievertgarantizaalcompradororiginalqueesteproductoestálibrededefectosdematerialymanodeobra
duranteeltiempoqueustedseapropietariodesuMultiTorchSparkoMultiTorchBrass.Estagarantíaes
válidaparatodaslascomprasdeMultiTorchSparkyMultiTorchBrassapartirdel1demayode2023.Esta
garantíanoseaplicaalosproductosquehayansufridodañoscomoconsecuenciadeunmantenimientoina
decuado,unaccidenteuotrousoindebido,oquenofuncionendebidoaldesgastenormal.Estagarantía
quedaanuladasielproductoesreparadoomodicadodecualquierformaporcualquierpersonaajenaa
Sievert.
12.2 Sievertsustituiráelproductosipresentadefectosdematerialodefabricación.LaúnicaobligacióndeSievert
yelúnicorecursodelclienteenvirtuddeestagarantíaselimitanadichasustitución.
12.3 Parahacerunareclamaciónenvirtuddeestagarantía,póngaseencontactoconcualquierdistribuidorde
SievertodiríjasedirectamenteaSievert,tel.(815)639-1319.Cuandopresenteunareclamación,faciliteun
comprobante de la fecha de compra.
12.4 Sievertnoofreceningunaotragarantíaenrelaciónconlosproductos.Sievertnoseresponsabilizaenningún
casodedañosincidentalesoconsecuentes.Algunosestadosnopermitenlaexclusiónolimitacióndedaños
incidentalesoconsecuentes,porloquelalimitaciónoexclusiónanteriorpuedenoseraplicable.
12.5 Estagarantíaleotorgaderechoslegalesespecícosytambiénpuedetenerotrosderechosquevaríandeun
estado a otro.
ADVERTENCIA
Estesopleteprofesionalseutilizaconunproductoinamable.Sinosecumplenestas
advertenciaseinstrucciones,sepuedeproducirunaexplosiónounincendioquepueden
causar daños materiales, lesiones corporales graves o la muerte.
Esteproductopuedeexponerloaproductosquímicoscomoelplomo;elestadodeCalifornia
hadeterminadoqueelplomoescancerígenoyproducedefectoscongénitosuotrosdaños
alsistemareproductivo.Paraobtenermásinformación,visitewww.P65Warnings.co.gov.
Láveselasmanosdespuésdeluso.
ESP
IMPORTANTE: Lea atentamente estas instrucciones y familiarícese con el production antes de conectar
el aparato al cilindro de gas. Consulte las instrucciones periódicamente para tenerlas presentes. Guarde
estas instrucciones para futuras consultas, Este aparato debe utilizarse exclusivamente con cilindros de
gas Sievert. Puede ser peligroso intentar conectar otros tipos de cindros de gas.
This manual suits for next models
1
Table of contents
Languages:
Other Sievert Burner manuals
Popular Burner manuals by other brands

Beckett
Beckett CG10(A) Setup guide

Beckett
Beckett CG15 manual
Riello
Riello RG2D Installation, use and maintenance instructions
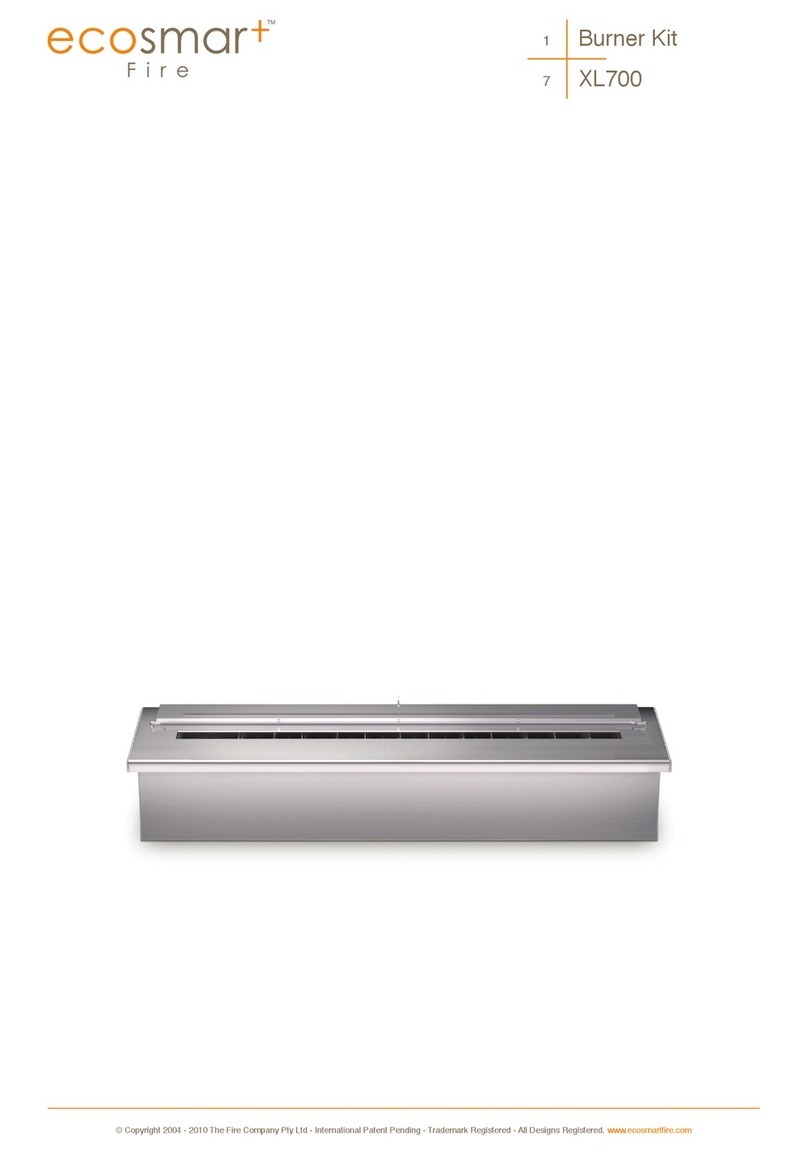
Ecosmar+
Ecosmar+ XL700 user manual

Riello Burners
Riello Burners RLS 300/BP MX Installation, use and maintenance instructions
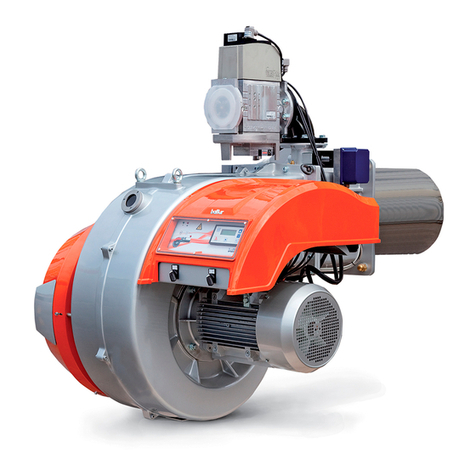
baltur
baltur TBG 800 MC Instruction manual for installation, use and maintenance

Sime
Sime FUEL 25 ErP Installation, use and maintenance instructions

Unigas
Unigas HP20 Manual of installation - use - maintenance
Inciner8
Inciner8 A400-G Operator's manual
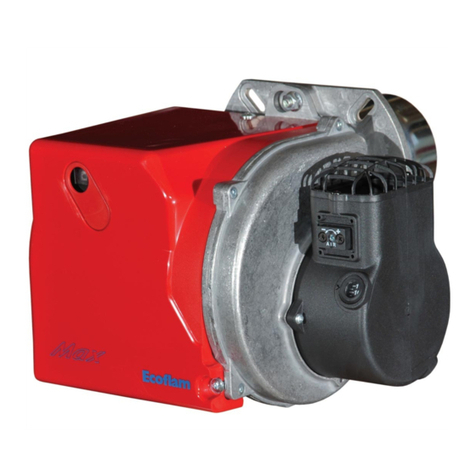
Ecoflam
Ecoflam MAIOR P 150.1 AB manual

Carlisle Machine Works
Carlisle Machine Works Welder instruction sheet

elco
elco CB-PL2.190 L Original operating instructions
