Sigberg Audio Inkognito 10 User manual

S I G B E R G
A U D I O
INKOGNITO
10/12
USER MANUAL

WE CAN’T WAIT TO PLAY
YOUR FAVORITE MUSIC!

INTRODUCTION
Thank you for purchasing a Sigberg Audio product. We
have done our best to provide a high quality product
that will be yours to enjoy for many years to come.
Please read this manual carefully to ensure that you
get the most out of your investment! It includes
information about how to install, set up and care for
your subwoofer.
INKOGNITO 10 / 12 USER MANUAL © 2020 Sigberg Audio 3
INSTALLATION &
SETUP
For advice on optimal placement of
your subwoofer, please refer to the
articles section of our website:
www.sigbergaudio.no

ON-WALL
INSTALLATION
Start by carefully placing your subwoofer upside down (driver facing towards
the ceiling) on a soft surface like a rug or a sofa.
Install the bottom two feet (there are four included) by inserting them all
the way by hand. Make sure to include the nut and washer.
Install the subwoofer mount with the included bolts and locking washers.
Securely mount the included wall mounts with screws appropriate for the
material. Make sure the screws are of the right type and of appropriate
length to be able to carry the sustained weight of the subwoofer.
Recommended minimum 60 mm. If you have a drywall, consider locating
two studs – mount directly in drywall at your own risk. Also take the time to
measure carefully to ensure it is mounted completely level.
Carefully lift the subwoofer and hang it on the wall mount. Center it within
the wall mounts to minimize transfer of vibrations to the wall.
INKOGNITO 10 / 12 USER MANUAL © 2020 Sigberg Audio 5

FLOOR
INSTALLATION
Start by carefully placing your subwoofer upside down (driver facing towards
the ceiling) on a soft surface like a rug or a sofa.
Install all four feet (included) by inserting them all the way by hand. Make
sure to include the washer and nut on each foot.
Carefully place the subwoofer on the floor at the location you want it.
Slightly adjust as necessary to compensate for uneven flooring, then tighten
the nut against the subwoofer.
INKOGNITO 10 / 12 USER MANUAL © 2020 Sigberg Audio 6

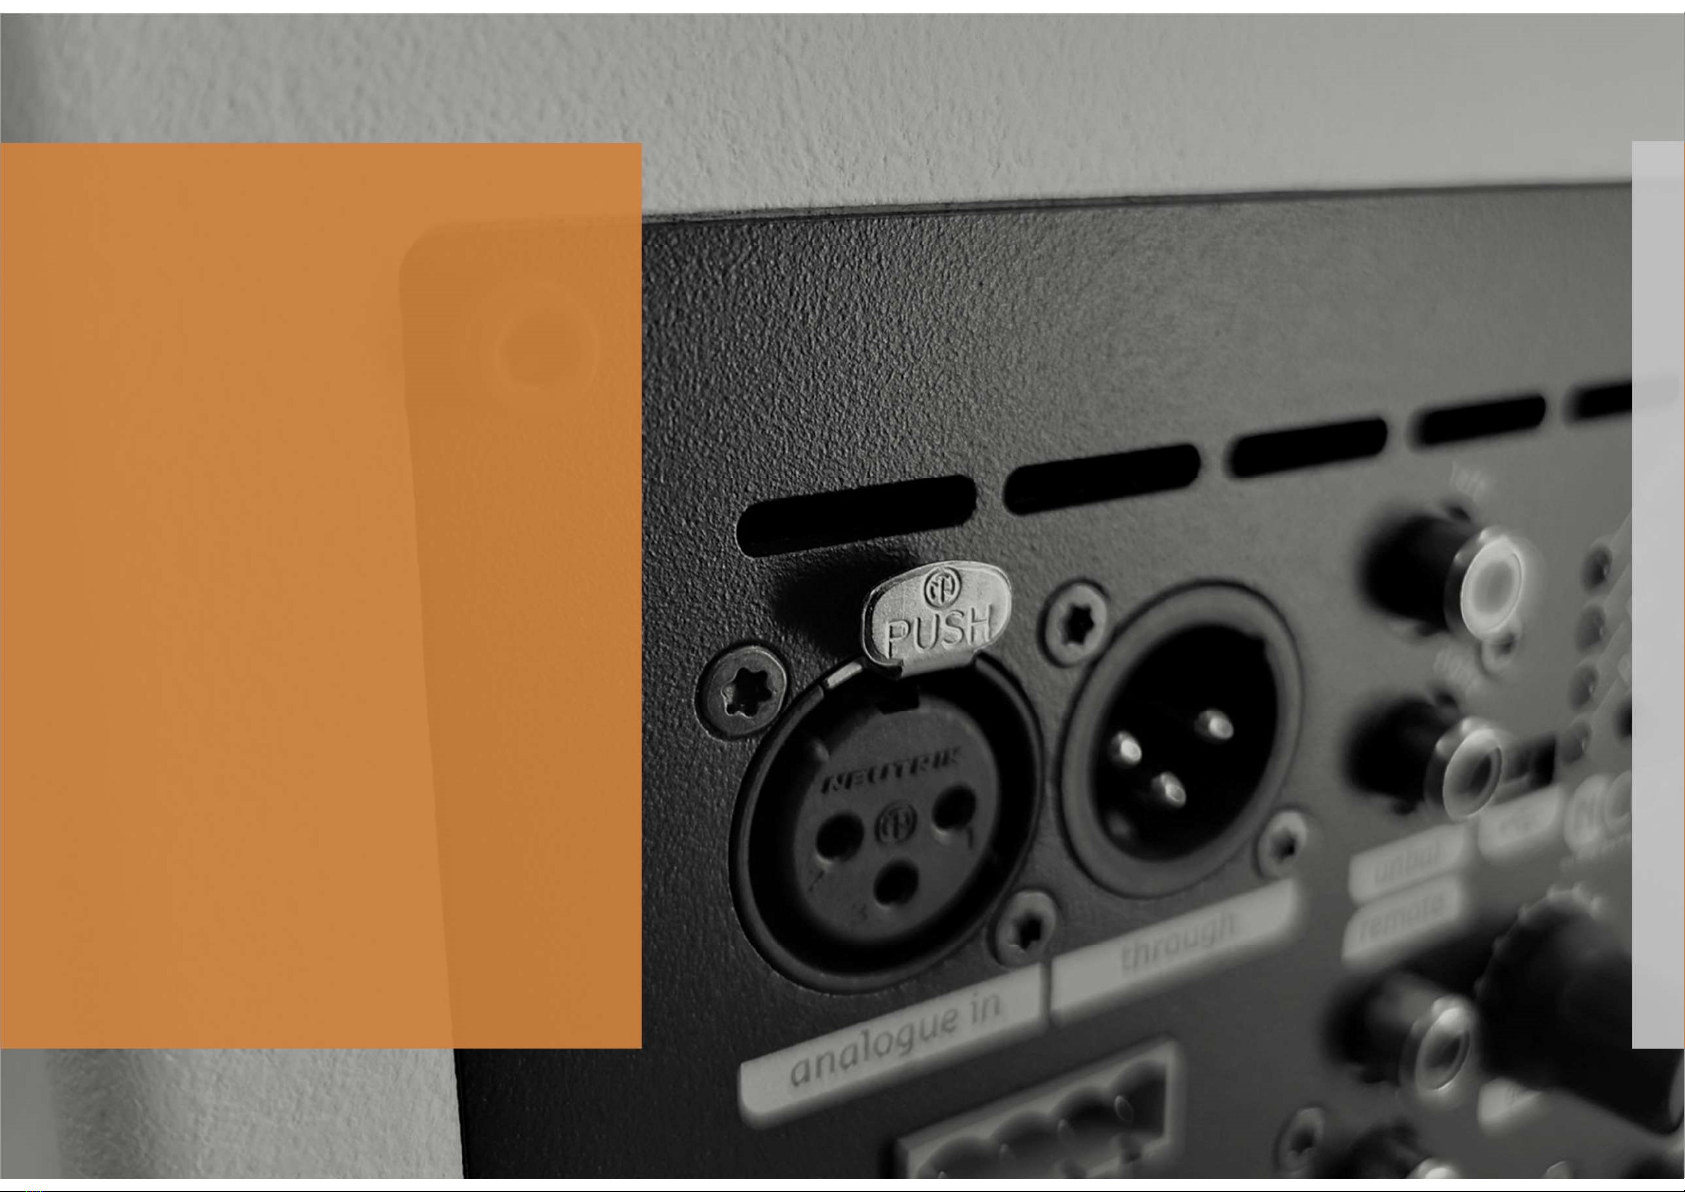
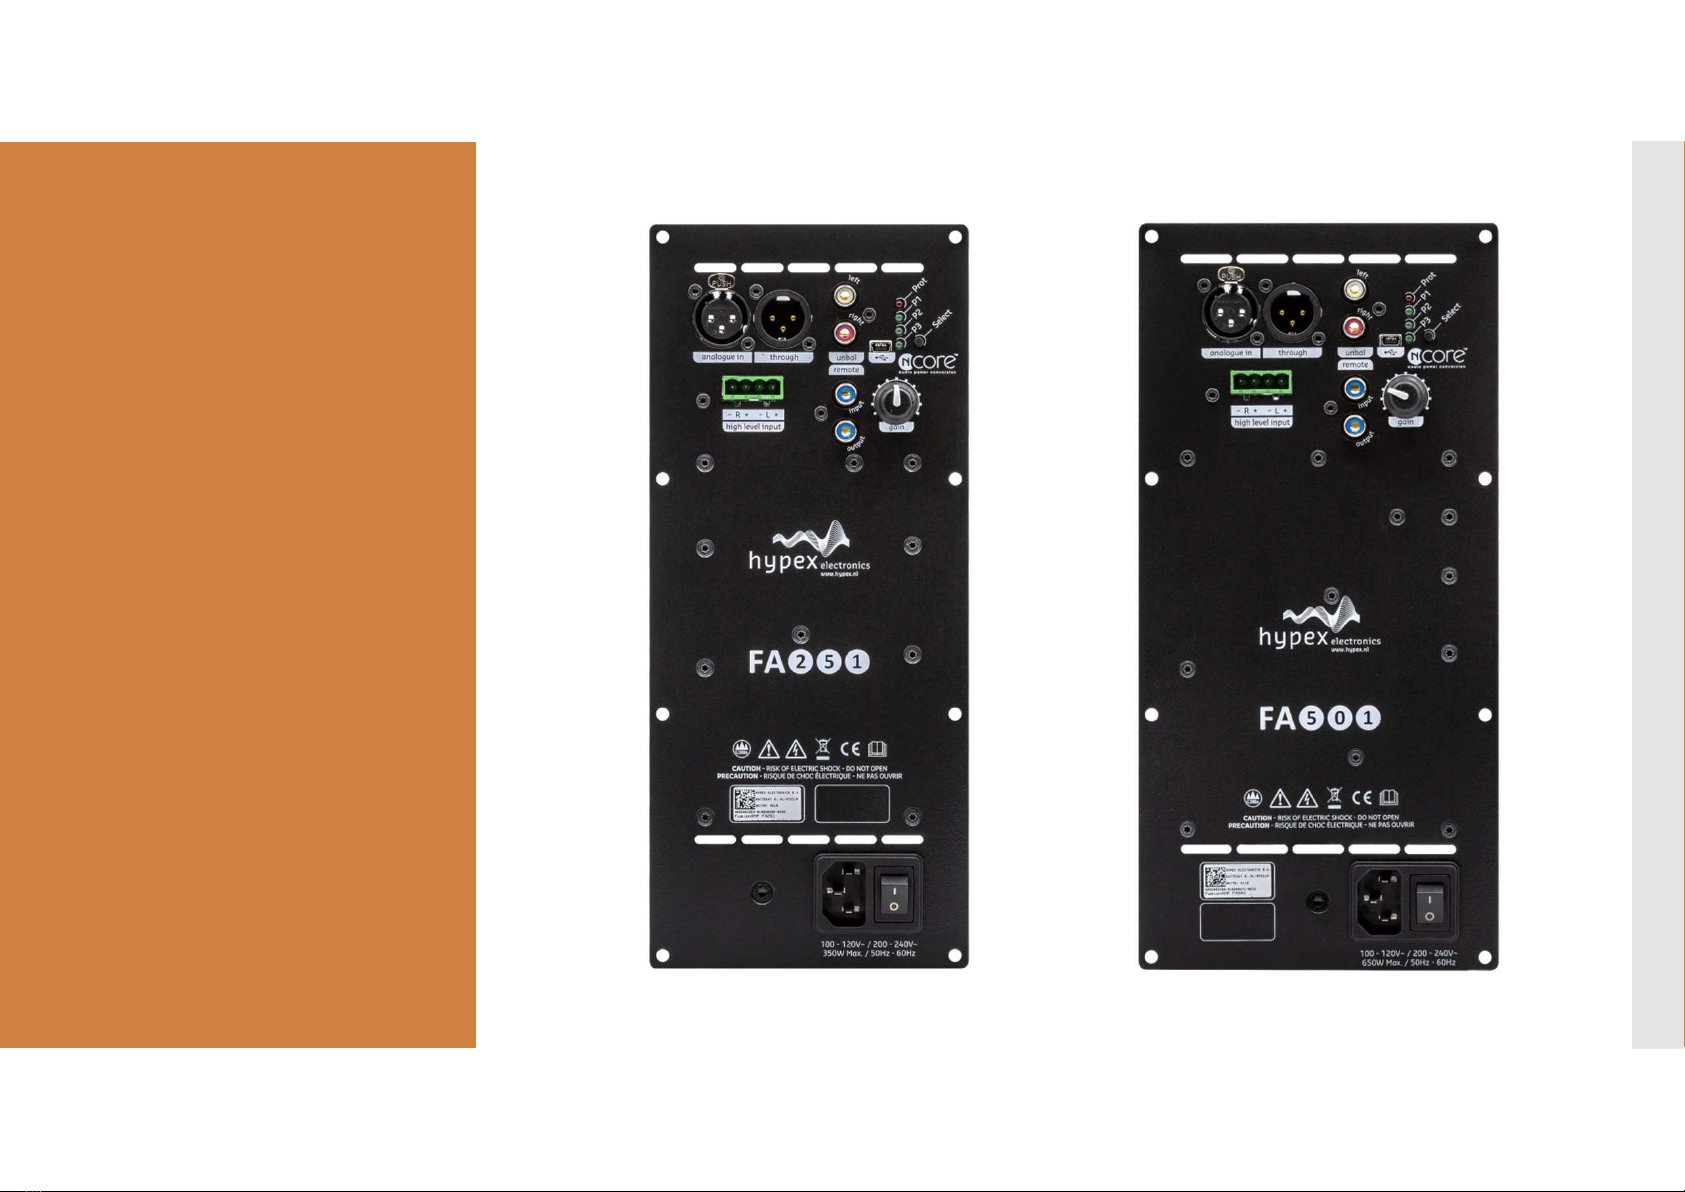
CONNECTIONS
Balanced (XLR) connection
Balanced analogue input and through output.
Unbalanced (RCA) connection
A stereo input signal is internally mixed to mono. For mono
use, simply connect only one of the channels (left or right) or
use anY-split.
High level input
The high level input can be used to connect to your existing
amplifier if no pre-out is available (use included adapter).
USB input
Connect your laptop to access the parametric EQ.
Otherwise for maintenance / service only.
USB audio not supported
INKOGNITO 10 / 12 USER MANUAL © 2020 Sigberg Audio 7
BASIC
OPERATIONS
BASIC
OPERATIONS
INKOGNITO 10 / 12 USER MANUAL © 2020 Sigberg Audio 9
Amplifier overview

BASIC
OPERATIONS
Powering on and off
We recommend leaving the subwoofer on, unless it will not be used for an
extended period of time.
Gain
Default position is directly up (“12 O’clock”). The Gain can be offset up to 12dB
in each direction from the default position. Increase gain with care, as
distortion may occur if the input level is too high.
Presets
3 EQ presets are available to adjust the low frequency characteristics of the
sound (see next chapter for more information).
Click the “select” button on the back of the subwoofer to switch between
presets.
The green LED lights marked P1 / P2 / P3 will indicate the active setting.
INKOGNITO 10 / 12 USER MANUAL © 2020 Sigberg Audio 10

PRESETS &
EQUALIZER

EQ
MODES
Preset 1 or 2 is recommended when the subwoofer is connected to a
surround receiver.
Run the room correction software on your receiver while in the default Preset 1
setting, and the subwoofer gain set to the default 12 O’clock setting.
A slight increase (3 to 6dB) in subwoofer volume is often necessary to
compensate after the room correction procedure is completed. You can do this
by carefully adjusting the gain either on the subwoofer, or in the Levels menu
of your receiver until you are happy with the level of bass. Keep the Subwoofer
level on your receiver at -3.0dB or below to avoid distortion.
You may also manually experiment to set the preferred crossover for the
subwoofer. Please refer to your receiver user manual on how to adjust gain and
crossover.
You do not have to re-run the room correction setup in your receiver when
switching between settings.
To get the most out of your subwoofer and increase the headroom of your
main speakers, we recommend a crossover of 80hz or higher for most
speakers.
Preset 3 is optimized for use with a stereo amplifier, and has a fixed
crossover of 40hz.
Note: A subsonic filter is enabled in all modes to protect the driver.
INKOGNITO 10 / 12 USER MANUAL © 2020 Sigberg Audio 12
Your subwoofer has three
presets for crossover and
EQ.
Their features and use
cases are described here,
but feel free to
experiment with what
works best for your setup.

EQ
MODES
Preset 1: Deeper (160hz low-pass) DEFAULT
The DSP will enable a lift of the lowest frequencies, in order to accurately portray the
deepest bass present in movies and some music.
This is the default setting, and recommended for most situations (both music and
movies).
Note that deeper bass means reduced maximum volume, especially if it is
combined with additional lift from room calibration in your receiver. If you’re
playing a movie at reference level and experience distorted playback, choose
Preset 2: Louder to increase subwoofer headroom.
Preset 2: Louder (160hz low-pass)
The DSP will favor a more neutral bass response.
In this setting the subwoofer plays closer to its natural low frequency roll-off. This
will give the subwoofer more headroom and allow you to play louder (2-4dB), but
reduce the output of the very lowest frequencies.
Preset 3: Stereo (40hz low-pass)
Use this setting if you don’t have crossover functionality in your amplifier.
This subwoofer is designed to be used with a surround receiver or processor, in
which case preset 1 or preset 2 will give the best results. Preset 3 is recommended
when you connect to an amplifier without crossover capabilities. A fixed crossover
of 40hz is enabled to minimize overlap with your main speakers.
INKOGNITO 10 / 12 USER MANUAL © 2020 Sigberg Audio 13
Click the “select” button
on the back of the
subwoofer to switch
between presets.
The green LED lights
marked P1 / P2 / P3 will
indicate the active
setting.

MANUAL EQ
Important note
Equalizing bass response is an advanced topic, and learning how to do that is beyond
the scope of this user manual. Feel free to reach out to us if you have additional
questions about this. Please do not randomly change things in the equalizer if you don’t
know how to do it. Worst case, you may damage your subwoofer.
Basic instructions for the Parametric EQ
The EQ should be used primarily to reduce peaks caused by room nodes in order to
achieve a smoother in-room response, not add boost.
With the HFD software active and subwoofer connected, click the «EQ» button in
the HFD interface. To add a filter, simply click one of the 10 circles in the graph and
change the desired parameters.
Center frequency: The frequency you want to boost / cut
Q factor: A low number means a wider frequency range is affected, a higher number
means a more narrow frequency range is affected.
Gain: Add a positive number to increase (boost) volume in the selected frequency
range, and a negative number to reduce (cut) volume.
Tip: Trying to use all ten filters to perfectly smoothen the response isn’t always a
good idea. Two or three well placed filters may actually sound best even though the
result isn’t perfectly flat.
Warning: We strongly advice against adding boost beyond 3dB. Also, do not try to
boost nulls/dips in the frequency response created by your room. This will only drain the
amplifier of power without adding much extra sound. Use cuts to reduce peaks instead.
INKOGNITO 10 / 12 USER MANUAL © 2020 Sigberg Audio 14
The software needed to
access the parametric EQ
can be downloaded from
www.sigbergaudio.no
After installing the
software, locate the Hypex
filter designer and launch
the software. Connect the
subwoofer to your computer
via the included USB cable,
and the software will
automatically detect your
subwoofer.
(Windows 7 or higher
required)

WHEN YOU’RE DONE READING,
LET’S WATCH A MOVIE!

HELP YOUR
SUBWOOFER
BLEND IN

BLENDING IN
WITH YOUR
INTERIOR
The Inkognito subwoofers are designed to blend into a modern interior. Here
are a couple of suggestions on how to do it.
Placing something on top of the subwoofer
The subwoofer does not vibrate much during playback, so placing something
like a plant on top of the subwoofer will be perfectly fine, and will not affect
sound quality. To avoid damage to the finish, we would recommend that
something soft like a table cloth or rubber plate is placed between the
subwoofer and hard objects like i.e ceramic flower pots.
The Inkognito subwoofer will do a great job posing as a side table or decorative
table. However, we do not recommend using the subwoofer as your primary /
every day table. The surface is not designed to withstand heavy abuse.
Note: If you want to really crank it up while watching the latest action movie,
you may want to temporarily remove any object from the subwoofer. The laws
of physics dictates that low frequency content will activate the subwoofer
cabinet during very loud playback.
INKOGNITO 10 / 12 USER MANUAL © 2020 Sigberg Audio 17

BLENDING IN
WITH YOUR
INTERIOR
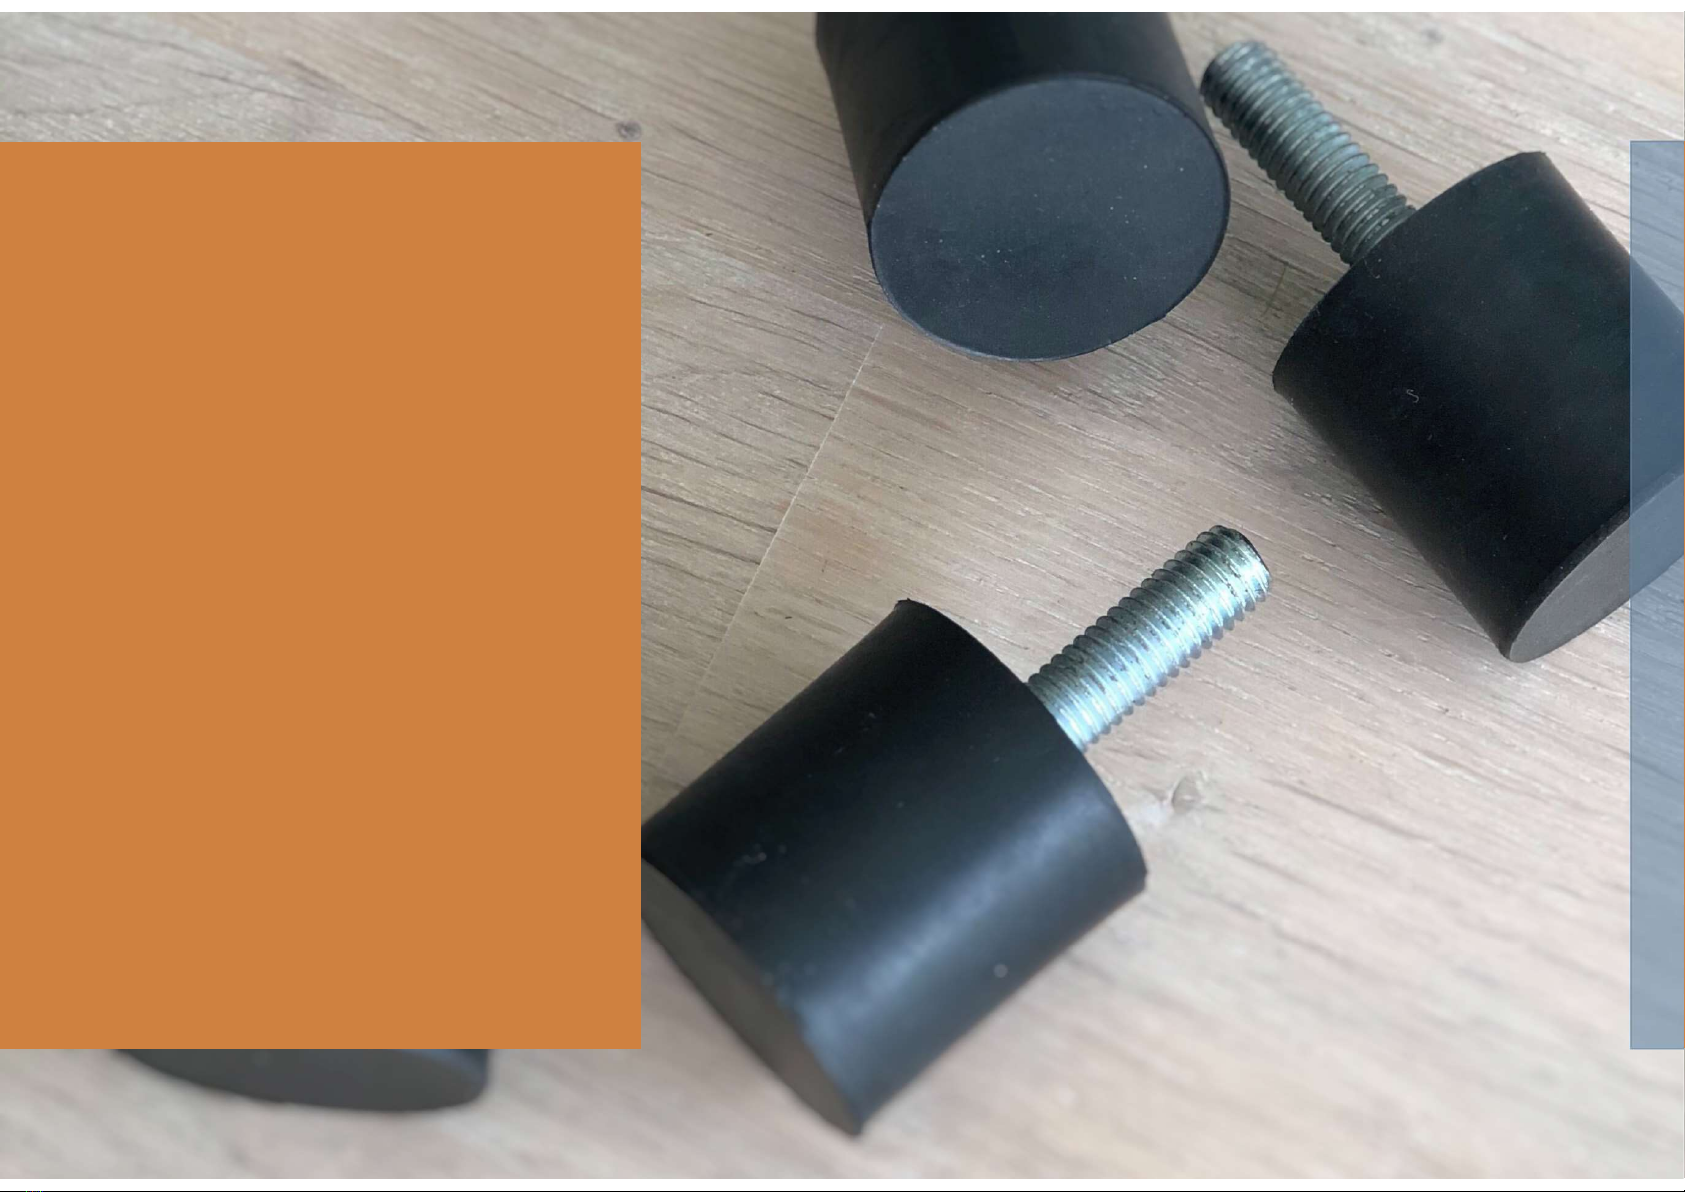
Using alternative feet
For maximum sound quality we recommend using the included feet. They are
designed to minimize vibrations as well as provide the optimal distance
between the subwoofer driver and the floor. They can however be replaced by
any feet designed for furniture like sofas, with minimum reduction in sound
quality.
We chose the required M8 thread size specifically because it is very common
for furniture feet. If replacing the feet, we recommend that you put a soft
furniture pad between the feet and the floor to minimize vibrations.
IMPORTANT NOTE
If you install alternative feet, you MUST ensure a minimum distance of 30 mm
to the floor. Otherwise you may cause the driver to physically hit the floor
during playback, and subsequently damage the driver. Damage to the driver
due to physical impact with surfaces or objects will not be covered by
warranty.
INKOGNITO 10 / 12 USER MANUAL © 2020 Sigberg Audio 18

CARE &
MAINTENANCE
Remove dust with a microfiber cloth.
Remove stains by wiping it carefully with
a damp microfiber cloth. Do not use any
cleaning solvents or soap, as this may
damage the surface. Periodically check
that all cables are connected properly,
and that the subwoofer is securely
installed on or against a level surface.
If situated on the floor, also check
under the subwoofer for toys or other
objects. The long-throw driver moves
almost to the floor during loud playback.
Hitting an object may damage the driver.
Control / tighten the screws holding the
subwoofer driver every 6 months. Do not
overtighten, and cross tighten like you
would the wheels on a car.
INKOGNITO 10 / 12 USER MANUAL © 2020 Sigberg Audio 19
TECHNICAL
SPECIFICATIONS
Frequency response: 25-160hz (+/-3dB)
Bass driver: 10” long throw aluminium
•3 EQ/Crossover presets + 10 band Parametric EQ
•Gain
•Inputs: Balanced / Unbalanced
Amplifier: 250W RMS / 500W Peak - Class D with DSP
•Low Line input voltage: 100-120Vac ±10%
•High Line input voltage: 200-240Vac ±10%
•Max power consumption: 350W
Power (Auto switching)
•Width / Height / Depth: TBA / TBA / 155 mm
•Included feet adds an additional 30 mm
Dimensions
Weight: 20kg
INKOGNITO 10 / 12 USER MANUAL © 2020 Sigberg Audio 20
INKOGNITO 10
We strive to continuously
improve our processes and
products, so specifications
are subject to change
whenever advancements
are made
This manual suits for next models
1
Table of contents
Other Sigberg Audio Subwoofer manuals


