Page 2 SigtronicS WireleSS HeadSet SyStem WWW.SigtronicS.com
SYSTEM INSTALLATION
Base Unit Placement. There are a few factors to consider when
selecting a mounting location for the Wireless Base Unit:
The base unit to headset signal will be strongest when the base unit
is placed in an exposed position – not tightly closed in by metal. This
could be on top of the dash, on top of the UltraSound intercom, or
attached to the over head console.
1. The unit should be placed in such a way that the cable on the
unit can be easily connected in-line with the UltraSound intercom
P1 – J1 connector.
2. The location selected requires a minimum area of 2” high by 5”
wide by 3” deep. Verify that the base unit and cables will not
interfere with the normal operation of any vehicle controls or
the operation of vehicle compartment doors.
3. Set the base unit in the selected area and mount with four of
the hex head self drilling screws. For most applications* these
screws can be installed with no pre drilling. Just power in the
screws with a standard electric driver with a 5/16” hex bit.
Charger Power Connection and Mounting. The charging unit will
run on 11-16 VDC. Select a location for the charger that is accessible
to the SE-9 headset for charging.
1. Verify that the charger and cable will not interfere with the
normal operation of any vehicle controls or the operation of
vehicle compartment doors.
2. Make sure that the vehicle power is turned o before connecting
the charger power wire. Connect the Red wire to +12V power
through the 1 amp fuse. Connect the green wire to the vehicle
chassis ground. Coil the fuse and excess wire. Secure out of the
way – such as in the head liner.
3. Place the cable clamp in the selected area and mount with the
hex head self drilling screw. For most applications* this screw
can be installed with no pre drilling. Just power in the screw with
a standard electric driver with a 5/16” hex bit.
* No pre drilling required for aluminum and steel. 1/8” inch pilot hole
will still be required with some stainless steels.
SYSTEM OPERATION
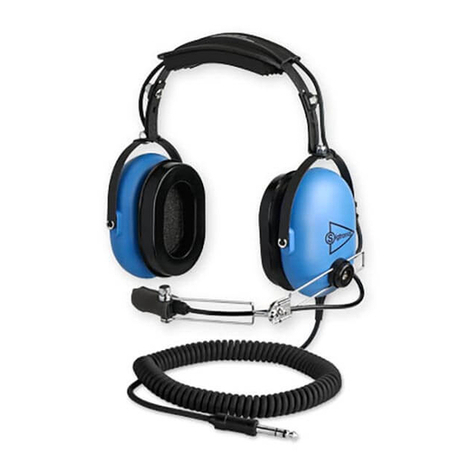
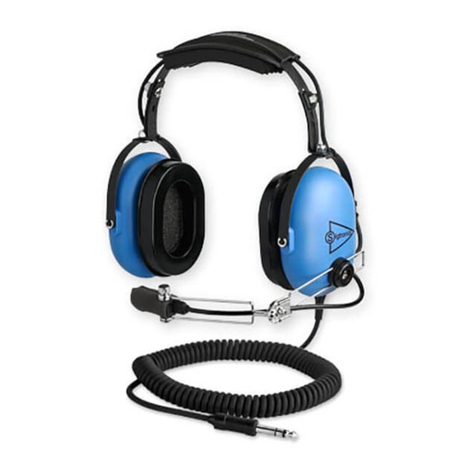
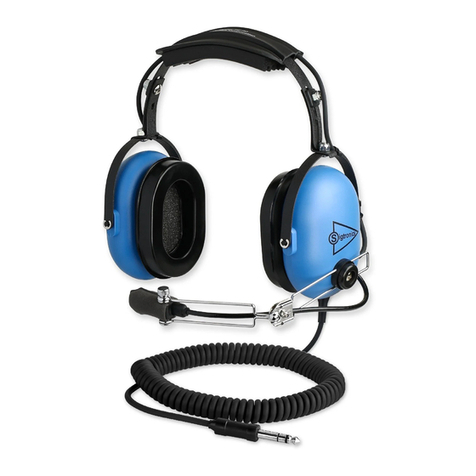
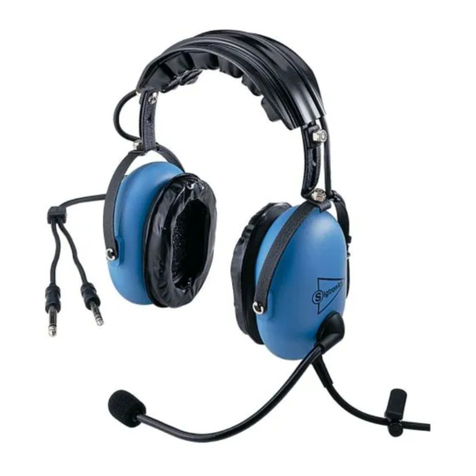
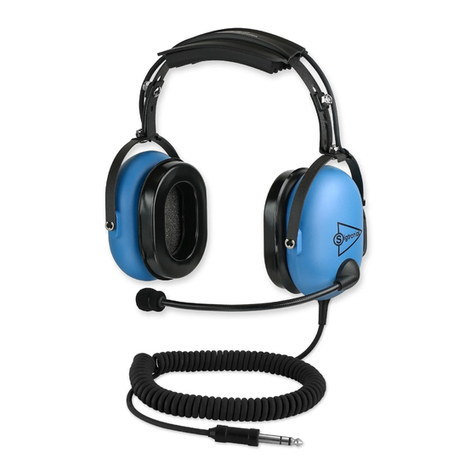
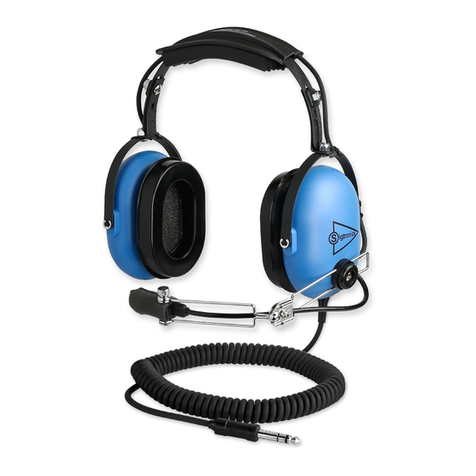
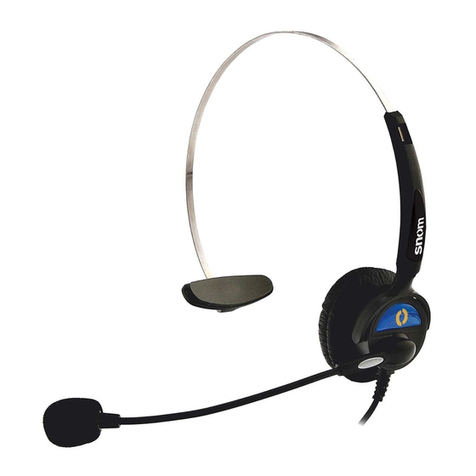
Headset. Adds a headset position to the existing intercom - does
not disable any existing wired headset position. The wired headset
PTT’s work as before. Pressing a wired PTT button sends out the
corresponding wired headset mic audio to the radio and mutes all
the other microphones.
Pressing the SE-9 wireless PTT sends the wireless mic audio out to
the radio and mutes all the other headset mics on the intercom.
The wireless Base Unit is electrically tied to the Drivers headset posi-
tion. If the drivers wired PTT and the SE-9 wireless PTT are pressed
at the same time the SE-9 wireless mic takes priority.
Unplug the charger from the wireless headset before use.
To turn the headset on – The headset will automatically turn on
when placed on the head. The Intercom on the vehicle also has
to be on and powered up. Link time between the headset and
base unit is 5 to 7 seconds after the headset turns on.
To turn the headset o – Take headset o of your head. The
headset will automatically turn o after about 2 minutes.
To adjust for dierences in hearing, the headset has a limited range
volume control just like Sigtronics wired headsets.
Control intercom volume and squelch as normal via the intercom
controls. Control the radio’s volume with the radio volume controls
as normal.
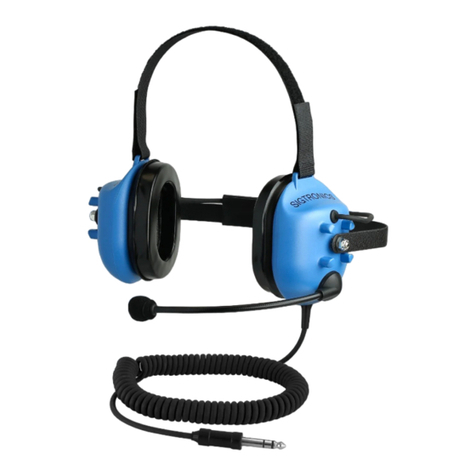
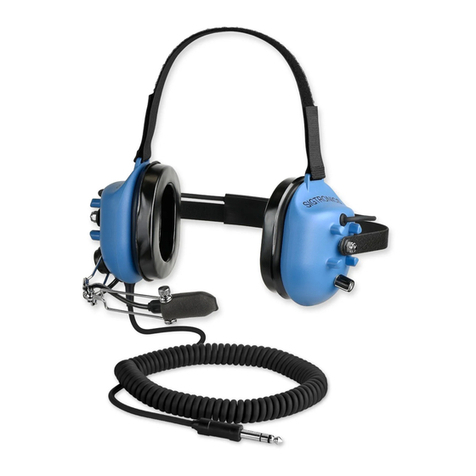
Radio PTT Switch. The radio PTT button is located on the lower
back part of the right cup. While wearing the headset, put your right
hand nger tips on the word SIGTRONICS on the right ear cup. Your
thumb should easily nd the PTT button.
The headset has a range of up to 300 ft. from the base unit.
Batteries. Any AA size batteries may be used in the headset. Only
Nickel Metal Hydride (NiMH) rechargeable batteries are approved
for use with the Sigtronics charger.
Charging. Verify that approved rechargeable batteries are in
the unit. The end of the Charging Tube changes color to indicate
the state of the batteries charge. When plugged into headset:
Blue: Means charging. (Takes about 2.75 hours to charge from
dead batteries to fully charged). Note that the charger
tube gets warm during charging, this is normal. You may
leave the charger plugged in as long as you need to as
the charger shuts down when the batteries are charged.
Green: Means charged.
Red: May indicate a battery problem. Verify that the proper
rechargeable batteries are in the unit. Unplug and plug
back in. If after 2 or 3 tries, the indicator is still red, one or
both batteries may have failed. Replace.
O: Charger lost power, is not plugged into the wireless head-
set, batteries are in backwards, or no batteries installed.
Battery Life. The batteries will last about 30 hours starting at a full
charge. Charging once a day should be all that is needed.
Low Battery Indication. A low battery warning tone is heard in
the headset if batteries are getting low. The tone repeats at faster
intervals as battery charge gets lower and lower. The headset turns
o if batteries are about to get too low.
CHARGING PLUG
BATTERY BOX
Press
to
Lock
Press
to
Unlock
Battery Box Door


