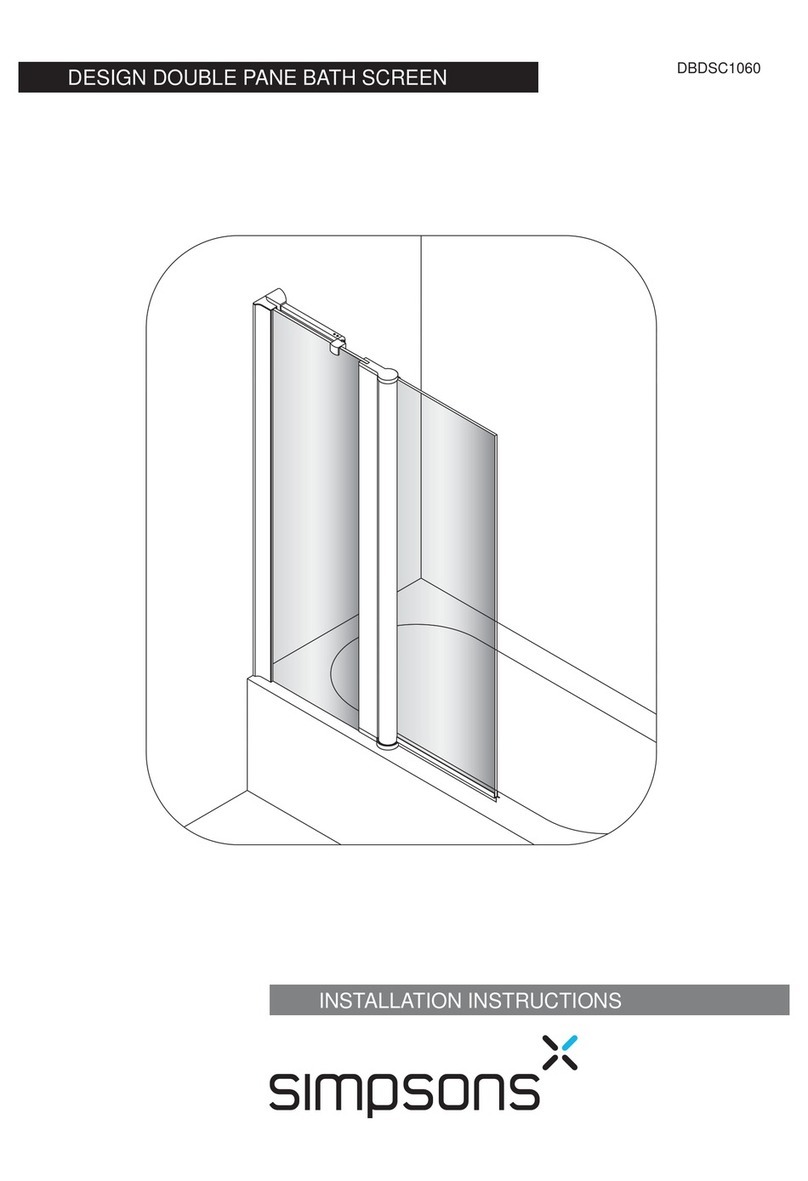
Simpsons SUPREME LUXURY CURVED QUADRANT User manual

LUXURY CURVED QUADRANT SUPREME
INSTALLATION INSTRUCTIONS

All Supreme shower doors and panels are fully assembled and
are reversible for left or right hand tting, simply turn the door or
panel up side down.
The Supreme doors come with the two wall channels pushed
onto each side of the door frame. The side panels and inline
panels do NOT come with wall channels, you must use one of the
channels from the door.
The installation instructions are based on typical use and
conditions.
These hints have been prepared for your guidance, you must
exercise due care at all times.
It is recommended that 2 people carry out the installation of this
enclosure.
Handle glass with care. Although the glass supplied is toughened
safety glass (to EN12150), impacts can damage both the glass
and the frame.
Warning! Please check for any hidden pipes or cables before
drilling holes in the wall.
To stop the drill bit slipping, masking tape can be applied to the
tiles when preparing the holes.
When using power tools always follow the manufacturers user
instructions.
Do not sit the enclosure on a bed of silicone, as this will also stop
any water from draining back into the tray.
DO NOT SEAL THE ENCLOSURE TO THE TRAY ON THE
INSIDE
If the enclosure is sealed to the tray on the inside, any water that
may get into the framework will not be able to drain back into the
tray, this may cause the enclosure to leak.
Leave the silicone sealant to dry for 24 hours before using the
enclosure.
Do not use solvents or abrasive materials or chemicals to clean
the enclosure.
Only clean using soapy water and a soft cloth, rinse thoroughly
afterwards.
Apply more of the supplied lubricant to the inside of the top and
bottom tracks (where rollers make contact) when necessary.
Please read these instructions carefully before starting
installation and keep in a safe place for future reference.
Check the contents of the pack carefully before installation.
Simpsons will not be held responsible for any de-t / re-t costs
where faulty product has been tted.
If any fault is found with materials or workmanship, it must be
reported immediately to the manufacturer. Remedial action will
be taken, based on information received, on condition that: 1. Full
details are supplied to the manufacturer; 2. The enclosure has not
been modied or tampered with; 3. The manufacturer is informed
of any damage/shortages prior to installation.
We do not accept responsibility for any problems that may occur
through incorrect installation.
The success of the installation and operation of any shower
enclosure is, of course, dependant on the squareness, alignment
and construction of the walls to which xing is to be carried out.
VERY IMPORTANT
You must complete all tiling and grouting, and the shower tray
MUST be level and fully sealed to the tiles before installation. If
you do not t the enclosure onto a tiled surface, or seal the tiles
to the tray before installation, water may soak into the wall behind
the wall channels.
IMPORTANT - Please read before installation
INSTALLATION - Advice and safety
CARE AND CLEANING
1

CURVED QUADRANT
A
B
C
D
Drill, 6.5mm Masonry drill bit, 3mm General drill bit, Phillips screwdriver, Spirit level, Pencil, Scissors, Silicone sealant.
Tools and equipment needed
CONTENTS
10mm Screw x 4
10mm Flat screw x 4
30mm Flat screw x 16
Wall plug x 8
2
E
F
Cover & cap x 4
Plastic clip x 4
G
H
Plastic plug x 12
Top roller x 4
I
J
Bottom roller x 4
Handle x 2
K
L
Magnetic seal x 2
Plastic strip x 2
M
Water seal x 4
N
Wide ap seal x 2
O
P
Lubricant x 1
Narrow ap seal x 2

Step 1
Fix the top and bottom tracks to the rst side prole using 4 x 30mm
at screws (C) as shown. Repeat with the second side prole.
Ensure they are the correct way around, as shown below.
Slide the wall channels fully onto the frame side proles.
Lift the frame and position on the tray and against the walls.
Position the frame so that there is an even gap all the way around
between the frame and the edge of the tray.
Note: The frame must not over hang the tray.
Mark the position of the wall channels onto the walls.
LUXURY CURVED QUADRANT
3
Step 2

Step 3
Remove the frame from the tray and remove both wall channels from the frame. Place
each wall channel in the marked position on the tray, use a spirit level to ensure they are
vertical and mark all 8 xing holes onto the walls.
Drill holes in the positions marked using a 6.5mm masonry drill bit. Insert wall plugs (D)
into all of the holes (beyond the thickness of the tile).
Fix the wall channels to the wall using 8 x 30mm at screws (C).
Note: Inject silicone sealant into the holes before inserting the screws to seal the holes.
Re-t the frame into the wall channels.
Step 4
LUXURY CURVED QUADRANT
4
Push t water seals (M) centrally onto the top and bottom of the
side panels. Push t a narrow ap seals (O) centrally onto the
inner edge of the side panels with the aps on the inside.
Temporarily t the plastic strips (L) onto the outer edge of the side
panels and trim to length. Remove the plastic strips (L) and trim
both ends by 10mm (as shown) and ret.
Side
panel
- inside
face
Side
panel
- inside
face
Ø 6.5mm

Step 5
Select all 8 top and bottom rollers (H & I) and remove the screws
shown (bottom roller shown).
Step 6
Carefully position each side panel inside the enclosure. Insert the
plastic strip (L) edge of the panels into the slot in the side proles.
Ensure the side panels fully insert and sit squarlly.
From inside the enclosure, push t a plastic clip (F) onto the top
and bottom corners of the side panels as shown.
Fix the plastic clips to the top and bottom rails using 4 x 10mm
screws (A) and push t the plastic plugs (G).
LUXURY CURVED QUADRANT
5
Fit all of the rollers on to the doors (bottom rollers onto the bottom
of the doors etc.) and ret the screws.
Push t a magnetic seals (K) onto the handle edge of the doors
and wide ap seals (N) onto the outer edge (with the ap on the
outside) as shown.
Handle
side
Door
- inside face
Inside

Step 7
a: Inside the enclosure, hang the doors onto the top rail (ensure the magnetic seals are
in the middle).
b & c: Push the buttons down on the bottom rollers and position the rollers into the
bottom rail and release the buttons.
d: Adjust the doors to hang correctly. Fully tighten the screws shown under the top roller,
then slacken off as necessary to level the doors making sure they slide freely and the
magnetic seals make contact down their full length.
When the enclosure is fully adjusted, x
the enclosure to the wall channels. From
inside, drill 2 holes through each wall
channel (120mm down from the top and
up from the bottom) into the side proles
Fit the door handles (J) with the grub
screws under the outside handle. First
dismantle the handles using the hexagonal
key supplied. Attach the inner handle
tightening the screws (*) onto the door.
Re-attach the outer handle as shown.
Step 8
LUXURY CURVED QUADRANT
6
a.b. c. d.
using a 3mm drill bit. Ensure the holes are
at least 10mm in from the edge of the wall
channel. Fix using 4 x 10mm at screws
(B) and covers and caps (E), close the
covers.
Step 9
Ø 3mm
*
*
Ø 3mm
120mm
10mm
Outside

Step 10
Sealing inside: Run a line of silicone sealant from top to bottom
down the joint between the wall channels and tiles, also down the
joint where the frame slots into the wall channels.
Do not seal the enclosure to the tray on the inside.
Sealing outside: Run a line of silicone sealant from top to bottom
down the joint between the wall channels and tiles. Run a line of
silicone sealant 100mm up the joint where the frame slots into the
wall channels. Run a line of sealant along the base in the joint
between the bottom of the enclosure and the tray, from wall to
wall.
LUXURY CURVED QUADRANT
Inside
100
mm
For any further information please contact
Simpsons on: 01483 303711
Or visit our web-site at:
www.simpsons-enclosures.co.uk
The manufacturer reserves the right to make technical
modications without prior notice.
FINISHING
Apply lubricant (P) to the inside of the top and bottom tracks (where rollers make contact), wipe off any excess.
Step 11
Table of contents
Other Simpsons Bathroom Fixture manuals
Popular Bathroom Fixture manuals by other brands

agape
agape NIVIS ACER0763FP0 Series Assembly instructions

April
April Identiti Matrix Wetroom Panel installation instructions
RIHO
RIHO GRID GB400 installation manual
Sanela
Sanela SLZA 28 Instructions for use

Hans Grohe
Hans Grohe Ecostat E 15773000 Instructions for use/assembly instructions

Kohler
Kohler K-792-H2 Homeowner's guide

Stella
Stella ROMA Installation & user guide
OPHARDT HYGIENE
OPHARDT HYGIENE SanTRAL Plus SMART OBU 25 instruction manual

INDA
INDA B2520 installation instructions
Intra
Intra Piezo SLS 01NPB Instructions for use
Graff
Graff E-9960-T Instructions for assembly and use
Clou
Clou Flush 3 CL/03.80031 installation instructions
