manuals.online logo
Brands
  1. Home
  2. •
  3. Brands
  4. •
  5. April
  6. •
  7. Bathroom Fixture
  8. •
  9. April Identiti Matrix Wetroom Panel User manual

April Identiti Matrix Wetroom Panel User manual

6
PH2 TYPE
2.75
INSTALLATION INSTRUCTIONS www.aprilproducts.co.uk
Tools Required
Lifetime Product Guarantee
ATTENTION!
Are you fitting this April enclosure to an April
shower tray?
The Lifetime Product Guarantee is only valid
when an April enclosure is fitted with an April
shower tray and are used and maintained in
accordance with the manufacturer’s instructions
(guarantee excludes seals and magnets).
When April enclosures are used with any other
shower tray the guarantee period is limited to
10 years.
Please see our website for full Terms &
Conditions.
To activate your Product Guarantee please visit
www.aprilproducts.co.uk and complete the
online form.
Matrix Wetroom Panel
1
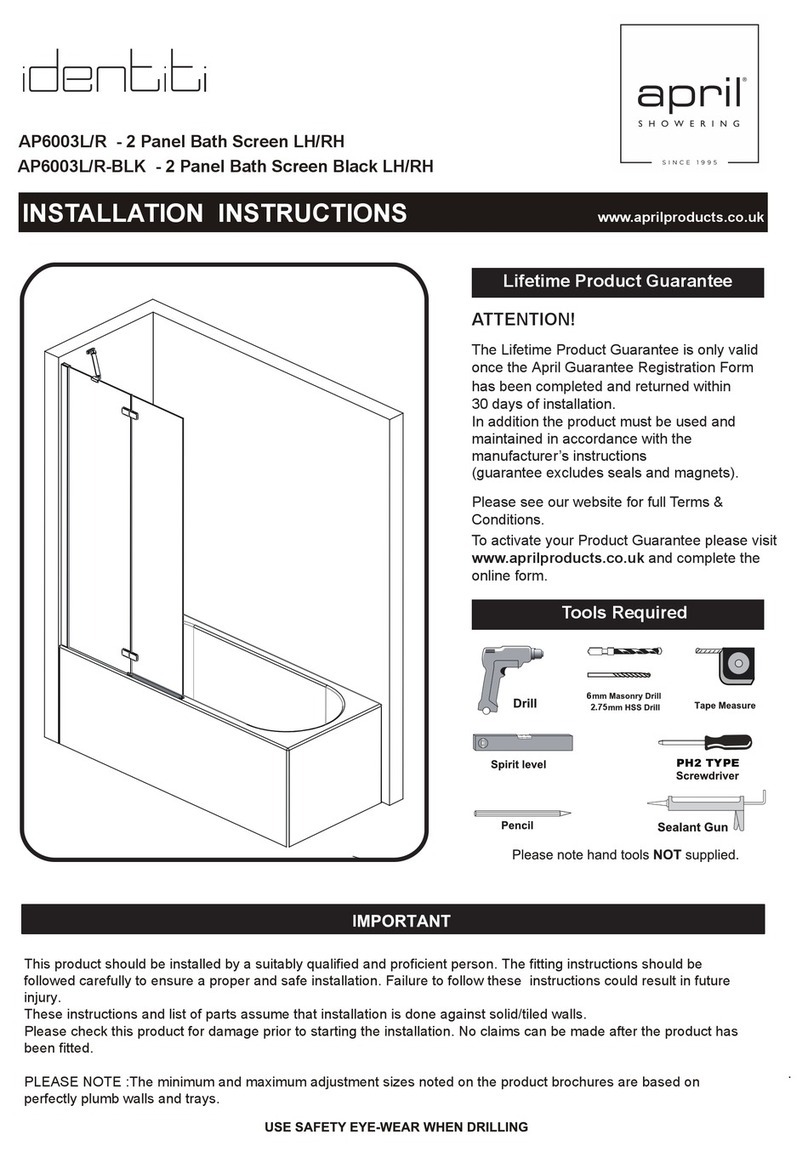
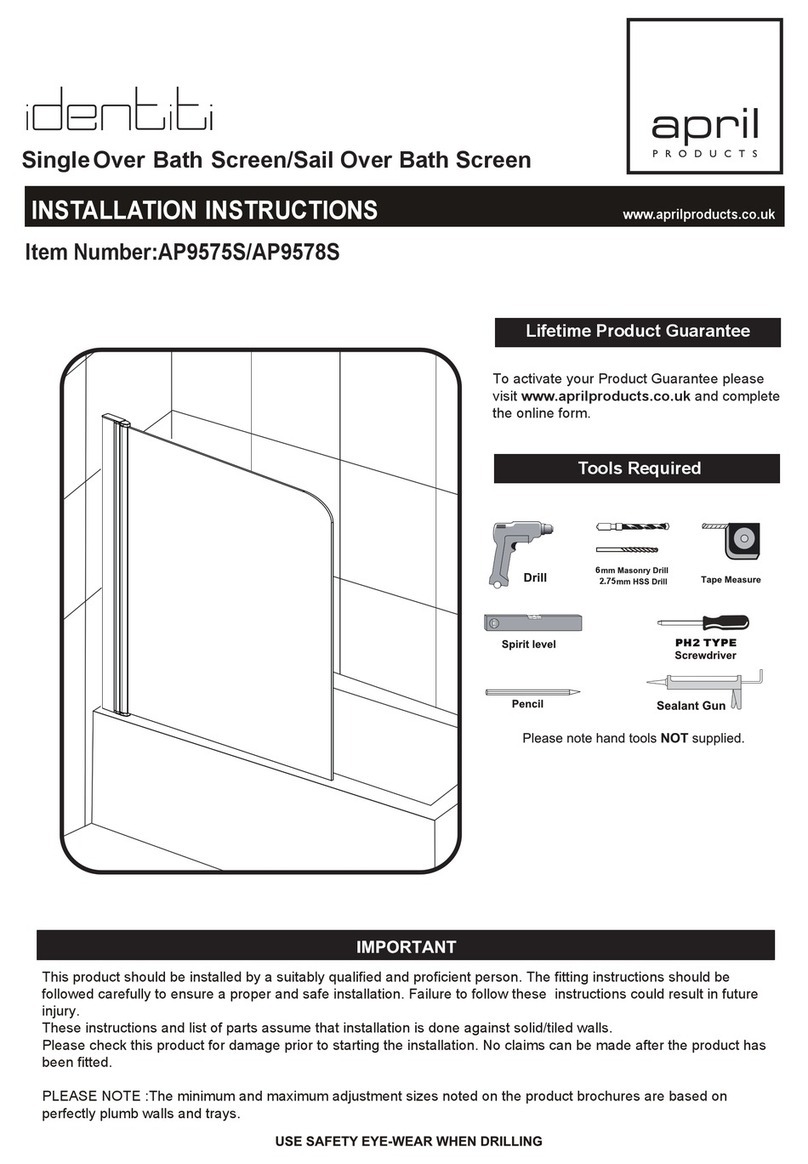
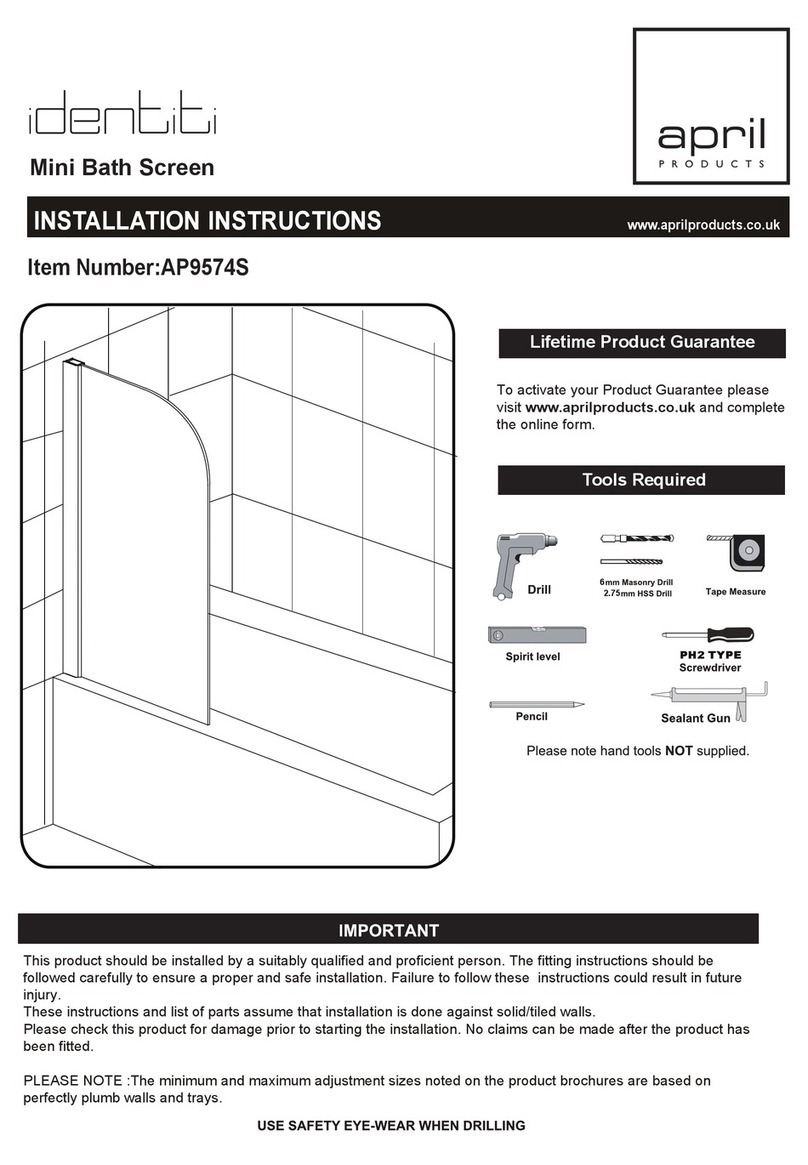
This product should be installed by a suitably qualified and proficient person. The fitting instructions should be
followed carefully to ensure a proper and safe installation. Failure to follow these instructions could result in future
injury.
These instructions and list of parts assume that installation is done against solid/tiled walls.
Please check this product for damage prior to starting the installation. No claims can be made after the product has
been fitted.
PLEASE NOTE :The minimum and maximum adjustment sizes noted on the product brochures are based on
perfectly plumb walls and trays.
Description
Box Contents
COMPONENTS AND BOX CONTENTS
NO. Qty
11
1
5
1
4
2
3
4
5
Description
Vertical Seal
1
6
1
7
NO. Qty
Wall Profile Top Cap
Wall Profile
Wall Plugs
Glass Panel
Screw ST4×30
Support Arm
1
2
3
4
5
6
7
8
Note:T piece is only
packed with Wetroom
panel with size under
1000mm
8
T-Piece
1
9
10
Optional Floor Channel
9
10
Floor Channel
1
End Cap
1
Wall Plugs 2.0mm
2.5mm
4.0mm
x 1
Please check this product for missing components prior to installation.
IMPORTANT - Missing Components
For spare parts visit
2. The tiles or other wall finishing should be effectively sealed at tray edges.
3. Tiles should extend at least to the corner of the tray and a minimum of 2.0 meters from the top of the tray.
FIXING KIT COMPONENTS SITE CONDITIONS
FIXING KIT
x4
x4 x1
x1
x1
Allen
Key
x1
Screws ST 4X30
Wall Bracket
Wall Plugs
Screw ST4X30
Wall Profile Top Cap
Support arm connector
x 1
1. Ensure the top surface of the shower tray on which the enclosure will be installed is level in every direction.
IMPORTANT - Installation site
www.aprilproducts.co.uk
Vertical Seal ×1
FIX FRONT PANEL WALL PROFILE
Min 10mm
Step 1
Place the wall profile onto the edge of the tray roughly 10mm from the front of the shower tray edge.
Ensure the wall profile is level to the wall If the panel is fitted without a tray, please ignore Diagram A.
Mark the position for fixing the wall profile to the wall through the 4 pre drilled holes in the wall profile Diagram B
Step 2
Step 3
Drill the holes on the wall through the marked points with 6mm masonry drill bit then insert the wall plugs Diagram C/D
Step 4
Fix the wall profile to the wall with 4 ST 4x 30 screws Diagram E
C
A
D
6mm
B
1
E
NOTE: You may find it easier to mark and drill the wall if you apply masking tape to it first.
Step 5.
F
FIX FRONT GLASS PANEL
Push the clear edge of the glass panel onto the wall profile.
Please note the black printing on the glass must be on the outside.
G
Step 6.
After the glass panel is in its final position press the seal into the wall profile securing from bottom to top DiagramG
15
INSIDE
FIX WALL BRACKET
K
6mm
N
J
O
Step 7.
Measure the support bar tube length then cut it to the required size (Diagram H).
Fit the support bar onto the glass panel, ensure the support bar is level then mark the wall fixing hole onto the wall (Diagram I).
Step 8.
Step
9.
Drill the hole on the wall through the marked point using 6mm masonry drill bit then insert wall plug(Diagram J/K).
Secure the wall fixing onto the wall using ST 4 x 30 screw then fix the support bar onto the wall fixing (Diagram L/M).
Step 10.
Secure the glass clamp onto the glass using 2 M8 grub screws (Diagram N/O).
Step 11.
H
I
1
L
M
P
Note: Insert the T-piece (part 8) onto the support arm bar if the panel will be fitted with an end panel.(Diagram P)
Step 1.
Step 2.
A
FIX OPTIONAL FLOOR CHANNEL
B
Push the glass panel onto the wall profile (Diagram A).
Put the floor channel onto the tray then mark a line onto the profile cut the profile through marked line to get required
length Diagram B
D
C
Dropthe silicone sealant into the groove of the floor channel Diagram C
Carefully lift the glass panel and insert it onto the floor channel then push it onto the wall profile, once it’s in final position
fit the end cap onto the floor channel profile(Diagram D).
Step 4.
Step 3.
15
24 HRS
DO NOT USE THE
ENCLOSURE FOR
24 HOURS AFTER
SEALING
Applying Silicone Sealant
Sealing Inside
Seal from the top of the wall profile to the bottom on the INSIDE
between the wall profile and the wall.
IMPORTANT: Do not apply sealant on inside of the tray.
Sealing Outside
Seal from the top of the wall profile to the bottom between the
wall profile and tiles on both sides. Also seal along the bottom
where the glass meets the tra y.
APPLYING SILICONE SEALANT
Q
Step 12.
Fit the top cap onto the wall profile (Diagram Q)
OPTIONAL RETURN PANEL INSTRUCTION
Box Contents
SN Descrip on Qty
1 1
2
Return Panel
1
3
1
2
3
Vertical Seal
1
COMPONENTS AND BOX CONTENTS
FIXING KIT
Bottom Seal ×1
Vertical Seal ×1
LEFT HAND RIGHT HAND
Step 2.
2.1 Push the return
panel to the Wetroom glass panel,ensure the cut of the hinges placed inside.
FIX RETURN PANEL
Step 1.
Press the seal onto bottom edge of the return panel glass then insert silicone into the groove of the upright profile(Diagram A).
(Diagram B)
A
B
C
INSIDE
After the glass panel is in its final position pressthe seal into the profile securing from bottom to top Diagram C).
2.2
silicone
S
S
E
RP
SSERP
PUSH
PUSH
PUSH
D
TOP
BOTTOM
This product has been treated with Clean & Clear™ easy clean glass treatment, a protective barrier which creates
a ‘non-stick’ surface on your glass, helping to resist lime scale build up and water spots. For further information on
Clean & Clear™ please visit www.aprilproducts.co.uk
Clean & Clean™ glass can be cleaned with any suitable nonabrasive glass cleaner - with PH value of between 3-
11; the coating will not be damaged. Avoid surfactants and heavily perfumed products. Vinegar and water based
products are very effective. Do not use abrasive scrubbing cleaners or equipment for cleaning.
Limited 5 year Warranty for Clean & Clear™ treatment: To guarantee treated surfaces will remain more repellent
than untreated glass for 5 years from start of use, as long as basic manufacturer maintenance recommendations
are followed and no harsh or abrasive cleaners are used.
It is important to clean your April shower enclosure after every use. Please wipe down all glass and metal parts
with a clean soft cloth. Ensure that all residual water on the glass is removed after every use.
For reliable, watertight performance from your April enclosure your shower head should not be positioned so that
the shower sprays directly onto the enclosure door. Failure to comply with this may cause the shower to leak.
Outward opening doors may cause water to drip onto the floor, please ensure that the floor covering immediately
outside the enclosure will not be affected by water.
APRIL PRODUCTS
Riverside Business Park, Royd Ings Avenue, Keighley, West Yorkshire, BD21 4AF
For technical/aftersales queries,please visit our website:
www.aprilproducts.co.uk
or Sales Tel: 01535 613830 Technical: 01535 613830 Fax: 01535 613831

Other April Bathroom Fixture manuals

April Identiti AP6003L/R User manual

April

April Identiti AP6003L/R User manual

April identiti Inline Panel User manual

April

April identiti Inline Panel User manual

April identiti User manual

April

April identiti User manual

April Identiti AP6000 User manual

April

April Identiti AP6000 User manual

April identiti AP9575S User manual

April

April identiti AP9575S User manual

April identiti User manual

April

April identiti User manual

April identiti AP9574S User manual

April

April identiti AP9574S User manual

Popular Bathroom Fixture manuals by other brands

JASON Hydrotherapy forma Designer MicroSilk AirMasseur owner's manual

JASON Hydrotherapy

JASON Hydrotherapy forma Designer MicroSilk AirMasseur owner's manual

CIFRE zenon installation guide

CIFRE

CIFRE zenon installation guide

Utopia Roseberry installation guide

Utopia

Utopia Roseberry installation guide

Kohler Mira Sport Multi-fit J03E Installation and user guide

Kohler

Kohler Mira Sport Multi-fit J03E Installation and user guide

Sanela SLZM 18W 49182 Mounting instructions

Sanela

Sanela SLZM 18W 49182 Mounting instructions

Gessi INCISO 58525 manual

Gessi

Gessi INCISO 58525 manual

Hans Grohe Raindance Showerpipe 27235000 Instructions for use/assembly instructions

Hans Grohe

Hans Grohe Raindance Showerpipe 27235000 Instructions for use/assembly instructions

Helvex Vertika H-904 installation guide

Helvex

Helvex Vertika H-904 installation guide

aquabrass aquasleek 52435 installation guide

aquabrass

aquabrass aquasleek 52435 installation guide

Better Bathrooms BeBa 26694 user manual

Better Bathrooms

Better Bathrooms BeBa 26694 user manual

Schulte Runddusche Sunny Assembly instructions

Schulte

Schulte Runddusche Sunny Assembly instructions

Fantini Rubinetti Icona Classic R504WU instructions

Fantini Rubinetti

Fantini Rubinetti Icona Classic R504WU instructions

Hans Grohe Croma Select S Multi 26800400 Assembly instructions

Hans Grohe

Hans Grohe Croma Select S Multi 26800400 Assembly instructions

Spectrum Brands Pfister Kenzo 40 Series manual

Spectrum Brands

Spectrum Brands Pfister Kenzo 40 Series manual

Wellis Myline Triton instruction manual

Wellis

Wellis Myline Triton instruction manual

Vaunn Medical M725N-DLWH-CHVM user manual

Vaunn Medical

Vaunn Medical M725N-DLWH-CHVM user manual

DUSBAD Vital 1 Series Assembly instructions

DUSBAD

DUSBAD Vital 1 Series Assembly instructions

agape EVO21 AE21P Series Assembly instructions

agape

agape EVO21 AE21P Series Assembly instructions

manuals.online logo
manuals.online logoBrands
  • About & Mission
  • Contact us
  • Privacy Policy
  • Terms and Conditions

Copyright 2025 Manuals.Online. All Rights Reserved.