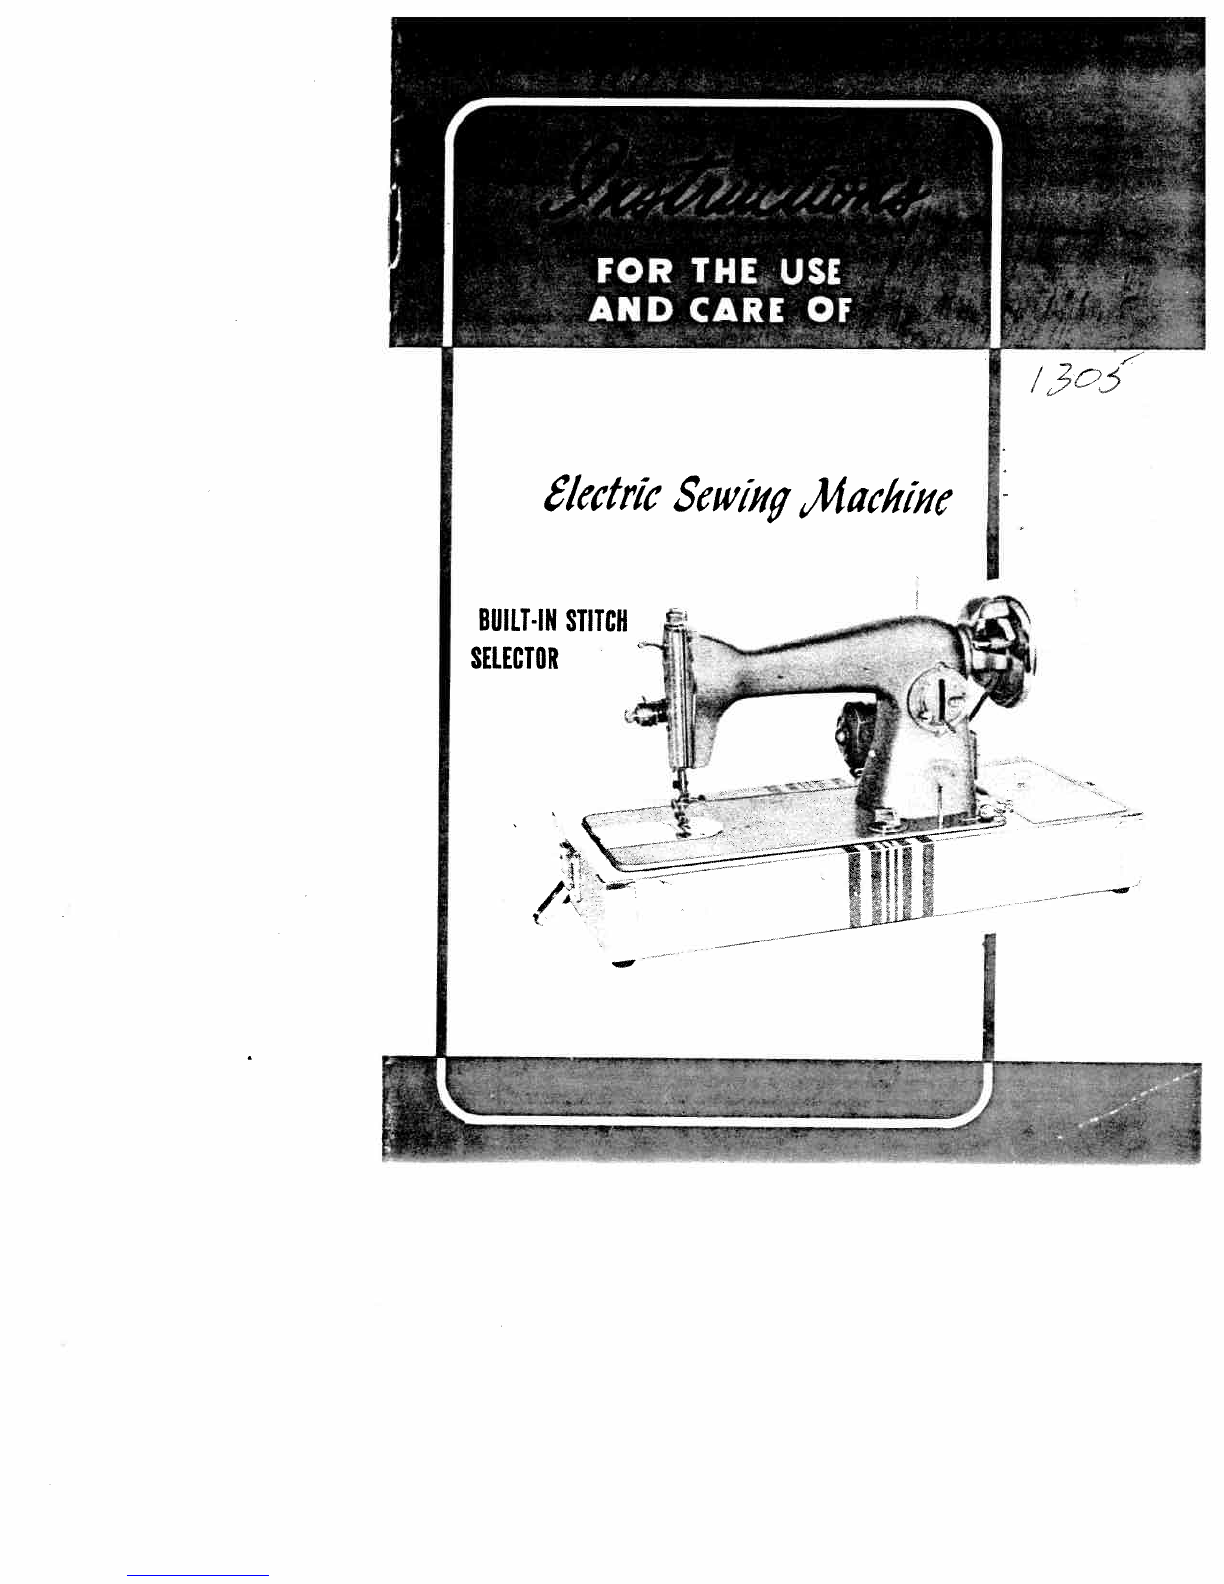
Singer 1305 Installation instructions

C.,
r’i
C.,
I

LIl1&1MtI
..
:
welcome
to
the growing family
of
happy
owners
of
this
fine, precision
built
electric
sewing machine.
You
now
have
one of
the
finest
full-size
sewing
machines
mode,
with
oil
these
won
derful
features:
•
BUILT-IN
STITCH
REGULATOR
•
INSTANT
REVERSE-SEWING
by
just
flicking
a
lever.
•
DROP-FEED
for
embroidery
and
darn
ing.
•
BUIII’-IN
DARNER.
•
NUMBERED
THREAD
TENSION
DIAL.
•
AUTOMATIC
BOBBIN
WINDER.
Self-
adjusting.
•
HINGED
PRESSER
FOOT
that
rides
over
pins,
seams,
etc.
•
AUTOMATIC
TENSION
RELEASE.
•
NOTCHED
SHUULE
HOOK
that
pre
vents
thread
from
tangling.
•
SNAP-OUT
RACE
for convenience
in
cleaning.
Tb
mccl ice
is
precision-built
or
a
licetme
oF
sewing
pleasure.
It
will
reouire
a
minim,m
amount
oF
servicing,
and
will
give
the
maximum
in
satsfet,on
Nedies
octroines
and
other
parts
arc
interchangeable
wth
tDS&
or
ott”
first
cass
menutecturers,
Tb
s
manual
p’ov
aes
alt
the
inFormation
needea
to
operate
the
machine
a—d
tc
care
For
it
properly
Fence,
read
through
the
book
thoroughly
so
tncr
you
may
become
Fa’nil.ar
w:th
beha”ior
and
cperation
o
the
machine.
Fol
ow
all
instructions
ciosety.
Several
se,vice
calls
may
be
necessary to
adjust
this
machine
to
your
mdiv
dual
needs,
and
to
eliminate
any
stiFfiness
which
may
be
present
n
a
new
machire.
So
do
not
hestate
to
call
on
your
Authorized
Dee
er
For
cny
adjaurment needed
during
the
intial
break-in
period.
2

I
So
Easy
Etjoyab/e
Sewillg
•
Keep
the
machihe
clean
and
well oiled
•
Adjust
tensions,
etc.
properly
•
Use
proper
size
needles
NEVER
ATTEMPT
TO
USE
A
BENT
NEEDLE,
NOR
ONE
WITH
A
BLUNT
POINT
WHEN
PURCHASING
NEEDLES
FOR
THIS
MACHINE.
ASK
FOR
I5x1
NEEDLES
ONLY.
Type
of
Fabric
nd
--
—
Work
to
be
Done
Cotton
Sdk
Linen
Nylon
nd
Piastics.
Medium
light-weight
and
summertime
rabrics.
For
house
dresses, children’s
dresses,
washable
cotton
dress
es,
aprons,
curtains.
Dress
silks
end
cottons,
light
weight
woolens,
draperies,
fabric
Furnishings.
Pot
general
household
sewing,
Fine
men’s
shirts,
smocks,
win
dow
draperies
and
Fabric
decorations.
l-eavy
cretor’ne,
mad’as,
mus
in,
brocades
end
quilts.
For men’s
work
shirts,
sturdy
smocks
and
aprons,
heavy
guiltir,g
end
Fabric
Furnishings.
woven
coating,
ight
weight
canvas,
oed
ticking.
uphostery
and
awning
mate
ria.S,
si
p-cover
taOrics.
-
For
work
or
sports
uniforms,
su
ts
made of
strong
men
or
cotton
Fabrics,
awnings,
sip
covers
nd
mattresses.
-leavy
woven
suiting,
coating,
tuck,
ticking,
drilling,
canvas
and
Sacking.
For
heavy
washing
uniforms,
bedding
supplies
For
hospi-
I
ta’s,
hotels
and
camps.
SIZE
O
Tl-4READ
Sizes
and
Grades
of
Needles
(Medium
Pine)
14
(Medium)
6
(Light
l-eavy)
18
80
0
Twist
60
to
Twt
80
40
C
to
60
Twist
24 60
to to
30
8
80
Twist
In
general
sewing, use
the
same size
thread
is
the
bobbin
as,
is
used
on
top.
3

Raise
needle
to
its
highest
point
by
turn
ing
the
balance
wheel
toward
you
by
hand.
Loosen
the
needle-clamp
screw
on
the
right
hand
side
of
the
needle
bar.
Remove
the
old
needle,
and
slide
new
needle
up
(PLAT
SIDE
TOWARD
BALANCE
WI—1EEL)
until
it
hits
the
stop.
Then
tightri
the
needie-clamp screw
securely.
Por
best
results, change
needles
crequently.
WHEN
SEWING,
WINDING
BOBBINS,
or
CHANGING
NEEDLES
ALWAYS
TURN
THE
BALANCE WHEEL
TOWARDS
YOU
The
balance
wheel
is
provided
with
a
stop-motion
device
which
allows
the
balance
wheel
to
rLn
freely
so
that
bobbins
may
be
wound
without
operat
ing
the
needle.
To
loosen
the
wheel,
hold
it
tightly
with
tne
left
h3nd, and
witn
the
right
hand,
tuin
the
stop-motion
knob
toward
you.
See
arrow.
To
tighten
the
balance
wheel,
turn
stop-motion
knob
away
from
you.
—
FLAT
SIDE
4

)
W/wd
1/ic
&)bbiH
__
First
remove
the
bobbin
case
as
follows:
Turn
the
balance
wheel
toward
you
until
the needle
bar
is
at
its
highest
point.
Move
the
slide
plate to
the
left,
and
with
two
fingers
grasp the
hinged
latch
on
the
bobbin
case
and remove
the
case.
The
bobbin
will remain
in
the
case
a
IDny
as
you
hold
on
to
the hinged-latch.
Clote
the
lat,ir
and
the
bobbin
will
fall
cut.
Loosen
ti-s
baiancn wheel
as
explained
on
Page
4.)
Place
a
spoor
of
thread
on
the
spool
pin (A
.
Pass
the thread
through
the
tension
disc
B
at
right
c-rn.’
or
tr
e
base of
the
machne,
Wind
th
end
0
i
the
thread
around
si
rmty
bcb.brr
six
or
seven times
and
place
the
threaded
bobbin
on
the
spndie
C
of
tr-v
0000’S
winder.
Press the
oobin
onto
the
spL-die
making
ss’e
trrst
the
P
N
or-
tse
spind
Fts
into
the
SLOT
in
the
bcob,n winde’
Push
the
nobbin
wirron’
-un,
C
down
,.rrii
the
sma
rubbe
whew
presss
against
the
hub
of
the
ca
ante
when
,
and
the
c
asp
(B)
al
s
between
the
sides
of
the
bobbin,
holding
it
in
position.
Turn
tn.r
ba
ance
when
toward
you,
and
press
the
knee
contro
1
or
foot
control
(as
in
s.wir-g
to
wrrd
the
bob
i-in
comp
ete
y.
Run
the
machine
s
owiy
to
wind
the
bobbin
—ye
n.y.
‘e
cocos
is
..
it
wil
r
1
ease
autornatical
y
and
con-c
to
a
5500.
Break
0
tf
tn-
tSrexO
ann
rerr-ov,-
the
obin
and
reset
trie
bajance
whee
for
sewing.
SI-on
d
thi
thre,d
w
nd
unevenly
on
the
bobbin,
adjust
the
tension
discs
B)
at
the
br.ttom
by
oosnning
the
screw
and
s
dng
the
tension
right
or
left
as
needed
to
chancn
tI-n
tens
on
Srnv.
-o
tI-n
djusn
tnumb
screw
F
until
the
rubber
ring
gently
touches
the
05
SnO-
wr—n
Note
r—this
machine
uses
standard
is
class
bohbins—avai!able
at
all
sewing
stores.
5

?kr€aduiq
the
)3’obbiii
Case
Hold
the
bobbin
case
between
the
thumb
and
forefinger
of
your
left
hand
with
the
slot
in
the
edge
facing
up.
Hold
the
wound
bobbin
between
the
thumb
and
two
fingers
of
your
right
hand
with
the
thread
on
top
leading away
from
you
(see
picture).
Insert
the
bobbin
into
the
case,
pull
the
thread
into
the
slot;
then
down
under
the
spring, until
it
(Be
sure
the
needle
is
at
its
highest
point.)
Hold
the
bobbin
cuse
with
your
left
hand
by
the
hinged-latch,
with
the
metal
finger
of
the case
pointing
up
and
in
line
with
the
notch
at
the
top
of
the
shuttle
raceway.
Release
the
hinged-latch,
and
fitting
the
centre
of
the
bobbin
over
the
center-pin
protruding
from
the
raceway,
press
the
bobbin
gently
into
position,
being
sure
that
the
metal
finger
flts
into
the
notch
of
the
raceway.
The
5
or
6
inches
of
thread
hanging
freely
from
the
case
will
be
brought
up
later
through
the
ho’e
in
the
centre
of
the
meedle plate.
Close
the
slide
plate.
enters
the
delivery
eye.
6

Turn
Balance
Wheel
towards
you until
the
take-up
lever
is
raised
to
its
highest
point.
Place
spool
of
thread
on
the
spool
pin
of
the
machine
A
arm
;
pass
thread
over
and
through
the
thread
guide
Fig.
9
‘A’
at
the
top
corner
of
the
face
plate,
down
and
over
the
back
to
front
between
the
tension-disc
Fig.
9
‘B
up
to
thread
guard
Fig.
9
‘C,.,
down into
the
hook
of
take-up
spr
ing
Fig.
9
(D)
and
over
back
to
front
through
hole
in
the
end
of
the
thread
take-up-lever
Fig.
9
(E)
down
into
the
eyelet
of
the
face-plate,
Fig.
9
‘F.
into
the
lower
wire-thread
guide,
Fig.
9
‘G
chen
from
left
o
FIGURE
9
right
through eye
of
the
needle
Fig.
9
1-1
Draw
about
2”
of
thread
through
the
eye
of
the
needle
with
which
to
commence
sewing.
-bId
needle
thread
in
your
left
hand,
turn
balance
wheel
tcwards
you
until
needle
moves
up
and
down
and
up
again
to
its
highest
point,
catching
the
bobbin
thread,
which
will
be
broLght
up
that
way
through
the
hole
in
the
thread
plate
I
7

Z’
Prepart’
for
Sewi,q’.
Pick up
the
thread
as
follows
Holding
the
loose end
of
the
needle
thread
n
your
left
hand,
turn
the
balance wheel
toward
you
by
hand
until
the
needle
moves
down
and
up
again
to
its
highest
point.
Pull
the
needle
thread
gently,
and
the
bobbin
thread
will
come
up
with
it
in
the
form of
a
loop
through
the
needle
hole.
‘Vith
your
finger,
pull
this
loop
until
the
end
of
the
thread
appeers.
(If
the
bobbin
thread
does
not rise,
check
to
see
f
at
least
5
or
6
inches
of
bobbin
thread
is
hanging
loosely
from
the
bobbin
case.)
Then
craw
both
ends
of
the
thread
back under
the
presser foot
and
through
the
toes
of
the
presser
foot.
Place
the
materia:
to
be
sewn
beneath
the
presser
foot,
and
owes
the
presser foot
levc.
Insert
needie
into
matera
by
turning
the
ba
ance
wheel
toward
you. from
top
down,
by
hand.
Regulate
stitch
to
desired
size,
and
start
sewing.
Do
not
to
to
help
the
feeding
of
the
work
by
pulling
the
material,
as
this
may
bend
the
neede
and
cause
it
to
blunt
or
break.
As
the
machine
feeds without
any
assistance,
it
ir
sufficient
merely
to
guide
the fabric
gently
by
hand
in
the
direction
you
want
it
to
be
sewn.
IT
IS
ADViSABLE
10
TEST
TNE
TENSION
AND
Tf1E
STITCf
LENGTh
ON TWO
PLIES
01°
SCRAP
MATERIAL
BEE’DRE
STAPTING
TO
SEW
TNE
ACTUAL GARMENT.
IC
remove
the
work,
stop
the
ma
chine
with
the
needle
at
its
highest
poini
;
raise
the
presser
foot,
and
draw
the
faDric
Lack
and
to
the
left,
then
pass
the threads
over
the thread
cutter,
and
pul
down
ightly
to
cut
them.
!MPORTAN7
NOTICE
Never
operate
the
machine
without
material
under
the
presser
foot.
if
this
is
not strictly
ad
hered
to,
your
ma
chine
wil!
lock,
afl
cannot
he
ope:ated
until
the
raad
is
cleaned
out
of
the
race.

,P(gu1atrn9
t/i
Stitch
Joi.
(A)
(C)
_________________
Por
ordinary
stitching,
the
tension
on
the
upper
.nd
under
threads
should
be
equal,
and
just sufficiently
strong to
lock
both
threads
in
the
cente
of
the
work,
an
shown
above
(A).
If
the
tension
on
the
needle
is
too
tight,
or
if
that
on
the
bobbin
thread
is
too
loose,
the
needle
thread
will
lie
straight
along
the
upper
surface
of
the
material,
thus
mak
ing
an
imperfect
stitch,
as
shown
above
8).
If
the
tension of the
bobbin
thread
is
too
tight,
or
if
that
on
the
needle
is
too
loose,
the
bobbin
thread
will
be
straight
along
the
under
side
of
the
material,
thus
making
an
imperfect
stituh,
as
shown
above
(C).
Re911/atiity
I/ic
CMWH
A
Correct
stitch
can
usually
be
obtained
by
varying
he
trrnsion
cc
the
needle
thread.
All
adjustments
should
be
mode
while
the
presse
foot
is
down,
since
the
automotic
release
does
not
permit adjustments
to
be
mode
while
the
presser
foot
is
up.
To
increase the tension,
turn
the
thumb
nut
on
the
tenuion spring
tcward
you.
To
lessen the
tension,
turn
the
nut
in
the
opposite direction.
The
thurnb
nut
ssold
not
be
turned
abruptly,
but
regulated
little
by
little,
unti
the
desired
tension
is
obtained.
The
quality
of
sewing
depends
on
the
thread.
Hence,
it
is
necessary
for
the
user
to
become
fhIy
familiar
with
the
correct
tensions,
through
practice.
9

To
regulate
length of
stitch,
loosen
thumb-screw
A)
I
t
ano
move
it
to
tne
bottom
of
the
curved
slot.
Now
move
stitch
regulat
or
lever
‘8”
until its
top
side
is
in
line
with
the
number
indicating
the
se
lected
length
of
stitch.
Move
thumb-screw
“A”
until
the
regulator plate
touches the
lever “B”,
then
tighten
thumb-screw
“I.
Loosen
the
thumb-screw
“A”
and
move
lever
B”
above
center
line
towards
position
“P’.
You
can
now
adjust
For
desired
reverse
stitch.
Tighten thumb-screw
“A”,
so
that
it
will
lock
the
stitch.
The
machine
will
now
sew
in
reverse.
NEVER
SEW
OR
USE THE
MACHINE
with
the
Lever
in
the
NEUTRAL
posi4ion.
I
To
ADJUST
TE
BOBBIN
TENSION.
All
sewing machines
are
correcsy
adjusted
beFoe
leaving
the
factory,
and
it
is
therefore
se
dom
necessary
to alter
the
bobbn
tension
Should
it
become
necessay
to
do
so
however
due
to
usng
certain
krds
of
materials,
the adjusting
screw
or
the
tension
spring
on
the outside
of
the
bobbin
case
can be
tghtered
so
as
to
increase
the
tension,
or
loosened
slightly
in
order
to
lessen
the tension.
10

—
This
machine
is
fitted
with
both
a
drop
feed
mechanism
and
a
built-in
darning
de-
vice
which
will
enable
you
to
darn,
sew
rips
and
patches
‘nd
Jo
embroidery
and
applique
work.
TO
‘WORK
T
DROP-PEED,
simply
turn
the
drop-feed
button
(at
the
right
bottom
of
the
machine)
to
he
right
until
it
stops—a quarter-turn.
The
feed
dog
is
then
out
of the
way.
Por
regular
sewing
turn
the
button
back
to
its
normal
pOSitiOi.
TO
WORK
TI-1E
BUILT-IN
DARNER.
Place
a
finger
oF
your
left
hand
on
the
j
mushroom-shaped
cap
(to
cushion
the
sud
den
rise
of
this
cap
when
it
is
released).
Release
this
cap
by
pressing
the
Lever
(to
which
the other
finge-
is
pointing)
-
with
your
right
hand.
Allow
the
cap
to
rise
all
the
way
slowly.
Remove
the
presser
foot,
lower
the
presser
foot
Iev.r
(to
put
the
automatic
tension
release
out
of
operation)
and yot.
-‘
are
ready
to
darn
or
embroider.
Large
repairs,
fine
materials, embroidery
and
applique
are
best
done
with
a
hoop.
It
is
advisable
that
you
practice
carefully
on
scrap
material
before
at
tempting
any major
repair
so
that
you
will
learn
to
control
the
stitching
evenly.
Be
sure
to
keep
the
material
constantly
moving
by
pressure
of
your
fingers
inasmuch
as
permitting
the
cloth
to
remair
in
one place
while
sewing
may
cause
your
thread
to
breaK.
Upon
completion
of
your
use
of
the
Darner,
simply
press
th
device
down
to
its
normal
position.
Also
turn
the
drop-feed buttcn
Fack
to
regular
sewing,
TO
REGULATE PRESSURE
OF
TI-IF
PRESSER
FOOT
IN
REGULAP
SEWING
A’ways
marrtarn
ony
enough
pressure
to
keep
the cloth
moving
,nd
to
permit
the
rnchine
to
make
a
srra
grrt
seam,
When
the
c’oth
does
not
Feed
through
the
mchirre
properly,
there
may
he
too
much
pessure
o
the
presser
Foot.
Adjust
by
rasIng
the
darning
device
a
bt
‘ie,t
turs
adjustment
before
sewing.
It’
you
wrsh,
you
can
adjust
the
machine
For
sewing
heavier
fabrics
by
adjusting
the
Drop-Feed instead.
11

Use
only
a
good grade
of
oil.
-
Inferior
oils
may
cause
the
machine
to
become
sluggish.
Use
only
oil
whose
label
spec
ifies
“for
Sewing
Machines.”
If
your
machine
is
used
continuously,
it
shouid
be
oiled
every
day
oreferably
when
you
are done
using
the
macnine
For
the
day.
if
not
in
constant
se,
oil
the
machine
before
using.
Use
ONE
drop
of
oil
on
bearings,
and
wherever
one
part
rubs
against
another,
or
turns
within
another
part.
Some
such
parts
are
visible
to
the
eye.
Others
are
hidden
inside
the
castings.
—lence
look
for
all
oil
holes
in
the
casting
as
indicated
by
arrows
in
the
picture.
Insert
the
oil
can
nozzle
well
into
the
oil
hole.
Before
oiling
the
oil
hole
to the
RIGNT
of
the
spool-pin
on
top of
the
machine,
turn
the
balance
wheel
until
the
needle
is
DOWN
at
its
lowest
point,
and
look
into
the
oil
hole
to see
that the
oil
receptacle
on
the
shaft
is
in
position.
Also
remove
tre
Face
plate
by
loosening
the
screw
near
the
top
and
lifting
the
face
Hate
up
and
off.
Turn
the
balance
wheel
slowly
by
hand
and
watch
the
mechanism
under
the
Face
plate
to
see
which
parts
move
and
reQuire
oil.
Next,
pt
three
drops
of
oil
in
the
bobbin
raceway
after
the
race
has
been
removed
as
described
at
the
top
of
page
12.
Th.e
machine
is
also
to
be
oiled
from
the
back.
Loosen
the
screw
hold
ing
the
metal
plate,
move
the
plate
Out
of
the
way,
and
tighten
the
screw
to
hold
it
there.
Turn
the
balance
wheel
slowly
in
order
to
see
which
parts
move
and
require
oil.
12
If
your machine
has
been
standing
idle
For
many
months,
it
will
require
a
thorough
cleaning
and
oiling
that
can
best
be
done
by
your
sewing
machine
dealer.

the
MACH!N
to
locate the
bearings
and
other
movir
g
ports.
-lere,
too,
you
wiH
Find
come
o
holes
in
the
castings.
oway
all
excess
oil
From
cli
parts
c
the mochiie.
Connect
and
run
the
machine
rapidly
For
a
minute
to
allow
the
cii
to
penetrate
into
the
bearings.
Also
se-.
some
scrap
material
to
be
sure
that
no
oil
will
drip
from
the
needle
bar
on
to
your
material.
5—
Lint,
dust
end
threads
collecting
in
the
machine
will
cause
it
to become
sluggish.
To
clean
the
machine,
first
disconnect
the
electric
cord.
Then
remeve
the
needle,
presser
foot,
slide
plate,
end
throat
plate.
Also
remove
the
bobbin
end
bobbin
case
Brush
the
exposed
parts
thoroughly.
Re
move
any
packed
nt
with
a
toothpick.
Clean
the
inside
of
the
bobbin
case
and
under
the
spring.
Also
clean
the
raceway
as
instructed
on
Page
12.
(Leave
the
ma
chine
in
this
condition
for
oiling.)
Then
ti
1
t
the
machine
bacL,
and
again turn
the
baance
wheel
slowly
13

1.
Turn
the
balance
wheel
by
hand
until
needle
is
at
its
highest
point.
2.
Remove bobbin
and
bobbin
case.
3.
Turn
knob
1
A)
one half
turn
toward
you.
4.
Turn knob ‘B)
one
half
turn
away
from
you.
5.
Remove
retaining
(C
,
and
hook
D
1
by
grasping
axle of
hook
D).
6.
Remove
accumulated
lint
and
thread
From
retaining
ring, hook
and
race
body.
7.
Replace
hook
D
in
race
body,
with
axle facing
out,
forming
a
perfect
circle
wth
Driver
E
8.
Replace
retaining
ring
,C,,
polished
side
out,
so
that
coth
grooves
are under
knobs
A.
and
B
9
Loc
retaing
ring
with
knobs
A
and
B
10.
Replace
bobbin
and
bobbin
cace,
and
commence
sewing.
DO
NOT
ATTEMPT
TO
RORCE
NY
OP
TNE
ABOVE
OPERATlONS.
14

is
hereby
guaranteed
for
twenty
years
for
family
sewing.
Only
the
best materials
and
the
most
skilled
labor
enters
into
the
construction
of
this
machine.
Any
part
found
defective
and
returned,
(transportation
charges prepaid),
within
twenty
years
from
date
shown
above,
will
be
replaced, free
of
charge,
by
the
authorized
sewing
machine
Dealer
named below, or
affiliated
brdnches.
The
motor
is
guaranteed
for
one year.
Any
motor
proving
defective
will
be
re
placed, free
of
charge,
if
returned,
(trans—
portation
charges
prepaid),
within
one
year
of
the
date
shown
above.
This
guarantee
is
binding
on
all
parts
of
the
machine,
except
bobbin
case,
bobbins,
needles,
bulbs, cords
and
rheostat
controls.
chine
listed
on
Slip
Number
This
is
to
certify
tha
the
sewing
ma
dated
AUThORIZED
SEWlN
MACI-lINE
DEALER
by
15

SKIPPED
STITCHES.
May
be
caused
by
a
bent
or
blunt
needle;
or
by
incorrect
setting
o
the
needle;
or
the
wrong
size
needle;
or
by
a
thread
too
heavy
for
the
size
of
the
needle.
SEE TIAT
THE
PRESSER
FOOT
is
snug
against
the
presser
bar
and
securely
clamped
by
the
screw
so
that
the
needle
will
pass
through
the
opening
in
the
foot
without
any
interference.
BREAKING
NEEDLES.
Usually due to
pulling
on
the
work,
causing
the
needle
to
get
out
of
line
nd
strke
the
throat
plate,
thus
breaking
or
bending
the
needle.
May
be
due
to
presser
coot
or
attachments
nt
being
securely
fastened
to
presser
bar.
Be
sure
to
use
correct
size
needle
and
threed
For
msterial.
BREAKING
THE
UPPER
THREAD.
May
be
caused
by;
(I)
Incorrect
threading.
(2)
Not
bringing
up
under
thread
correctly.
(3)
Upper
tension
too
tight.
(4)
Needle
imperfect,
or
set incorrectly.
(5) Needle
rubbing
against
attachments
or
presser
foot.
(6)
Needle
eye
too
small
for
thread.
(7)
Starting
the
machine at
full
speed.
(8)
Starting without take-up
lever
at
highest
point.
BREAKING
THE LOWER
THREAD.
May
be
caused
by:
(I
)
incorrect
threading
of
bobbin
case.
(2)
Too
tight
a
tension.
(3)
Bobbin
wound
too
full
to
revolve
freely.
(4)
Not
bringing
up
under
thread
correctly.
(5
l-lole
n
the
needle plate
rough,
csused
by
needle
striking
the
piote.
6)
Dust
or
lint
in
bobbin.
UNEVEN
STITCHES.
My
be
cnusedhb
Presser
foot
not
resting
evenly
on
material.
Feed
not
high
enough.
(3)
Too
short
a
stitch.
i4)
Pulling
the
cloth.
ç5)
Too
fine
a
needle
w:th
too
coarse
or
poor
a
thread.
Distributed
by
Printerl
rn
Trm,.r.
Table of contents
Other Singer Sewing Machine manuals

Singer
Singer 107G235 Setup guide

Singer
Singer AG Series User manual

Singer
Singer 112-4 User manual

Singer
Singer 107W18 Quick start guide

Singer
Singer 81-3 User manual

Singer
Singer 71K101 User manual

Singer
Singer Stylist 7258 User manual

Singer
Singer 24-56 User manual

Singer
Singer 43-6 User manual

Singer
Singer 92-20 User manual

Singer
Singer 110W117 User manual

Singer
Singer Pixie User manual

Singer
Singer 98-3 User manual

Singer
Singer 281-20 User manual

Singer
Singer Fashion Mate 368 User manual

Singer
Singer 231-4 User manual

Singer
Singer 246-3 User manual

Singer
Singer 211G146 User manual

Singer
Singer 6234 User manual

Singer
Singer 241-11 User manual