manuals.online logo
Brands
  1. Home
  2. •
  3. Brands
  4. •
  5. SIP
  6. •
  7. Lawn Mower
  8. •
  9. SIP SILVERCUT DISC 1000 User manual

SIP SILVERCUT DISC 1000 User manual

Other SIP Lawn Mower manuals

SIP SILVERCUT 300 F RC User manual

SIP

SIP SILVERCUT 300 F RC User manual

SIP SILVERCUT DISC 300 S User manual

SIP

SIP SILVERCUT DISC 300 S User manual

SIP ROTO 170 D User manual

SIP

SIP ROTO 170 D User manual

SIP SILVERCUT DISC 340 S User manual

SIP

SIP SILVERCUT DISC 340 S User manual

SIP DISC 220 S ALP User manual

SIP

SIP DISC 220 S ALP User manual

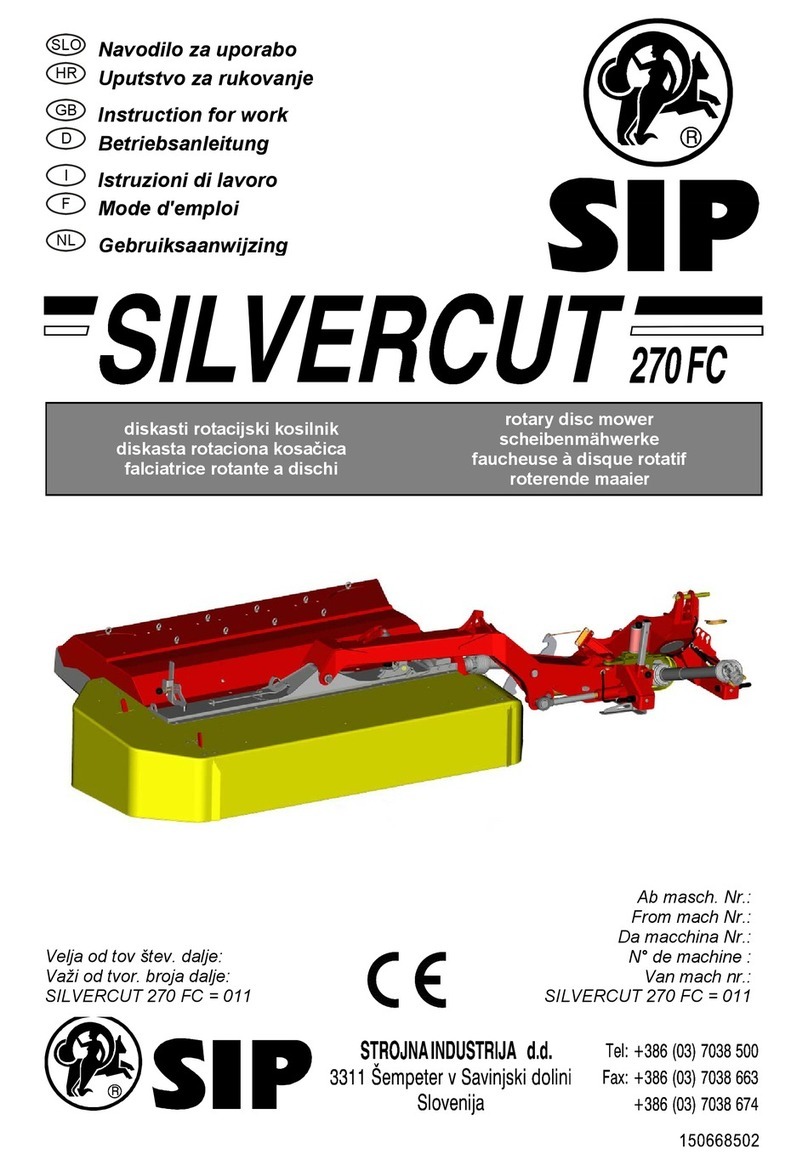
SIP SILVERCUT 270 FC User manual

SIP

SIP SILVERCUT 270 FC User manual

SIP OPTICUT DISC 220 F ALP User manual

SIP

SIP OPTICUT DISC 220 F ALP User manual

SIP Opticut 260F User manual

SIP

SIP Opticut 260F User manual

SIP Opticut 260F User manual

SIP

SIP Opticut 260F User manual

SIP SILVERCUT DISC 300 F ALP User manual

SIP

SIP SILVERCUT DISC 300 F ALP User manual

SIP SILVERCUT DISC 900 C User manual

SIP

SIP SILVERCUT DISC 900 C User manual

SIP SILVERCUT Series User manual

SIP

SIP SILVERCUT Series User manual

SIP DISC 220 S ALP User manual

SIP

SIP DISC 220 S ALP User manual

SIP ROTO DRUM 220 S User manual

SIP

SIP ROTO DRUM 220 S User manual

SIP SILVERCUT DISC 340 F FC User manual

SIP

SIP SILVERCUT DISC 340 F FC User manual

SIP ROTO 135 User manual

SIP

SIP ROTO 135 User manual

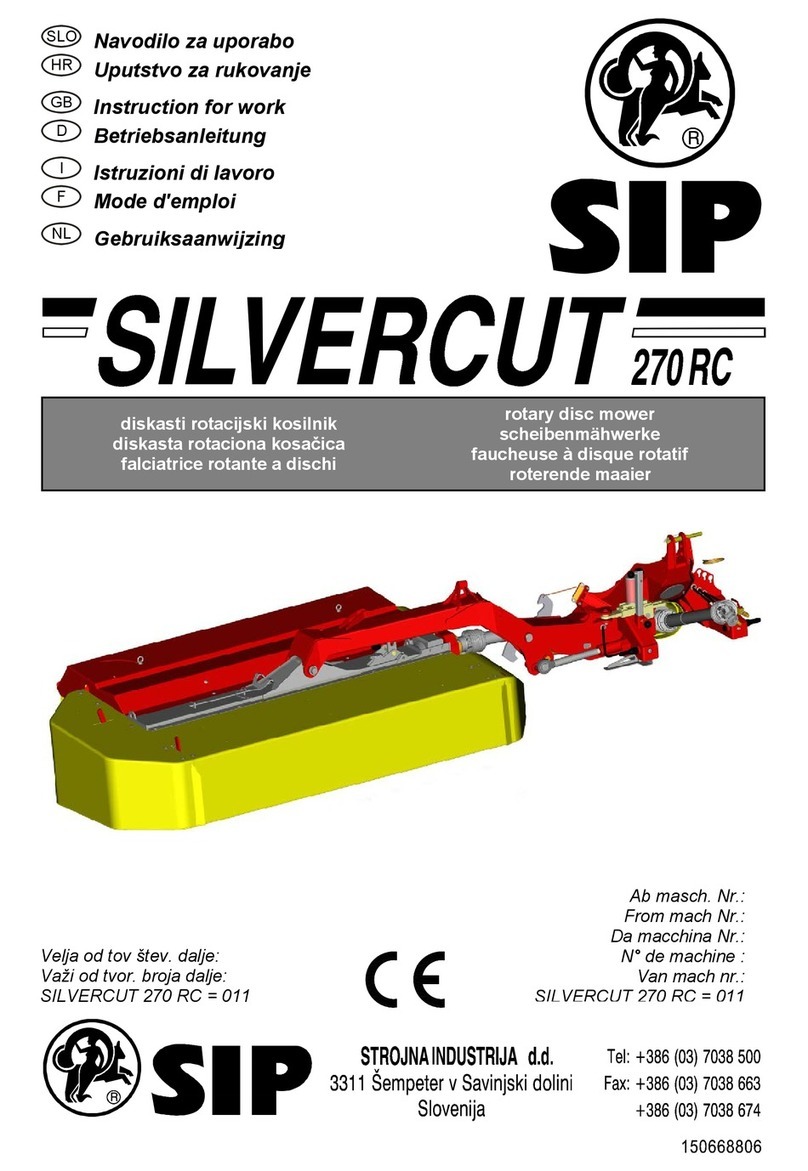
SIP SILVERCUT 270 RC User manual

SIP

SIP SILVERCUT 270 RC User manual

SIP SILVERCUT DISC 300 S User manual

SIP

SIP SILVERCUT DISC 300 S User manual

SIP SILVERCUT DISC 300 S User manual

SIP

SIP SILVERCUT DISC 300 S User manual

SIP ROTO 135 User manual

SIP

SIP ROTO 135 User manual
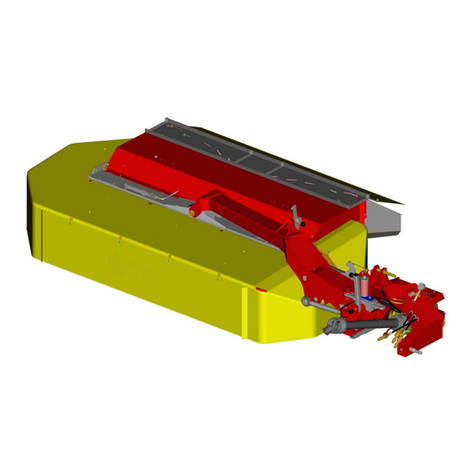
SIP STAR 300 User manual

SIP

SIP STAR 300 User manual

SIP SILVERCUT DISC 300 TS FC User manual

SIP

SIP SILVERCUT DISC 300 TS FC User manual

SIP SILVERCUT DISC 340 F FC User manual

SIP

SIP SILVERCUT DISC 340 F FC User manual

SIP DRUMCUT DRUM 275 F User manual

SIP

SIP DRUMCUT DRUM 275 F User manual

Popular Lawn Mower manuals by other brands

Toro 20047 Operator's manual

Toro

Toro 20047 Operator's manual

Toro Greensmaster TriFlex 3300 Operator's manual

Toro

Toro Greensmaster TriFlex 3300 Operator's manual

Global garden products 72 Workshop manual

Global garden products

Global garden products 72 Workshop manual

EINHELL 01045 operating instructions

EINHELL

EINHELL 01045 operating instructions

Toro Greensmaster 3120 Operator's manual

Toro

Toro Greensmaster 3120 Operator's manual

Baroness LM315GC Owner's operating manual

Baroness

Baroness LM315GC Owner's operating manual

GreenWorks Tools 25157 user manual

GreenWorks Tools

GreenWorks Tools 25157 user manual

Etesia MVEHH user manual

Etesia

Etesia MVEHH user manual

Husqvarna LTH125 owner's manual

Husqvarna

Husqvarna LTH125 owner's manual

Gravely 915034 - ZT1640 Owner's/operator's manual

Gravely

Gravely 915034 - ZT1640 Owner's/operator's manual

Jacobsen 63281 Technical manual

Jacobsen

Jacobsen 63281 Technical manual

GreenWorks Pro MO802524 Operator's manual

GreenWorks Pro

GreenWorks Pro MO802524 Operator's manual

Toro TimeMaster 20976 Operator's manual

Toro

Toro TimeMaster 20976 Operator's manual

Deutz-Allis 3000 Series parts manual

Deutz-Allis

Deutz-Allis 3000 Series parts manual

Craftsman 917.9998C owner's manual

Craftsman

Craftsman 917.9998C owner's manual

jobmate YT9108 user manual

jobmate

jobmate YT9108 user manual

Yard force GM R40A instructions

Yard force

Yard force GM R40A instructions

Husqvarna R 419TsX AWD Operator's manual

Husqvarna

Husqvarna R 419TsX AWD Operator's manual

manuals.online logo
manuals.online logoBrands
  • About & Mission
  • Contact us
  • Privacy Policy
  • Terms and Conditions

Copyright 2025 Manuals.Online. All Rights Reserved.

158607705
158145936
diskasti rotacijski kosilnik
diskasta rotaciona kosačica
falciatrice a disco rotante
rotary disc mower
scheibenmähwerke
faucheuse à disque rotatif
Maaicombinatie
Tallriksslåttermaskin
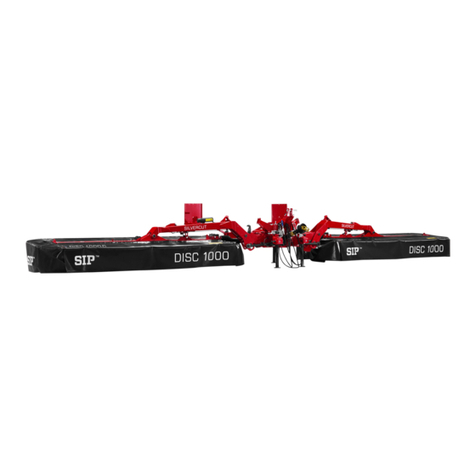
SILVERCUT DISC 1000
C
SLO
Navodilo za sestavo
HR
Uputstva za montažu
GB
Mounting instructions
D
Zusammenbauanleitung
I
Istruzioni di montaggio
F
Instructions de montage
NL
Montagevoorschriften
SV Monteringsinstruktioner
1
Spoštovani kupec!
V tem navodilu je prikazana sestava diskastega kosilnika SILVERCUT DISC 1000 C iz
transportnega zaboja do stroja, ki je pripravljen za delo. Nasvet: pri montaži lahko uporabite
tudi slike iz »Navodila za uporabo«. Za normalno delo priporočamo dve za tovrstno delo
strokovno usposobljeni osebi in običajno orodje. Ves droben material je spravljen v tulcu. Pri
delu upoštevajte vsa navodila za varno delo.
Pred pričetkom dela odstranite PVC folijo. Iz zaboja odstranite vse elemente in jih položite na
primerno podlago, da se prepreči poškodovanje barve.
Poštovani kupac!
Uputstvo, koje je pred vama, sadrži postupak montaže, odnosno postupak sklapanja kosačice
SILVERCUT DISC 1000 C. Opisani postupak je od otvaranja sanduka do konačne montaže
mašine. Savetujemo vam, da prilikom montaže upotrebite i slike iz »Uputstva za upotrebu
kosačice«. Preporučujemo, da montažu obave dve stručne osobe koristeći uobičajeni alat. U
priloženoj kutiji su delovi koje ćete upotrebiti za montažu. U fazi montiranja se pridržavajte
odredbi sigurnosti u radu.
Foliju iz sanduka možete iskoristiti za pripremu sklopova i drugih delova.
Sehr geehrter Käufer!
In dieser Anleitung ist das Zusammenbau des Scheibenmähwerke SILVERCUT DISC 1000 C
beschrieben. Hinweis: bei dem Zusammenbau können auch die Zeichnungen aus der
Ersatzteilliste besichtigt werden. Wegen leichterer Montage empfehlen wir Anwesenheit 2-er
Personen. Keine spezielle Werkzeuge werden benötigt. Sämtliche Schrauben und
Kleinelemente befinden sich im Kunsstoffrohr beigepackt.
Vor dem Arbeitsbeginn, die Kunststoff Folie entfernen. Alle Bestandteile aus dem Umschlag
entfernen und auf die vorher entfernte Kunststoff Folie übersichtlich verteilen.
Dear Buyer!
This Assembling instructions will show you how to mount the rotary disc movers
SILVERCUT DISC 1000 C. During the assembling we advise, to take a look also at the
drawings in the Spare parts list –booklet. For easier work we suggest the presence of two
persons. No special assembling tools are needed. Screws and small assembling parts are to
be found in the plastic tube.
Remove the plastic foil. Take from the crate all attached parts and place them surveyable on
the beforehand removed PVC foil.
2
Caro acquirente!
Queste istruzioni di montaggio vi mostreranno come montare le falciatrici a disco rotante
SILVERCUT DISC 1000 C. Durante il montaggio, si consiglia di dare un'occhiata anche ai
disegni nella lista dei pezzi di Ricambio –libretto. Per facilitare il lavoro, suggeriamo la
presenza di due persone. Non è necessario alcun attrezzo speciale di montaggio. Viti e piccoli
pezzi di assemblaggio si trovano nel tubo di plastica.
Rimuovere il foglio di plastica. Prendere dalla cassa d’imballaggio tutte le parti collegate e
metterle adeguatamente sul foglio PVC prima rimosso.
Cher client,
Ces instructions d'assemblage vont vous guider dans le montage des disques rotatifs de la
faucheuse SILVERCUT DISC 1000 C. Lors de l'assemblage, nous vous recommandons de
consulter les illustrations incluses dans la liste des pièces de rechange –livret Pour un travail
plus aisé, nous conseillons la présence de deux personnes. Aucun outil d'assemblage spécial
n'est nécessaire. Le vis et les petites parties d'assemblage se trouvent dans le tuyau en
plastique.
Retirez l'emballage plastique Sortez du carton toutes les parties attachées et placez–les bien
en vue sur l'emballage plastique préalablement retiré.
Beste koper!
Deze montagevoorschriften tonen hoe u de roterende maaiers SILVERCUT DISC 1000 C te
monteren. Tijdens de montage raden wij u aan om ook een blik te werpen op de tekeningen in
het boekje met de reserveonderdelenlijst. Om makkelijker te werken is het aangewezen dat er
twee personen de montage uitvoeren. Er is geen speciaal montagegereedschap nodig.
Schroeven en kleine montageonderdelen kunnen in de kunststof buis worden gevonden.
Verwijder de plastiekfolie. Neem alle vastgemaakte onderdelen uit de verpakking en plaats ze
op de reeds verwijderde PVC–folie zodat u een makkelijk overzicht hebt.
SV
Bästa kund!
Denna monteringsinstruktion visar dig hur du ska montera samman din tallriksslåttermaskin
SILVERCUT DISC 1000 S. Vid monteringen rekommenderar vi att du även tar en titt på
ritningarna i reservdelskatalogen. För att underlätta arbetet bör det utföras av två personer.
Inga specialverktyg behövs för hopsättningen. Skruvar och små monteringsdetaljer finner du i
plaströret.
Ta bort plastfolien. Ta ut alla delar ur lådan och placera dem översiktligt på den tidigare
borttagna plastfolien.
3
Vsebina zabojev. Vse potrebne elemente za sestavo imate priložene v plastičnem
tulcu.
Sadržaj sanduka. Svi potrebni elementi za sastavljanje nalaze se u priloženom
platičnom tuljcu.
Inhalt der Pakete. Alle erforderlichen Elemente für den Zusammenbau sind in einem
Plastikrohr beigelegt.
Content of containers. All the necessary items for assembly are enclosed in a plastic
cartridge.
1.
2.
3.
4
Contenuto dei contenitori. Tutti gli elementi necessari per l’assemblaggio si trovano
nella custodia di plastica.
Contenu des boîtes. Tous les éléments nécessaires pour l'assemblage sont fournis
dans le tube en plastique.
Inhoud van de kisten Alle benodigde elementen voor de samenstelling bevinden zich
in de plastic koker.
SV
Lådornas innehåll. Alla delar du behöver för hopmonteringen ligger bifogade i en
plastbehållare.
5
Ogroje KPL. Poz. 1 razpakirajte in ga priklopite na traktor. V naslednjem koraku nanj
najprej zmontirajte nosilec poz. 2 in zaščito poz.3.
Za sestavo poz. 2 uporabite 4kos poz. 2.1 (Vijak M12x35) in 4 kos podložk poz. 2.2.
Za sestavo poz. 3 uporabite 2 kos streme poz. 3.1, 4 kos podložk SKM 12 poz 3.2 in
vse skupaj privijačite z 4 maticami M12 poz. 3.3.
Konstrukcija, KPL. Poz. 1 raspakirajte i priključite na traktor. U sljedećem koraku
najprije montirajte nosač poz. 2 i zaštitu poz.3.
Za sastavljanje poz. 2 upotrijebite 4 kom. poz. 2.1 (Vijak M12x35) i 4 podloške poz.
2.2.
Za sastavljanje poz. 3 upotrijebite 2 stremena poz. 3.1, 4 podloške SKM 12 poz 3.2 i
sve zajedno osigurajte sa 4 matice M12 poz. 3.3.
2.
3.
2.1
2.2
3.1
3.2
3.3
2.
3.
1.
6
Packen Sie den Gerüstsatz Pos. 1 aus und schließen Sie ihn an den Traktor an. Im
nächsten Schritt montieren Sie daran zuerst die Halterung Pos. 2 und die
Schutzvorrichtung Pos. 3.
Zum Zusammenbau von Pos. 2 verwenden Sie 4 Stück Pos. 2.1 (Schraube M12x35)
und 4 Stück Unterlegscheiben Pos. 2.2.
Zum Zusammenbau von Pos. 3 verwenden Sie 2 Stück Bügel Pos. 3.1, 4 Stück
Unterlegscheiben SKM 12 Pos. 3.2 und schrauben alles zusammen mit 4 Muttern M12
Pos. 3.3 fest.
Frame set (Pos. 1) is to be unpacked and coupled to the tractor. In the next step, first
mount the support on it (Pos. 2) and protection (Pos. 3).
For the assembly of Pos. 2 use 4 pieces of Pos. 2.1 (screw M12x35) and 4 pieces of
washers Pos. 2.2.
For the assembly of Pos. 3 use 2 pieces of retainer Pos. 3.1, 4 pieces of SKM 12
washers Pos 3.2 and tighten all together with 4 M12 nuts, Pos. 3.3.
Togliere dall’imballaggio il Telaio KPL. pos. 1 e collegarlo al trattore. Nella fase
successiva, per prima cosa montare il supporto pos. 2 e la protezione pos. 3.
Per l’assemblaggio pos. 2 utilizzare 4 viti (Vite M12x35) pos. 2.1 e 4 rondelle pos. 2.2.
Per l’assemblaggio pos. 3 utilizzare 2 staffe pos. 3.1, 4 rondelle SKM 12 pos. 3.2 e
avvitare tutto insieme con 4 viti M12 pos. 3.3.
Déballez le châssis ENS. Pos. 1 et raccordez-le au tracteur. Dans l'étape suivante
fixez d'abord le support pos. 2 et la protection pos. 3.
Pour assembler la pos. 2 utilisez 4 pièces pos. 2.1 (vis M12x35) et 4 pièces de
rondelles pos. 2.2.
Pour assembler la pos. 3 utilisez 2 pièces d'erses pos. 3.1, 4 pièces de rondelles SKM
12 pos. 3.2 et fixez tout avec 4 écrous M12 pos. 3.3.
Raamwerk Compleet Pos. 1. Pak hem uit en sluit hem aan op de tractor. In de
volgende stap monteert u eerst de drager pos. 2 en de bescherming pos.3.
Voor de samenstelling pos. 2 gebruikt u 4 stuks pos. 2.1 (bout M12x35) en 4 stuks
ringen pos. 2.2
Voor de samenstelling pos. 3 gebruik 2 stuks D-sluiting pos. 3.1, 4 stuks ringen SKM
12 pos 3.2 en alles schroeft u samen met 4 moeren M12 pos. 3.3.
7
SV
Packa upp ramsatsen (Pos. 1) och koppla den till traktorn. I nästa steg ska först
konsolen sättas fast på ramenheten (pos. 2) och därefter skyddet (pos. 3).
Till monteringen av pos. 2 används 4 st pos. 2.1 (skruv M12x35) och 4 st brickor pos.
2.2.
Till monteringen av pos. 3 används 2 st U-byglar pos. 3.1 4 st brickor SKM 12 pos. 3.2
och skruva samman alla delar med 4 st M12 muttrar, pos. 3.3.
8
Levo in desno kosilnico razpakirajte in ju postavitev v položaj prikazan na zgornji sliki.
Ogrodje KPL. Poz. 1 s pomočjo traktorja priklopite na kosilnici po spodnjem postopku.
Lijevu i desnu kosilicu raspakirajte i postavite ih u položaj prikazan na gornjoj slici.
Konstrukcija, KPL. Poz. 1 pomoću traktora priključite na kosilicu prema dolje opisanom
postupku.
Packen Sie das linke und das rechte Mähwerk aus und stellen Sie sie in die auf dem
oberen Bild dargestellte Position. Schließen Sie den Gerüstsatz Pos. 1 mit Hilfe des
Traktors gemäß unten beschriebenem Verfahren an die Mähwerke an.
Unpack the left and the right mower and place them into the position shown in the
figure above. Frame set (Pos. 1) is to be coupled with the mower using the tractor
according to the procedure below.
Togliere dall’imballaggio le tagliaerba di sinistra e di destra e posizionarle come
mostrato nella foto qui sopra. Collegare il Telaio KPL. pos. 1 con l'aiuto del trattore
sulle tagliaerba secondo la procedura seguente.
Déballez les faucheuses gauche et droite et placez-les dans la position indiquée sur la
figure ci-dessus. Raccordez le châssis ENS. Pos. 1 aux faucheuses à l'aide du tracteur
en respectant la procédure ci-dessous.
Pak de linker en rechter maaier uit en plaats ze in de positie zoals aangegeven in de
bovenstaande figuur. Raamwerk Compleet Pos. 1 met behulp van de tractor sluit u
hem aan op de maaiers volgens onderstaande procedure.