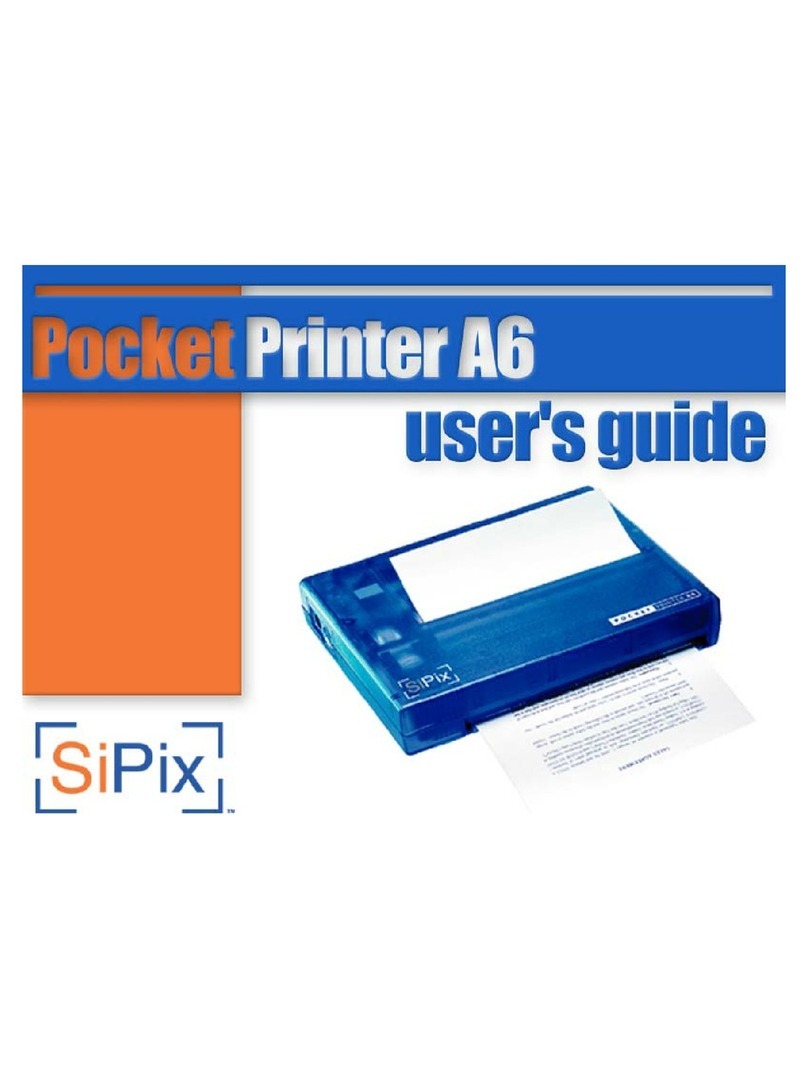
SiPix POCKET PRINTER A6 User manual

Pocket
Printer
A6
For
Windows
98/98SE/ME/2000/XP/Pocket
PC
OS
and
Palm
OS
Quick
Start
Guide
Step
1:
Unpacking
Your
Printer
REMOVE
all
the
components
from
the
box:
Pocket
Prinert
A6
-
Carrying
case
-
RS-232
Serial
cable
-
Four
AA
alkaline
batteries
-
Quickstart
Guide
-
One
roll
of
A6
printer
paper
-Power
supply
-
CD:
Windows®
Driver,
Palm®
and
Pocket
PC®
PDA
Drivers,
Adobe®
Acrobat
Reader,
and
Electronic
Owner's
Manual
Step
2:
Setting-up
Your
Printer
:
Inserting
the
Batteries:
1.
Open
the
battery
compartment
cover
located
on
the
bottom
of
the
Printer
(See
diagram
to
the
right).
Printing
engine
2.
Insert
the
batteries
accordingly.
Note:
The
battery
polarity
is
on
the
inside
of
the
battery
tray.
.
cee
the
—
Pape
Aa
cover.
urning
on
and
off
the
Printer
On:
Push
and
release
the
power
button
once
to
turn
the
printer
on.
The
green
Bhttery.
compartment
;
power
indicator
will
illuminate
and
the
printer
is
ready
to
use.
ES
VCE
Off:
Push
and
release
the
power
button
once
to
turn
the
pmter
off.
The
small
green
ready
light
will
go
out
when
the
power
is
off.
Inserting
the
Paper
1.
With
the
power
off,
open
the
A6
roll
paper
compartment.
2.
Remove
the
roll
paper
from
the
protective
plastic
bag
and
remove
the
tape
that
secures
the
roll
paper.
Put
the
roll
paper
into
the
compartment.
(Note
the
correct
direction
and
position
as
the
illustration
indicates,
darker
side
facing
up
and
white
side
down.)
3.
Pull
about
1/2"
(10mm)
of
the
A6
roll
paper
out
of
the
exit.
4.
Close
the
cover
of
the
A6
roll
paper
compartment.
5.
Pull
the
paper
upward
and
tear
it
off
from
the
edge
of
the
exit.
Note:
For
sheet
paper
loading
instructions
consult
the
Owner's
Manual.
Step
3:
Installing
Software
Windows
98/98SE/ME
1.
Insert
the
SiPix
Pocket
Printer
A6
CD
into
the
CD-ROM
drive.
The
CD
should
auto
run,
otherwise,
go
to
Start
-->
Run;
enter
D:\SiPixMenu.exe
(where
D:\
is
your
CD-ROM
drive).
2.
From
the
Installer
Menu
click
on
“Install
Windows
98/98SE/ME
Printer
Driver".
3.
The
Add
Hardware
Wizard
screen
will
appear,
click
"Next"
to
continue
setup.
4,
Chose
"Local
Printer",
click
"Next"
to
continue
setup.
5:
~~
pene
|
screen
will
show
you
a
list
of
manufacturers
and
drivers,
click
the
"Have
Disk"
button,
and
then
"Browse",
type
in
D:\Windows
(where
D:\
is
your
CD-ROM
drive)
and
click
OK.
6.
On
the
next
screen
highlight
“SiPix
Pocket
Printer
A6"
and
click
"Next".
7.
Select
"COM1:
Communication
Port"
(or
Com
2,
the
one
to
which
the
printer
is
connected)
and
click
"Next".
8.
Type
in
the
printer
name
SiPix
Pocket
Printer
A6,
and
click
"Finish".
You
will
see
an
installation
bar,
when
it
finishes
processing,
the
SiPix
Pocket
Printer
A6
printer
driver
will
be
installed
on
your
computer.
9.
The
system
will
start
installing
the
driver
at
this
point
Windows
98
users
may
be
prompted
to
put
in
your
Windows
98
CD.
Your
computer
will
prompt
you
what
steps
to
take,
click
"Next"
Windows
2000/XP
1.
Insert
the
SiPix
Pocket
Printer
A6
CD
into
the
CD-ROM
drive.
The
CD
should
auto
run,
otherwise,
go
to
Start
->
Run;
enter
D:\
SiPixMenu.exe
(where
D:\is
your
CD-ROM
drive).
2.
From
the
Installer
Menu
click
on
“Install
Windows
2000/XP
Printer
Driver’.
3.
The
Welcome
will
appear,
click
“Next”
to
continue
setup.
4.
On
the
Add
Printer
Wizard
screen,
select
“Local
Printer
Attached
to
this
Computer"
and
uncheck
"Automatically
detect
and
install
my
Plug
and
Play
printer”
and
click
“Next”.
5.
Select
“Use
the
following
port"
and
select
"COM1:
(Serial
Port)"
from
the
drop
down
list
and
click
"Next".
6.
On
the
Add
Printer
Software,
Install
Printer
Software
screen,
click
the
“Have
Disk"
button
that
is
located
on
the
lower
right
of
the
screen.
7.
In
the
Install
From
Disk
screen,
type
in
D:\Win2000
(where
D:\
is
your
CD-ROM
drive)
and
click
"OK"
(See
figure
A).
8.
Highlight
"SiPix
Pocket
Printer
A6"
and
click
"Next".
9.
On
the
Name
Your
Printer
screen,
type
in
SiPix
Pocket
Printer
A6,
select
whether
or
not
you
want
this
to
be
your
default
printer,
and
then
click
"Next".
10.
On
the
Printer
Sharing
Screen,
select
"Do
not
share
this
printer"
and
click
"Next".
11.
On
the
Print
Test
Page
Screen,
select
"No"
and
click
"Next".
12.
Click
"Finish"
to
complete
Printer
Driver
setup.
13.
A
Microsoft
Hardware
Installation
warning
message
may
appear,
youcan
ignore
this
message
by
clicking
"Continue
Anyway"
(ignoring
this
message
will
not
effect
your
computer
or
printer
driver).
14,
An
installation
bar
will
appear,
when
it
completes
processing,
your
Pocket
Printer
A6
Printer
Driver
will
be
installed
on
your
computer.
Insert
the
manufacturer's
installation
disk.
and
then
<=
make
sure
that
the
correct
drive
is
selected
below.
Copy
manufacturer's
files
from:

Step
4:
Configuring
the
RS-232
Serial
Port
(Windows
Only)
Note:
If
you
are
using
COM
2
please
substitute
below
for
COM
1.
:
1.
Highlight
the
“My
Computer"
icon
on
your
desktop
and
use
the
right
mouse
button
to
right
click
on
the
icon,
then
pull
down
to
"Properties"
and
left
click
"Properties'
on
this
menu
to
access
the
"System
Properties"
menu.
2.
Choose
the
"Device
Manger"
tab
on
the
"System
Properties"
screen.
(See
Figure
B)
_
8.
Highlight
"Communications
Port
(COM
1)
and
press
the
“Properties”
button,
this
will
bring
up
the
"COM
1
Properties"
screen.
(See
Figure
C)
4.
Change
the
port
settings:
See
Figure
C
and
Appendix
1:
.
Post
(COM1]
Properes
Genmel
Pot
Seti
[Dive
|
Resouces]
Geers
Device
Manager|
Hardware
Piles
|
Pefomance
|
|
CS
|
<<
|
ion
oct
maT
-)
©
Vem
devices
by
ype
View
devices
by
connection
Other
devices
EW
Ports
(COM
&
LPT)
Appendix
1
AY
Communications
Port
(COM2}
ay
Printer
Port
(LPT?)
&
&
Sound,
video
and
game
controllers
S|
15)
WR.
Pacctnes
dan
coee
Figure
c
Figure
B
For
More
Information
on
the
Installation
and
Use
of
the
Pocket
Printer
A6
on
your
PDA,
Please
Refer
to
the
Owner's
Manual:
How
to
install
on
Pocket
PC®
PDA:
See
the
Electronic
Manual
Page:
11
How
to
use
on
Pocket
PC®
PDA:
See
the
Electronic
Manual
Page:
12-13
How
to
install
on
Palm®
PDA:
See
the
Electronic
Manual
Page:
14
How
to
use
on
Palm®
PDA:
See
the
Electronic
Manual
Page:
14-16
Troubleshooting
issues
with
your
A6:
See
the
Electronic
Manual
Page:
17-19
How
to
Access
Pocket
Printer
A6
Owner's
Manual
(You
will
need
Acrobat
Reader
installed
on
your
computer
to
view
the
manual)
1.
Insert
Pocket
Printer
A6
CD
into
your
CD-ROM
drive
and
go
to
My
Computer.
2.
Right-click
on
D:\
(Where
D:\
is
your
CD-ROM
drive)
and
select
"Explore".
3.
Double-click
the
Manual
folder,
and
then
double-click
on
Pocket
Printer
A6
Manual
to
open
it
in
Adobe
Reader.
Note:
The
manual
does
not
automatically
install
to
your
computer.
You
will
need
to
copy
the
manual
file
to
your
computer
or
keep
the
Pocket
Print
A6
CD
handy.
_
How
to
Install
Adobe
Acrobat
Reader
from
this
CD
1.
Click
Start
-->
Run
and
enter
d:\AR505enu.exe
(where
"d"
is
your
CD-ROM
drive).
Select
"OK".
2.
The
Adobe
Setup
screen
will
appear.
Select
"Next".
3.
Choose
the
installation
destination
location
in
which
to
install
Acrobat
Reader.
The
default
destination
is
recommended.
Select
"Next"
to
choose
the
default
destination
and
to
continue.
4.
Select
"OK"
to
finish
your
installation
when
the
"Thank
you
for
choosing
Acrobat
Reader’
screen
comes
up.
Technical
Support
Upon
receipt
of
this
SiPix
product
you
are
immediately
eligible
for
Technical
Support
during
the
warranty
period
of
one
year
from
the
purchase
date.
If
you
require
technical
assistance
after
reviewing
your
manual,
please
visit
our
Website
Support
at
www.sipixdigital.com/support
©
2002
SiPix,
Inc.
All
rights
reserved.
All
trademarks
are
the
property
of
their
respective
holders.
Specifications
and
software
are
subject
to
change
without
notice.
Other manuals for POCKET PRINTER A6
2
Table of contents
Other SiPix Printer manuals
Popular Printer manuals by other brands
Brightek
Brightek E30 Quick install
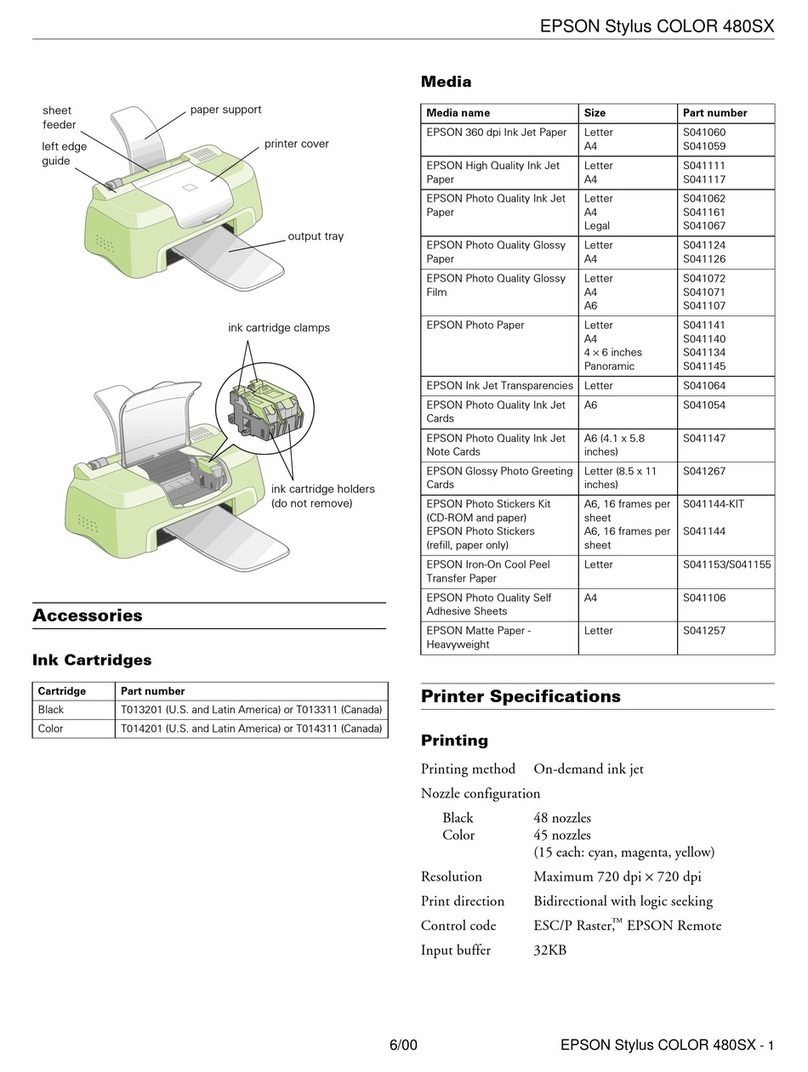
Epson
Epson Stylus COLOR 480/480SX - Stylus Color 480SX Ink Jet... Installation & operation
Epson
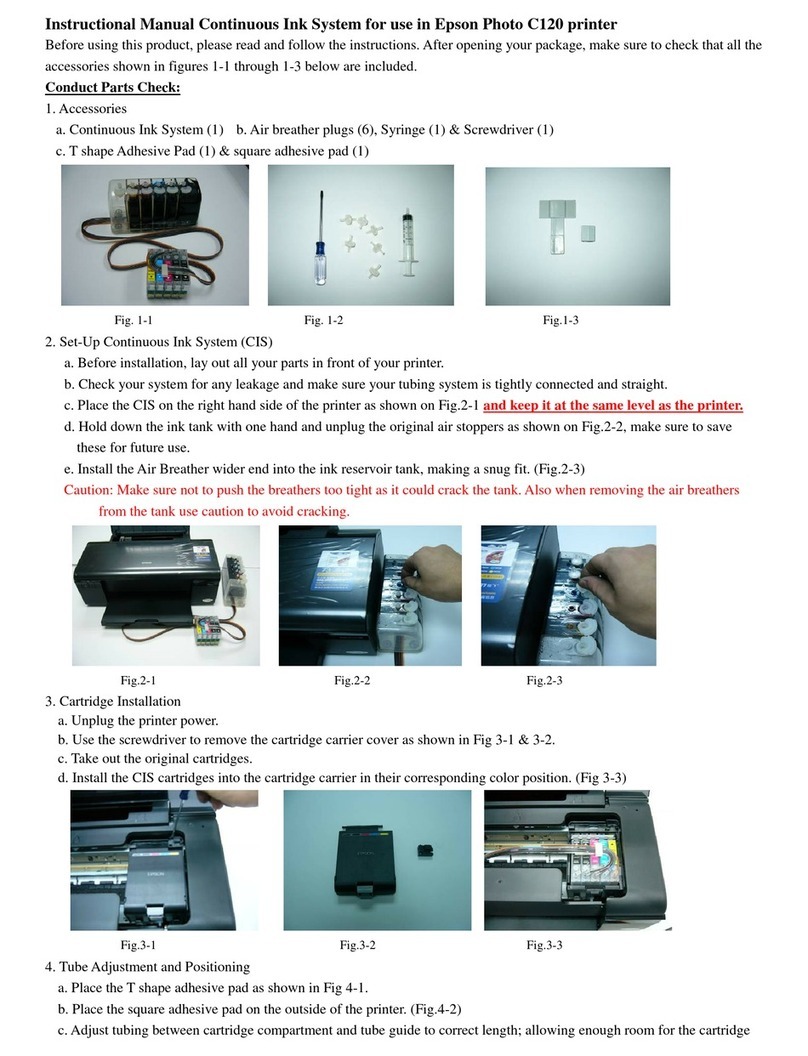
Epson Stylus C120 Series Instructional manual
Canon
Canon imagePROGRAF iPF6400 Basic guide
Kyocera
Kyocera ECOSYS P3050dn Operation guide
Epson
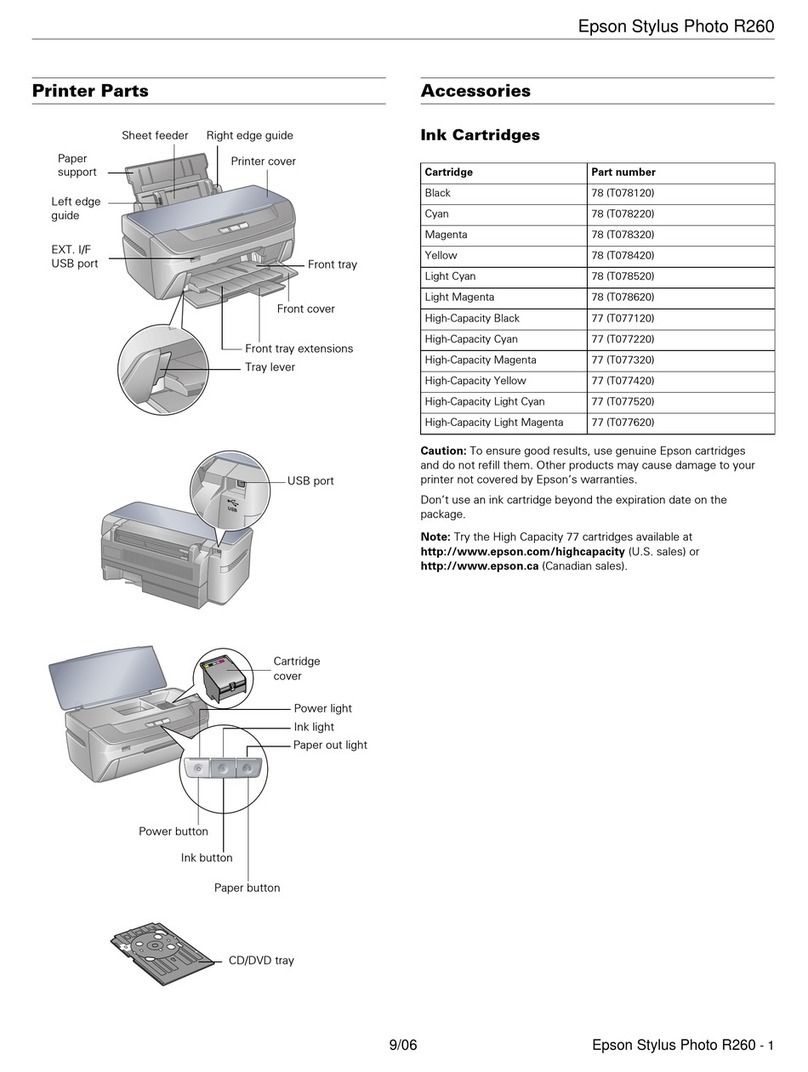
Epson R260 - Stylus Photo Color Inkjet Printer supplementary guide
