Sipura SPA-841 Installation and user guide

(c) 2003-2010 Bicom Systems
Sipura SPA-841 How To


All rights reserved. No parts of this work maybe reproduced in anyform or byanymeans - graphic, electronic, or
mechanical, including photocopying, recording, taping, or information storage and retrieval systems - without the
written permission of the publisher.
Products thatare referred to in this document maybe either trademarks and/or registered trademarks of the
respective owners. The publisher and the author make no claim to these trademarks.
While everyprecaution has been taken in the preparation of this document, the publisher and the author assume no
responsibilityfor errors or omissions, or for damages resulting from the use of information contained in this
documentor from the use of programs and source code that mayaccompanyit. In no event shall the publisher and
the author be liable for anyloss of profit or anyother commercial damage caused or alleged to have been caused
directlyor indirectlybythis document.
Printed: avgust 2010
Sipura SPA-841 How To
(c) 2003-2010 Bicom Systems
Publisher Special thanks to:
Managing Editor
Technical Editors
Cover Designer
...
...
...
...
...
Production
...
Team Coordinator
...

Sipura SPA-841 How ToI
(c) 2003-2010 Bicom Systems
Table of Contents
Foreword I
Part I Introduction 2
Part II Registering Sipura SPA-841 4
................................................................................................................................... 41 Requirements
................................................................................................................................... 52 Manual Configuration
......................................................................................................................................................... 6UADSettings
......................................................................................................................................................... 8Creating Extension
......................................................................................................................................................... 10Registering Phone
................................................................................................................................... 143 Auto Provisioning
......................................................................................................................................................... 14UADSettings
......................................................................................................................................................... 17Creating Extension
......................................................................................................................................................... 19Registering Phone
................................................................................................................................... 224 Auto Configuration
......................................................................................................................................................... 22Requriements
......................................................................................................................................................... 23Auto Configuration
Part III Paging 29
Part IV Glossary 31
Index 0

Foreword
...
(c) 2003-2010 Bicom Systems
I

Part I

2Introduction
(c) 2003-2010 Bicom Systems
1Introduction Sipura SPA-841
How to use Sipura SPA-841 with PBXware
This "How to" is written as a general guide on how to use the Sipura SPA-841 with
PBXware using 3.1.4(a) Sipura SPA-841 firmware. It covers the most common tasks
required to have your Sipura SPA-841 working efficiently.

Part II
4Registering Sipura SPA-841
(c) 2003-2010 Bicom Systems
2Registering Sipura SPA-841
- Requirements
- Manual Configuration
- Auto Provisioning
- Auto Configuration
2.1 Requirements
1. Sipura SPA-841 firmware.
- Make sure that the device is loaded with 3.1.4(a) firmware.
2. DHCP server.
- Fully configured and operational DHCP server.
3. Sipura SPA-841 Dial Plan.
- The Sipura SPA-841 "Dial Plan" field value needs to be changed using web interface.
STEP ONE: Sipura SPA-841 Web Interface.
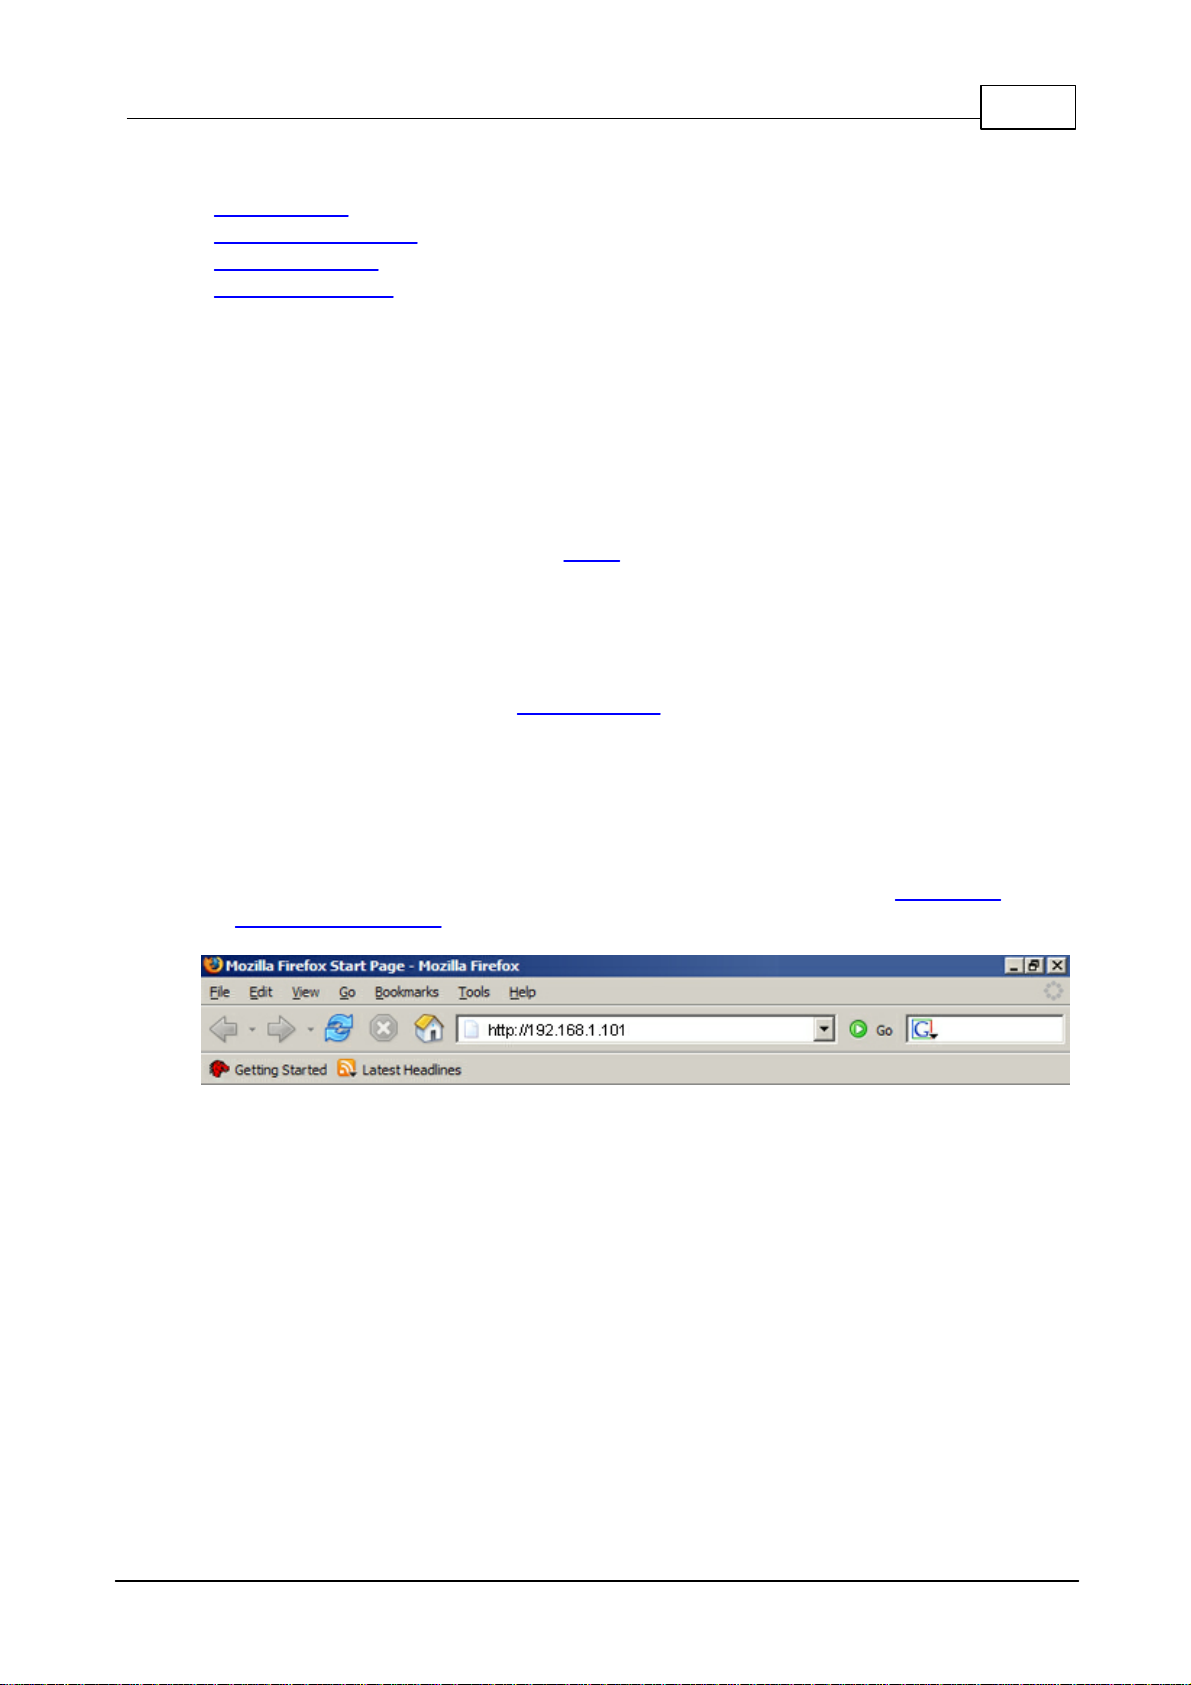
1. Open a new browser window and enter the IP address in order to access the
Sipura SPA-841 administration interface.
Example: http://192.168.1.101
To learn how to find out Sipura SPA-841 IP Address go to chapter "Registering
Phone" "STEP TWO".
an example with IP address
2. Hit "Enter" on your keyboard.
STEP TWO: Sipura SPA-841 Dial Plan field value.
1. Click on "Admin Login" link.

5 Sipura SPA-841 How To
(c) 2003-2010 Bicom Systems
2. Click on "advanced" link.
3. Click on "Ext 1" link.
4. Navigate down to "Dial Plan" group. Clear the "Dial Plan" field, then copy & paste
the following value.
(*x.|**x.|*xx|[3469]11|0|00|[2-9]xxxxxx|1xxx[2-9]xxxxxx|
xxxxxxxxxxxx.)
5. Click on the "Submit All Changes" button. The Sipura SPA-841 will reboot for
changes to take effect.
2.2 Manual Configuration
- UAD Settings
- Creating Extension
- Registering Phone
6Registering Sipura SPA-841
(c) 2003-2010 Bicom Systems
2.2.1 UAD Settings
STEP ONE: PBXware IP address.
1. Find out the IP address of the PBXware server.
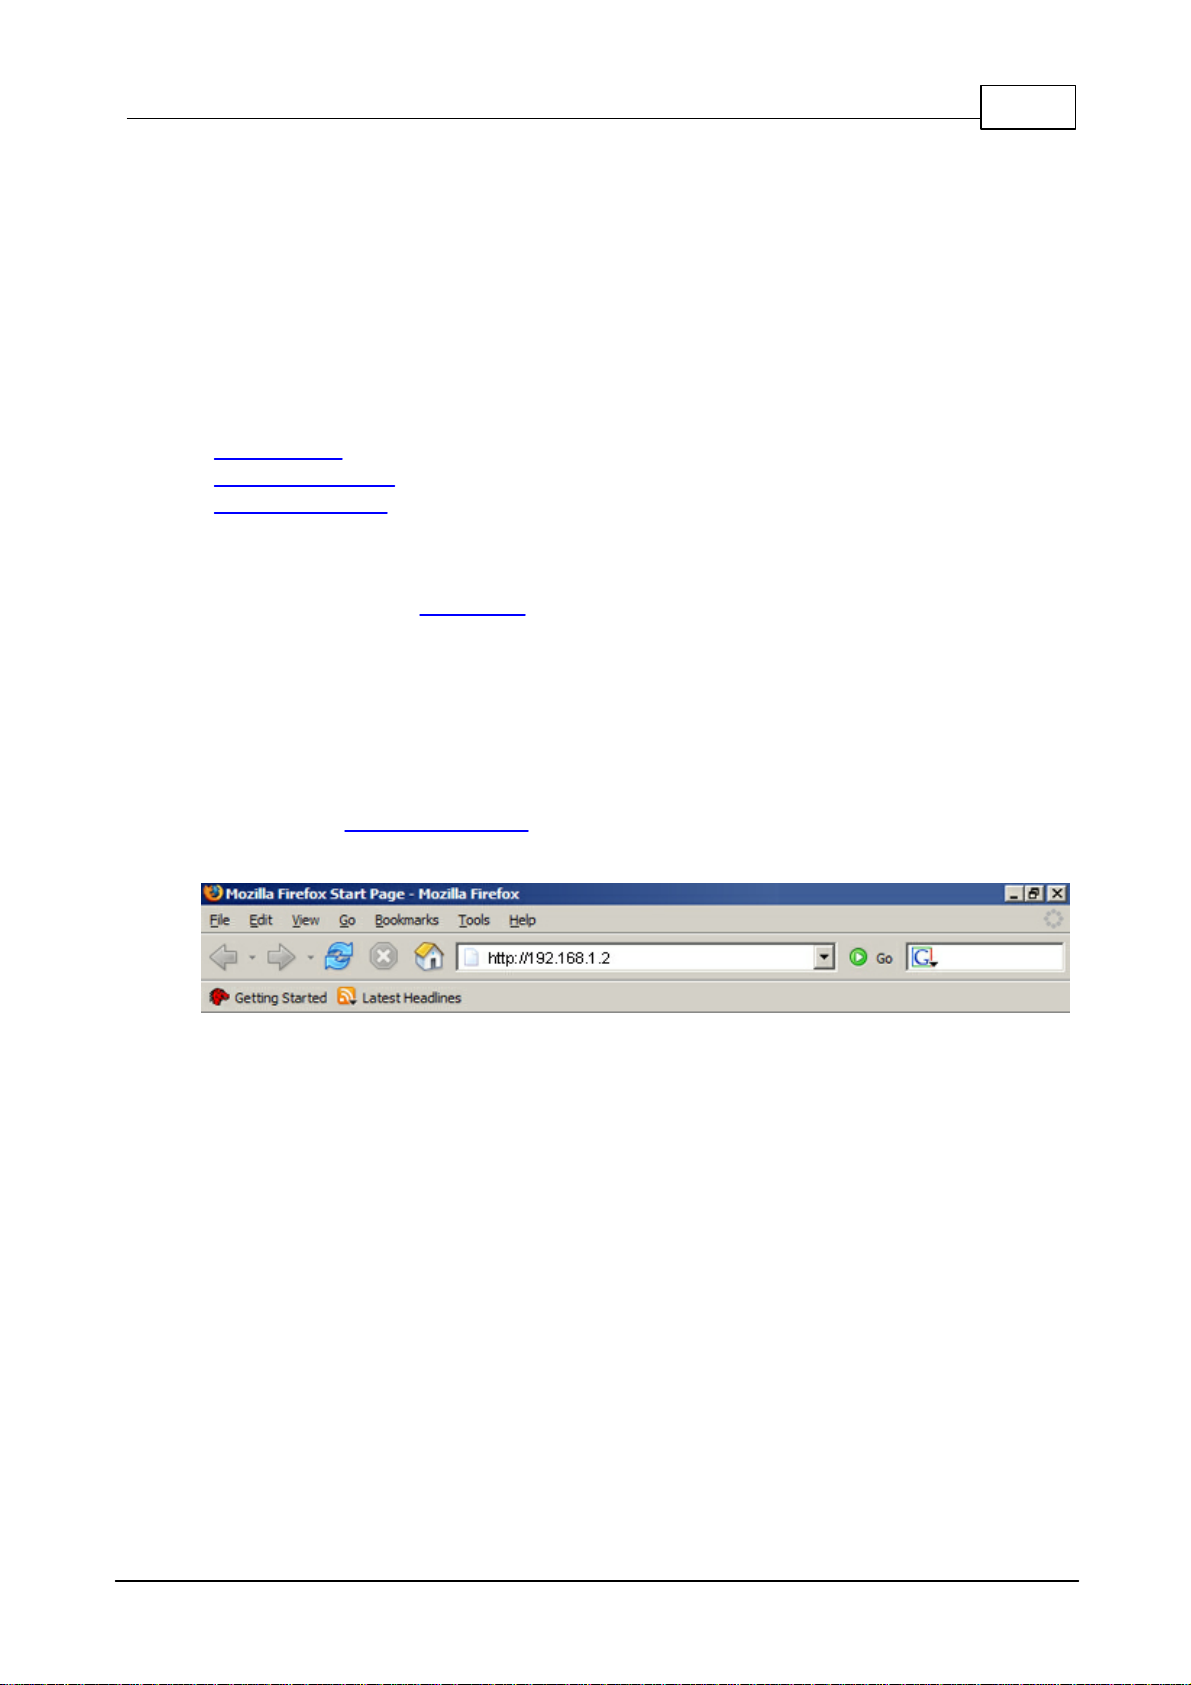
STEP TWO: Login into PBXware.
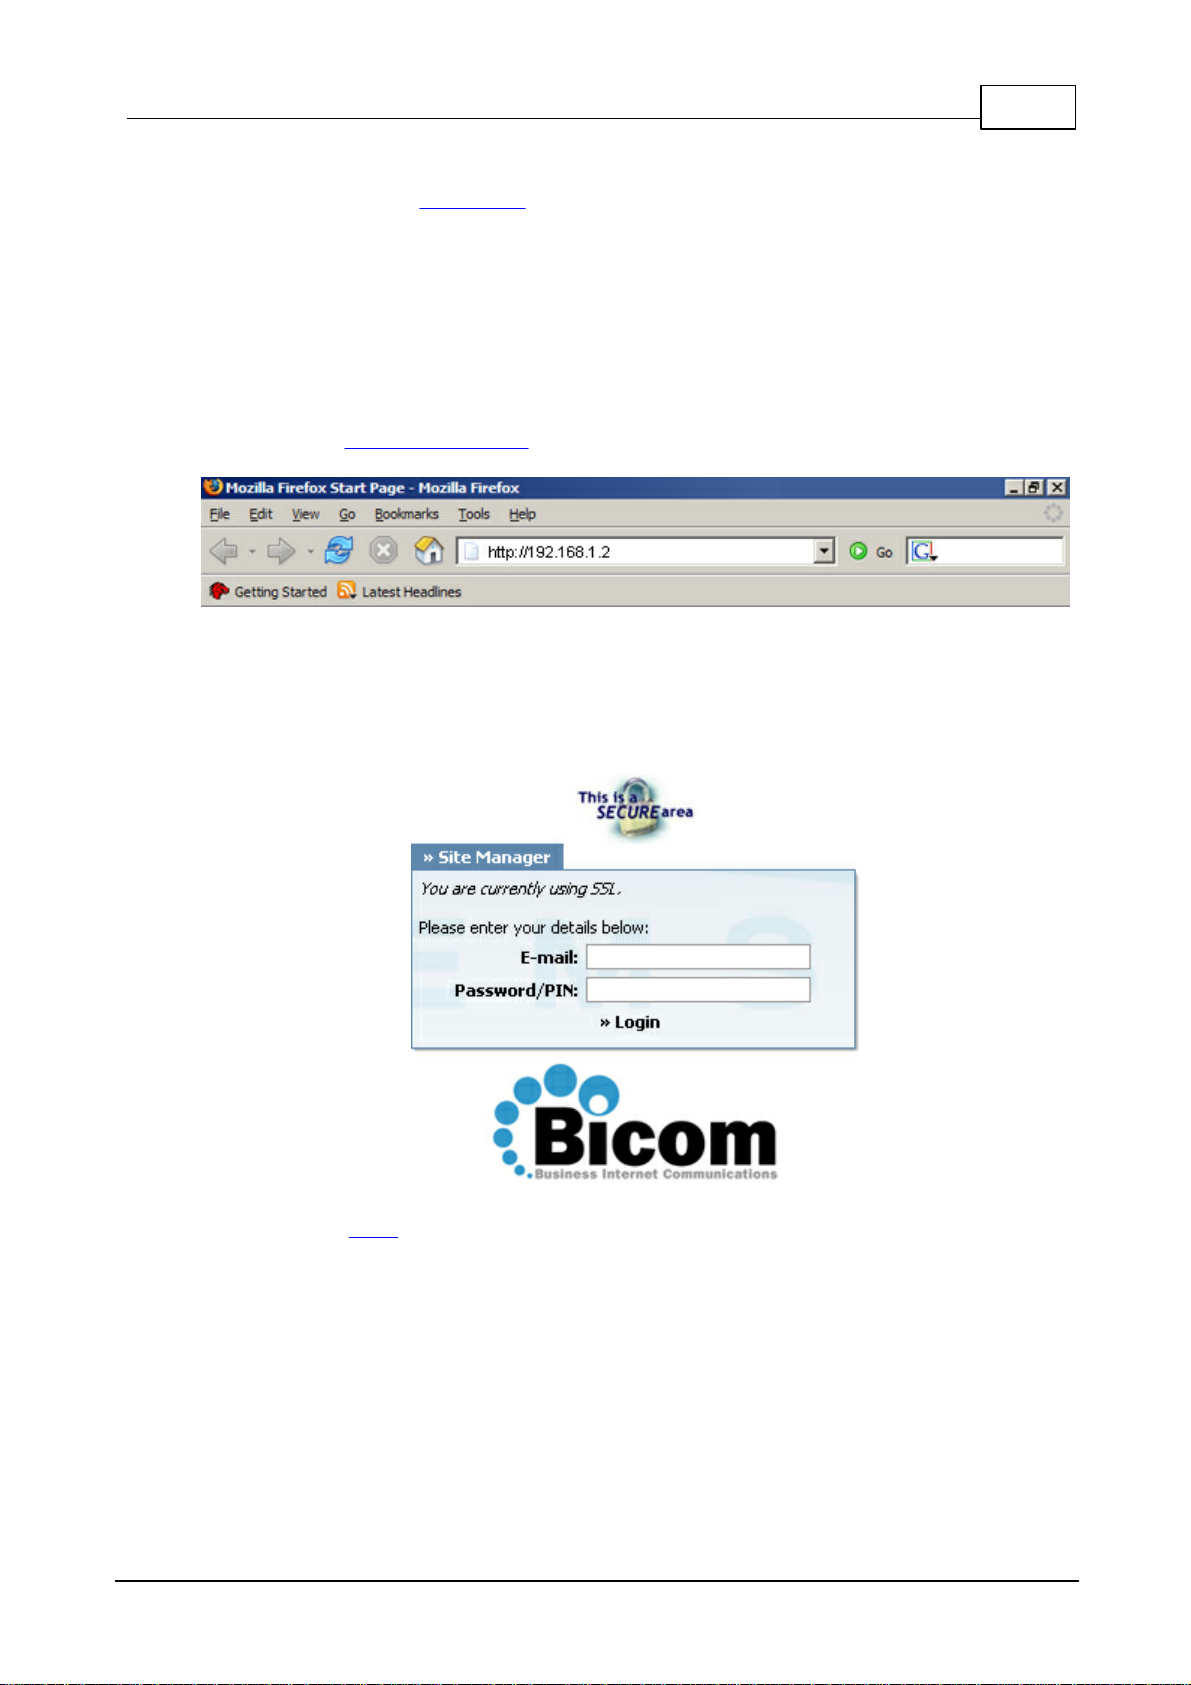
1. Open a new browser window and enter the IP address to access the PBXware
administration interface login screen.
Example: http://192.168.1.2
an example with IP address
2. Hit "Enter" on your keyboard.
3. Login to PBXware with your e-mail address and password.
STEP THREE: UAD status.
1. Make sure the UAD is enabled. To check the UAD status, navigate to "Settings:UAD"
and click on the "edit" icon corresponding to "Sipura SPA-841".


8Registering Sipura SPA-841
(c) 2003-2010 Bicom Systems
3. Click on the "Save" button to save changes.
2.2.2 Creating Extension
STEP ONE: Add Extension.
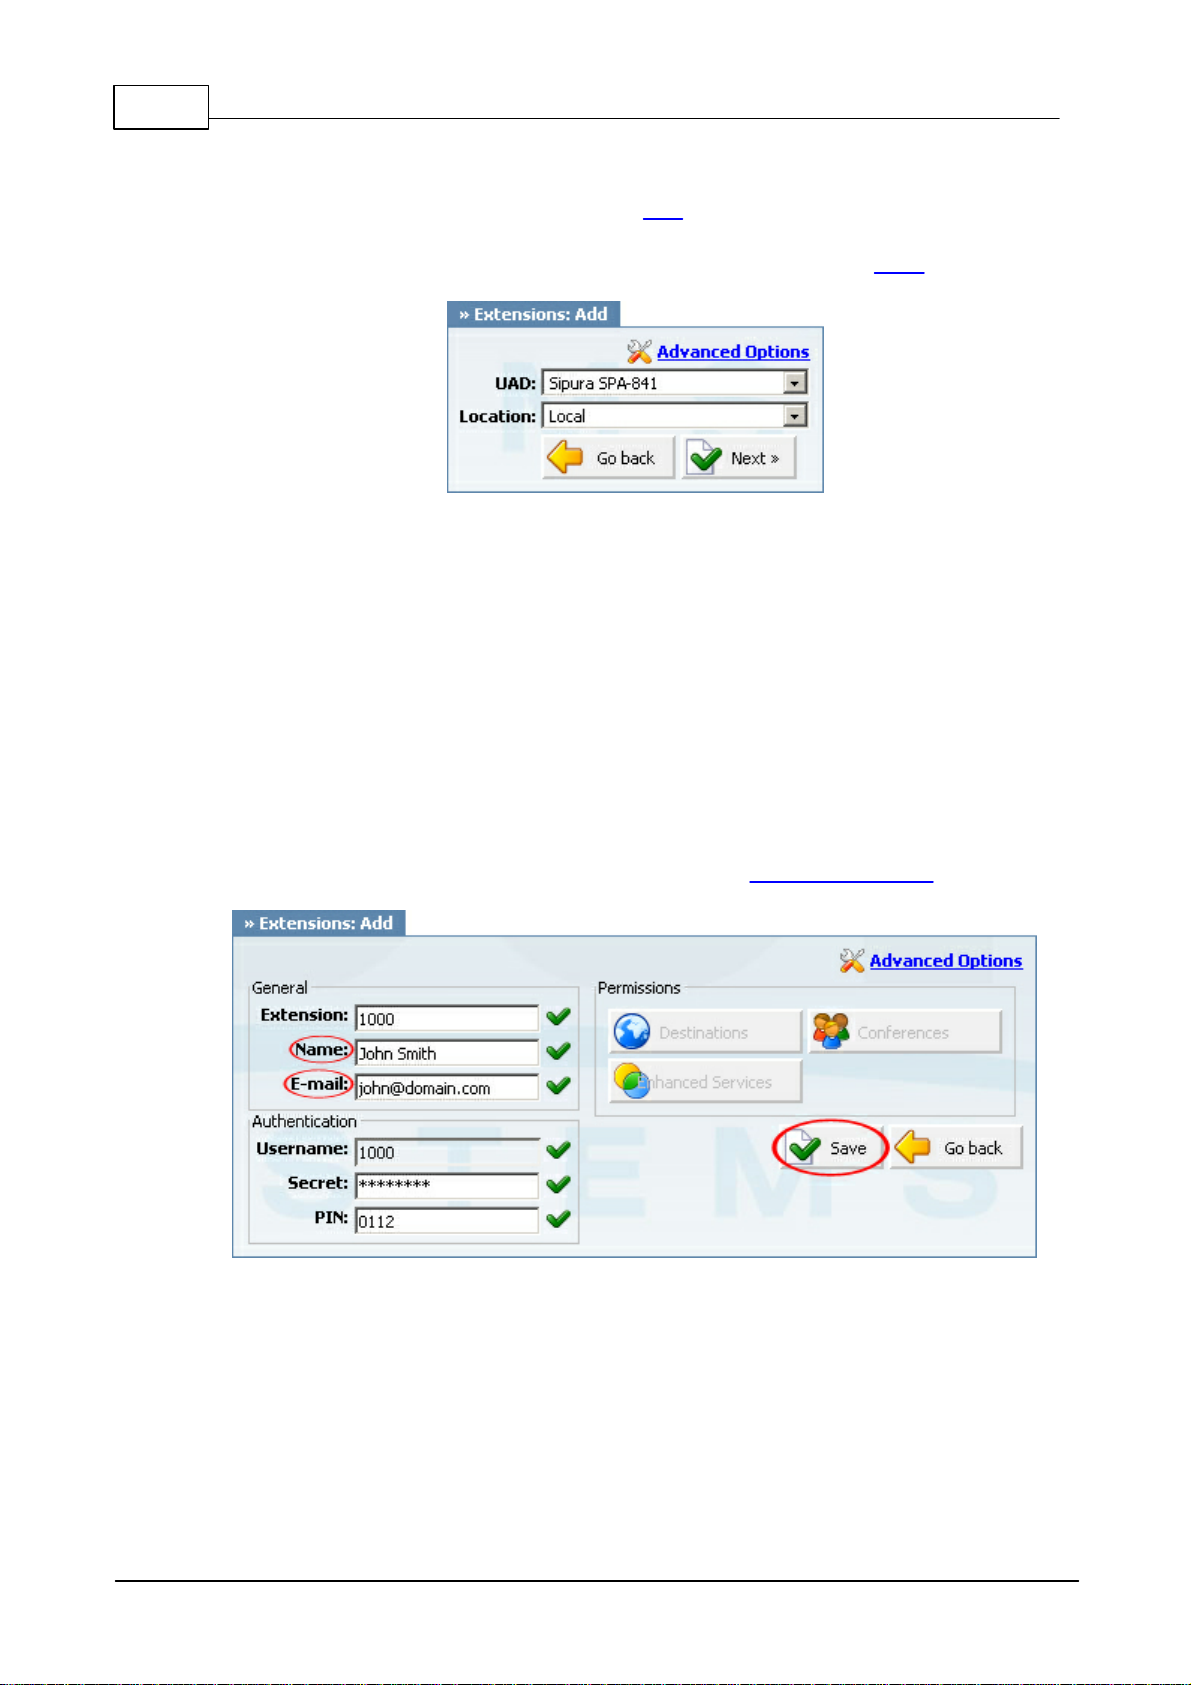
1. Navigate to "Extensions". Click on "Add Extension".
2. The standard options window (below) will be shown.
3. Select Sipura SPA-841 from the "UAD" select box.
4. Select Location: "Local" or "Remote".
9 Sipura SPA-841 How To
(c) 2003-2010 Bicom Systems
Note:
-"Local" is for all extensions registered on LAN.
-"Remote" is for all extensions registered from remote networks, WAN, Internet etc.
5. Click on the "Next" button.
STEP TWO: Extension values.
1. Enter values into the required field text boxes.
REQUIRED FIELDS:
Name:
Enter a name for the extension being created. Example: John Smith.
E-mail:
Enter the e-mail address associated with this extension. This e-mail address will
receive all system notification messages. Example: john@domain.com.
an example with details filled in
2. Click on the "Save" button.
10Registering Sipura SPA-841
(c) 2003-2010 Bicom Systems
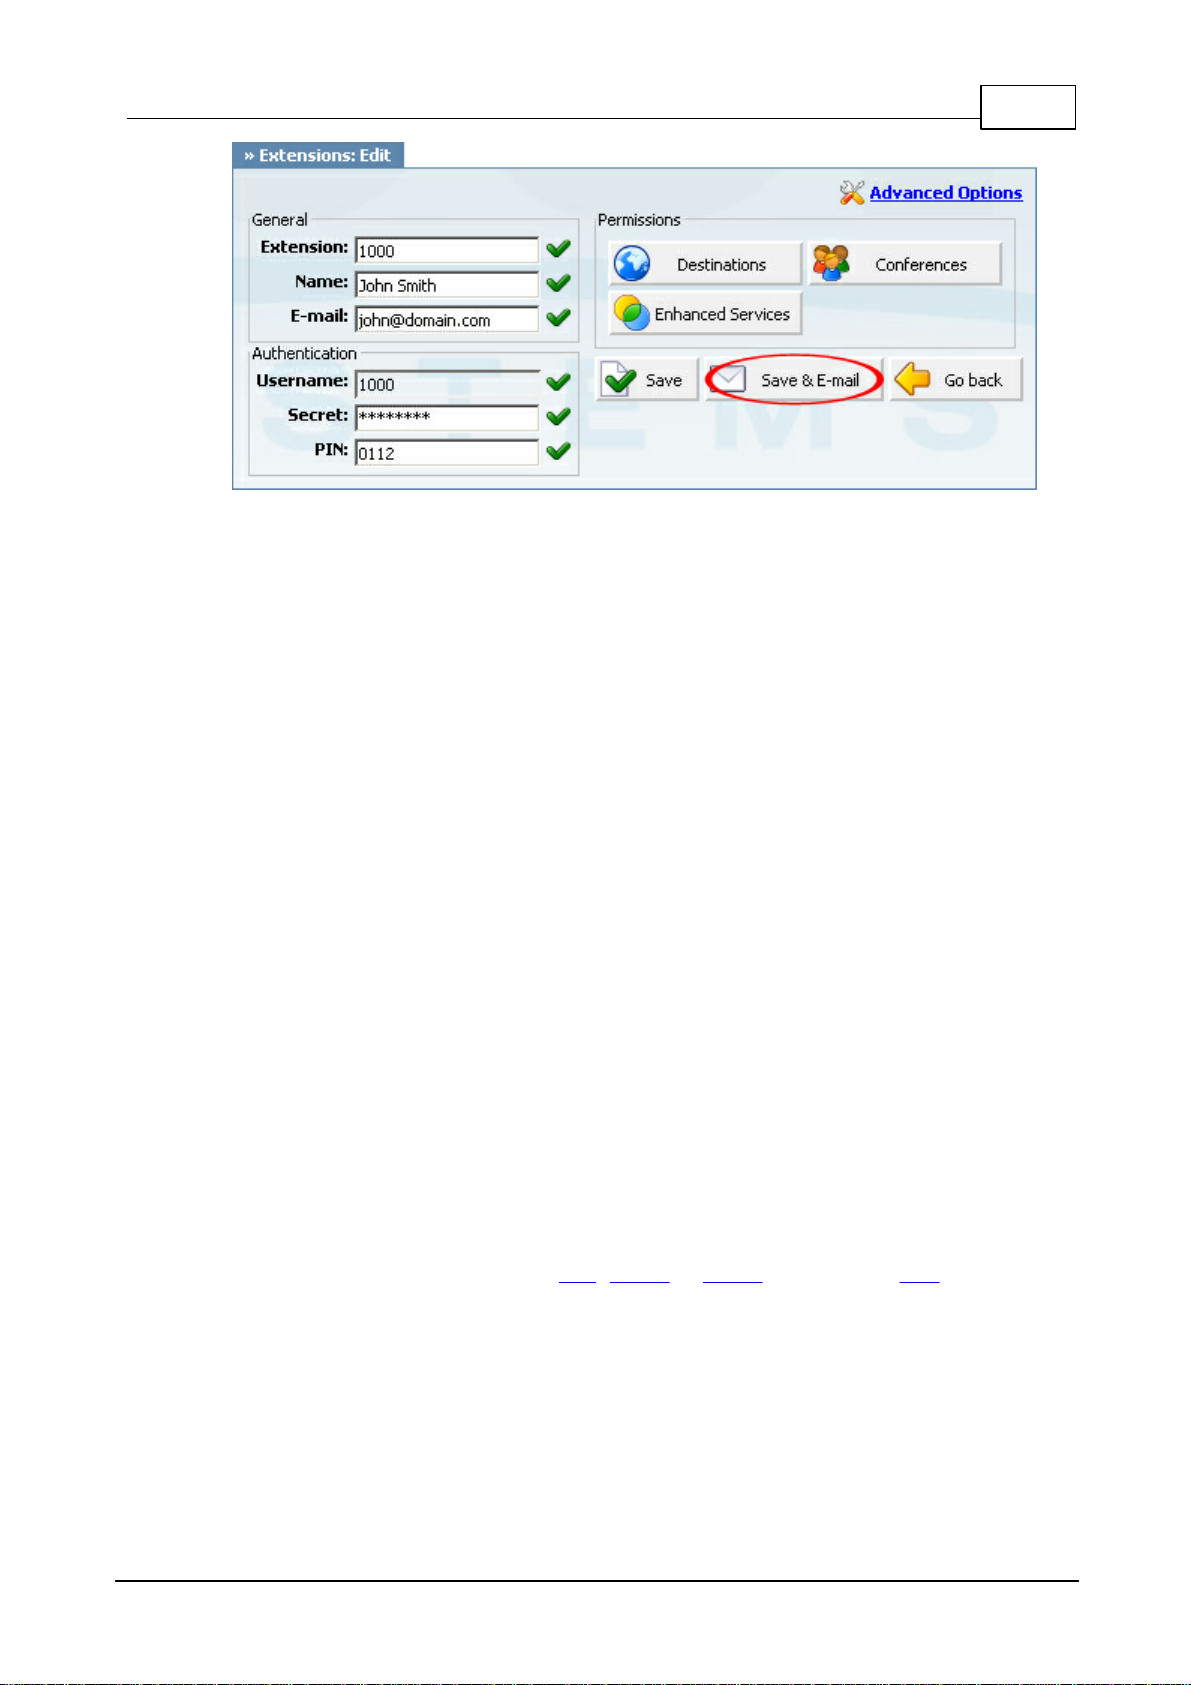
an example with details filled in
3. Click on the "Save & E-mail" button. Account details will be sent to the e-mail address
associated with this extension.
OPTIONAL FIELDS:
Extension:
An auto-generated extension number based on the next available sequential
number. An extension value can be changed. Example: 1000.
Username:
Username is auto generated/populated and cannot be changed since it allows the
system to use this value for other important operations.
Secret:
A secret value associated with the UAD is auto-generated in order to allow the UAD
to successfully register with the system. The secret value can be changed.
PIN:
An auto-generated PIN will allow access to voicemail and online self care.
2.2.3 Registering Phone
STEP ONE: Electricity and Ethernet.
- Your Sipura SPA-841 needs electricity, so plug the adapter into its jack and connect
it to the electricity network.
- Connect the ethernet port to a hub, router or switch as to access LAN.

11 Sipura SPA-841 How To
(c) 2003-2010 Bicom Systems
After successfully connecting your Sipura SPA-841 to the electricity and data networks, it
is time to register it to PBXware.
STEP TWO: Sipura SPA-841 IP address.
Find out the IP address of your Sipura SPA-841 connected to network.
1. Press the bottom right button.
2. On the display, scroll to "Network".
3. Press the "select" button.

12Registering Sipura SPA-841
(c) 2003-2010 Bicom Systems
STEP THREE: Sipura SPA-841 Web Interface.
1. Open a new browser window and enter the IP address in order to access the Sipura
SPA-841 administration interface.
Example: http://192.168.1.101
an example with IP address
2. Hit "Enter" on your keyboard.
STEP FOUR: Configuring Sipura SPA-841.
1. Click on the "Admin Login" link.
2. Click on the "Ext 1" link.

13 Sipura SPA-841 How To
(c) 2003-2010 Bicom Systems
3. Enter the following details into their respective fields.
REQUIRED FIELDS:
Proxy:
IP address of the PBXware server. Example: 192.168.1.2
User ID:
Sipura SPA-841 extension number. Example: 1000.
Password:
The Secret of the extension as received in the e-mail associated with this extension.
Example: 3dX3r5
an example with details filled in
4. Navigate to the bottom of the page, click on the "Submit All Changes" button. The
Sipura SPA-841 will reboot for changes to take effect.
OPTIONAL FIELDS:
Display Name:
Example: John Smith, Reception, Entrance Main, Agent One etc.
Auth ID:
Usually the same number as for the account.
Other fields:
14Registering Sipura SPA-841
(c) 2003-2010 Bicom Systems
Other "options" or "fields" should be left blank or as is by default, they have no
importance for registering your Sipura SPA-841 to PBXware.
- Conclusion: If everything is done as above described you should have successfully
registered your Sipura SPA-841 to PBXware. Dial *123 to verify registration.
- For further information, please contact the manufacturer or check their website www.
sipura.com.
2.3 Auto Provisioning
- UAD Settings
- Creating Extension
- Registering Phone
2.3.1 UAD Settings
STEP ONE: PBXware IP address.
1. Find out the IP address of PBXware server.
STEP TWO: Login into PBXware.
1. Open a new browser window and enter the IP address to access the PBXware
administration interface login screen.
Example: http://192.168.1.2
an example with IP address
2. Hit "Enter" on your keyboard.
3. Login to PBXware with your e-mail address and password.

Table of contents


