SkyBean Chase XC User manual

½Chase XC
user guide
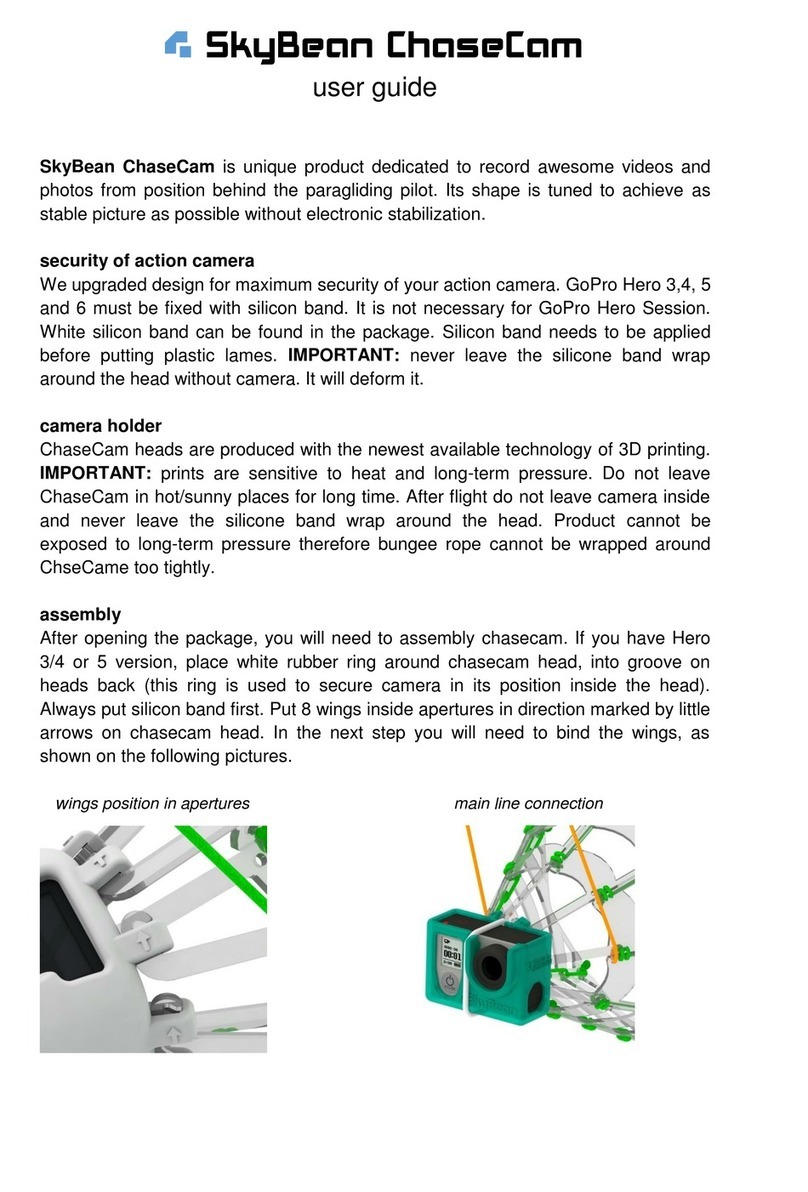
SkyBean Chase XC is the next
generation of our original product
flying behind pilot developed to
record awesome videos or
photos. Its body is truly foldable
without any assembly or
disassembly needed –it is ready
to fly in 5 seconds!
Compatibility
Chase XC is produced in four versions:
G9 is made for GoPro Hero9 Black camera only.
G8 is made for GoPro Hero8 Black camera only.
G7 is made for GoPro Hero5 Black, GoPro Hero6 Black and GoPro Hero7 Black
cameras (GoPro Hero7 silver and white are not compatible).
UNI is a universal model compatible with all action cameras in weight range 50 –
160 g.
Preparation for flight
Put camera into front cage, called head, and
secure it with white silicone ring. Place it into its
groove next to the lens.
Open/unfold –When Chase XC is facing to
you, rotate its tail counterclockwise until tail is
fully opened. After that, marks and arrows on
octagonal tail body will be symmetrical at top.
Close/fold –When Chase XC is facing to you,
rotate its tail clockwise until tail is fully closed
and carbon rods are in parallel position.
If you forget the direction of rotation to
open/close, arrows and marks representing
opened/closed tail will help you.

Put adhesive camera mount on UNI version
and choose correct hanging position on
camera holder body to balance Chase XC.
Camera should be facing slightly up.
Rope adjustment and attachment
Bungee rope length must be adjusted to achieve
best possible footage.Pull bungee rope through
short silicone tube at the end of loop to adjust its
length. We recommend 1.5 m shorter rope than
glider’s lines including risers. The point is to set
length to fit pilot at bottom and glider at top of the
scene (see picture). To avoid turbulence air
behind the pilot, don’t set bungee rope too long.
Particularly PPG pilots should avoid too long
rope, due to real possibility that chasecam
can hit revolving propeller during landing!
Use wide setting ofyour camera, we recommend
16:9 format with superview lens. Hang
chasecam on the middle eye on canopy’s trailing
edge, where brake line is connected.
Launch
There are several options on how to take-off with Chase XC.
Assisted take-off - This is the best option to get awesome shot during take-off, if
there is somebody helpful available. The assistant should stay behind prepared wing
in some distance to fit you and the glider into scene. Be sure when asking somebody
to assist, that she/he will hold the chasecam lightly and understand she/he will must
release it after you will move forward to launch!
Rocket launch –In perfect take-off conditions with light wind and suitable take-off
surface (without sharp stones) you can use the “rocket launch”. Place the chasecam
facing camera lens up, in the middle between pilot and trailing edge of the glider.
Harness launch –If you are not sure about smooth launch or if you are time stressed
on take-off place by many pilots waiting for launch, use the harness launch. Prepare
everything on the side of take-off placeand put foldedChase XC into harness pocket.
After take-off, when you are away from take-off air space and you are safely sitting
in the harness, unfold and release chasecam. Don’t forget to smile into recording
camera before it flies out :)

Tips and tricks
Once you takeoff, you cannot touch your camera, so we recommend to use remote
control during long XC flights. You will save power and you can capture just
interesting and nice footage from your flight, e.g. 30s clips are a good choice.
If you want to get more from glider into scene, push speed bar. Increased speed will
produce more drag, so chasecam will fly further behind you.
Set camera to 16:9 format with superview lens, so picture will use whole CMOS
sensor. Don’t use 5k resolution on GoPro 9, is cannot work with superview angle.
Bungee rope
The pilot should check the integrity of the bungee rope before each flight. Do not use it
in case of any cracks, splits or scratches! We recommend to change the bungee rope
annually in case of frequent use (more than 100 h/year).
Tension fuse
Some pilots of PPG or speed wings fly aggressively very close to obstacles, like trees,
buildings or just to each other. In this case, there is a real danger that flying chasecam
can get stuck or tangle somewhere. For this reason, we include tension fuse, which
holds chasecam safely during normal flight, but will break under extreme force and
release stuck chasecam. In normal flight chasecam produces drag around 2.5 N @ 40
kph (10 N @ 100 kph). We tested drag up to 200 kph, when tension fuse starts to open
at 20 N of drag. If you decide to use it, disconnect two small keyrings close to
attachment hook and place tension fuse between them (PPG picture). In case you will
fly speed wing, place both tension fuses in parallel configuration (speed wing picture).
Always keep in mind –Better to loose camera with chasecam than face an accident.
standard PPG speed wing

Safety notes
We spent lot of time with chasecams development to reach the most stable behavior
in the air. We tested them for several years during normal paragliding flight conditions
without any dangerous situation. However, any official safety tests are missing
(because there is no standard for testing), we did most of SIV maneuvers without any
problem (you can watch the video on our YouTube channel). Even though:
We cannot guarantee your inviolable safety, so every pilot uses SkyBean Chase XC
at her/his own risk. No member of SkyBean team is responsible for non-standard
situations or injuries.
Before each flight, check condition of Chase XC, bungee rope and tension fuse to
prevent losing your gear.
If you don’t fully trust adhesive camera mount on UNI version, we recommend to
secure camera with short line attached through hole in the base plate.
Responsibility for any damages or injuries to third parties is completely covered by
pilot of paragliding glider while using SkyBean Chase XC.
Content of package
●Chase XC with bungee rope
●2 tension fuse rings
●transport pocket
●sticker
Physical parameters
●weight 150 g (without camera)
●dimensions 30x24x24 cm unfolded
●bungee rope length 6 m
NOTE: Adhesive camera mount for UNI version is NOT included
Contact information
If you have any further questions, please visit our webpage skybean.eu or contact us
via email at info@skybean.eu. Please share your experiences with us, we are looking
forward to your feedback!
facebook.com/skybeanvario
youtube.com/c/SkyBeanVarios
instagram.com/skybean_vario rev. 2009
This manual suits for next models
4
Table of contents
Other SkyBean Digital Camera manuals
