Skytech: 1001D-A REV. 11-14-18 Page 2
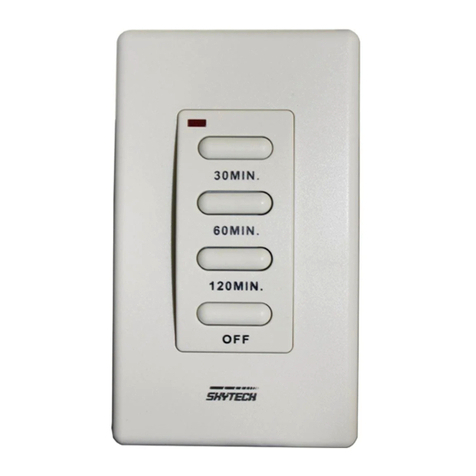
WALL MOUNTING THE TRANSMITTER
• Remove faceplate from the base by inserting a small
screwdriver into the small slot at the top or bottom of
the faceplate then popping it off.
• Locate the (2) two mounting holes and mark the
holes on the wall.
• Use the (2) two dry wall anchors and screws
(supplied) to mount the base plate to the wall as
shown.
• Then snap the faceplate back on to the
wall-mounted transmitter.
• The wall transmitter can also be mounted onto an
existing (not metal) electrical box.
Plastic Anchor
W
a
l
l
RECEIVER
Install the (4) AA-size batteries supplied with the unit. It is
recommended that ALKALINE batteries always be used for
this product. Be sure the batteries are installed with the (+)
and (-) ends facing the correct direction.
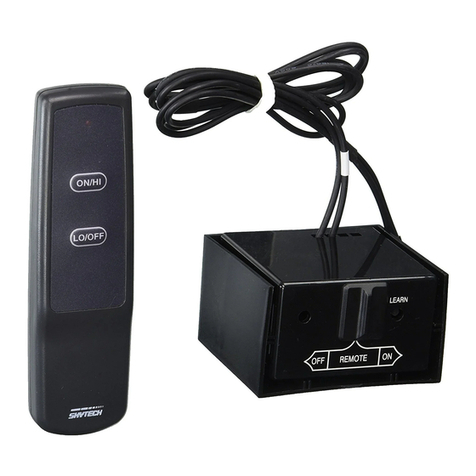
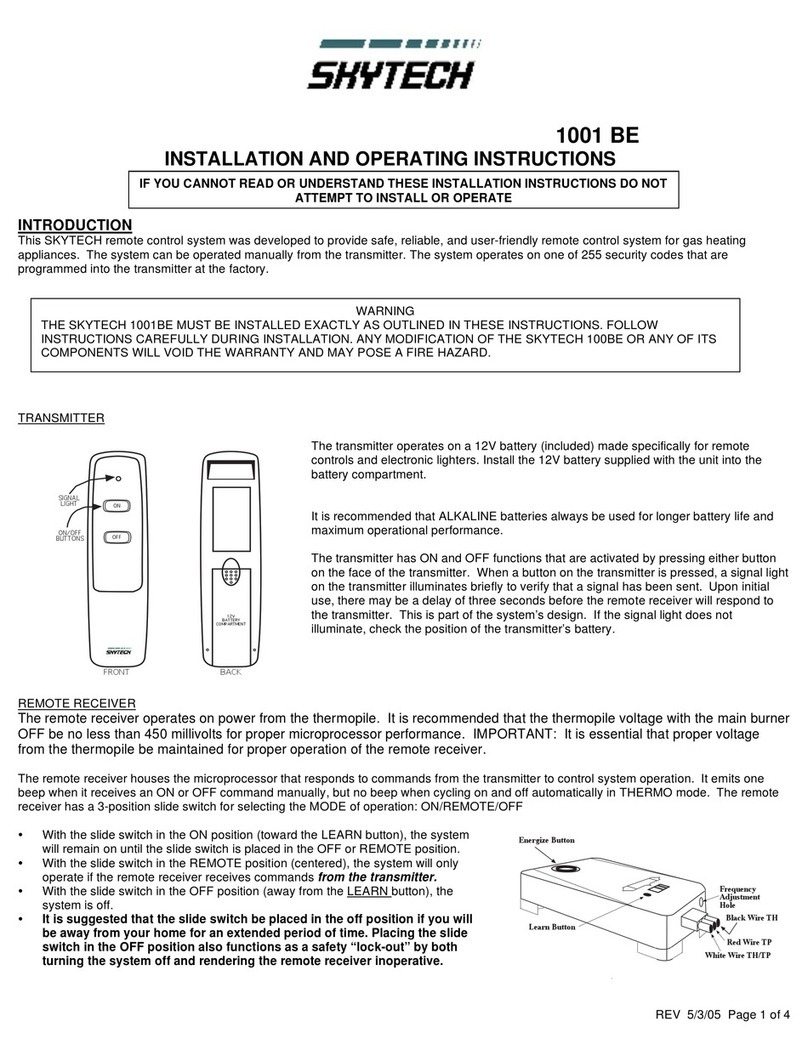
The remote receiver has a 3-position slide switch for selecting
the mode of operation ON/REMOTE/OFF
• ON: will manually turn ON the appliance.
• REMOTE: will allow use of handheld transmitter. If the
system does not respond to the transmitter on initial
use, check the battery positions in the remote. If that
does not work, see the LEARNING TRANSMITTER TO
RECEIVER section.
• OFF: will disable the remote receiver.
It is recommended that the slide switch be placed in the OFF
position if you will be away from your home for an extended
period of time.
REMOTE
ON
OFF
LEARN
Requires 4-AA 1.5V
alkaline batteries
Learning
button
Remote Receiver
Battery cover slides on/off
Slide
Switch
ON
REMOTE
OFF
NOTE: This product is designed for use with an attended hearth appliance or re feature. Adults must be present when
the Control System is operating. DO NOT program or thermostatically set this Control to operate a hearth appliance
or re feature when Adults are not physically present. Furthermore, DO NOT leave the hearth appliance or re feature
burning unattended; it may cause damage or serious injury. If an Adult is going to be away from the hearth appliance or
re feature for any length of time, then the handheld/wall mount, receiver/control module and application should be in the
“OFF” position.
This remote control system must be installed exactly as outlined in these instructions. Read all instructions completely
before attempting installation. Follow instructions carefully during installation. Any modications of this remote control or
any of its components will void the warranty and may pose a re hazard.
Do not connect any gas valve or electronic module directly to 110-120VAC power. Consult gas appliance manufacturer’s
instructions and wiring schematics for proper placement of all wires. All electronic modules are to be wired to
manufacturer’s specications.
The following wiring diagrams are for illustration purpose only. Follow instructions from manufacturer of gas valve and/
or electronic module for correct wiring procedures. Improper installation of electric components can cause damage to
electronic module, gas valve and remote receiver.
WARNING


