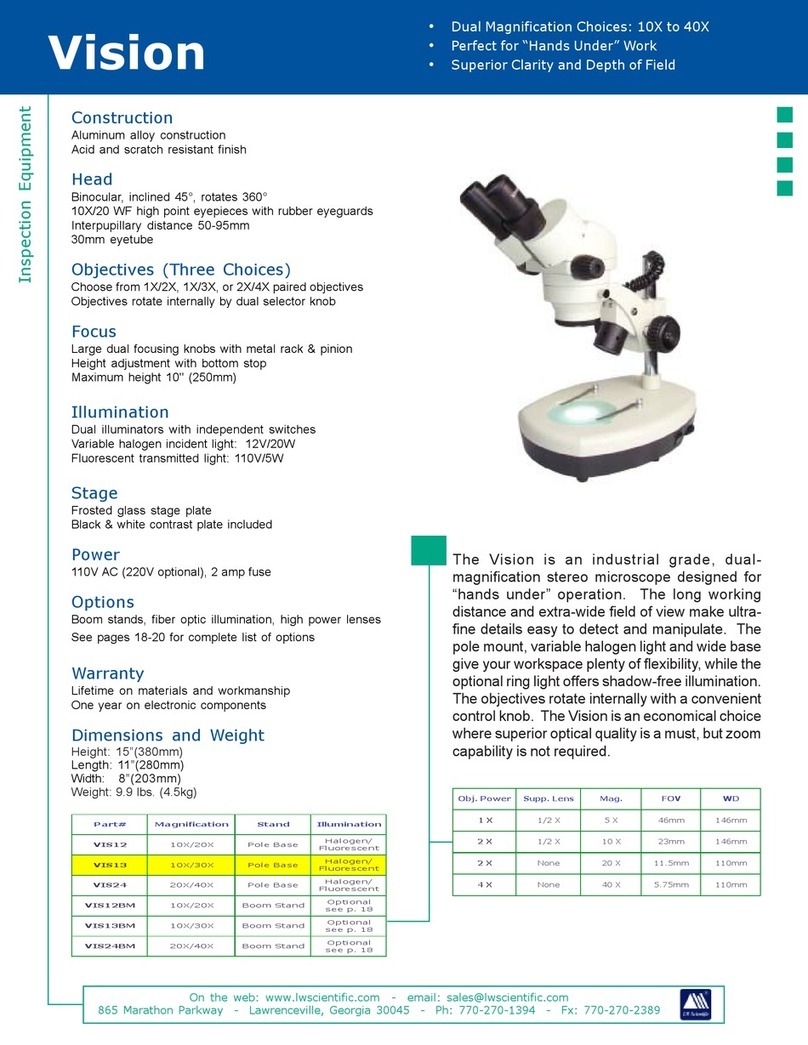
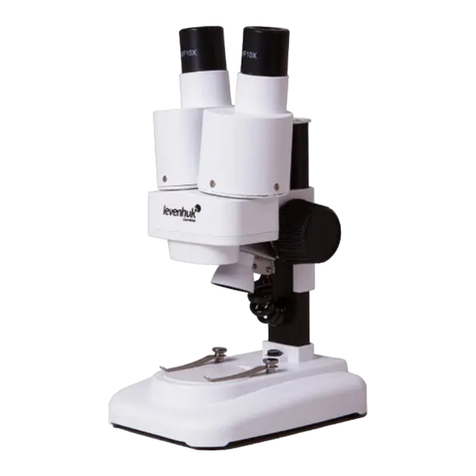
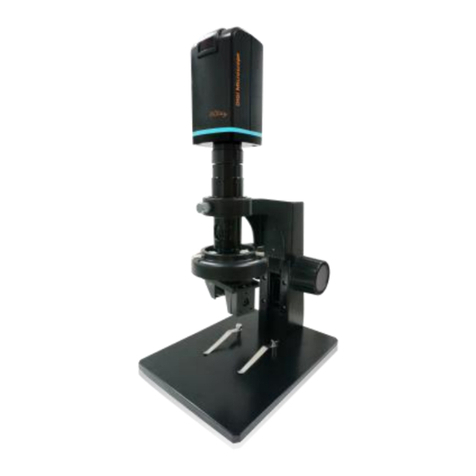
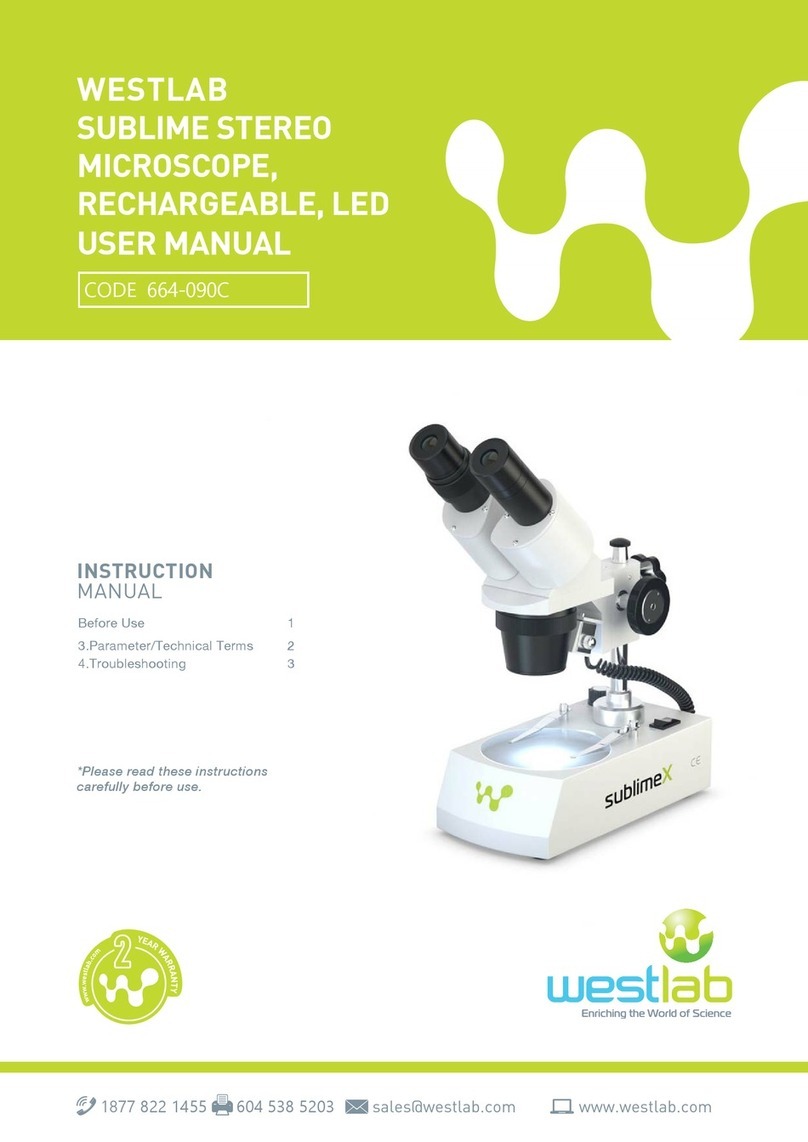
SMART Solutions SM-1080BL3DHD1 User manual

SM
-1080BL3DHD1 Digital Video Microscope
User Manual
This microscope is a precision optical instrument. In order to ensure its
service life and correct daily maintenance. Please read user manual
carefully before using microscope.
Thank you for purchasing our products!

CONTENTS
Cautions and Notes..............................................................................- 1 -
Microscope Specification.....................................................................- 1 -
1. Main Feature ................................................................................- 1 -
2. Optical Parameter.........................................................................- 2 -
Microscope structure and components ...............................................- 3 -
Microscope Install Instructions ............................................................- 3 -
Microscope operation instruction........................................................- 5 -
Method of lens parfocal and adjust center ..........................................- 6 -
1. Method of lens parfocal................................................................- 6 -
2. The method of adjusting center....................................................- 7 -

- 1 -
Cautions and Notes
1.To avoid lens staining or scratching, please do not touch the lens directly with your
finger.
2. To avoid the impact of failure on use, please do not disassemble or modify the
internal structure of the device.
3. Do not use organic solvents to clean.
4. If the lens or sensor is dirty or damp, you can use mixture of industrial alcohol and
ether with 1:1 ratio to clean it. And should better use dry and nonwovens fabric or
professional lens tissue to wipe them.
5. Do not use or place microscope in high temperature and humidity environment,
direct sunlight or near heat sources, dusty places, and shaking places for a long time.
Suitable working temperature and humidity is:
Working temperature 0℃~40℃
Working humidity 20%~80%
6. In order to avoid possible electric shock accidents, please unplug the power supply
before moving the microscope.
Microscope Specification
1. Main Feature
(1).
SM
-
1080BL3DHD1 3D video microscope body based on infinity optical system.
(2). Manual switch 2D and 3D observation freely, 360 °rotation, 45 °objective viewing
angle.
(3). Working distance always maintain 86mm when you switch 2D and 3D
observation, No need to adjust the focus.
(4). The center position of 2D and 3D is same, Zoom to any magnification have a best
image without focusing adjustment.
(5). CCD adaptor with fine-tuning device, It can match any CCD camera, When you
fine-tuning, camera and lens no need to rotate.
(6). At Minimum magnification, the field of view is full image without dark edge
image, high resolution, large depth of view.
(7). High resolution 1:8.3 zoom lens. It can satisfy the requirements of observation
range and magnification
(8). 1/1.8”SONY 1080P HDMI camera. No need computer, no need to install
software. Support saving pictures to videos to SD card.

- 2 -
(9). Widely used in microelectronics, precision electronics, precision hardware, deep
hole wall, life science, morphology, forensic identification.
2. Optical Parameter
Lens parameter
Optical mag.
0.3-2.5X,1:8.3 ratio
Total mag.
11-95X
Working distance
86mm
FOV
24*13.5-2.88*1.62mm
2D/3D Rotation view
2D/3D manual switch freely
Working distance always remains same
The center position remains same
360 °rotation, 45 °objective viewing angle
Camera parameter
Image Sensor
1/1.8“
Resolution
1920 x 1080
Pixel size
2.4μm
Frame
60fps
Color control
Manual/auto
Brightness control
Manual/auto
Record format
Snapshot, Picture Format: JPG or BMP
Resolution:1920x1080
Image output
HDMI
Monitor parameter
Size
19”
type
a-Si TFT-LCD/IPS
Resolution
1920*1080
Color display
16.7M
Brightness
300 Nit
Contrast
800:1
Power supply
Adapter: Input: AC100~240V/50~60Hz;
Output: DC12V/5A/60W
Monitor: USB-A-Output:DC5V/2A×3
Image input
HDMI1 ,HDMI2
LED Light parameter
Light Control
4 zones control, Brightness adjustable
Light color
White
Quantity of LED
208PCS
Intensity
15000 Lux
Wavelength
455-457.5nm
Output voltage
12V
Output power
8-10W
Working distance
35-110mm
Material
Aluminum alloy
Diameter
Inner diameter 40mm, outer diameter
106mm, height 19mm
Stand parameter
Base size
330*300mm
Height
328mm
Scope dia.
50mm

- 3 -
Microscope structure and components
1.stand base 2.2D/3D rotation view 3.4 zones control LED ring light. 4.
Zoom body 5.CCD fine focus tube 6.HDMI camera 7.stand post
8.Focusing holder
9.19
inch display 10.Arm of display
Microscope Install Instructions
1. Open the package and take out all accessories carefully.
2. Install stand. Firstly, install the column on the base
3. Install display with post and tighten the screw to fix it.
4. Fixed the fixed towing ring into post, and then install the focusing holder with post.
tighten the screw to fix to appropriate height.
5. Install camera with the upper end of the lens
6. Put the lens into focusing holder. Face the zoom marking line to the user. fix the
lens with wrench.
7. Connect the four-zone ring light source with the front end of zoom body. First,
loosen the three knurling screw on light, then fasten it.
8.Install 2D/3D rotating viewer into the bottom of the lens and fix it with wrench.

- 4 -
9. Connect camera with display by HDMI cable. Connect camera with 12V power
adapter. One USB port with mouse. Also connect display and LED ring light with 12V
power supply.

- 5 -
Microscope operation instruction
1. After installing microscope well. Turn on the power supply.
2. When the power is turned on, the camera power indicator is green and the display
power indicator is blue.
4. Turn on power of four-zone light source select the area light source and adjust
the brightness according to the need. (Note: try not to keep the brightness in the
brightest state for a long time, so as not to reduce the service life)
5. Adjust lens to max. magnification 5.0X. Adjust the focus holder. The working
distance is about 86 mm. At this time, the image will appear on the display screen.
Attention to increase or decrease the brightness of the light source to make the
image in the clearest state.
6. Adjust lens to min magnification 0.6X. At this time, the image is not clear. Adjust
CCD fine focusing tube to let the image is the clearest.
7. Repeat more than 5.6 steps twice, finish lens parfocal. Adjust each magnification
has a clear image.
8. Then we can observe with 2D or 3D.
Special tips: 3D observation. Users need push 2D/3D rotation viewer 2D observation
position. Adjust the zoom lend to 0.6X and put the position of observing part to the
center of display screen. Then adjust the focusing holder let the image clear. Then
adjust the zoom lens up 0.6X. Pull to 3D observation position. The screen will present
a clear 3D picture. Users can 360°rotation observation. Also can adjust zoom lens
magnification to observe. The image will remain clear and no longer need to focus
again.

- 6 -
Method of lens parfocal and adjust center
Since it is not possible to ensure that chip position of each camera is as same as the
center. So it is necessary to adjust the lens in order to ensure the image center of
each magnification in the center of the display before using.
1. Method of lens parfocal
1) User can prepare a objective scale with crosshair.
2) Firstly, Put the scale under the lens. Adjust the lens to max magnification 5X
(Adjust the zoom body hand wheel 1). Then adjust focus holder hand wheel 2 to
suitable working distance(Standard working distance is about 86mm). Let the image
become clearest.
3) Second. Adjust the lens to min magnification 0.6X (Adjust the zoom body hand
wheel 1) At this time, the image is not clear. Adjust CCD fine focus hand wheel 3. Let
the image become clearest, and the center of the crosshair image is 4.
4) Repeat 2).3) steps more than two times, Lens parfocal is OK. That is to say, every
magnification has a clear image
Zoom body hand wheel 1
CCD fine focus hand wheel 3
Focus holder hand wheel 2

- 7 -
2. The method of adjusting center.
1) Before adjusting the center. Users must be finish lens parfocal.
2) Turning on the camera's cross function, we can see on the display that the center of the
crosshair overlays the center of the display. If the camera does not have cross-line function,
you can manually mark the center of the display to represent the center (the center is 5).
3) Put the scale under the lens. Adjust the lens to max magnification 5X (Adjust the
zoom body hand wheel 1). Then adjust focus holder hand wheel 2 to suitable
working distance(Standard working distance is about 86mm). Let the image become
clearest. Move the center of the crosshair 4 of objective scale to the center 5 of the
display crosshair on the display, let the center 4 and 5 coincide precisely.
4) Then adjust lens zoom body hand wheel 1 to min magnification 0.6X. At this time,
the center 4 will shift the center 5. Then loosen 3pcs M4 screws on CCD tube 6.
According to the image migration law, lock the three M4 screws, move the center 4
to the center 5, and make the center 4 and the center 5 coincide accurately.
Repeat step 3) and 4) twice. Adjust center is OK. That is to say, the center of 2D and
3D observation remain same.
Zoom body
hand wheel 1
Focus holder
hand wheel 2
CCD fine focus
hang wheel 3
3 pcs M4 screws
on CCD tube 6
Table of contents

