How to UseInstallation
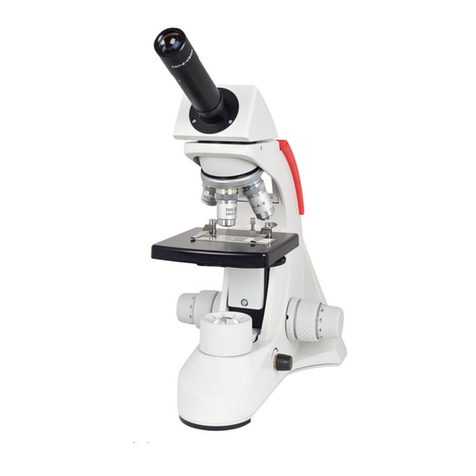
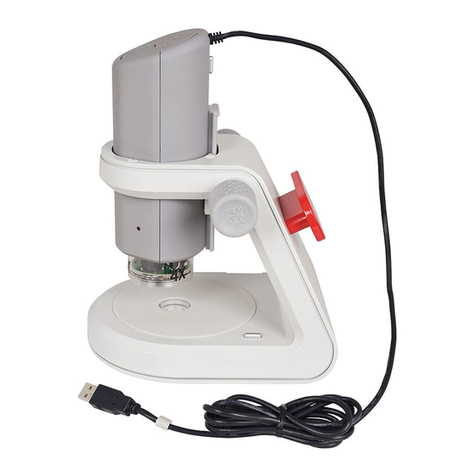
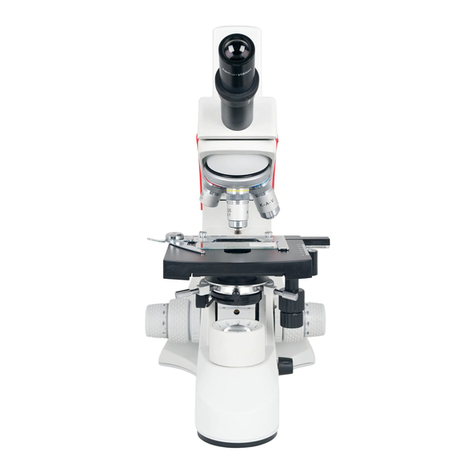
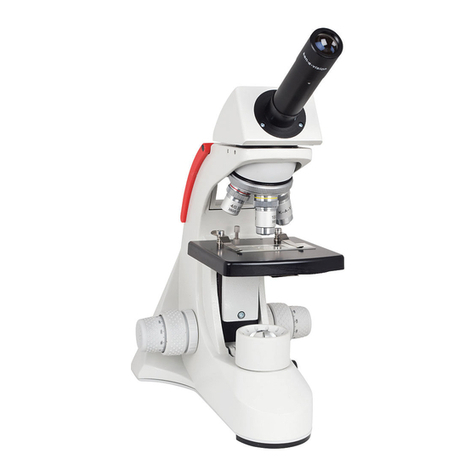
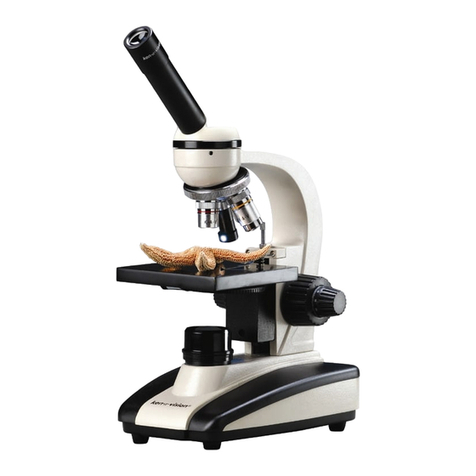
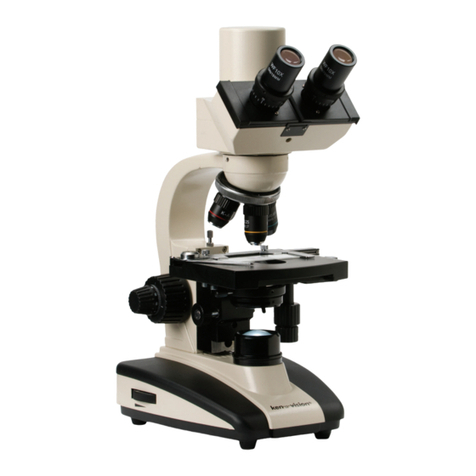
Thank you for purchasing your Ken-A-Vision egapixel Digital CoreScope.
We designed this compact digital microscope with optical quality and to with-
stand student use. The contoured metal base is
covered with high-density plastic to prevent chipping during normal student
use. These and other features were designed to enhance the egapixel Dig-
ital CoreScope to offer you the best value.
TTEECCHHNNIICCAALL SSPPEECCIIFFIICCAATTIIOONNSS
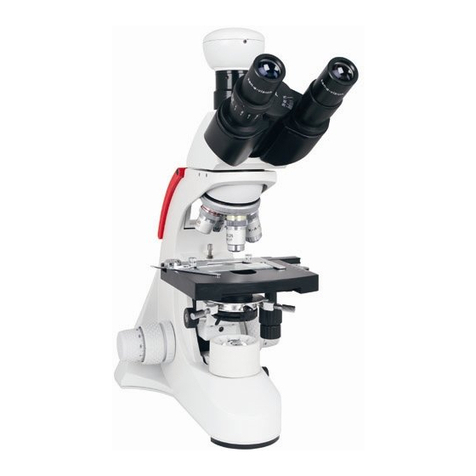
* 10x Widefield eyepiece with pointer
* DIN Objective lens: 4x, 10x, 40xR
* Separate Coarse & Fine Focal Adjustment
* Power Source: USB
* Light Source: Powered by Ken-A-Vision Cool Lighting
DDIIGGIITTAALL IICCRROOSSCCOOPPEE PPRREEPPAARRAATTIIOONN
Check the focus adjustment. The oversized knobs are designed for better
gripping. The focus knobs should turn easily to change the focus, but the
stage will not drift or slip on its own.
Check the stage stop safety feature. This has been preset from the
factory and should not need adjustment. The stage stop is a thumb screw with
a lock nut found just behind the stage. To check the stop, first place a pre-
pared slide in position for viewing. With the 4x objective in position for view-
ing, move the focus knob until the stage is as high as it can be. Turn the 40x
objective into place. This objective should be very close to the slide, but not
touching.
OOPPEERRAATTIIOONN
LLooaaddiinngg tthhee SSooffttwwaarree::
Simply insert Applied Vision CD-Rom provided into your CD-Rom drive and
select High Resolution USB 2.0 drivers. Next, select Install drivers then install
drivers. Then follow the prompts. For more detailed information, please refer
to the software instruction manual.
CCoonnnneeccttiinngg TThhee UUSSBB CCaabbllee::
The USB cable is pre-attached to your egapixel Digital CoreScope. Please
note that you must first install the supplied software before
connecting the USB cable to your computer. Before connecting the USB cable
to your computer be sure the Applied Vision CD is still in your CD Rom
12
FFOOCCUUSS
With the egapixel Digital CoreScope connected to the USB port, the
switch turned on, place a prepared slide under the stage clips and move into
position for viewing. Use the 4x objective first. Raise the stage until it will go
no higher. Then lower the stage to bring into focus. (View the image on the
computer screen or through the eyepiece) Once the image is sharp you
should be able to simply turn the nosepiece to the next higher objective lens
and do minor adjustments with the fine focus knob.
UULLTTII DDIIRREECCTTIIOONNAALL RROOUUNNDD SSTTAAGGEE
The stage is "floating" and can be moved in any direction to view different
areas of the specimen slide. Note: In order to prevent from scratching the 40x
objective lens, make sure the stage is in the correct position (with the back of
the stage clips facing the front of the microscope).
DDIIOOPPTTEERR
After obtaining focus of the specimen on monitor/computer using the
microscope focus adjustments, adjust the diopter, located on eyepiece tube,
for individual eye correction when viewing through the microscope.
BBUUIILLTT--IINN IILLLLUUIINNAATTOORR
The light source life is approximately 100,000 hours and can be turned on
and off with the power switch located on the side of the unit. The light source
is powered by the computer via the USB cable.
EEYYEEPPIIEECCEE
The widefield eyepiece is locked into place to avoid loss. There should be
no need to tighten. An eyepointer is built-in the eyepiece. The diopter on the
eyepiece tube allows for focus adjustment while viewing specimens.
