54 - PRECAUTIONS 914779721/C
• use of the appliance other than that
specified;
• failure to comply with the instructions in the
user manual;
• tampering with any part of the appliance;
• use of non-original spare parts.
Identification plate
The identification plate bears the technical data,
serial number and brand name of the
appliance. Do not remove the identification
plate for any reason.
Disposal
This appliance conforms to the WEEE
European directive (2012/19/EU) and
must be disposed of separately from
other waste at the end of its service life.
The appliance does not contain substances in
quantities sufficient to be considered hazardous
to health and the environment, in accordance
with current European directives.
To dispose of the appliance:
• Cut the power cable and remove it.
• Deliver the appliance to the appropriate
recycling centre for electrical and electronic
equipment waste, or return it to the retailer
when purchasing an equivalent product, on
a one for one basis.
Our appliances are packaged in non-polluting
and recyclable materials.
• Deliver the packing materials to the
appropriate recycling centre.
Information for European Control
Bodies
Fan forced mode
the ECO function used to define the energy
efficiency class complies with the specifications
of European standard EN 60350-1.
Conventional heating mode
To run the STATIC function, the preheating
phase must be skipped (see section "Preheating
phase" in the USE chapter).
Energy efficiency technical data
Information in accordance with the European
energy labelling and ecodesign regulations is
contained in a separate document
accompanying the product instructions.
These data are present in the "Product
information sheet" that can be downloaded
from the website at the page dedicated to the
product in question.
To save energy
• Only preheat the appliance if the recipe
requires you to do so. The preheating stage
can be disabled for all functions (see
chapter “Preheating”) apart from the PIZZA
(preheating cannot be disabled) and ECO
functions (no preheating stage).
• When using the functions (including the
ECO function), avoid opening the door
during cooking.
• Unless otherwise indicated on the package,
defrost frozen foods before placing them in
the oven.
• When cooking several types of food it is
recommended to cook the foods one after
the other to make the best use of the already
hot oven.
• Use dark metal moulds: They help to absorb
the heat better.
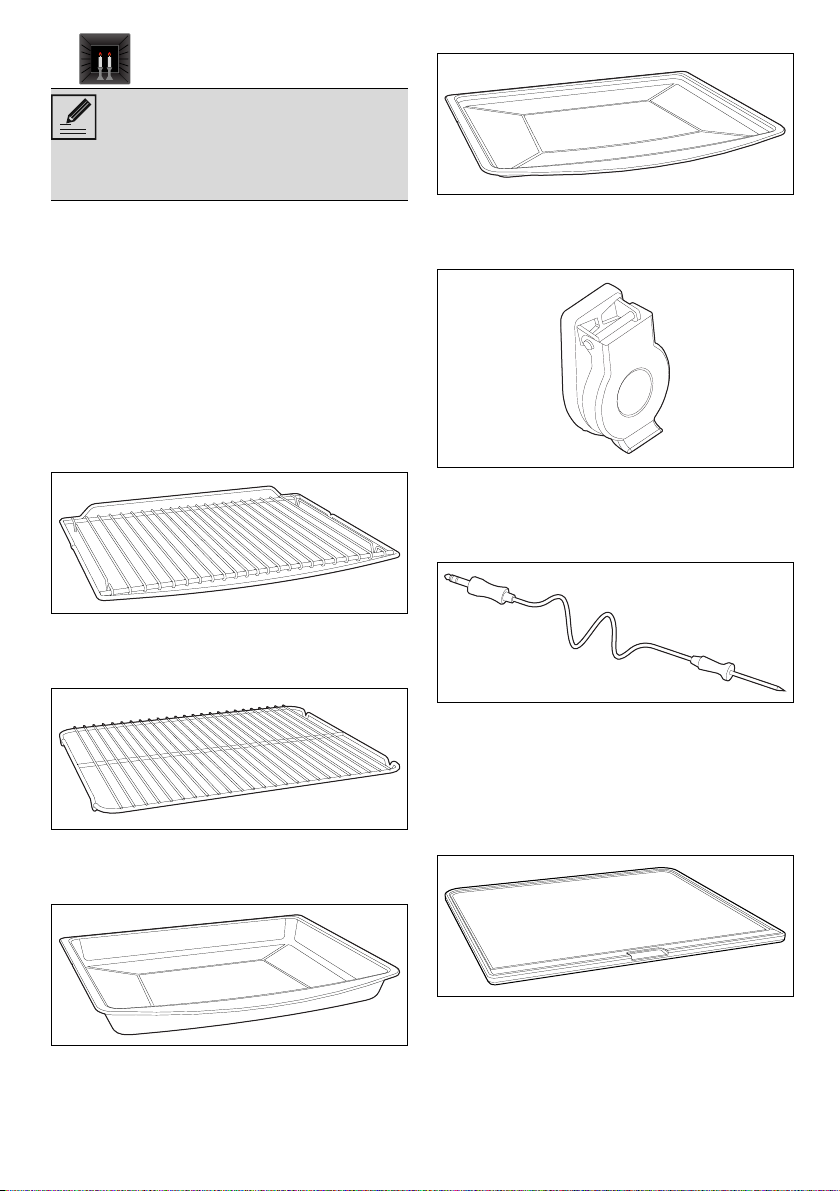
• Remove all trays and racks which are not
required during cooking.
• Stop cooking a few minutes before the time
normally used. Cooking will continue for the
remaining minutes with the heat which has
accumulated inside the oven.
• Reduce any opening of the door to a
minimum to avoid heat dispersal.
• Keep the inside of the oven clean at all
times.
Light sources
• This appliance contains user-replaceable
Power voltage
Danger of electrocution
• Disconnect the mains power supply.
• Unplug the appliance.
Plastic packaging
Danger of suffocation
• Do not leave the packaging or any part of it
unattended.
• Do not let children play with the plastic
bags.