Soca AP--60 User manual
SOCA TECHNOLOGY CO., LTD.
2005 AUGUST
AP60
RS232/485 to TCP/IP
USER MANUAL
R

CONTENTS
1. Features
2. Front Panel & Connector instructions
3. Specifications
4. Network Bus type
5. TCP/ IP converter setting
5.1 Network specifications
5.2 Before setting
5.3 Setting TCP/IP Converter
6. Example 1
7. Trouble shooting
1
1
1
2
3
3
5
7
9
12

1. Features:
1 32 modules in one RS485 network without repeater(AP30A Max. 256
modules).
2 Multiple baud rate, Auto switching baud tate.
3 Asynchronous halfduplex 2wire RS485 network.
. :
.
.
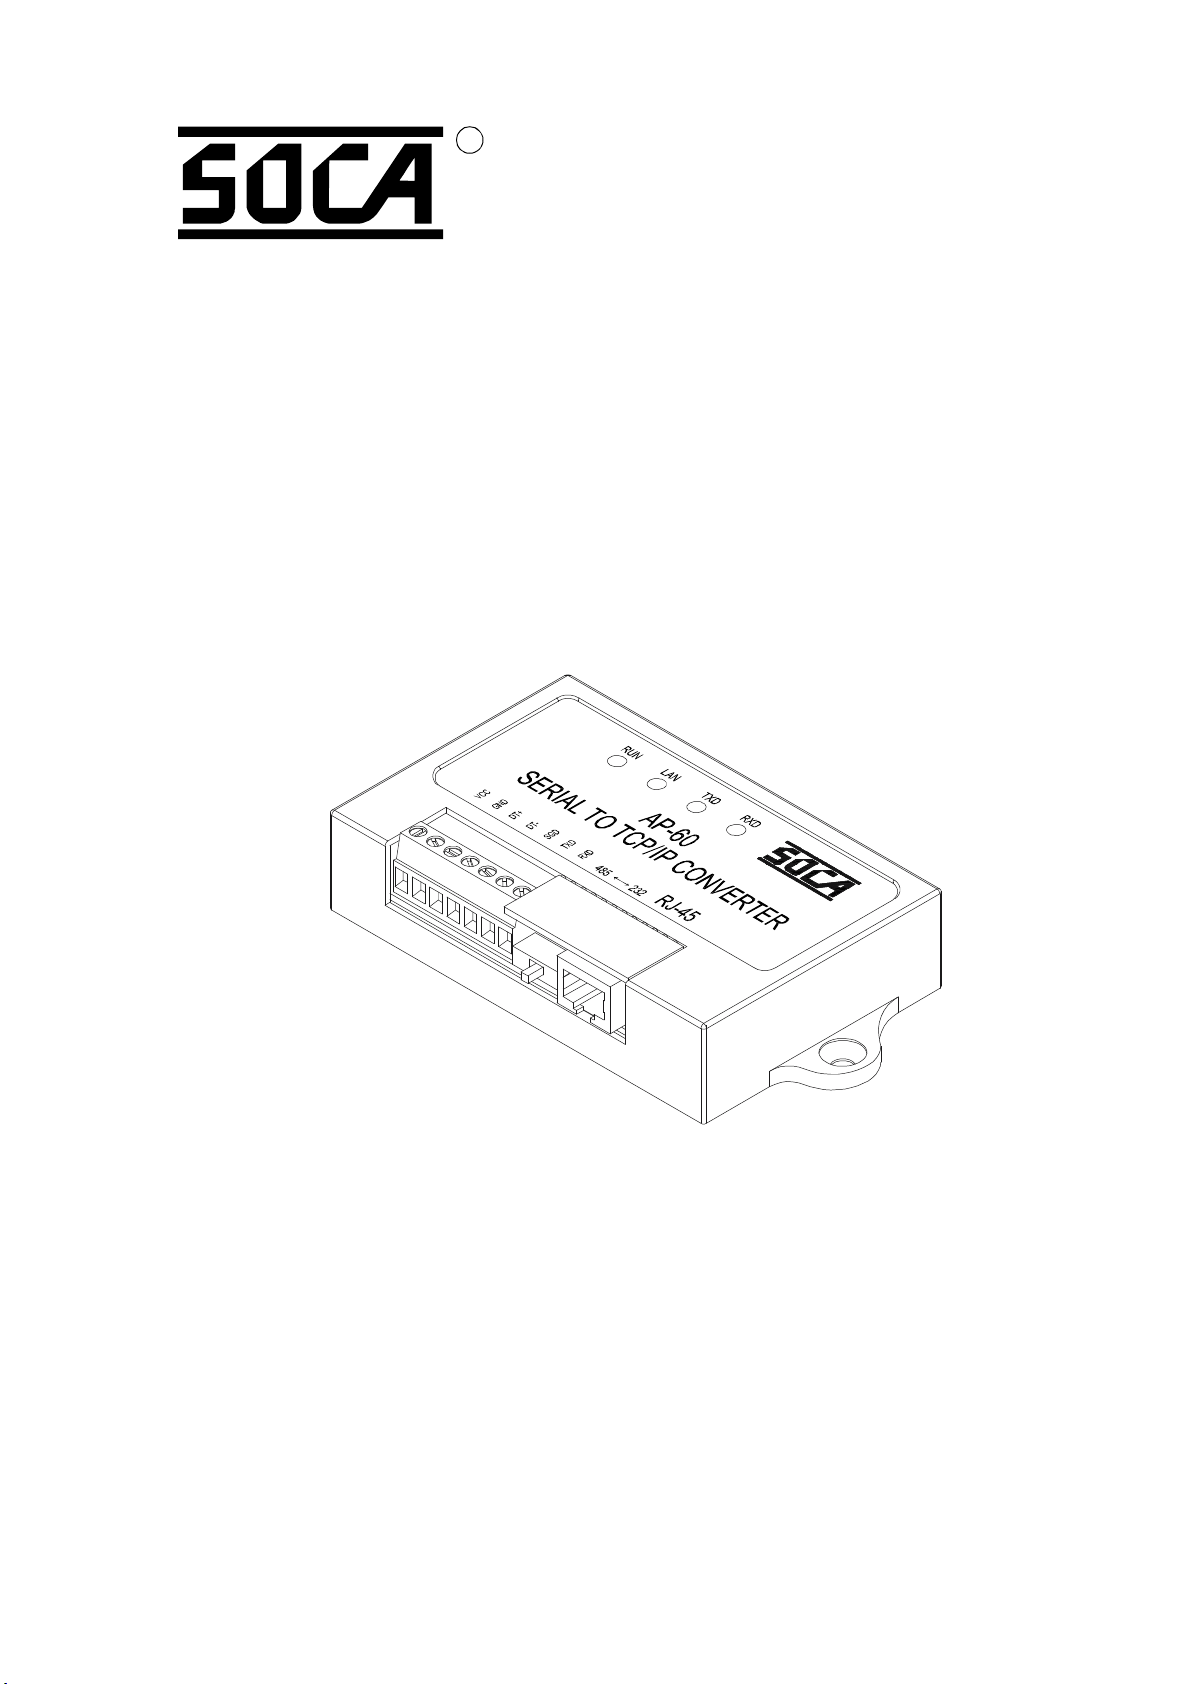
2. Front Panel & Connector instructions:
VCC(+)
GND()
485 DT +
485 DT
232 SGO
232 TDX
232 RXD TCP/IP (RJ 45 )
485 2 32
3. Specifications:
DC 12V
50mA
1 RS232 DB9
2 RS485 4terminal Block
9600 bsp
Poly carbonate
Max. 1.2Km
110*70*25 (mm)
180g
:
. :
. :
Power
Current
Connecor
Baud rate
Case
Valid Distance
Dimension
Weight
1

4. Network Bus type:
Please Note:
◎Twisted pair wire with shield (24AWG and above) for internet communication use.
◎
◎
◎
◎
If the length of RS485 is about 300 m, try 330 first.
If the length of RS485 is about 600 m, try 220 first.
If the length of RS485 is about 1.2K m, try 110 first.
The above value or parameters are for user's reference.
Please increase or decrease the value in accordance to the specific length used.
Ω
Ω
Ω
IBM相容電腦
P O WER TXD RXD
AP3 0 A
RS232TO RS4 8 5CO NVE RTER
RS232 RS485
Valid Distance 1200Meters≦
Can be expanded to 255 sets (Max.)
Device 1 Device N
Device N1
……
對絞線
鋁箔層
隔離網
外皮
AWG24
雙隔離網線
對絞線
鋁箔層
隔離網
外皮
AWG24
雙隔離網線
AP30
RS232
IBM相容電腦
Valid Distance 30 Meters≦
2
5. TCP/IP converter setting
5.1 Network specification
TCP/IP Conv erter : Chan ge TCP/IP converter s default IP as same as the PC s network
segments before setting its network setting. The ne twork
speci fication of TCP/IP converter and the PC is as below:
' '
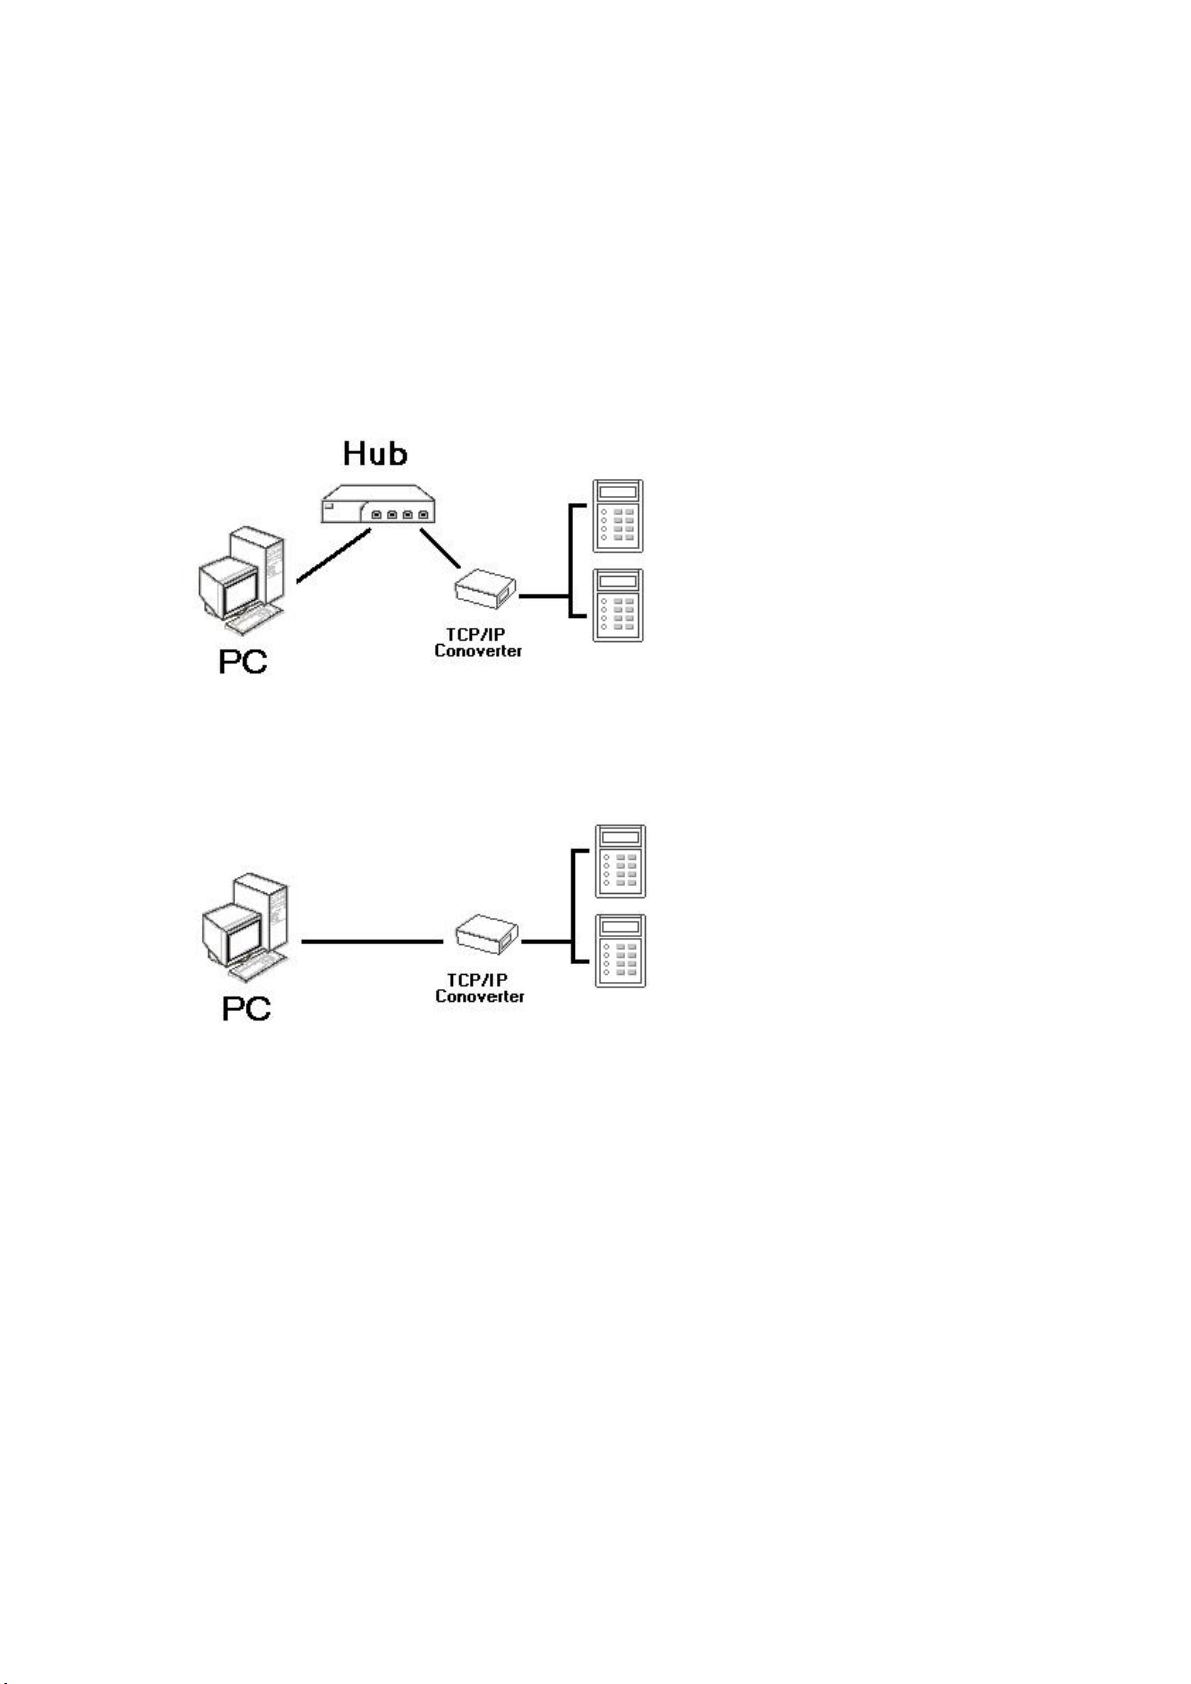
(1). Standard setting with Hub
(2). U se crossover network line to connect with PC
(3). Oth er network speci fication. Broadca sted packages sending by PC have to be able to
receive b y each node.
※ Attention: All network settings have to be constructed by appointed
personnel in order to avoid any failure occurred.
3

※Standard wiring of RJ45 connector:
From left to right: (1) braided white and orange, (2) orange, (3) braided white and green,
(4) blue, (5) braided white and blue, (6) green, (7) braided white and
brown, (8) brown.
Crossover wiring of RJ45 connector :
Connector A: (1) braided white and orange, (2) orange, (3) braided white and green, (4) blue,
(5) braided white and blue, (6) green, (7) braided white and brown, (8) brown.
Connector B: (1) braided white and green, (2) green, (3) braided white and orange, (4) blue,
(5) braided white and blue, (6) orange, (7) braided white and brown, (8) brown.
※Please note that when connecting TCP/IP and the reader; 485 has to be connected as the
following:
connect R and T together and then connect both to DATA;connect R+ and T+ together
and then connect both to DATA+.
※Please note that when connecting AP60 and the reader, 485 has to be connected as follows:
switch to RS485, and switch the reader to RS485 as well, and then connect DT+ and DT
with DATA+ and DATA together.
4
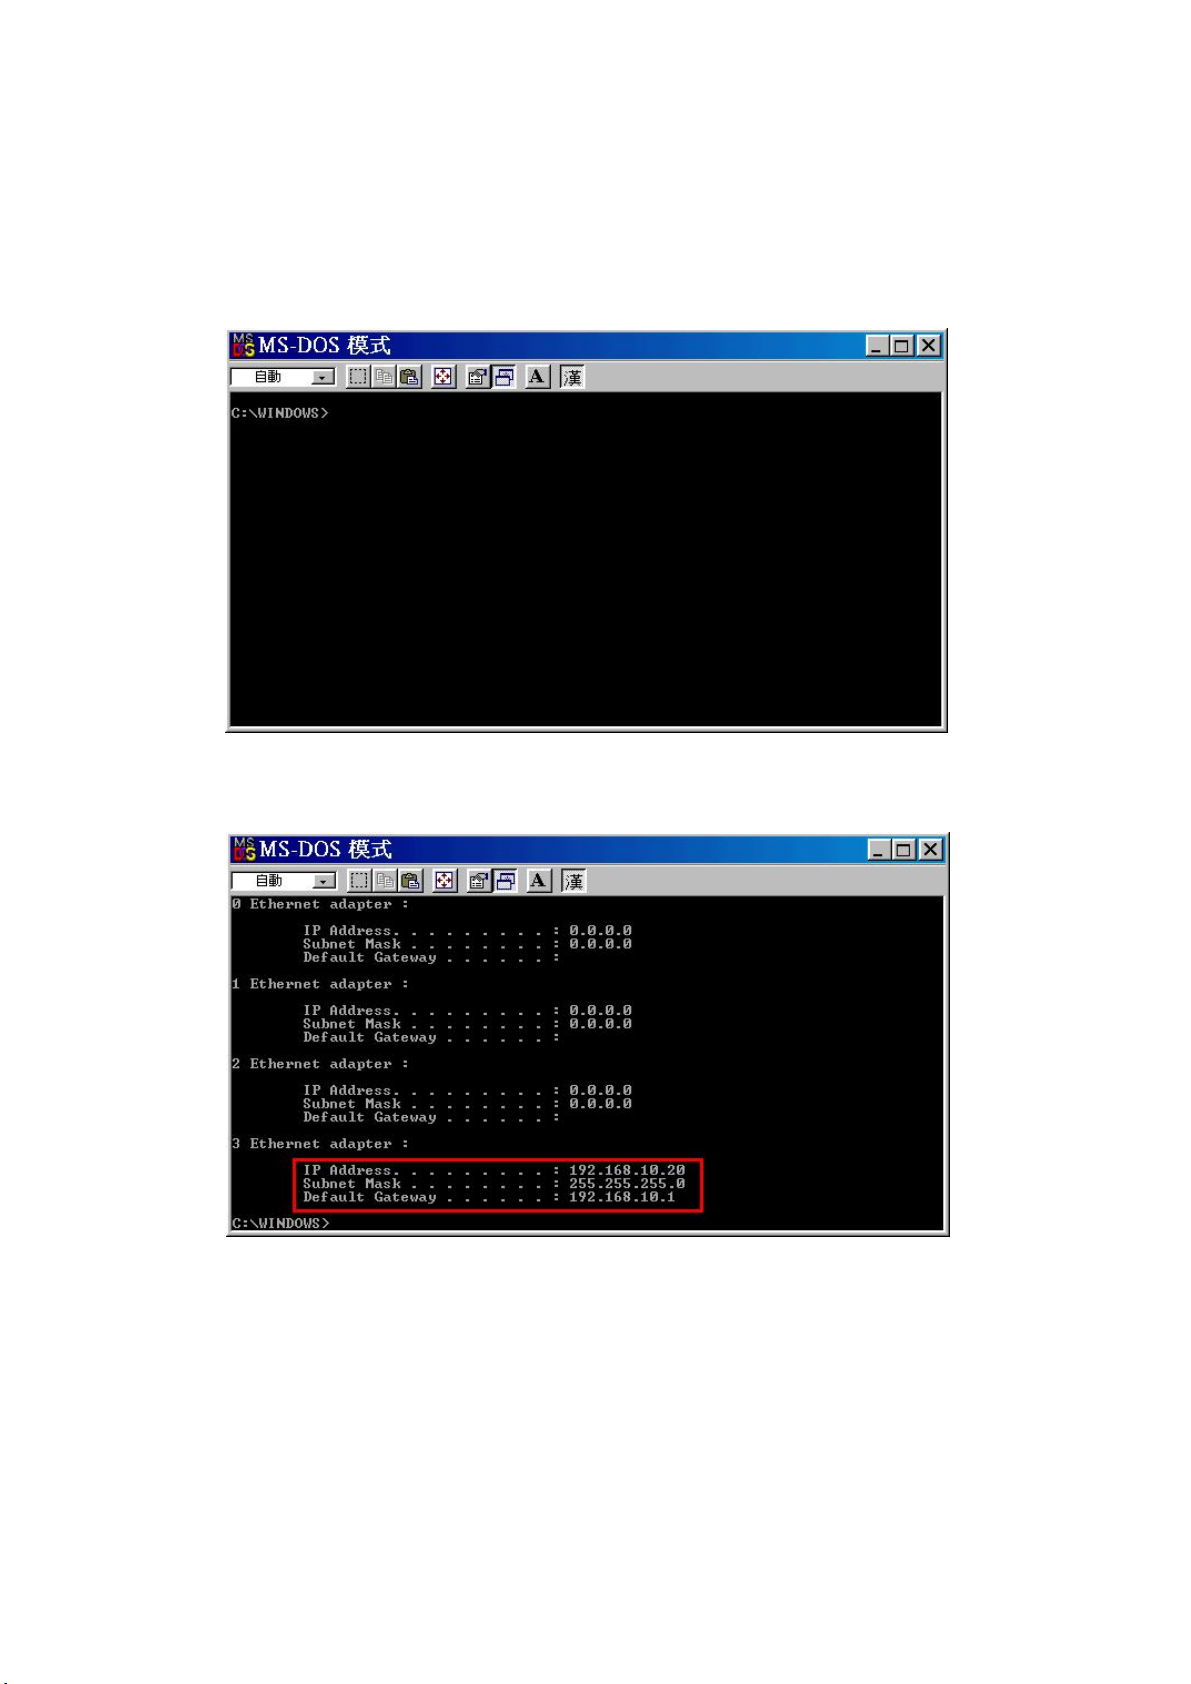
5.2 Before setting:
Construct all network settings first. Get the PC's IP first and setting TCP/IP as the same
network segment. The steps are as below:
(1).In MSDOS mode: Start Run Enter command Enter【 】 -> 【 】-> 【 】-> 【 】
(2). Enter ipconfig > Enter【 】 【 】
Example: If the PC's IP is 192.168.10.20, user will only need to set TCP/IP
Converter as 192.168.10.x to avoid any crash with other IP.
5
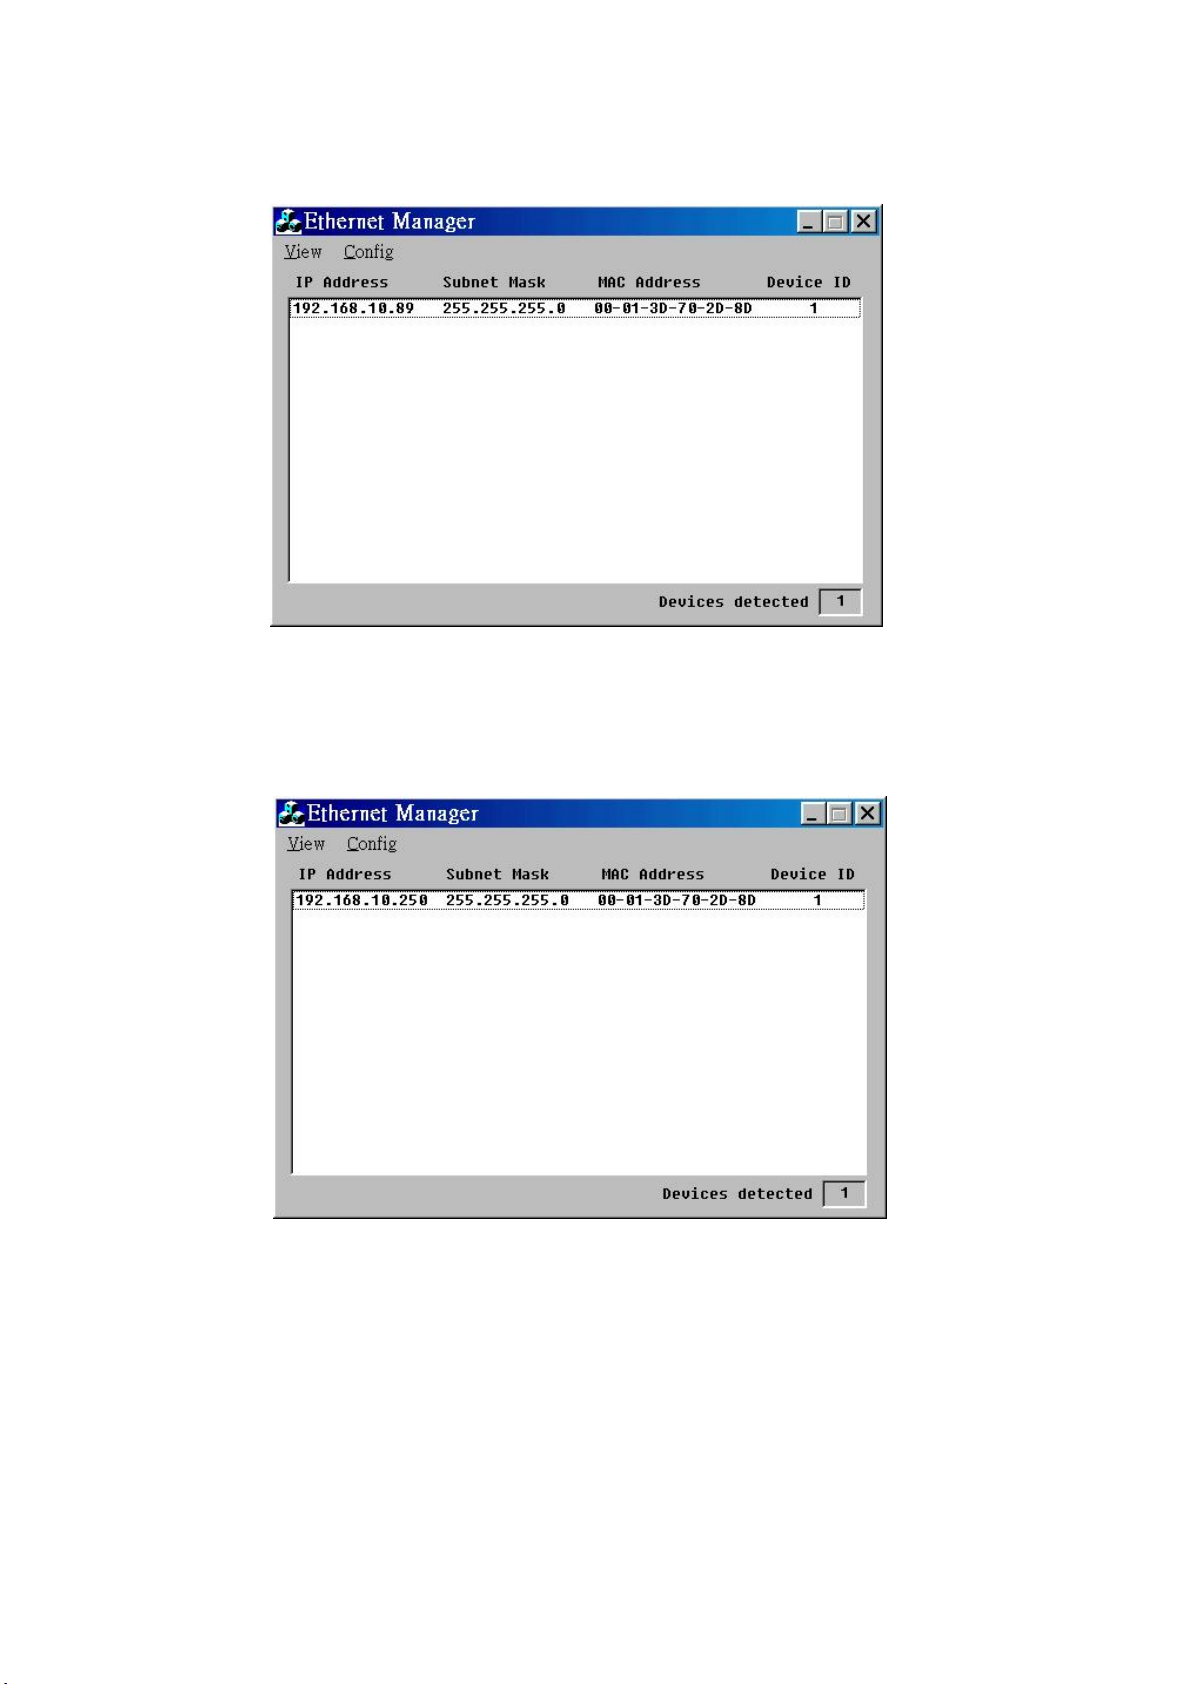
(3). Use attached disc s ETM.EXE to set TCP/IP Converter s First IP【 】 【 】 ' '
Run ETM.EX E to list LAN s TCP/IP Converter. Cl ose all existing firewall software
in or der to receive TCP/IP Converter s response packages.
' '
Check the IP from the list to make sure it has been changed to 192.168.10.250 or press
to refresh the page.【 5】F
※Please keep th e only TCP/IP Converter to set IP Address.【 】one
Set TCP/IP Converter's IP as same as the PC's network segment in order to use browse r
to enter to TCP/IP Converters setti ng page.
6
(4). Click 【 】->【 】->【 】
Config IP Address enter 192.168.10.250

5.3 Setting TCP/IP Converter
Use browser to enter to TCP/IP Converter's setting page when the IP is set.
(1). Enter and the following page will appear as below.
No default password needed to login.
http://192.168.10.250
(2). The following setting page will appear as below:
7

IP address
Disable(Set IP as reser ve d at DHCP Serve r Com if
DHCP is activated )
80 (port which is used as to enter setting web page)
0.0.0.0,0 (Set the connection as Manual)
Disable
Disable
10
1
Subnet mask
Gateway address
DHCP client
Socke t port of HTTP setup
Socke t port of serial I/O
Socke t port of digital I/O
Interface of serial I/O
Dervice ID
Report device ID when
connected
Setup password
Access password
Packet mode serial input
Packet mode interpacket
timeout
Destination IP address /
socket port (TCP client and
UDP) Connection
Serial I/O settings(baud rate,
parity,data bits,stop bits)
TCP/IP Converter's IP A ddress
Subnet Mask(defau lt 255.255.255.0)
Gateway Address
4444,TCP Server (Select and set as TCP server)
Socket port value ranges from 1024 ~ 65535
101,UDP Set this valu e as pe rmanent as user will not
need this function.
.
.
.
.
.
.
ST680 sets as 9600,N,8,2
ST3000 sets as 9600,N,8,1
ST6000 sets as 9600,N,8,1
SF1000 sets as 9600,N,8,1
SF1000 T sets as 9600,N,8,1
ST500A set s as 9600,N,8,1
.
.
.
Select RS 232 if the external reader is using RS 232
communica tion mode.
Select RS 485 (Half Duplex) if the ex te rnal reader is
using RS 485 communication mode.
Select RS 485 (Half Duplex) if TCP/IP Converter is
builti n and switch the reader to RS 485.
Setup password:
ETM.EXE s Config IP Address will be disable
if any setup password appeared here.
' 【 】->【 】
Not available (leave this space blank as it is reserved or
else it may n ot be a ble to connect)
8
(Default value as 1, please do not alter the value or else it
may not be able to connect)
Network link speed Auto; se t as AUTO

6. Example 1:
Using ST680 and its software to demonstrate as ot her model's setting steps will be the same as
well.
Construction: Software and ST680 are not at the same network segment.
(1).Setting TCP/IP Co nverter at 203.70.1.x. Follow the steps at 1 2 to set TC P/IP
Conver ter IP as 203.70.1.12(which is the same network segment as PC).
(2).Use browser to enter to TCP/IP Converter setti ng page. Set it as 203.70.2.12 ST680 uses
RS485 to connec t to TCP/IP Converter. The setting is as below:
【 】【 】
9

(3). Enter Update to re fresh. The following page will appear as below:
The page remains as TCP/IP Converter and it is at 203.70.2.x network segment. It has
to be installed at 203.70.2.12 in order to enter to setting page.
reenter to Login page when TCP/IP Converters IP and computer are at the
same network segment.
※
※
Browser will
Execute ETM.EXE to browse if TCP/IP Converters IP has been changed.
(4). Add new to co nnect
【 】 【 / 】.
communication interface TCP IP Converter
value of be the same as
.
※
※
Setting
When there is no response from WAN network, increase the value of TIMEOUT to
increase the software s response time.
【 】 【 】.Receive Port must Socket port of serial I/O The
value ranges from 1024~65535
'
10

(5)Set ST680 s communication interface to this TCP/IP converter in Reader Settin g.'
(6)All communication from both sof tware and ST 680 are through network to TCP/IP
Converter and vice versa when all settings are set.
11

7. Trouble shooting:
1.Unable to find AP60'
'
s IP in E TM program.
(a)Check if both c omputer and AP60 are at the same segme nt. Please refer to Converter
setting (Step 1).
(b)Close all firewalls available to prevent blocking of package sending.
(c)Try default IP(PING 192.168.10.89) to check if any response s when the above steps
are unable to help to find AP60. If there is a response, enter t he default IP to open
the setting page using the browser(IE).
(d)Check both the wiring between AP60 and the computer. Check if both are connected
with Router or Hub. User is unable to find AP60 if Hub without 10/10 0M SWITCH
is used. No gateway is gi ven for the fir st setting of AP60 and user must do the setting
at the same segment whi ch requires a Hub with 10/100M SWITCH function.
2.ETM is able to locate AP60 b ut the bro wser (IE) is unable to locate AP60.
(a)Close all Proxy Server setting.
3.If virtu al IP is available for AP60.
(a)Either real or v irtual IP that is assigned to AP60 works well and it has to be a fixed
IP. A virtual IP (192.168 .xxx.xxx) is normally a ssigned to AP60 and user needs to
set the IP a s a fixed IP in order to detect AP60 easily. AP60 also supports DHCP
and user needs to set the IP as a fixed or reserved IP.
4.Setting real IP.
(a)Use E TM program t o set real IP for AP60 under the same segment and set both
Gateway and Submask c orrectly.
5.How to use floating real IP (ADSL)?
The IP needs to accommodate with IP Router and Dynamic DNS.
(a)Apply free dynamic DNS from http://www.dyndns.org or other IP Router which
supports Dynamic DNS.
(b)Set Dynamic DNS at IP Router.
(c)IP Router, therefore, sen ds a fixed virtual IP to AP6 0 and maps the port with AP60.
(d)Add one new communication interface in access control or time attendance software.
Enter newly ap plied Dynamic DNS in the IP column to complete floating IP setting.
6.Unable to link with access control or time attendance software when AP60 is set.
There are three areas to look into the problem such as (1)Device (AP60 and the
re ader), (2)Firewall and (3)Software (Access Control System)
(a)Check if both AP60 and readers communication interfa ces are compatible and
their switc hes are at the correct place.
(b)Check if both DT+ and DT wiring are at the correct place.
(c)Check if both AP60 power light (blinking) and LAN light (light o n).
(d)Close all firewalls on the computer and router or open th e port (default port as 4444
or 3333).
12

(e)Check if access control or time attendance software is set correctly. Please check
the communica tion interface which included IP, Port, Communication (TCP or UDP).
(f)Check if softwares reader number and com munication interface are selected
correctly. '
13
Table of contents


