8
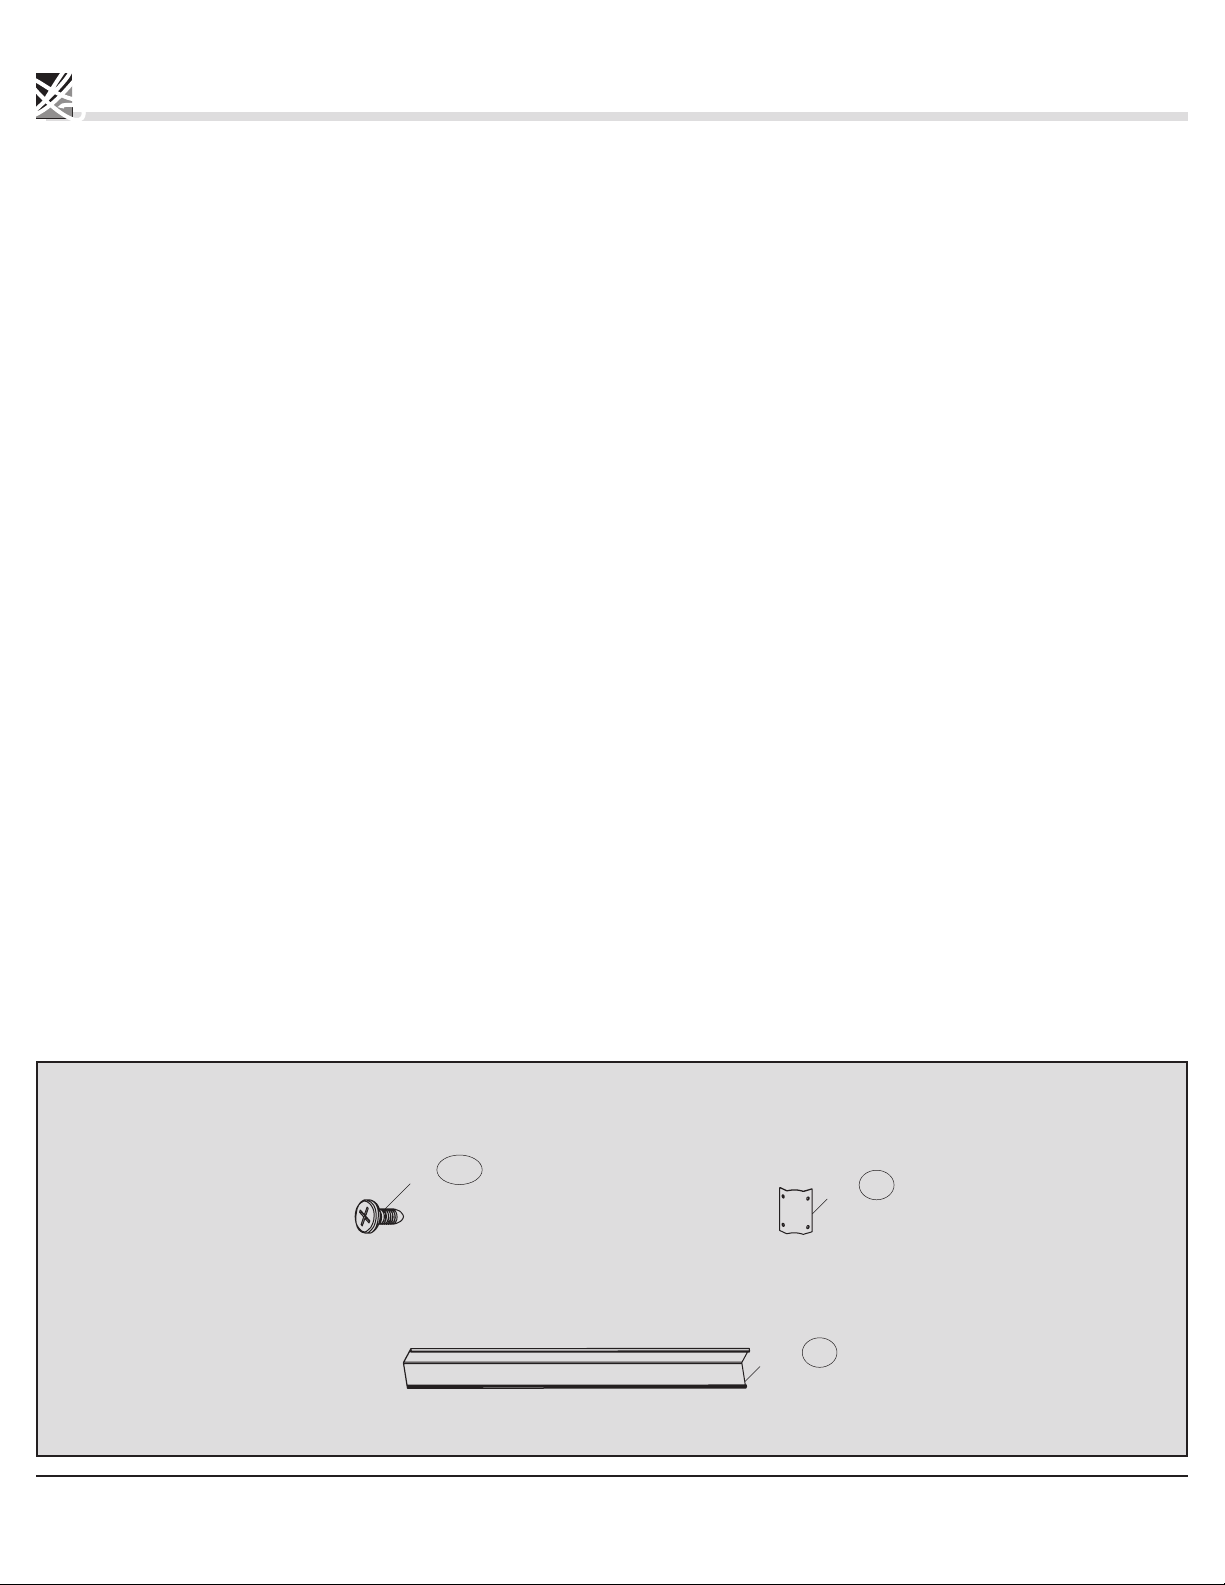
Parts required for this step / Pièces requises pour cette étape :
ASSEMBLY ASSEMBLAGE
© Sojag inc. 2015
Étape 1
1.1 Attacher les panneaux (A, A2, A1 et B) ensemble en
glissant les connecteurs de panneaux (C et C2) à partir
du haut des panneaux tel qu’illustré. Placer le côté
moustiquaire des panneaux (A, A1 et B) vers l’extérieur
et le côté mica vers l’intérieur du solarium.
Dans les coins du solarium (angle de 90 degrés),
placer le connecteur de panneau (C2) dans le joint
intérieur du solarium.
Dans la jonction côte à côte, les deux connecteurs
de panneaux (C) doivent être placés face à face.
Step 1
1.1 Attach the panels (A, A2, A1 and B) together by
sliding, from the top, the panel connectors
(C and C2) as illustrated. Ensure to place the
panels (A, A1 and B) mosquito net side outside
the solarium and the mica side inside the solarium.
In the corners of the solarium (90 degree angle),
place the panel connectors (C2) in the inside
corner of the solarium.
In the side by side join, slide two panel
connectors (C) face to face.
11
22
IMPORTANT:
Always install the structure on a level platform, wood or concrete.
IMPORTANT :
Toujours installer la structure sur une surface de niveau.
CAUTION:
Three people are required for this step.
AVERTISSEMENT :
Trois personnes sont requises pour cette étape.
AX1A1 X4
A2 X1BX4
X14
C
C2 X2