SONIQ F700-NZ User manual

F700-NZ

- 1 -
Int
Congratulations on purchasing this Digital Photo Frame. You can
now view all your photos(saved as JPEGs) anywhere in your home.
Please read the warnings on page 12 carefully before using your
Digital Photo Frame.
What is JPEG?
JPEG or jpg format is a particular type of file format. Your Digital
Photo Frame can only play this type of file. When you take a picture with
your digital camera it will normally create a JPEG file. You can tell which
files are in JPEG format by looking at the file extension (the end of the
file name) were it should say .jpeg or .jpg, for example photo1.jpg. If this
is not the case, they can probably be converted. You can call the
Customer Helpline for advice on how to do this.
Introduction
- 2 -
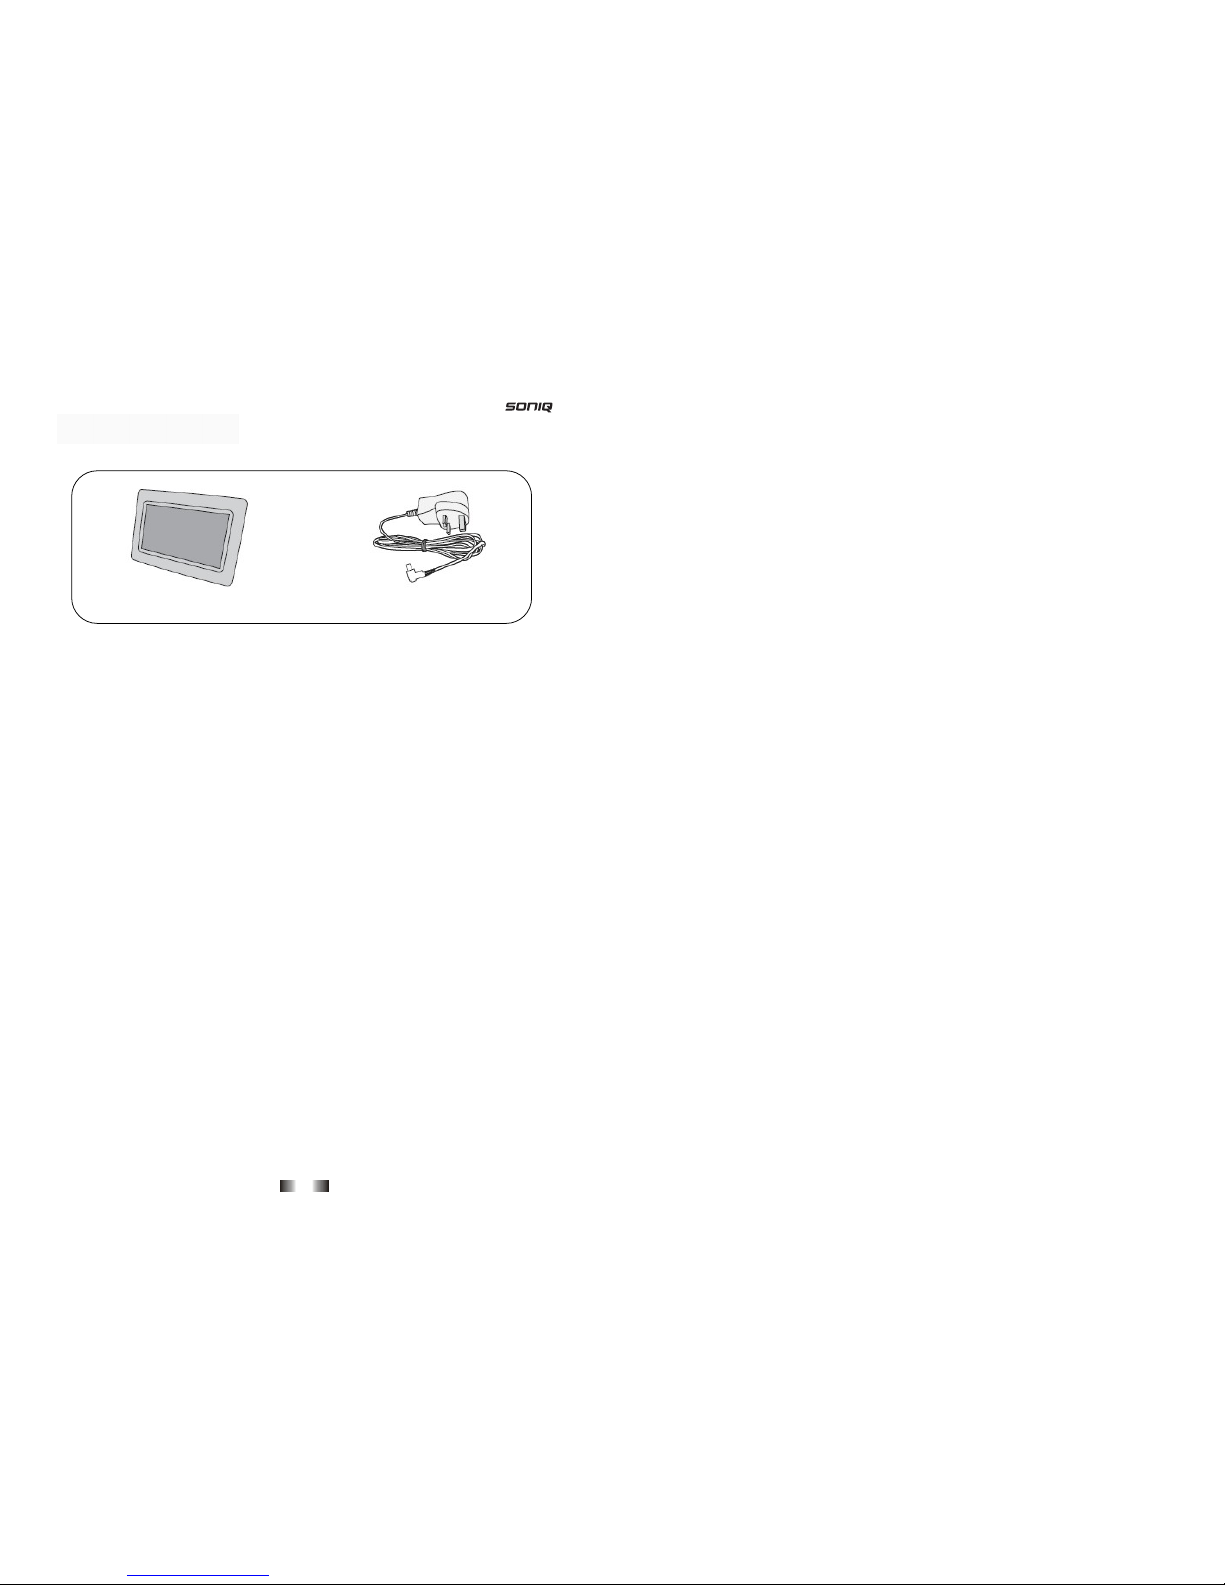
Digital Photo Frame AC Adaptor
Need something else?
There are a wide range of accessories and other products that can
be ordered direct to your door from SONIQ.
For more information see www.soniq.com.
Y
ou should have

- 14 -
Description Specification
Volume 20.4x14.3x2.3cm
7 inch TFT LCD,display ratio 16:10
Display Area(mm) 139.4(H) x 86.58(V)
Display
Number of Pixels 432(H) x 3(RGB) x 234(V)
Power <10W
Operating current 1MAX=800mA
Operating temperature -5℃- 40℃
Power supply adapter IN:100-240V/50-60Hz AC OUT:5V 1A DC
Card reader SD/MMC/MS card reader
USB USB 2.0
File Format JPEG、BMP
Technical specifications
- 3 -
Your Digital Photo Frame……………………………………………….4
Table of Contents
FAQ’S ………………………………………………………………………
8
11
13
14
Set up……………………………………………………………………….5
Advanced use…………………………………………………………….
Everyday use……………………………………………………………...6
Troubleshooting………………………………………………………….
Warnings ………………………………………………………………….
12
Technical specifications………………………………………………..

- 4 -
NOTE:
PLAY/PAUSE button-use to play
and pause. Press and hold for 3 seconds
to switch the unit ON and OFF.
NEXT button (right button)-use to
navigate Right.Press and hold for 3
seconds to navigate down.
PREVIOUS button (left button)-use to
navigate Left.Press and hold for 3 seconds
to navigate up.
EXIT-Press to exit the Menu.
MENU-Press to enter the Setup Menu.
Y
our Digital Photo Frame
PREVIOUS button
NEXT button
PLAY/PAUSE button
USB port
Memory card slot
DC IN 5V jack
Wall mount Table stand
MENU button
EXIT button
- 13 -
This product was designd and manufactured to meet strict quality
and safety standards. There are, however, some operation precautions
that you should be aware of:
● Do not attempt to operate the Digital Photo Frame with a damaged power cord/AC
adaptor or if it is not working correctly in any way. Never adjust or modify the Digital
Photo Frame yourself, always take it to an authorized Service Centre.
● Position the power cord/AC adaptor so that it does not cause a hazard and is not
near any sharp surfaces.
● The AC adaptor of this Digital Photo Frame is not replaceable by the user. If the
supply cord of the Digital Photo Frame is damaged it must be replaced by a qualified
Service Centre.
● Do not use with an extension lead.
● If the Digital Photo Frame is not to be used for a long period remove the plug from
the mains socket.
● Do not place in or near water, or in damp conditions.
● To avoid electrical shock, never touch the Digital Photo Frame or plug with wet
hands.
● Do not place objects that could cause a fire hazard on top of the Digital Photo
Frame such as candles.
● When transporting the Digital Photo Frame always use the original packaging.
● Do not place anything on top of the Digital Photo Frame, such as vases or potted
plants.
● Do not use the Digital Photo Frame outdoors.
● Hold the plug to disconnect it from a wall socket. Do not pull the power cord.
● All servicing must be done by qualified personnel only.
● Do not expose the Digital Photo Frame, components, or batteries to excessive heat,
sunshine, or any naked flames.
● The AC adaptor is used as the disconnect device and it shall remain readily
operable. If a malfunction occurs, disconnect the AC adaptor from the wall outlet at
once.
Warnings

- 12 -
Q:If I keep showing the same photo for a long time will it damage the
LCD screen?
A:No.The Digital Picture Frame can display the same photo continuously
for a long time. But it is recommended not to show the same
continuously for more than 1 month as this may screen burn
discolouration.
Q:Does the Digital Picture Frame have built-in memory?
A:The Digital Picture Frame does not have any internal memory to store
your photos. You must use a compatible memory card.
Q:What is the maximum picture size?
A:This unit supports JPEG pictures up to 10 Mega Pixels.
Q:What is the best picture resolution displayed on the screen?
A:The frame’s best resolution is 432 X 234 pixels.
Q:Why doesn’t the unit show some of my photos?
A:The Digital Picture Frame is designed to show photos following the
same camera industry standards format as digital cameras. This format
is a JPEG format. Images, such as web images, scanned images, or
photos in RAW format, are not stored according to camera industry
standards and therefore cannot be displayed correctly on the Digital
Picture Frame. Please ensure your camera is set to store pictures as
JPEG files or alternatively use a computer program to convert such
images before viewing them.
Frequently asked questions
- 5 -
Using the stand
Open the package remove
the protective sleeve from the unit.
Pull out and rotate the table stand
on the rear of your Digital Photo
Frame into the position shown.The
photo frame can be used in either
portrait or landscape.
Using the AC Adapter
1.Plug the adaptor into the DC IN 5V
socket on the side of your Digital
Photo Frame.
2.Plug the adaptor into a standard
three pin wall socket and switch
the power on at the wall.
3.Your Digital Photo Frame will
automatically switch itself on.
NOTE:
Wall mounting
Alternatively you can wall-mount the unit using the mounting hole at the back.
(Please note that the mountings are not included as part of this package but you can
Set u
p
use a standard screw head to the unit.)
support

- 6 -
Playing your photos
You can play a slide show of your photos using the memory card
slot from either a SD、MMC or MS card. You can also play photos
stored on a USB flash drive.
1.Insert your memory card or
USB drive into the slot on the
side of your Digital Photo Frame.
2.It should automatically start playing the photos with the default settings
applied.
press the button to select.
Depending on your settings it may open in either the thumbnail or file
manager modes. You can select the photo you want using the or
and button and button.
If both a memory card and USB drive are attached the Photo Frame will
default to the USB drive.
Setting the time
press the button to select, the system will enter the time setting menu.
1.Press the button to select whether to display the clock or clock and
calendar. You can scroll up and down by holding the or buttons
for 3 seconds.
Ever
y
da
y
use
B
A
3.If it doesn’t start playing Photo from the main menu using the or ,
Select Clock from the main menu using the or buttons and
- 11 -
If you experience problems with your Digital Photo Frame, the
following guide may help you resolve the problem.
Problem Possible cause What to do
Digital Picture
Frame doesn’t
power on
The POWER
connector to the
unit is not securely
inserted
Make sure you connect the AC adapter to the
frame properly and make sure you have
powered on the unit by using the
PLAY/PAUSE button. When you connect the
AC adapter to the frame and power up the
unit, even without a memory card, you should
see a blank screen. If you don’t see the lit
screen, check if the power is connected to the
Digital Picture Frame and make sure it is
securely attached
No Start-up
screen Memory card is not
inserted correctly Insert a supported memory card.
No photo on the
memory card Card is wrongly
inserted Verify if the way you inserted the card is
correct. Make sure the front label of the
memory card is facing AWAY from you. Do
not force the memory card into the slot.
The file doesn’t
play Incompatible file
format Make sure there is at least one supported
photo file on the memory card. Compatible
photo format:JPEG and BMP.
Troubleshooting

- 10 -
●Media: Choose the media source from which the photos are playing,
between USB and Memory Card.
●Default: Reset to the original system settings.
Exit
Back to the main menu.
Advanced use
- 7 -
2.Hold the button for 3 seconds to scroll down to Set Time .Press the
button to set the time.
the button to move to the minutes. Repeat for the minutes and seconds.
4.Once complete press the or buttons to move to OK and press
to select.
Setting the Calendar
Select Calendar from the main menu using the or buttons
and press the button to select, the system will enter the date setting
menu.
1.Hold the button for 3 seconds to scroll down to Set Date .Press the
button to set the time.
2.Hold the or buttons for 3 seconds to select the year. Then
press the button to move to the month. Repeat for the day.
3.Once complete press the or buttons to move to OK and press
to select.
If you select Display you can see a calendar view. Press the and
buttons to select the year, press and hold to select the month.
Automatic power OFF/ON
You can set your Digital Photo Frame to turn itself on or off at a
given time.
You can navigate the menu using the or buttons as
mentioned in previous.
Ever
y
da
y
use
3.Hold the or buttons for 3 seconds to select the hour. Then press

- 8 -
You can press the MENU button at any time to enter the setup menu.
This will allow you to change some of the advanced settings on your Digital
Photo Frame.
The setup menu has 5 sub menus that can be navigated using the
control panel as explained on page 3.
Photo setting
●Interval Time:This option can be used to set the length of time for
display of each image from: 5 seconds, 10 seconds, 15 seconds, 30
seconds, one minute to three minutes.
●Transition Effect:This option is used to set the transition effect from
one photo to another. Choose between the different effects or choose
Random to get a different transition each time.
●Show Type:This option lets you decide whether the photo is displayed on
screen using Fit Screen (photo is always fully on the screen) or Full Screen
(photo always fills the screen – some clipping may occur).
●Slide Mode:This option allows you to set the Slide mode. There are two
available options: Normal and Motion.
●Browse: There are two kinds of Photo modes, File Manager mode, and
Thumbnail. Choose this depending on your preference and whether you
prefer to have a clock and calendar on screen with your photos.
Auto play
When Auto-Play is activated (ON) the picture frame will start a
slideshow immediately after selecting the photo icon.
When Auto-Play is not activated (OFF) the picture frame will enter
either File Manager mode or Thumbnail mode, according to the settings
in Photo Setting > Browse.
Advanced use
- 9 -
Display Setup
●Brightness:This option can be used to set the screen brightness. You
can choose from: Normal, Bright and Soft.
●Contrast:This option can be used to set the screen contrast. The contrast
can be set from -4 to 4.
●TFT Brightness:This option can be used to set the screen brightness.
The brightness can be set from -4 to 4.
●TFT Contrast:This option can be used to set the screen contrast. The
contrast can be set from -4 to 4.
●TFT Saturation:This option can be used to set the saturation of the
display. The saturation can be set from -4 to 4.
Custom setup
●OSD Language:This option can be used to set the language on screen.
You can choose from: English, French, German, Italian, Spanish,
Portuguese, Dutch, and Polish.
●Encoding: This option sets the character encoding of the filenames-
if using Central European fonts you will need to change from Western
European to Central European mode.
●Repeat mode:This option allows you to set the play repeat mode. There
are four available options: Off, One, Folder, and All.
-Off: turns off the repeat mode.
-One: repeats the file that is currently playing.
-Folder: repeats the folder that is currently playing.
-All: repeatedly plays all of the files inside the storage medium.
Advanced use
Other SONIQ Digital Photo Frame manuals


