manuals.online logo
Brands
  1. Home
  2. •
  3. Brands
  4. •
  5. Sony
  6. •
  7. Carrying Case
  8. •
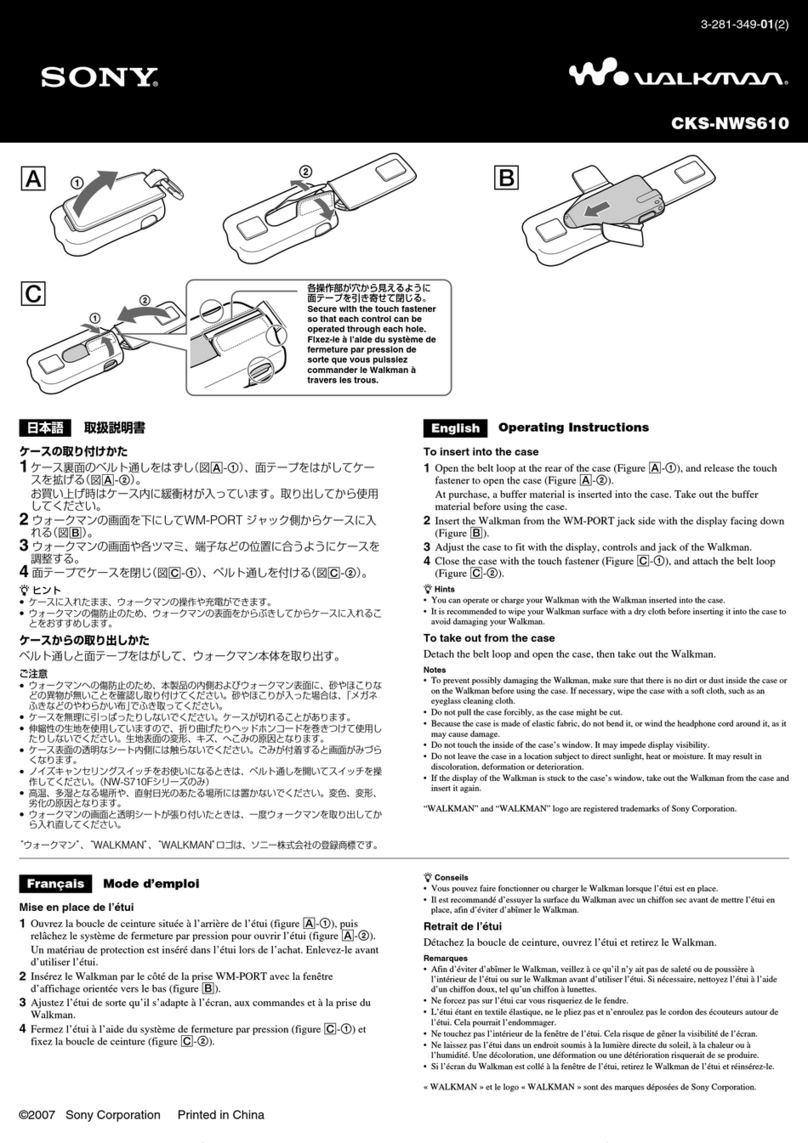
  9. Sony Walkman CLP-NWS610 User manual

Sony Walkman CLP-NWS610 User manual

Other Sony Carrying Case manuals

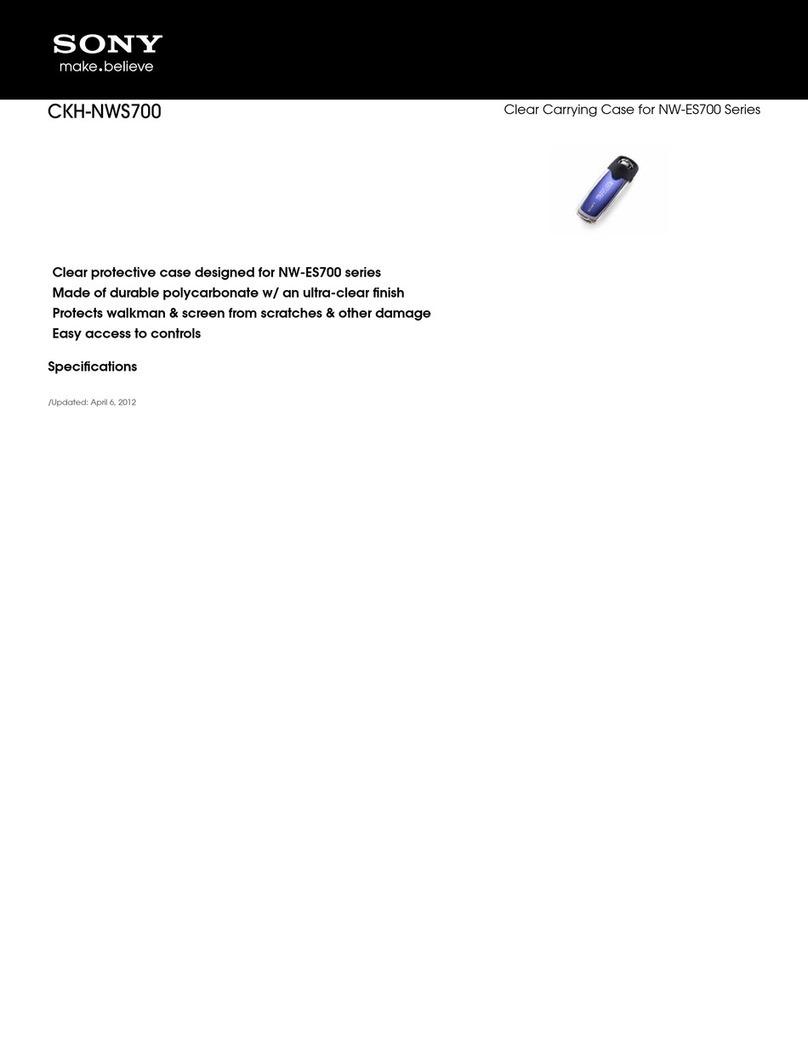
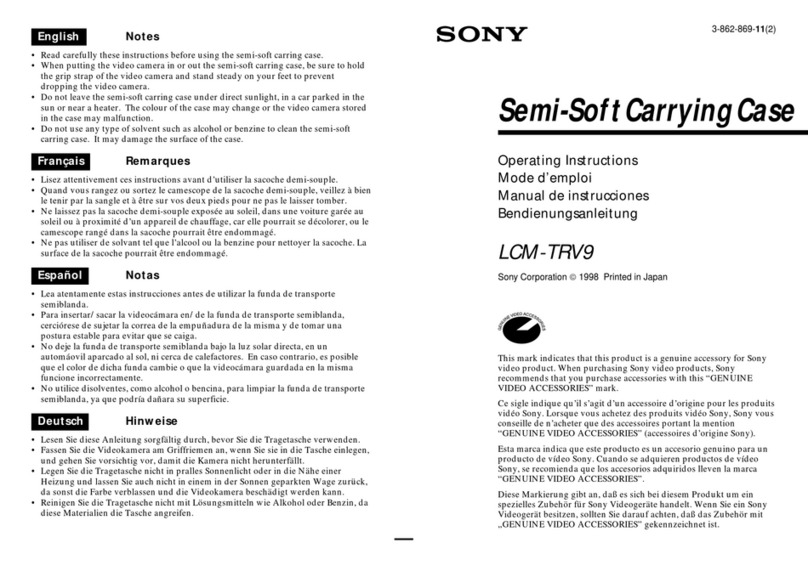
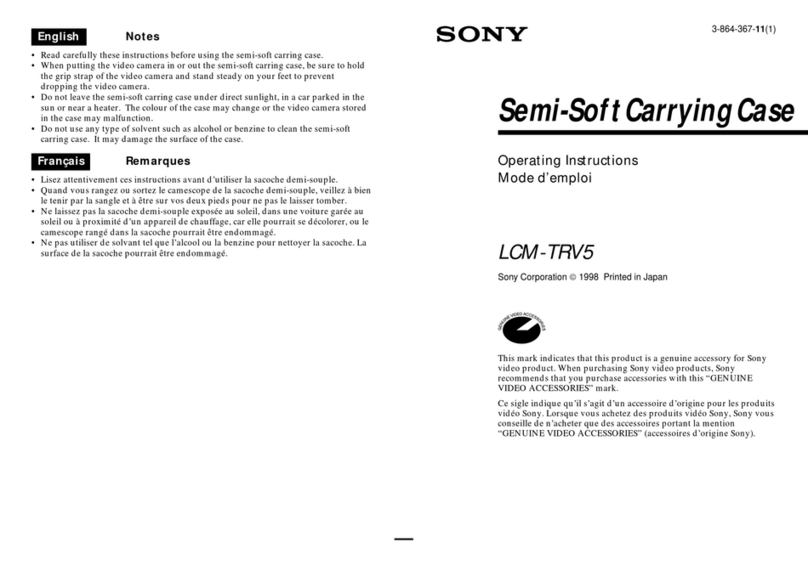
Sony CKH-NWS700 User manual

Sony

Sony CKH-NWS700 User manual

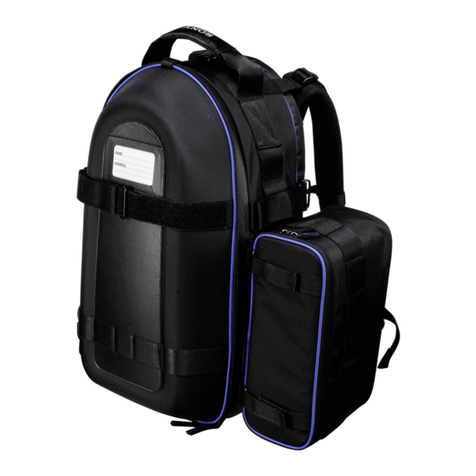
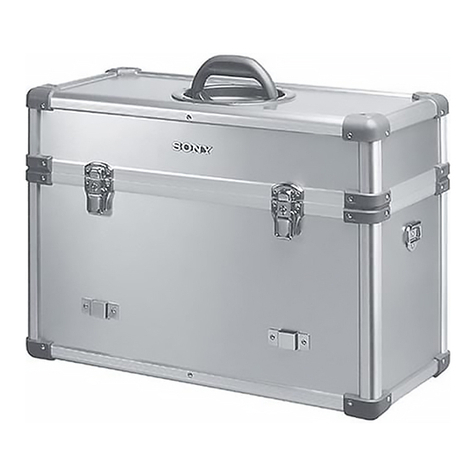
Sony LCM-TRVX User manual

Sony

Sony LCM-TRVX User manual

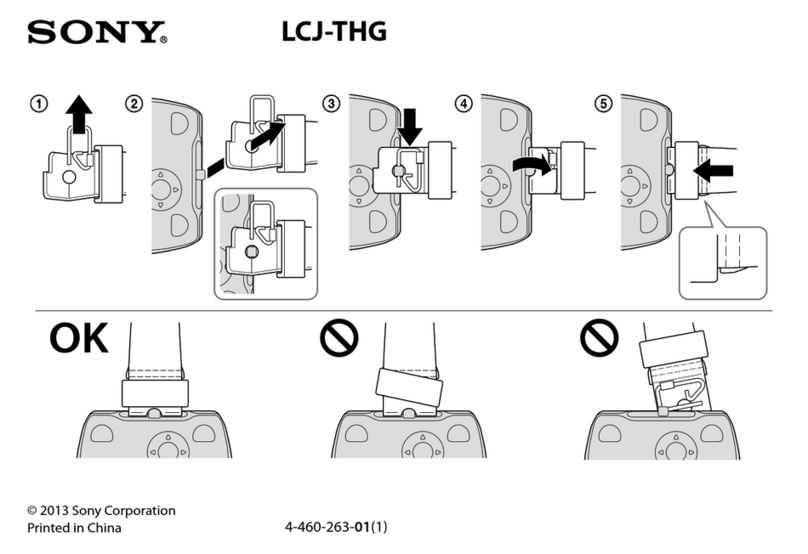
Sony LCJ-THG User manual

Sony

Sony LCJ-THG User manual

Sony LCM-HCA User manual

Sony

Sony LCM-HCA User manual

Sony LCS-HCE User manual

Sony

Sony LCS-HCE User manual

Sony LCS-URXP2 User manual

Sony

Sony LCS-URXP2 User manual

Sony Walkman CKS-NWE010 User manual

Sony

Sony Walkman CKS-NWE010 User manual

Sony NAV-U NVA-B20N User manual

Sony

Sony NAV-U NVA-B20N User manual

Sony LCM-SC100 User manual

Sony

Sony LCM-SC100 User manual

Sony LCH-VX2000 User manual

Sony

Sony LCH-VX2000 User manual

Sony LCH-FHA User manual

Sony

Sony LCH-FHA User manual

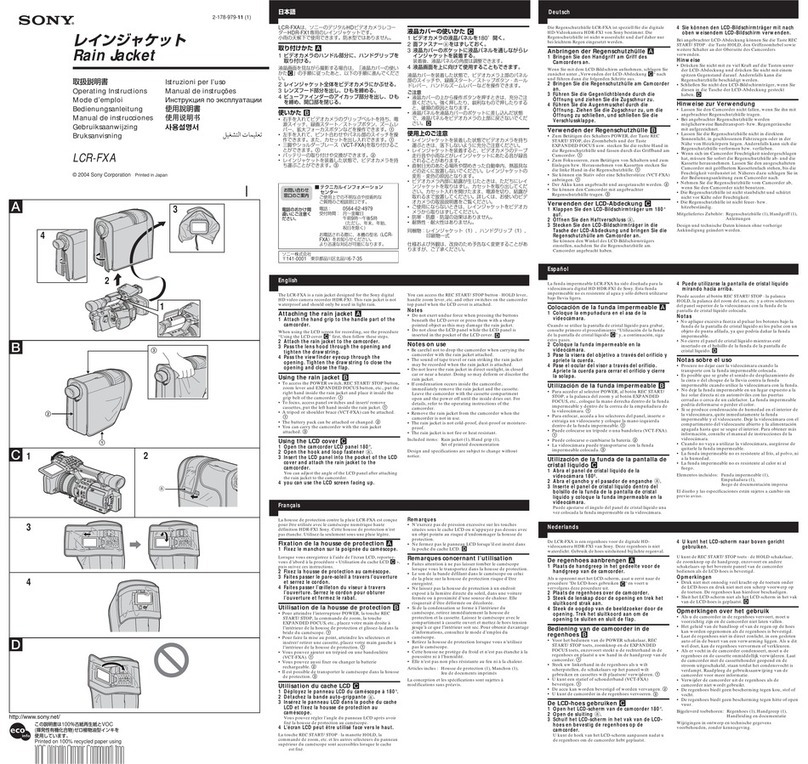
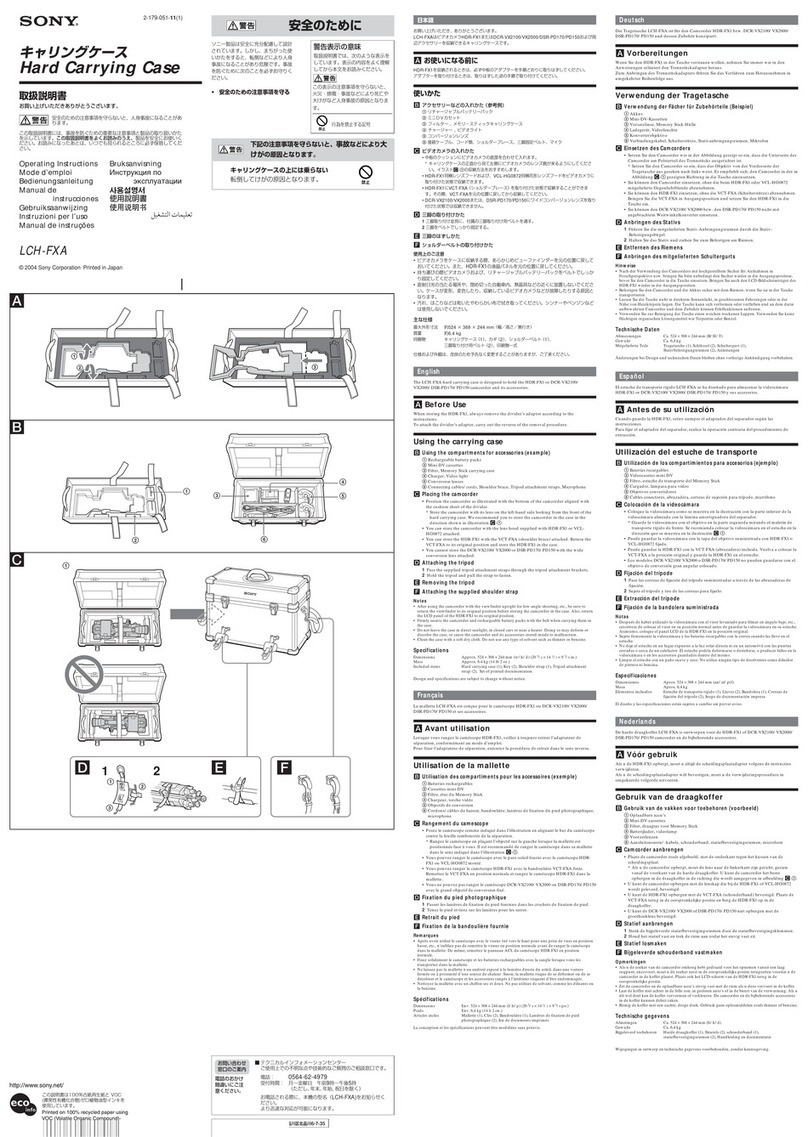
Sony LCH-FXA User manual

Sony

Sony LCH-FXA User manual

Sony CD Walkman CD-CASE3 User manual

Sony

Sony CD Walkman CD-CASE3 User manual

Sony CKM-NWZE440US User manual

Sony

Sony CKM-NWZE440US User manual

Sony LCM-GWA User manual

Sony

Sony LCM-GWA User manual

Sony LCS-FDC User manual

Sony

Sony LCS-FDC User manual

Sony CS-A06ARM User manual

Sony

Sony CS-A06ARM User manual

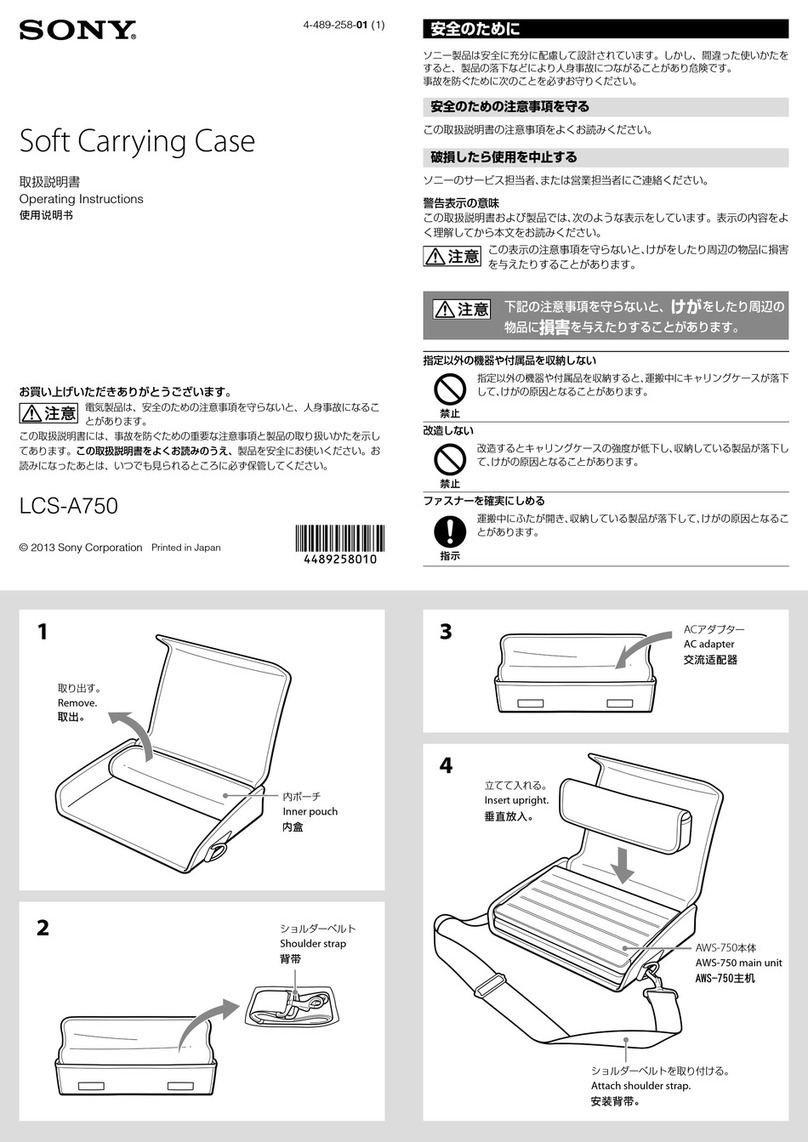
Sony LCS-A750 User manual

Sony

Sony LCS-A750 User manual

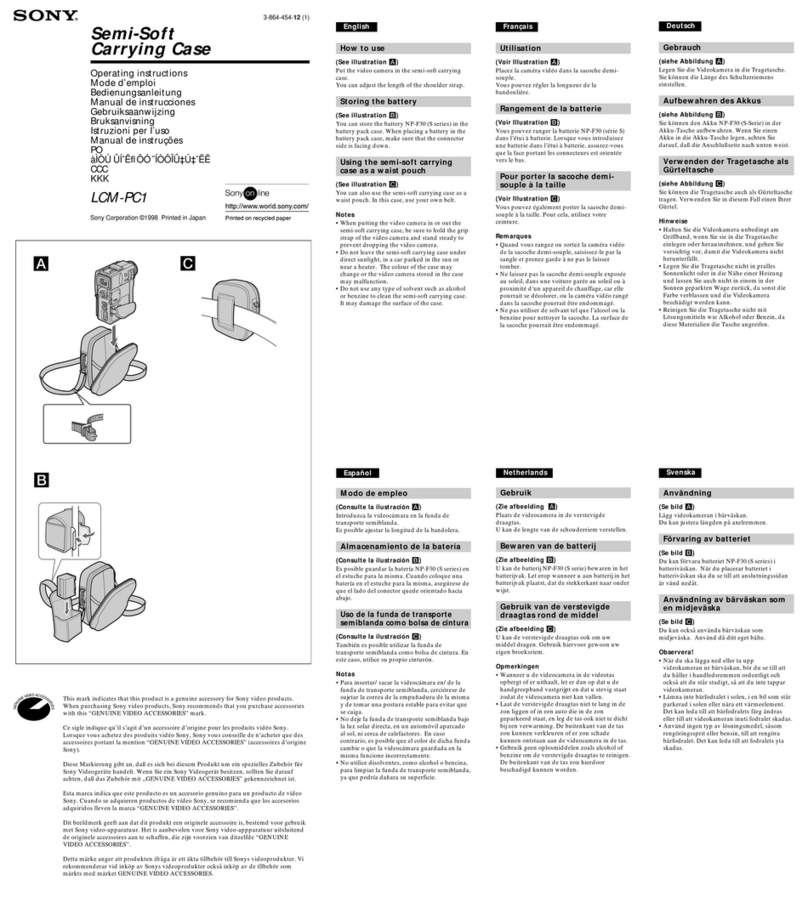
Sony LCM-PC1 User manual

Sony

Sony LCM-PC1 User manual

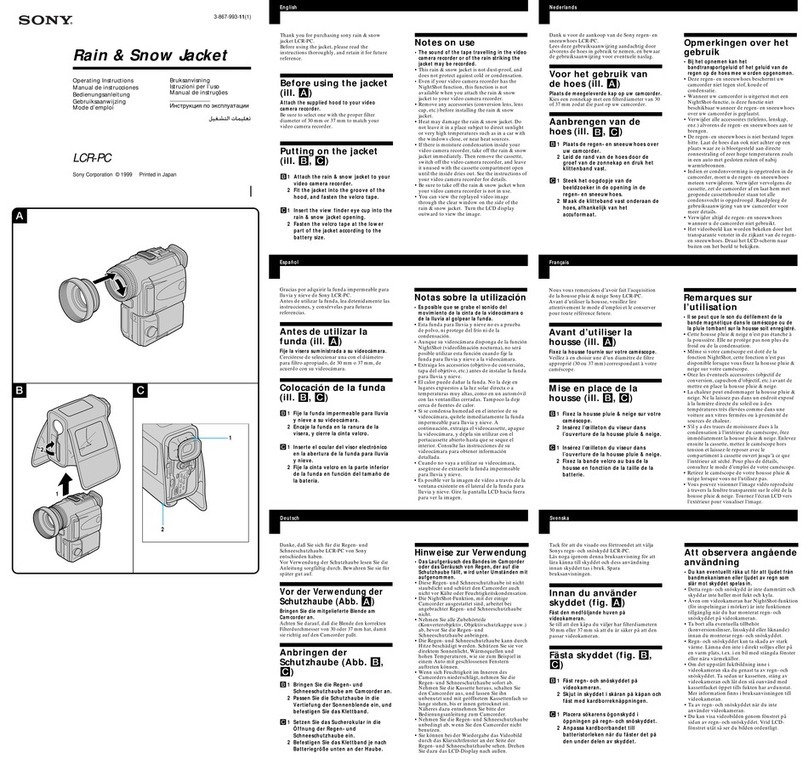
Sony LCR-PC User manual

Sony

Sony LCR-PC User manual

Sony MZ-NHF800 User manual

Sony

Sony MZ-NHF800 User manual

Sony LCH-FXA User manual

Sony

Sony LCH-FXA User manual

Sony LCM-FD71 User manual

Sony

Sony LCM-FD71 User manual

Sony LC-DS300SFT User manual

Sony

Sony LC-DS300SFT User manual

Popular Carrying Case manuals by other brands

Philips Ledino 57910/31/96 null

Philips

Philips Ledino 57910/31/96 null

Fujitsu PenCentra 130 User instructions

Fujitsu

Fujitsu PenCentra 130 User instructions

BASETech 65 88 00 operating instructions

BASETech

BASETech 65 88 00 operating instructions

Sibel Pilotrol quick start guide

Sibel

Sibel Pilotrol quick start guide

Dicota Hypertec N12628NHY Specifications

Dicota

Dicota Hypertec N12628NHY Specifications

NEC MultiSync SC-EX23 user manual

NEC

NEC MultiSync SC-EX23 user manual

NANUK 923 installation instructions

NANUK

NANUK 923 installation instructions

Dicota DataCart user manual

Dicota

Dicota DataCart user manual

Hypertec TSV154V1HY Specification sheet

Hypertec

Hypertec TSV154V1HY Specification sheet

tech air Adelphi 17" Specification sheet

tech air

tech air Adelphi 17" Specification sheet

Panasonic FZ-VSTN12U operating instructions

Panasonic

Panasonic FZ-VSTN12U operating instructions

Matias Laptop Armor Stretch Bag Specification sheet

Matias

Matias Laptop Armor Stretch Bag Specification sheet

Tektronix HCTEK54 instructions

Tektronix

Tektronix HCTEK54 instructions

SKB 3SKB-2026 Specifications

SKB

SKB 3SKB-2026 Specifications

Crye Precision EXP 2100 PACK Operator's manual

Crye Precision

Crye Precision EXP 2100 PACK Operator's manual

Hypertec 6501HY Specification sheet

Hypertec

Hypertec 6501HY Specification sheet

Dicota N14608PHY specification

Dicota

Dicota N14608PHY specification

Tiffen Domke F-804 Super Satchel brochure

Tiffen

Tiffen Domke F-804 Super Satchel brochure

manuals.online logo
manuals.online logoBrands
  • About & Mission
  • Contact us
  • Privacy Policy
  • Terms and Conditions

Copyright 2025 Manuals.Online. All Rights Reserved.

©2007 Sony Corporation Printed in China
CD
シリコーンゴム部
Silicone rubber part
Elément en caoutchouc
de silicone
日本語
取り付けかた
1ストッパーのロックをはずす(図A-1)。
ストッパーを持ち上げる(図A-2)。
購入時はストッパーがロックされています。
2ウォークマンをストッパー側からクリップの奥までしっかり入れる
(図C)。
3ストッパーを下げる(図B-1)。
ストッパーをロックする(図B-2)。
zヒント
クリップを装着したままでもウォークマンの基本操作をすることができます。
ご注意
•ウォークマンを取り付けたら落下防止のため、必ずストッパーをロックしてください。
•ウォークマンへの傷防止のため、本製品の内側およびウォークマン表面に、砂やほこりな
どの異物が無いことを確認し取り付けてください。
砂やほこりが入った場合は「メガネふきなどのやわらかい布」でふき取ってください。
•クリップを装着した状態では、充電クレードルなどのアクセサリーはご使用できない場合
があります。クリップからウォークマンをとりはずしてからご利用ください。
取りはずしかた
1ストッパーのロックをはずす(図A-1)。
ストッパーを持ち上げる(図A-2)。
2ウォークマンとクリップをしっかりと持ち、ウォークマンを押し出す
(図D)。
ウォークマン、
WALKMAN
、
WALKMAN
ロゴは、ソニー株式会社の登録商標です。
取扱説明書 English
How to attach the clip
1Unlock the stopper (Figure A-1).
Push up the stopper (Figure A-2).
When you purchase the clip, it is locked.
2Fully insert the Walkman from the stopper side of the clip (Figure C).
3Push down the stopper (Figure B-1).
Lock the stopper (Figure B-2).
zTip
With the Walkman inserted in the clip, basic operation is still possible.
Notes
• Make sure to lock the stopper to prevent the Walkman from dropping out of the clip.
• To prevent possibly damaging the Walkman, make sure that there is no dirt or dust inside the clip or
on the Walkman before using the clip. If necessary, wipe the clip with a soft cloth, such as a glass
cleaning cloth.
•You may not use the accessories, such as a cradle, with the clip attached. Detach the clip before
using the cradle.
How to remove the clip
1Unlock the stopper (Figure A-1).
Push up the stopper (Figure A-2).
2Holding the Walkman and clip steady, then pull the Walkman out (Figure D).
“WALKMAN” and “WALKMAN” logo are registered trademarks of Sony Corporation.
Français
Comment fixer le clip
1Déverrouillez la butée (figure A-1).
Relevez la butée (figure A-2).
Lorsque vous achetez votre clip, elle est verrouillée.
2Insérer complètement le Walkman dans le clip en l’introduisant du côté de la
butée (figure C).
3Abaissez la butée (figure B-1).
Verrouillez la butée (figure B-2).
zConseil
Lorsque le Walkman est inséré dans le clip, il est toujours possible d’utiliser les fonctions de base.
Remarques
• Vérifiez si la butée est verrouillée pour éviter que le Walkman ne tombe du clip.
• Afin d’éviter d’abîmer le Walkman, veillez à ce qu’il n’y ait pas de saleté ou de poussière à
l’intérieur du clip ou sur le Walkman avant d’utiliser le clip. Si nécessaire, nettoyez le clip à l’aide
d’un chiffon doux, tel qu’un chiffon à lunettes.
• Il est possible que vous ne puissiez pas utiliser certains accessoires, tel qu’un support, lorsque le clip
est fixé. Retirez le clip avant d’utiliser le support.
Operating Instructions
CLP-NWS610
3-277-717-01(1)
A
B
Mode d’emploi
Comment retirer le clip
1Déverrouillez la butée (figure A-1).
Relevez la butée (figure A-2).
2
Maintenez fermement le Walkman et le clip, puis retirez le Walkman (
figure
D).
« WALKMAN » et le logo « WALKMAN » sont des marques déposées de Sony Corporation.
ストッパー
Stopper
Butée
Deutsch
So bringen Sie den Clip an
1Entriegeln Sie den Stopper (Abbildung A-1).
Drücken Sie den Stopper nach oben (Abbildung A-2).
Beim Kauf des Clips ist der Stopper verriegelt.
2Führen Sie den Walkman von der Seite mit dem Stopper aus vollständig in den
Clip ein (Abbildung C).
3Drücken Sie den Stopper nach unten (Abbildung B-1).
Verriegeln Sie den Stopper (Abbildung B-2).
zTipp
Die Grundfunktionen stehen auch dann noch zur Verfügung, wenn der Walkman in den Clip eingesetzt
ist.
Hinweise
•Verriegeln Sie den Stopper unbedingt, damit der Walkman nicht aus dem Clip fallen kann.
•Vergewissern Sie sich vor der Verwendung des Clips, dass sich im Clip und auf dem Walkman kein
Staub oder Schmutz befindet, um eine Beschädigung des Walkman zu verhindern. Reinigen Sie den
Clip gegebenenfalls mit einem weichen Tuch, wie z. B. einem Brillenreinigungstuch.
•Zubehör wie eine Anschlussstation können Sie nicht verwenden, solange sich der Walkman im Clip
befindet. Nehmen Sie den Clip ab, wenn Sie die Anschlussstation verwenden wollen.
So nehmen Sie den Clip ab
1Entriegeln Sie den Stopper (Abbildung A-1).
Drücken Sie den Stopper nach oben (Abbildung A-2).
2Halten Sie den Walkman und den Clip fest und ziehen Sie den Walkman heraus
(Abbildung D).
„WALKMAN“ und das „WALKMAN“-Logo sind eingetragene Warenzeichen der Sony
Corporation.
Bedienungsanleitung Español
Colocación del soporte
1Desbloquee el tope (figura A-1).
Presione el tope hacia arriba (figura A-2).
En el momento de la adquisición del soporte, éste se suministra bloqueado.
2Inserte el Walkman completamente por el lado del tope del soporte (figura C).
3Presione el tope hacia abajo (figura B-1).
Bloquee el tope (figura B-2).
zSugerencia
Es posible utilizar el Walkman con éste introducido en el soporte.
Notas
•Asegúrese de bloquear el tope para evitar que el Walkman se caiga del soporte.
•Para evitar posibles daños en el Walkman, asegúrese de que no haya suciedad ni polvo en el interior
del soporte ni en el Walkman antes de utilizar el soporte. Si es necesario, limpie el soporte con un
paño suave, como un paño de limpieza de cristales.
•No es posible utilizar accesorios como, por ejemplo, una base, con el soporte instalado. Extraiga el
soporte antes de utilizar la base.
Extracción del soporte
1Desbloquee el tope (figura A-1).
Presione el tope hacia arriba (figura A-2).
2Sujete el Walkman y el soporte firmemente y, a continuación, extraiga el
Walkman (figura D).
“WALKMAN” y el logotipo de “WALKMAN” son marcas comerciales registradas de Sony
Corporation.
简体中文
如何套上夹套
1解锁卡钩(图A-1)。
向上推卡钩(图A-2)。
当您购买夹套时,卡钩处于锁定状态。
2从夹套的卡钩侧将Walkman完全插入(图C)。
3向下推卡钩(图B-1)。
锁定卡钩(图B-2)。
z 提示
在夹套中的Walkman仍然可以进行基本操作。
注意
•请务必锁住卡钩以防止Walkman从夹套中滑落。
•若要防止对Walkman可能的损害,在使用夹套前,请确保夹套中或Walkman上没有污物
或灰尘。如有必要,请用诸如眼镜清洁布等软布擦拭夹套。
•您不可以在套着夹套的Walkman上使用诸如充电座等附件。使用充电座前,请取下夹
套。
使用说明书
Manual de instrucciones
CD
A
B
如何取下夹套
1解锁卡钩(图A-1)。
向上推卡钩(图A-2)。
2握住Walkman和夹套,然后将Walkman推出(图D)。
“WALKMAN” 和 “WALKMAN” 标志是 Sony Corporation 的注册商标。
Stopper
Tope
卡钩
Silikon und Gummi
Pieza de goma de silicona
硅橡胶部件