manuals.online logo
Brands
  1. Home
  2. •
  3. Brands
  4. •
  5. Sony
  6. •
  7. Home Theater System
  8. •
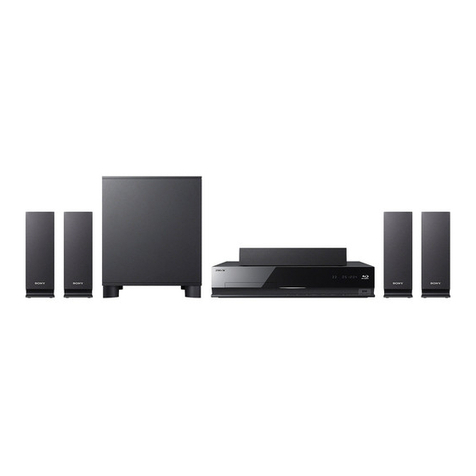
  9. Sony HT-6800DP - Dvd Home Theater User manual

Sony HT-6800DP - Dvd Home Theater User manual

Other manuals for HT-6800DP - Dvd Home Theater

3

Other Sony Home Theater System manuals

Sony STR-K995 User manual

Sony

Sony STR-K995 User manual

Sony HT-CT60 User manual

Sony

Sony HT-CT60 User manual

Sony HT-S20R User manual

Sony

Sony HT-S20R User manual

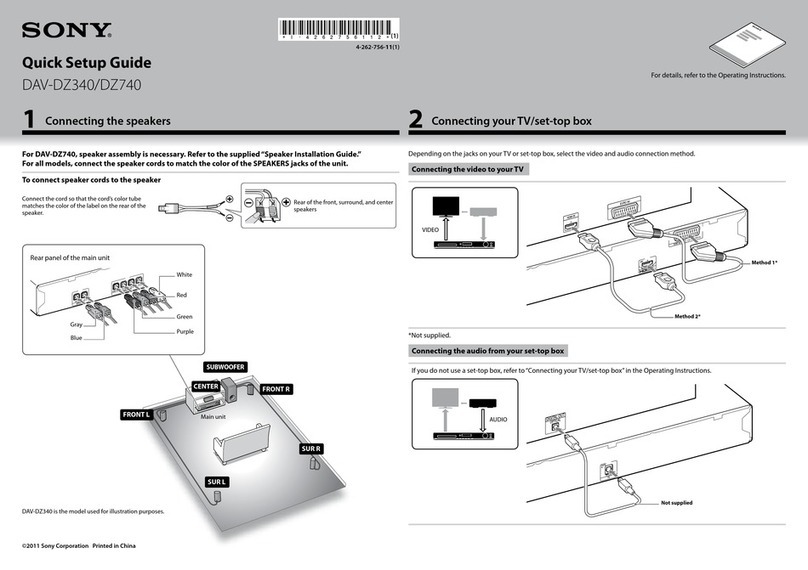
Sony DAV-DZ171 User manual

Sony

Sony DAV-DZ171 User manual

Sony DHC-FL7D - Display Side Hi Fi Component... User manual

Sony

Sony DHC-FL7D - Display Side Hi Fi Component... User manual

Sony BDV-L800 User manual

Sony

Sony BDV-L800 User manual

Sony Bravia BDV-E870 User manual

Sony

Sony Bravia BDV-E870 User manual

Sony DAV-DX150 - Dvd Home Theater System User manual

Sony

Sony DAV-DX150 - Dvd Home Theater System User manual

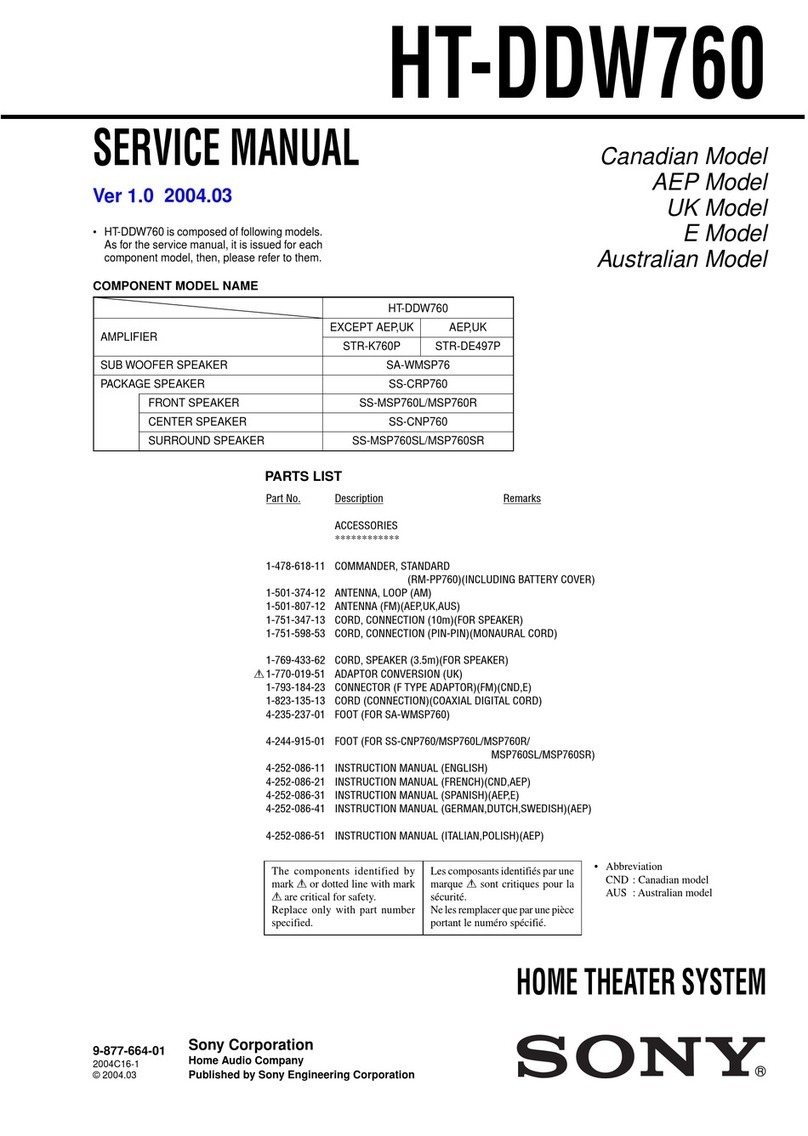
Sony HT-DDW760 Instruction manual

Sony

Sony HT-DDW760 Instruction manual

Sony DAV-F200 User manual

Sony

Sony DAV-F200 User manual

Sony BDV-E690 User manual

Sony

Sony BDV-E690 User manual

Sony DAV-DZ610 User manual

Sony

Sony DAV-DZ610 User manual

Sony DAR-RH7000 User manual

Sony

Sony DAR-RH7000 User manual

Sony DAV-DZ110 User manual

Sony

Sony DAV-DZ110 User manual

Sony HT-DDW7000 User manual

Sony

Sony HT-DDW7000 User manual

Sony DAV-C770 - Compact Av System User manual

Sony

Sony DAV-C770 - Compact Av System User manual

Sony DAV-LF1 User manual

Sony

Sony DAV-LF1 User manual

Sony SA-VA100 User manual

Sony

Sony SA-VA100 User manual

Sony DAV-FR1 User manual

Sony

Sony DAV-FR1 User manual

Sony DAV-TZ210 User manual

Sony

Sony DAV-TZ210 User manual

Sony HTP-36SS Quick start guide

Sony

Sony HTP-36SS Quick start guide

Sony DAV-HDX686W User manual

Sony

Sony DAV-HDX686W User manual

Sony BDV-IZ1000W User manual

Sony

Sony BDV-IZ1000W User manual

Sony AVD-K600P - Amp/tuner For Htv600dp System User manual

Sony

Sony AVD-K600P - Amp/tuner For Htv600dp System User manual

Popular Home Theater System manuals by other brands

Samsung HT-DL200 instruction manual

Samsung

Samsung HT-DL200 instruction manual

Samsung HT-ES6600 user manual

Samsung

Samsung HT-ES6600 user manual

Curtis DVD6010 instruction manual

Curtis

Curtis DVD6010 instruction manual

Philips MCD716/12 user manual

Philips

Philips MCD716/12 user manual

Sherwood ST-4108 operating instructions

Sherwood

Sherwood ST-4108 operating instructions

Philips HTS5520/12 quick start

Philips

Philips HTS5520/12 quick start

LG HT503PHW owner's manual

LG

LG HT503PHW owner's manual

Samsung HT-ES4200K user manual

Samsung

Samsung HT-ES4200K user manual

Samsung HT-P10 instruction manual

Samsung

Samsung HT-P10 instruction manual

Philips HTS5131 User manaul

Philips

Philips HTS5131 User manaul

Goodmans GDVD19SWS user manual

Goodmans

Goodmans GDVD19SWS user manual

Moxi media center user guide

Moxi

Moxi media center user guide

Samsung HT-EM35 user manual

Samsung

Samsung HT-EM35 user manual

Manta GK-500 user manual

Manta

Manta GK-500 user manual

Sharp SBW800 user manual

Sharp

Sharp SBW800 user manual

Philips HTS3541 user manual

Philips

Philips HTS3541 user manual

LG LHT799 specification

LG

LG LHT799 specification

Samsung HT-TWZ415 user manual

Samsung

Samsung HT-TWZ415 user manual

manuals.online logo
manuals.online logoBrands
  • About & Mission
  • Contact us
  • Privacy Policy
  • Terms and Conditions

Copyright 2025 Manuals.Online. All Rights Reserved.

4-252-273-11 (1)
SON_
Home Theatre
System
Operating Instructions
Owner's Record
The model and serial numbers are located on the rear of the unit. Record the serial
number in the space provided below. Refer to them whenever you call upon your
Sony dealer regarding this product.
Model No. Serial No.
HT-6800DP
©2004 Sony Corporation
To prevent fire or shock hazard, do not
expose the unit to rain or moisture.
To prc_ ent fire, do not cover tile _ entilation of the
apparatus with newspapers, table-cloths, curtains, etc.
And don_t place lighted candles on the apparatus.
To prevent fire or shock hazard, do not place objects
filled with liquids, such as vases, on Ihe apparatus.
Do nol install Ihe appliance ill a confined space,
such as a bookcase or buill-in cabinet.
Don't throw away batteries with
general house waste; dispose of
them correctly as chemical waste.
This symbol is intended to alert
the user to the presence of
uninsulated "dangerous voltage"
within the product's enclosure
that may be of sufficient
magnitude to constitute a risk of
electric shock to persons.
This symbol is intended to alert
the user to the presence of
important operating and
maintenance (servicing)
instructions in the literature
accompanying the appliance.
WARNING
This equipmenthas beentested andfound tocomplywiththe
limitsfor aClass B digitaldevice,pursuantm Part 15of the
FCCRules.These limitsare &signed to providereasonable
protectionagainst harmfiflinterferencein aresidential
installation.This equipmentgenerates_uses. andcan radiate
radio frequencyenergy and.ifnot installedandused in
accordancewith the instructions,maycauseharmful
interferenceto radiocommunications.However.there is no
guaranteethat interferencewillnotoccur illaparticular
installation.If thisequipmentdoes cause harmfifl
interterenceto radioor televisionreceptiomwhichcallbe
determinedby turningthe equipmentoffand on, the useris
encouragedto tUto co_Tecttileinterferencebyone or more
of thetollowingmeasures:
Reorient or relocate the receiving antenna.
Increase the separation between the equipment and
receiver.
Connect the equipment into an outlet on a circuit
different from that to which the receiver is
connected.
Consult the dealer or an experienced radio_V
technician for help.
CAUTION
You arccautioned that any changes or modification not
expressly approved in this manual coukl void your
aulhority to operate this equipment.
Note to CATV system installer:
This reminder is 1)ro_idcd to call CATV system
installer's attention to Article 820-40 of the NEC that
provides guidelines R)rproper grounding m& ill
particular, specifies that the cable ground shall be
connected to the grounding system of the building, as
close to Ihe point of cable entry as practical.
ENERGY STARi is _ U.S. regislered
m_rk. As _n ENERGY STAR parlner,
Sony (_orporation has determined thai
this product meets Ihe ENERGY
STARc_>guidelines for energy
efficiency.
2us
About This Manual
•The instructions in this manual arc lk_rmodel
HT-6800DP. Check your model number by looking
at the lower right corner of the front paneh
• The instructions in this manual describe the controls
on file receiver. You can also use lhe controls on the
supplied remote if they have the same or similar
names as those on the receiver. For details on the use
of your remote, see pages 3845. For details on the
use of your DVD player, refer to the separate
operating instructions supplied x_ith the DVD player.
The HT-6800DP consists of:
• Receiver STR-K6800P
• Speaker system
Front/surrou nd/surround back SS-MSP88
speaker
Center speaker SS-CNP88
Sub woofer SA-WMSP68
• DVD player DVP-NC675P
This receiver incorporates Dolby:_Digital and Pro
Logic Surround and the DTS:_:'-Digital Surround
System.
* Manufacturedunderlicense from Dolby
Laboratories.
"Dolby", "Pro Logic" and the double-D symbol are
trademarks of Dolby Laboratories.
** "DTS". "DTS-ES" and "Neo:6" are trademarks of
Digital Theater Systems, hlc.
3u$
Getting Started
1: Check how to hookup your
components ....................................... 5
I a: Connecting components with
digital audio output jacks ........... 7
I b: Connecting components with
nmlti channel output jacks ........ 10
lc: Connecting components with
only analog audio jacks ............ 12
2: Connecting the antennas ................... 14
3: Connecting speakers ......................... 15
4: Connecting the AC power cord ........ 17
5: Setting up the speakers ..................... 18
6: Setting up the sub woofer ................. 20
7: Adjusting the speaker levels and
balance ............................................ 20
-- TEST TONE
Amplifier Operation
Selecting tile component ....................... 21
Listening to multi channel sound .......... 22
-- MULTI CH IN
Listening to FM/AM radio .................... 22
Presetting radio stations ........................ 23
Changing the display ............................. 24
About the indications in the display ...... 25
Enjoying Surround Sound
Using only the front speakers and snb
woofer ............................................. 26
-- 2CH STEREO
Enjoying higher fidelity sound .............. 26
-- AUTO FORMAT DIRECT
Selecting a sound field .......................... 27
Selecting the surround back decoding
mode ............................................... 29
SURR BACK DECODING
Advanced Adjustments and
Settings
Switching tile audio input mode for
digital components ......................... 31
INPUT MODE
Customizing sound fields ..................... 31
Adjusting the tone ................................. 33
Advanced settings ................................. 33
Other Operations
Naming preset stations and inputs ........ 35
Using the Sleep Timer .......................... 35
Selecting the speaker system ................ 36
Recording ............................................. 36
Operations Using the Remote
RM-PP860
BefOre you use your remote .................. 38
Remote button description .................... 38
Selecting the command mode of the
remote ............................................. 42
Programming the remote ...................... 42
Additional Information
Precautions ........................................... 46
Troubleshooting .................................... 47
Specifications ....................................... 49
List of button locations and reference
pages ............................................... 52
Index ..................................................... 53
41/8
Steps l a through l c beginning on page 7 describe how to hook up your components to this receiver.
Beli_re you hegin, rellzr to "Connectable components" below l\_r tile pages which describe how to
COIlnect each compollellL
Alter booking up all your components, proceed to "2: Connecting the antennas" (page 14).
Connectable components
Component to be connected Page
DVD player
With digital audio output a! 7 8
With multi channel audio output b) 10 11
With analog audio output only c) 7 8
TV monitor
With component video inpul d) 8 or 11
With composite vide() input only 13
Satellite tuner
With digital audio output a! 7 8
With analog audio output only c) 7 8
Super Audio CD/CD player
With digital audio output a! 9
With multi channel audio output b) Ill
With analog audio output only c) 12
MD/Tape deck
With analog audio output only c) 12
Multi channel decoder l0
VCR 13
a> Model with a DIGITAL OPTICAL OUTPUT or DIGITAL COAXIAL OUTPUT jack_ etc.
b) Model with a MULTI CH OUTPUT jacks, etc. This connection is used to output the audio decoded by the
component's internal multi channel decoder through this receiver.
c) Model equipped only with AUDIO OUT L/R jacks, etc.
d) Model x_ith component video (Y_ PB/CB/B-Y_ PR/CR/R-Y) input jacks.
if)
¢D
_=.
¢D
conHnued
5us
Required cords
The hookup diagrams on the subsequent pages assume the use of the lollowing optional connection
cords (1_ to r_) (not supplied unless indicated).
[] Audio cord
White (L)
Red (R)
[] Audio/video cord
Yellow (video)
White (Uaudio)
Red (R/audio)
[] Video cord
Yellow @
[] Optical digital cord
[] Coaxial digital cord (supplied)
Orange @
[] Monaural audio cord
Black _?c=
Tip
Audio coM [] can bc torn into two mon:lurM _mdio
cords r_.
[] Component video cord
Green
Blue
Red
Notes
•Turn off the power to all components before making any connections.
• Be sure to make connections firmly to avoid hum and noise.
•When connecting an audio/video coN, be sure to match the color-coded pins to the appropriate jacks on the
components: yellow (video) to yellow; white (left, audio) to white; and red (right, audio) to red.
• When connecting optical digital cords, insert the cord plugs straight ill until they click into place.
• Do not bend or tie optical digital cords.
6uS
O
tD
Hooking up a DVD player or satellite tuner -=.
_Q
For delails o,, the required cords ([!_ r_), see page 6.
1 Connect the audio jacks. _.
¢D
DVD player
t
OPTIC
a_D_
[]
[]
[]
[]
[]
Satellite tuner _j
Note
You can also listen to the sound of your TV by connecting your TV's audio output jacks to the VIDEO 2 AUDIO IN
jacks on the receiver. In this case, do not connect the TV's vide{) output jack to the VIDEO 2 VIDEO INjack on the
receiver.
continued 7us
2 Connect the video jacks.
The folk>wing illustration shows how to connect a satellite tuner mM a DVD player wifl_
COMPONENT VIDEO (Y, PB/CB/B-Y, PR/CR/R-Y) output jacks. Connecting a TV with component
video input jacks allows you to enjoy higher quality video.
Satellite tuner TV monitor
FRONTB
_L
DVD player
Note
On fllis recci',cr, file slandaM videe signals cannel bc cenvcrtcd le component videe signals/er vice ,,crsa).
8US
Hooking up a Super Audio CD/CD player
Fordelailson the requiredcords(l_ ["_),seepage6.
coax
o
_=.
;$
Tip
A11the digital audio jacks are compatible x_ith32 kHz, 44.1 kHz, 48 kHz and 96 kHz sampling frequencies.
Note
The soundisnot output whenyou play :lSuperAudio CD on theSuperAudio CD playerconnectedtothe
SA-CD/(_D OPTICAL IN jack on Ihis receiver. Connect to the analog input jacks (SA-CD/(_D IN jacks). Refer to
the operating instructions supplied with the Super Audio CD player.
9us
1 Connect the audio jacks.
If your DVD or Super Audio CD player is equipped with rnulti channel output jacks, you can connect
it to this receiver's MULTI CH IN jacks to enjoy the multi channel sound. Alternatively, the multi
channel input jacks can be used to connect an external multi channel decoder.
For delails on the required cords (1_ r_), see page 6.
D &_00ul ¢IDE01R
L,; ,L,; ,, ,_,]1{ _ _-_k/,,
FRONT B
DVD player,
Super Audio CD player,
Multi channel decoder, etc,
Tip
This connection also allows you to enjoy software with multi channel audio recorded in fermats ether than the Dolby
Digital and DTS.
Note
When you make conncctkms to the MULTI CH INjacks, you _ill need to a([just the level of the surreund s?cakers
and sub weel__+rusing the controls on the connected component.
1Ws