SOUNDMASTER DISC4400 User manual

1
BASIC SYSTEM SET-UP
Follow these 4 steps to complete basic system set-up.
1Set-Up and Connect AM Antenna, Connect and Extend FM Antenna
2Connect the Main Unit to Power
This system is designed to operate on 230V 50Hz AC house current. Connecting this system to any other power
supply could result in damage to the unit which is not covered by your warranty.
NOTE: This is a safety feature to reduce the possibility of electric shock. You should have your outdated outlets changed by a
qualified, licensed electrician. Do not file the wide blade on the plug, or use an adapter to make the plug it into your outlet. This
defeats the safety feature and could expose you to electric shock.
A
M
A
M Antenna Jack
FM ANTENNA
FM ANTENNA
A
C outlet

2
3Install Batteries into Remote
Insert two AAA batteries into the remote control while
observing the correct (+) and (-) polarities as shown below.
4Power on the Main Unit
Press the STANDBY / button. The main display briefly shows “HELLO. Please refer to page 39 for setting the clock.
•For setup of Bluetooth connections, refer to page 26.
•To connect optional components see section Connecting External Devices page 36.

3
Get started
This section helps you position and install the unit.
Wall Mount the unit
Precautions
no responsibility for improper mounting that results in accident or injury.
Step 1 Remove the stand
1. Carefully place the unit face down on a flat, stable
surface that is covered by soft cloth. The cloth should be
thick enough to protect your product.
2. Using a cross-head screwdriver (not supplied), unscrew
the three screws that secure the stand to the unit .
3. Firmly pull the stand from the bottom of the unit. Place
both the stand and screws in a secure location for future
reinstallation.
Step 2 Connect cables
Connect the antenna cable, and power adaptor to the back of
the unit.
Step 3
1. Locate the four mounting nuts on wall. The distance
between four mounting nuts as per below:

4
LOCATION OF CONTROLS
1. FUNCTION BUTTON
2. BUTTON
3. REMOTE SENSOR
4. BAND BUTTON
5. LCD DISPLAY
6. BUTTON
7. CD DOOR
8. BUTTON
9. VOLUME BUTTON
10. TIMER BUTTON
11. MEMORY/CLOCK BUTTON
12. LINE IN JACK
13. HEADPHONE JACK
14. BUTTON
15. / PAIRING BUTTON
16. SD CARD JACK
17. BUTTON
18. USB PORT
19. PLAY MODE BUTTON
20. VOLUME BUTTON
21. DC - INPUT
22. 75 OHM
23. AM ANTENNA SOCKET

5
REMOTE CONTROL
1. OPEN/CLOSE BUTTON
2. MEMORY/ CLOCK BUTTON
3. FUNCTION BUTTON
4. /BAND BUTTON
5. SKIP BUTTON
6. /PAIRING BUTTON
7. PLAY MODE BUTTON
8. FOLDER UP/DN BUTTON
9. EQ BUTTON
10. 1-9 NUMERIC
11. SLEEP BUTTON
12. STANDBY BUTTON
13. MUTE BUTTON
14. TIMER BUTTON
15. BUTTON
16. SKIP BUTTON
17. ST/MO/ID3 BUTTON
18. VOLUME BUTTON
19. DBBS BUTTON
20. 0 BUTTON

6
OPERATING INSTRUCTIONS
•Make sure that you have fully extended the FM antenna wire and connected the AM antenna.
•Make sure that you have installed batteries in the remote control handset.
•Plug the cable from the mains adapter into the socket labelled 12V DC on the back of the system, then switch on at
the mains.
•CAUTION: Use only the mains adapter supplied with the system. Connecting a power supply with a different rating
will cause permanent damage to the system and may be hazardous.
General Controls
Most of the main functions of this system can be operated by the controls on the front panel of the main unit, or by the buttons on
the remote control handset. If a specific function can only be operated by the remote handset, or by the front panel controls, this
will be clearly indicated in the instruction.
When operating this system with the remote control handset make sure that the IR (Infrared) transmitter on the front of the
remote handset is pointed at the remote sensor on the front panel of the main unit.
The effective operating range of the remote control is approximately 15 feet. Please note that bright sunlight or room lighting may
interfere with the remote control operation. If the remote is not operating properly try reducing the brightness of the room or
moving closer to the main unit. If this does not solve the problem, it may be time to change the remote control battery.

7
AUDIO CONTROLS
Volume Controls
To increase or decrease the system volume
►Press the VOLUME UP or VOLUME DN buttons on the remote control or
▲/▼on the front panel.
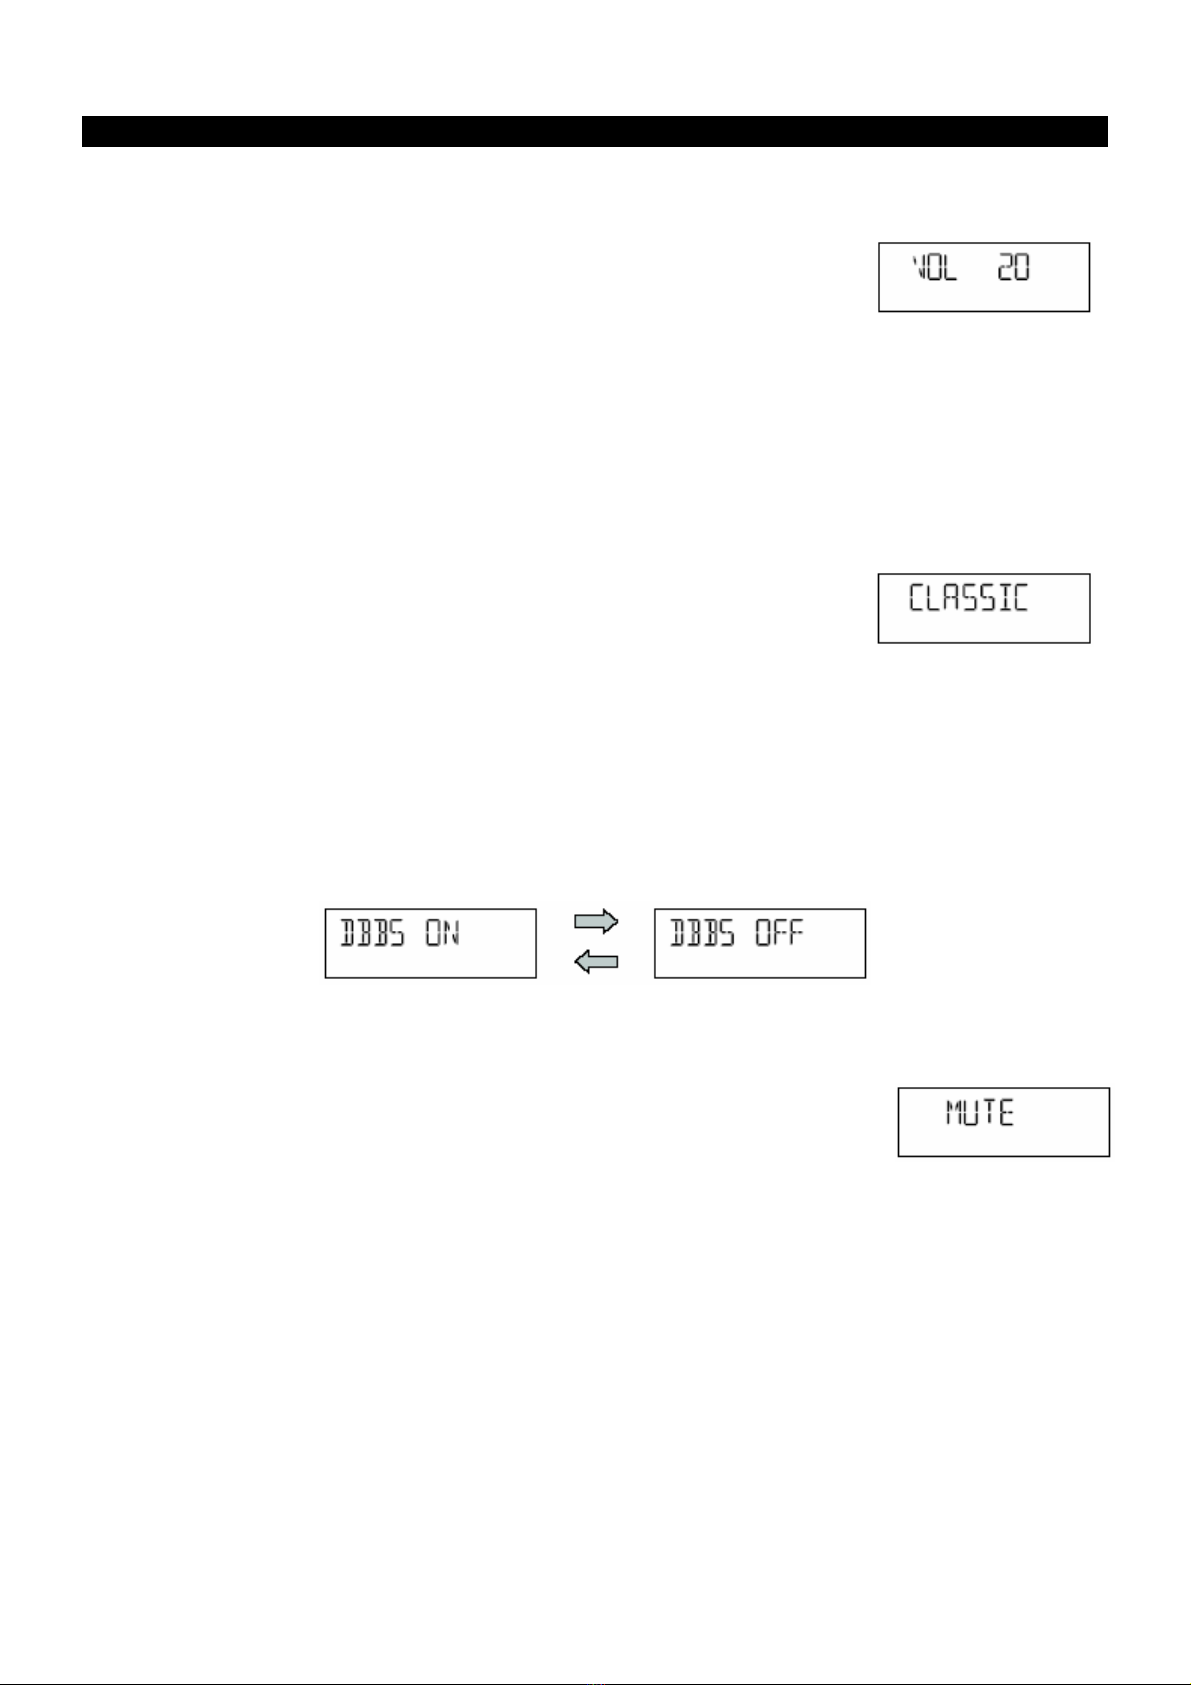
The Volume Level Indicator will appear on the display when you change the
volume level. The level indicator ranges from VOL MIN to VOL MAX.
The system remembers the volume level when the power is switched off and automatically returns to the same level when the
power is switched on again.
EQ (Electronic Preset Equalizer, On Remote Control Only)
The preset equalizer allows you to adjust the sound characteristic for the most popular types of music.
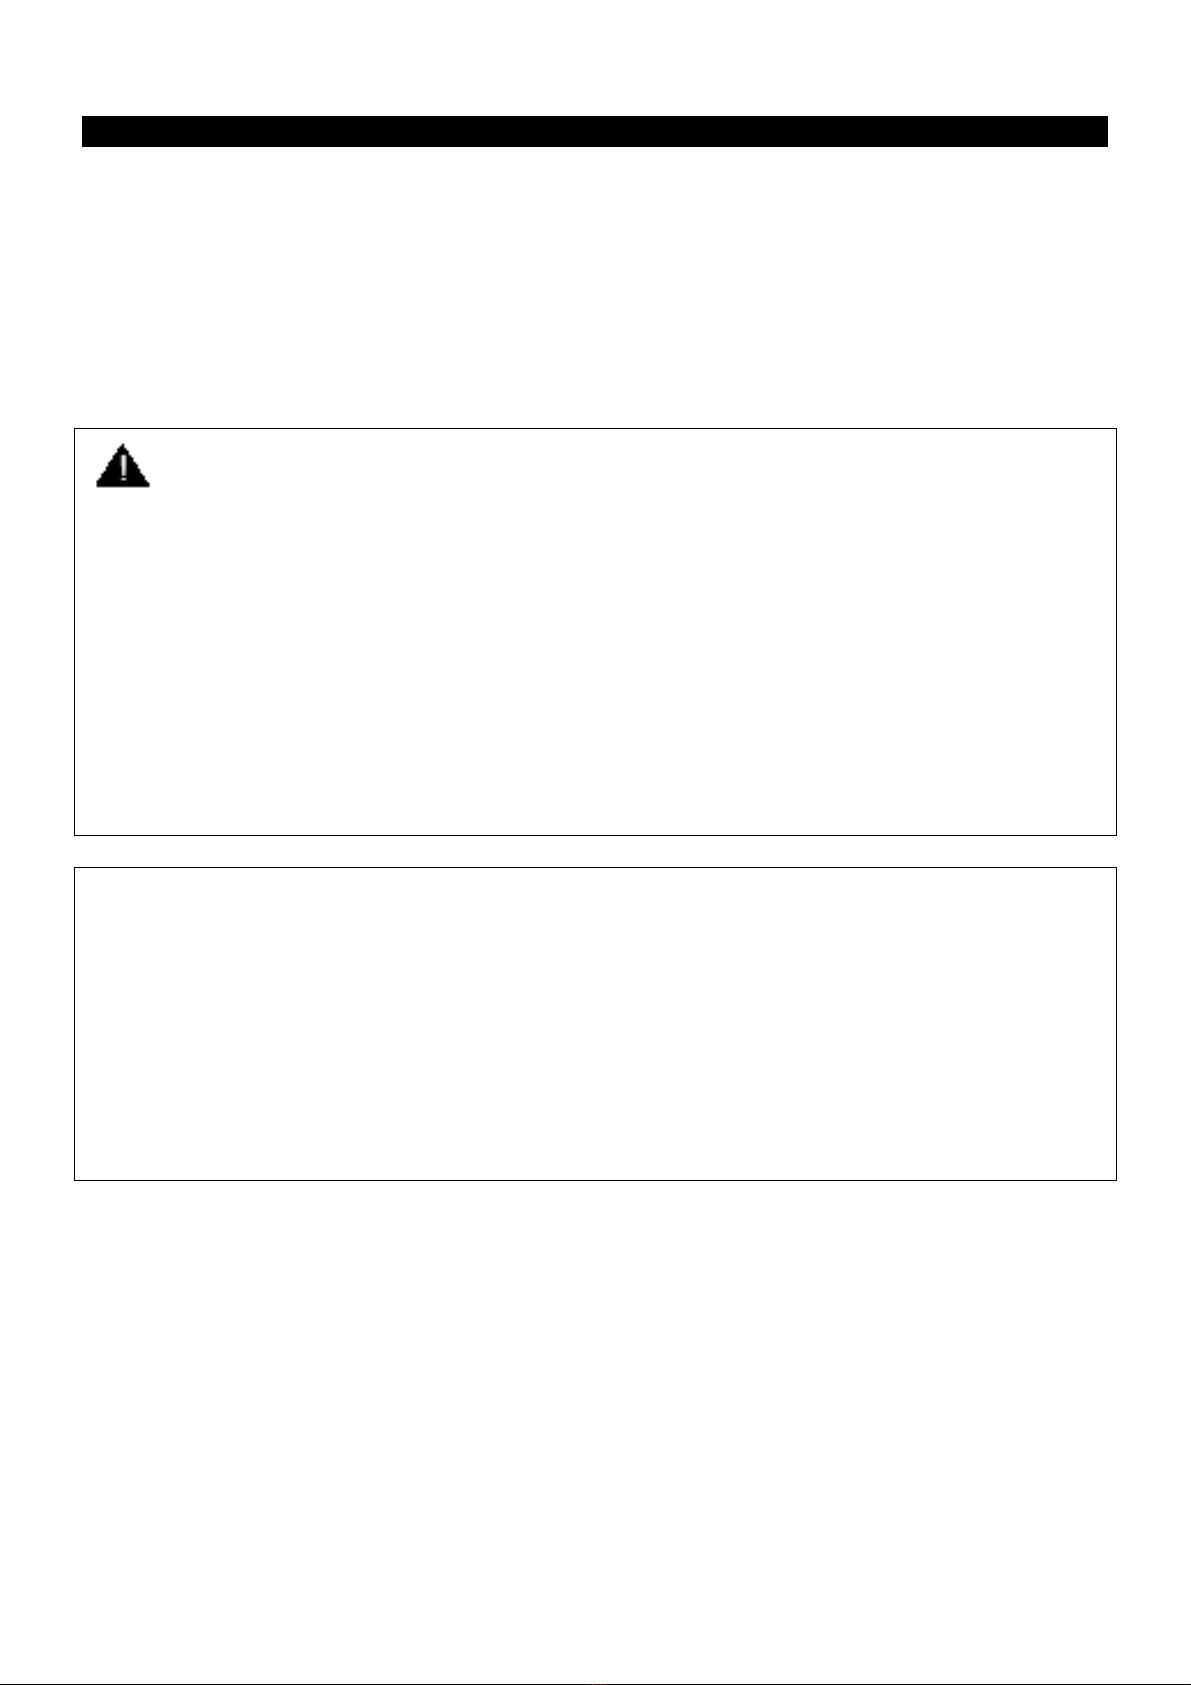
Press the EQ button on the remote control to cycle through the following equalizer
settings: FLAT, CLASSIC, ROCK, POP, JAZZ.
The appropriate EQ indicator briefly appears on the display to confirm your
selection, and your selection is shown at the bottom of the display.
The system remembers the EQ setting when the power is switched off and returns
to the same setting when the power is switched on again.
DBBS (Dynamic Bass Boost, On remote Control Only)
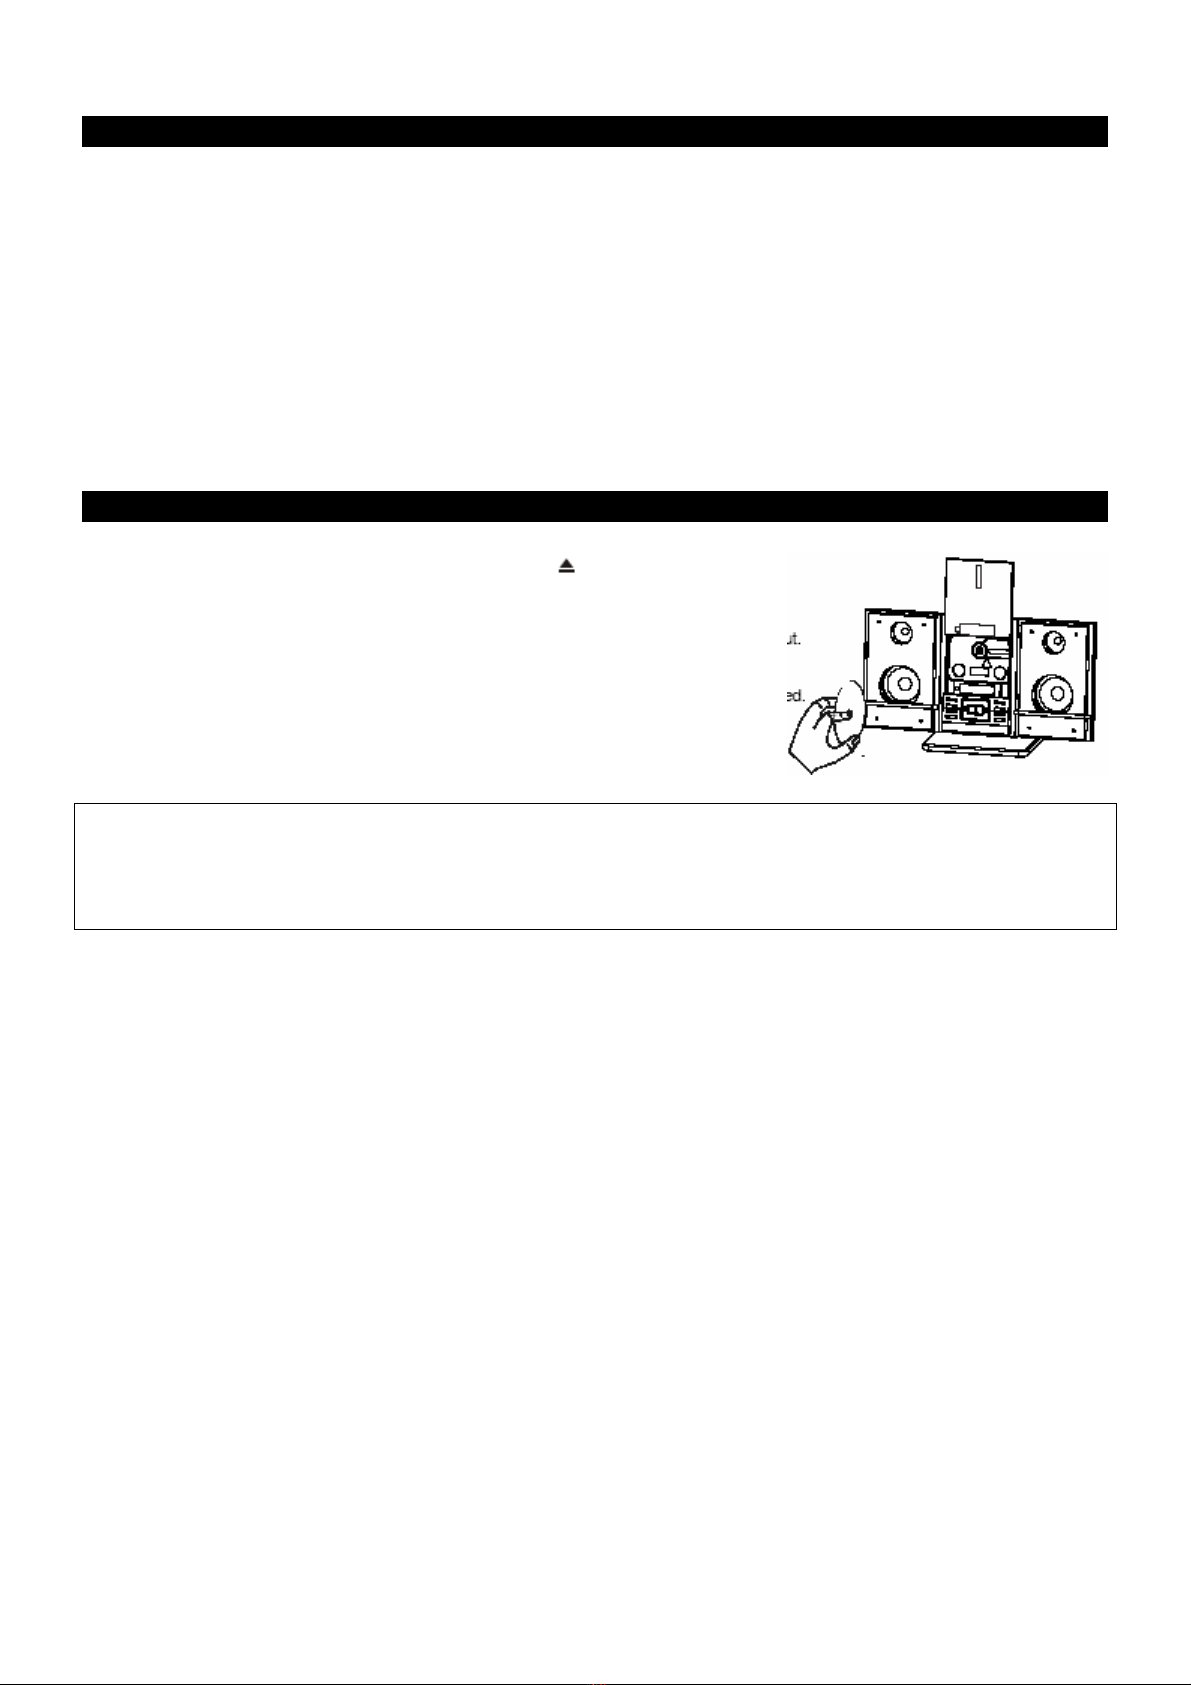
►Press the DBBS button on the remote control to increase the bass response “DBBS ON” appears briefly on the display
and ”DBBS” remains in the higher right of the display.
►Press again to cancel the Bass Boost function.
MUTE Button (On Remote Control Only)
►Press the MUTE button on the remote control to shut off the speakers
temporarily.
The sound stops and the “MUTE” indicator shows in the display.
►Press the MUTE button again to cancel the mute function and restore the
sound. The “MUTE indicator disappears.
The mute function will also be canceled automatically by pressing the
VOLUME UP or VOLUME DN buttons.

8
COMPATIBLE STORAGE DEVICES
This system supports playback of music from CD discs as well as USB and flash memory card devices.
Supported DISC Types
•CD Audio
•CD-R
•CD-RW
Supported Memory Card Formats
•Secure Digital™ (SD)
•miniSD™ (with adapter only)
•microSD™ (with adapter only)
•Multimedia Card (MMC)
•Where “with adapter only” is mentioned, you must use the adapter to convert from the small format to full-size
card format. Attempting to use these formats without the proper adapter may cause damage to the memory
card or the unit. Do not attempt to insert these cards without the proper adapter.
•This unit does not support the following card formats. Attempted use of these unsupported formats may cause
damage to the memory card or the unit. Do not attempt to insert these unsupported cards:
▪Compact Flash? (Type I and Type II)
▪MicroDrive™
▪Smart Media™
▪Memory Stick™
▪Memory Stick Duo™ (with adapter only)
▪xD Picture Card™
•Discs with non-standard shapes (e.g. heart, square, star) cannot be played in this unit.
Attempting to do so may damage the unit.
IMPORTANT:
•This player can play normal (pre-recorded) CD discs plus CD Recordable and CD Rewriteable discs. The ability of this unit to
play certain recordable discs may depend on the quality or physical condition of the disc, the quality of the recording, or
characteristics of the recording device or software application. Playback cannot be guaranteed in all situations. This is not an
indication of any problems with your player.
•This player is designed to play media from SD/MMC card devices and from USB lash memory devices that comply with the
USB Mass Storage standard. Playback of media from USB connected devices such as MP3 players that generally require
drivers for interaction with a PC is not supported. Playback from all physically compatible lash devices cannot be guaranteed
in all situations. This is not an indication of any problem with your player.

9
COMPATIBLE AUDIO FORMATS
This system supports playback of songs in CD-audio (pre-recorded CDs), MP3 and Windows Media formatted Audio (WMA).
This system does not support Digital Rights Management (DRM). This system cannot play songs purchased from iTunes or other
songs in AAC format, songs in ATRAC format or songs purchased from some online music retailers. It may be possible to convert
your music to one of the playable compressed formats, or burn it to an audio CD, depending on the DRM restrictions.
This system is compatible with MPEG1 Audio Layer 3 (MP3) 32, 44.1 or 48kHz formats. The recording format should be in
accordance with ISO9660 CD-ROM file system. MP3 file name requires MP3 or mp3 as an extension. Chinese characters cannot
be displayed, although files featuring them can be played.
VBR (Variable Bit Rate) files can be played, but playing time may not be shown correctly. Up to 299 tracks/ folders can be played.
LOADING AND REMOVING A DISC
1) Press the OPEN/CLOSE button on remote control or button front panel
to open the CD door.
2) Load a disc into the player with the printed label facing out.
3) To remove a disc, press the OPEN/CLOSE button and remove the disc from
the tray only when it has fully opened.
CAUTIONS:
•Do not put anything except a CD into the compartment. Foreign objects can damage the mechanism.
•Keep the disc compartment closed when not in use to prevent dirt and dust from entering the mechanism.
•Never place more than one disc into the disc compartment at any time.

10
INSERTING AND REMOVING FLASH DEVICES
Flash devices are inserted at the front panel of the unit.
Inserting and Removing USB
Flash Memory Devices
►Insert the USB connector into the socket on the unit and press gently to
seat. The connector can only be inserted one way.
►Remove the device by gently pulling it out of the socket.
Inserting and Removing
USB Flash Card Devices
►Insert the card into the slot by gently pressing into position until it locks in
place. Cards can only be inserted one way.
►Remove the card by gently pulling it out of the slot.
•Be sure to use the proper card adapter if required. Failure to use the correct adapter may cause damage to the
memory card or the unit.
•Only one type of memory card can be inserted at one time.
SD/MMC
USB DISK

11
CD OPERATION
Normal Playback
►Press the FUNCTION button to select “CD” function.
►Press the OPEN/CLOSE button on remote control or on front panel to open the CD door.
►Load a disc into the player with the printed label facing out.
►Press the OPEN/CLOSE button to close the CD door.
The display will show lashing “READING” as the player reads the
table of contents on the disc.
After reading the disc, the display will show the total tracks and
playing time.
NOTE: The reading time may be longer if you are using CD-R or CD-RW discs. This is normal and not an indication of any
problem with your unit.

12
Press the PLAY/PAUSE button to begin playback.
►Playback will continue until all tracks on the disc have been played, then the player stops and the display shows the total
tracks number and playing time on the disc.
►To stop playback at any time, press the /BAND button.
Pause Control
►To pause temporarily during CD playback
Press the PLAY/PAUSE button.
The sound stops and the elapsed time flashes in the display, but the disc continues
spinning.
►Press the PLAY/PAUSE button once more to cancel Pause mode and
resume playback at the same point. The elapsed time stops flashing.
Skip Track and High Speed Music Search
►During playback, repeatedly press the or buttons to skip to higher or lower numbered tracks. Playback will begin
on the selected track.
►During playback, depress and hold the or buttons to search within a track at high speed to locate a specific
musical passage.
►Release the or buttons when you hear the desired passage.
Normal speed playback will resume at that point.

13
Repeat Playback
The Repeat function in this system allows you to continuously repeat a single track, or the entire disc. The Repeat function can
be activated during playback or while the player is stopped.
One Track Repeat
►Select the track to be repeated and begin playback.
►Press the PLAY MODE button once.
The indicator appears in the display and the selected track will be repeated
continuously.
All Tracks Repeat
►Load the disc in the player and begin playback.
►Press the PLAY MODE button twice
The ALL indicator appears in the display. ALL tracks on the disc will be repeated
continuously.
►To cancel Repeat playback mode press the REPEAT button until the ALL indicators disappear from the display.
Repeat mode can also be canceled by opening the CD tray, switching to the TUNER or USB mode, or pressing the
button to return the system to the Standby (Off) mode.
Random Playback
The Random playback feature allows you play all the tracks on the disc in random order. You can select random playback while
the disc is playing or when the player is stopped.
►Load a CD in the player as usual and then press the PLAY MODE button third.
The “ ” indicator appears in the display.
The player will randomly select a track from the disc and begin playback. Random
playback will continue until all tracks have played once, then the player stops.
To stop Random playback, press the PLAY MODE button again.
The “ ” indicator disappears and normal playback will resume from that point.

14
Programmed Playback
The Programmed Playback feature allows you to program a total of up to 40 tracks in any desired order.
You may program the same track to play several times within a program sequence if desired.
Note: You cannot program tracks during playback. If a disc is playing press the /BAND button first to stop playback
before beginning the programming steps below .
1. Load the disc in the player and wait until the player has read the Table of
Contents of the disc.
2. Press the MEMORY/CLOCK button.
The ”MEMORY” indicator, Track 01 and Program Memory PR "01" will
appear in the display.
3. Then press the or buttons to select the first track on the disc to
be programmed. Example: Track 07
4. Press the MEMORY/CLOCK button again to enter Track 07 in program
memory #1. The program memory number advances to PR "02"
5. Repeat steps 3 and 4 selecting the desired track number each time until you have entered up to 40 tracks in the CD program
memory.

15
6. Press the PLAY/PAUSE button to begin programmed playback.
The ”MEMORY” indicator remains 5 seconds on display.
The player will play all the tracks that you programmed in the desired sequence. After the last programmed track has played the
player stops, but the programmed sequence remains in the memory.
To play the programmed sequence again, press the MEMORY/CLOCK button
then the PLAY/PAUSE button.
To cancel the programmed sequence from the memory press the
/BAND button at programming mode.
Programmed Repeat Playback
You can use the Programmed and Repeat Play back functions together to continuously repeat a programmed sequence.
►Program up to 40 tracks as described above.
►Press the PLAY MODE button twice.
►Press the PLAY/PAUSE button to begin Programmed Repeat
Playback. The programmed sequence will be repeated continuously.

16
PLAYING MP3 & WMA CDS
Most of the normal CD operations described in this manual also apply to MP3/WMA CDs. However there are a few differences in
MP3/WMA CD playback functions, and these are described on the following pages.
MP3/WMA CD Reading Time and Display Information
After you load an MP3/WMA CD the player will read each of the directories or albums on the disc, one at a time, and display the
number of directories and the cumulative number of tracks.
Because MP3/WMA CDs contain so much more information than normal CDs this CD player will take longer to read the table of
contents information on an MP3/WMA disc.
You may see the flashing “READING” indicator for a minute or more before
playback begins. This is normal and not an indication of any problem with your
player.
For example if we insert an MP3/WMA CD containing “09“ Directories or
Albums and a total of “193” files or tracks, the display will shows as
below.”MP3” or “WMA” indicates the format of the files on the disc.
MP3/WMA CD Playback
The PLAY/PAUSE, , , FOLDER UP/ DN and /BAND controls have the same functions for MP3/WMA CDs as
they do for normal CDs.
To skip quickly from a track in one directory to a track in another directory:
►Load an MP3/WMA CD into the player. Wait until the reading process is
completed.
►Example: Let’s assume that you want to skip to Directory #03/Track # 005
►Press the FOLDER UP / DN button repeatedly to select album “03”. The track
will show “T001”.
►Press the button five times the display shows Track “T005”.

17
►Press the PLAY/PAUSE button to start playback.
MP3/WMA CD Repeat Playback
There are 3 Repeat Playback options with MP3/WMA CDs. In addition to the Repeat 1 Track and Repeat All Tracks options which
are the same for normal CDs, you may also select Directory Repeat Mode to repeat all the tracks contained in a single Directory.
To repeat a single track on an MP3/WMA CD
►Select the track to be repeated and start playback as usual.
►Press the PLAY MODE button once.
The indicator appears and the selected track will be repeated continuously.
To repeat all the tracks in a single Directory (or Album)
►Begin playback as usual.
►Press the PLAY MODE button twice.
Both the "ALBUM" and indicators appear in the display and all the tracks in
the directory will be repeated continuously.
To repeat all the tracks on an MP3/WMA CD
►Select the directory to be repeat playback as usual.
►Press the PLAY MODE button 3 times.
The ALL indicators appear on the display and all the tracks on the disc will be
repeated continuously.
To cancel Repeat Playback
Press the PLAY MODE button until the “ALBUM ALL” indicators disappear.

18
MP3/WMA Random Playback Modes
This function operate the same way for MP3/WMA CDs as they do for normal CDs.
Random Playback
►Load an MP3/WMA CD in the player. Wait until the reading process is completed.
►Press the PLAY MODE button the “ ” indicator appears in the display. The
player will play all the tracks on the disc in Random order
ID3 Track Information Display
When you create a CD on your computer containing MP3/WMA audio files the software you use to create the disc will normally
allow you to input the name of the artist, the name of the album, and the titles of the individual songs
To display ID3 track information:
►Press and hold the ST/MO/ID3 button to scroll through the “ID3 text” information. If the information was properly inserted
when the files were created, the display will show the song “TITLE”, “ALBUM” name, and “ARTIST” name. If the album was
not properly named, the display will show “UNKNOWN”.
►Press the ST/MO/ID3 button again to return to Track and Play-time display.

19
MP3/WMA CD Programmed Playback
•When programming the tracks on an MP3/WMA CD you must also select the Directory Number of the tracks being
programmed.
•You can program up to 40 tracks on an MP3/WMA CD, same as for a normal CD.
•Programming can only be done while the player is in the Stop mode. If the MP3/WMA disc is playing, first press the
/BAND button to stop playback, then follow the programming steps below.
In this example the MP3/WMA CD contains a total of 09 Directories (Albums) and 193 Tracks (Files).
Let’s assume that the first track we want to program is Track and Album #05.
1. Press the MEMORY/CLOCK button.
The display shows Album “01”.
The "MEMORY" indicator, Track 01 and Program Memory PR "01" will appear in
the display indicator appear.
2. Press the FOLDER UP button repeatedly to select Album #05.
(The display shows Track #102, it means the first track of Album #05 is #102.)
3. Press the button repeatedly to select track # 05 of Album #05 (#107).
4. Press the MEMORY/CLOCK button again to enter Track 107 in program memory
PR 01.
The program memory number advances to PR "02"
5. Repeat Steps 2 through 4 to enter up to 40 tracks in the program memory.
After you have entered up to 40 tracks in the Program Memory, press the PLAY/PAUSE button to begin programmed
playback.

20
MEMORY CARD OPERATION
Playing MP3/WMAAudio Files Stored On SD/MMC Memory Cards
NOTE: The memory card slot on this system enables playback of songs only in MP3 and WMA formats (without DRM). It cannot
play songs purchased from iTunes or other songs in AAC format, songs in ATRAC format or songs purchased from some online
music retailers. It may be possible to convert your music to one of the playable compressed formats, or burn it to an audio CD,
depending on the DRM restrictions.
Press the FUNCTION button repeatedly until the main display shows "CARD".
Insert the SD or MMC flash memory card containing MP3/ WMA audio files into the
card slot by gently pressing into position until it locks in place. Cards can only be
inserted one way.
The player will read the information on the card and the display will show the total
number of files tracks and directories albums on the card. For example “08” albums,
“49” racks.
►Press the PLAY/PAUSE button to begin playback.
►Press or buttons to skip tracks.
►Press FOLDER UP or DN buttons on the remote control to skip albums.
►Press ST/MO/ID3 button on the remote control to display title, album and artist
information.
Playback will continue until the last track has played and then the display will again
show the total number of tracks and albums on the card.
►Press /BAND button to stop playback at any time
Table of contents
Other SOUNDMASTER MP3 Player manuals

SOUNDMASTER
SOUNDMASTER SCD1800 User manual

SOUNDMASTER
SOUNDMASTER SCD1400 User manual

SOUNDMASTER
SOUNDMASTER SCD7800 User manual

SOUNDMASTER
SOUNDMASTER CD9220 User manual

SOUNDMASTER
SOUNDMASTER CD-9160MP3 User manual

SOUNDMASTER
SOUNDMASTER ELiTE live ICD2018 User manual

SOUNDMASTER
SOUNDMASTER DAB170SW User manual

SOUNDMASTER
SOUNDMASTER SCD4200 User manual