manuals.online logo
Brands
  1. Home
  2. •
  3. Brands
  4. •
  5. Spark
  6. •
  7. Food Warmer
  8. •
  9. Spark GO WARMER User manual

Spark GO WARMER User manual

A) Go Warmer unit
B) USB Input (charges Go Warmer)
C) Flashlight Switch
D) Battery/Temperature Indicator Lights
E) USB Output (charges other devices)
F) Flashlight
G) Power Button
H) USB Charging Cable Output (large)
I) USB Charging Cable Input (small)
B
A
E
C
F
G
D
HI
HOW TO USE:
1. With Go Warmer turned OFF, press the Power Button once to light the
Battery/Temperature Indicator Lights. If fully charged, all 3 lights will light
up. If only 1 light is lit, Go Warmer needs to be recharged.
2. To use Flashlight, locate the On/Off Switch next to the USB Output.
RECHARGING GO WARMER:
1. Use the USB Charging Cable and plug the Input (small) end into the USB
Input on Go Warmer.
2. Plug the Output (large) end into a suitable charging device or Listed/
Certified ITE Power Supply. Once fully charged, disconnect the
Charging Cable.
IMPORTANT: Use ONLY the Charging Cable provided to avoid the potential for
leaking, overheating, or explosion.
HOW TO USE HAND WARMER FUNCTION:
1. Press and hold the Power Button for 5 seconds to turn Go Warmer ON.
This is the HIGH HEAT setting and 3 indicator lights will light up red.
2. Press the Power Button once more for the MEDIUM HEAT setting
(2 indicator lights should light up red).
3. Press the Power Button once more for LOW HEAT setting (1 indicator
light should light up red).
TO TURN OFF: Press Power Button 2 times in a row until indicator lights turn off.
INSTRUCTIONS
READ CAREFULLY BEFORE USING
With Built In LED Flashlight
go warmer instructions 8.5x5 flashlight.qxp_Layout 1 10/28/20 11:16 AM Page 1
HOW TO CHARGE A MOBILE DEVICE WITH GO WARMER:
1. Press Power Button once to turn on charging function (indicator lights will light
up blue). Make sure that the device is suitable for use with Go Warmer. It is
recommended to only use the USB cable that came with your mobile device.
2. Plug the Output (large) end of the USB cable into the USB output on Go
Warmer and then plug the Input (small) end of the USB cable into the USB
input end of your mobile device.
3. The device will begin to charge automatically. The Battery/Temperature
Indicator Lights will light up blue to indicate the charging process.
GO WARMER USAGE TIMES AND TEMPERATURE
Distributed by:
Fairfield, NJ 07004
©2019 Spark Innovators Corp.
Battery type: Lithium Ion Rechargeable Cell; 18650; 2000 mAh
Voltage: 3.7V
SAFE BATTERY DISPOSAL
• Failure to follow all instructions may result in electric
shock, fire and/or serious injury.
• Do not dispose of batteries in the garbage. Disposal of batteries in
the garbage is unlawful in the United States, under state and
federal environmental laws and regulations.
• All rechargeable batteries will degrade over time, eventually limiting
the battery’s ability to retain a charge. This unit contains a lithium ion
rechargeable battery pack, which must be disposed of properly when
it will not longer retain a charge.
• Do not expose battery to intense
heat or dispose of in a fire as this
might result in an explosion.
• Do not expose to intense sunlight
or temperatures above 120˚F (49˚C).
• Do not expose to moisture or
submerge in liquid.
LOW
MED
HIGH
86F (30C) – 7hrs
100F (37C) – 3-4hrs
120F (50C) – 2.5hrs
NOTE: This equipment has been tested and found to comply with the limits for a
Class B digital device, pursuant to part 15 of the FCC Rules. These limits are de-
signed to provide reasonable protection against harmful interference in a residential
installation. This equipment generates, uses, and can radiate radio frequency energy
and, if not installed and used in accordance with the instructions, may cause harm-
ful interference to radio communications. However, there is no guarantee that inter-
ference will not occur in a particular installation. If this equipment does cause
harmful interference to radio or television reception, which can be determined by
turning the equipment off and on, the user is encouraged to try to correct the inter-
ference by one or more of the following measures:
-Reorient or relocate the receiving antenna.
-Increase the separation between the equipment and receiver.
-Connect the equipment into an outlet on a circuit different from that to which the
receiver is connected.
-Consult the dealer or an experienced radio/TV technician for help
Changes or modifications not expressly approved by the party responsible for compliance
could void the user's authority to operate this device
This device complies with part 15 of the FCC Rules. Operation is subject to the following two
conditions: (1) This device may not cause harmful interference, and (2) this device must
accept any interference received, including interference that may cause undesired operation.
go warmer instructions 8.5x5 flashlight.qxp_Layout 1 10/28/20 11:16 AM Page 2

Popular Food Warmer manuals by other brands

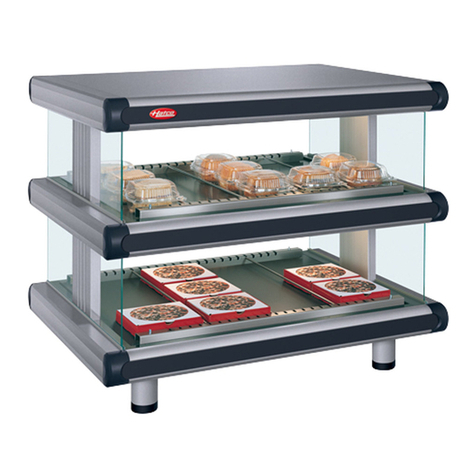
Hatco Glo-Ray GRSDH-24 Installation and operating manual

Hatco

Hatco Glo-Ray GRSDH-24 Installation and operating manual

INNOLIVING INN-051 user manual

INNOLIVING

INNOLIVING INN-051 user manual

Reer Simply Hot 3310 Instructions for use

Reer

Reer Simply Hot 3310 Instructions for use

Star 3W SERIES Installation and operation instructions

Star

Star 3W SERIES Installation and operation instructions

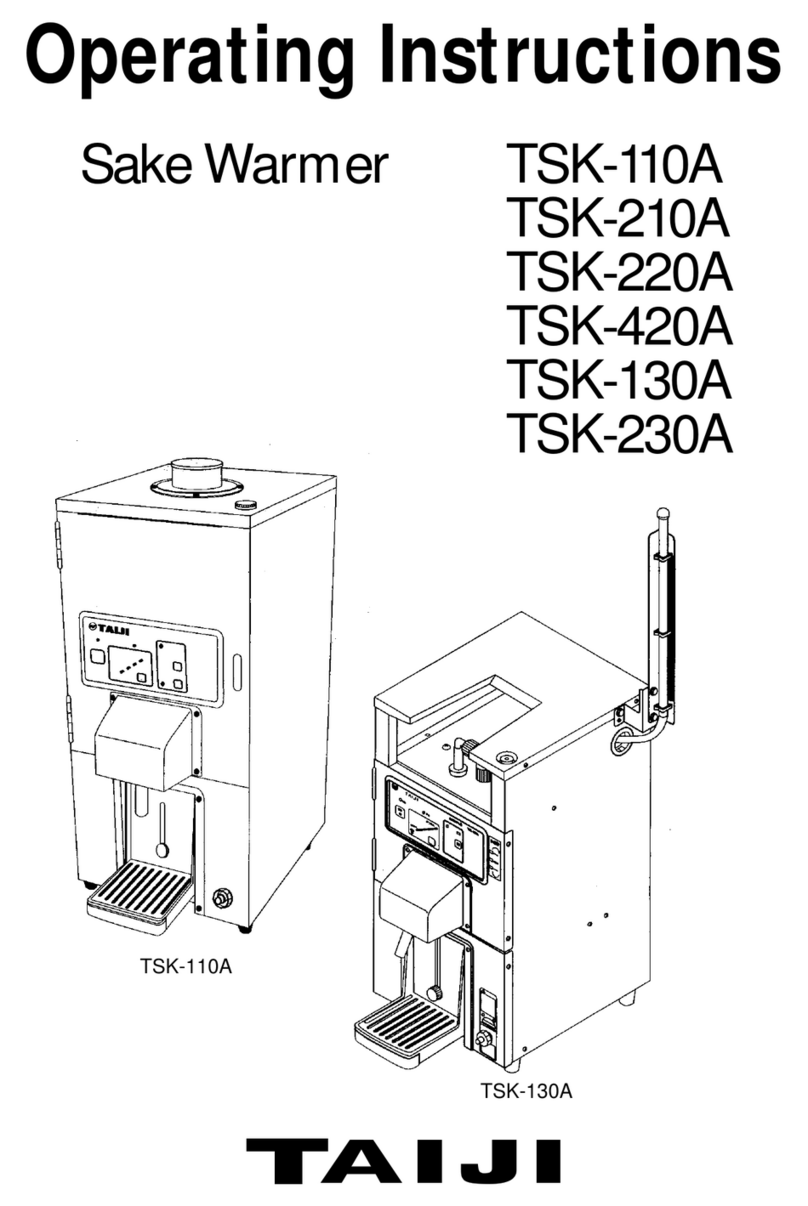
Taiji TSK-110A operating instructions

Taiji

Taiji TSK-110A operating instructions

DeLonghi Alicante Series instructions

DeLonghi

DeLonghi Alicante Series instructions

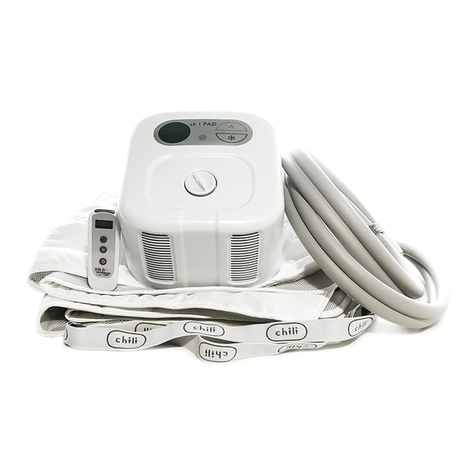
Chili Technology ChiliPAD cube Dual Zone user manual

Chili Technology

Chili Technology ChiliPAD cube Dual Zone user manual

Cadco CMLW-103 Specifications

Cadco

Cadco CMLW-103 Specifications

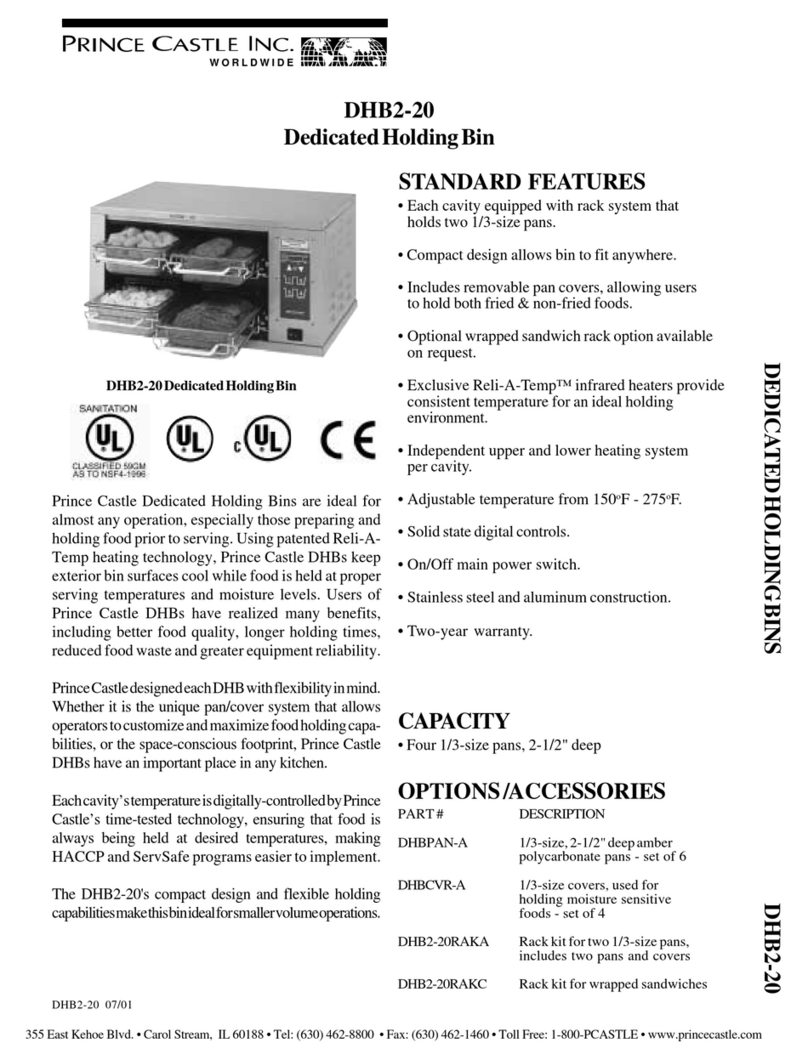
Prince Castle DEDICATEDHOLDINGBIN DHB2-20 Specifications

Prince Castle

Prince Castle DEDICATEDHOLDINGBIN DHB2-20 Specifications

ROBAND PA100G instruction manual

ROBAND

ROBAND PA100G instruction manual

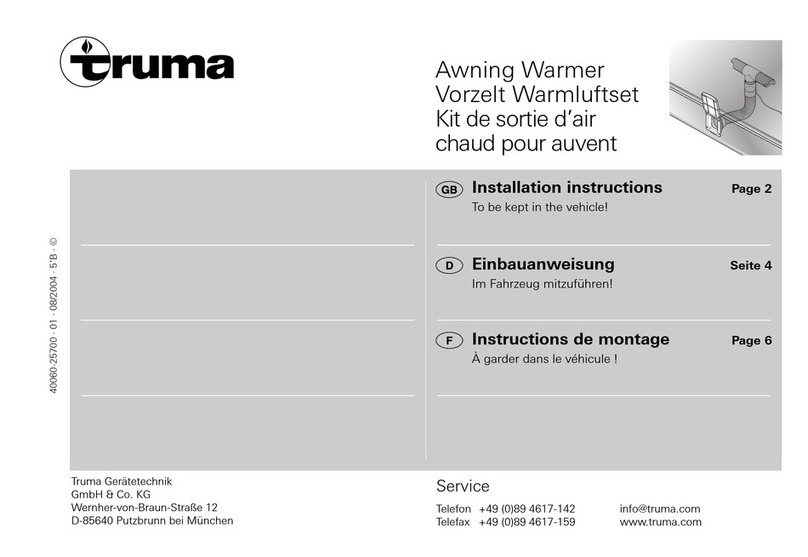
Truma Awning warmer installation instructions

Truma

Truma Awning warmer installation instructions

KYARA LTK770 instruction manual

KYARA

KYARA LTK770 instruction manual

NutriChief PKWTR40 user manual

NutriChief

NutriChief PKWTR40 user manual

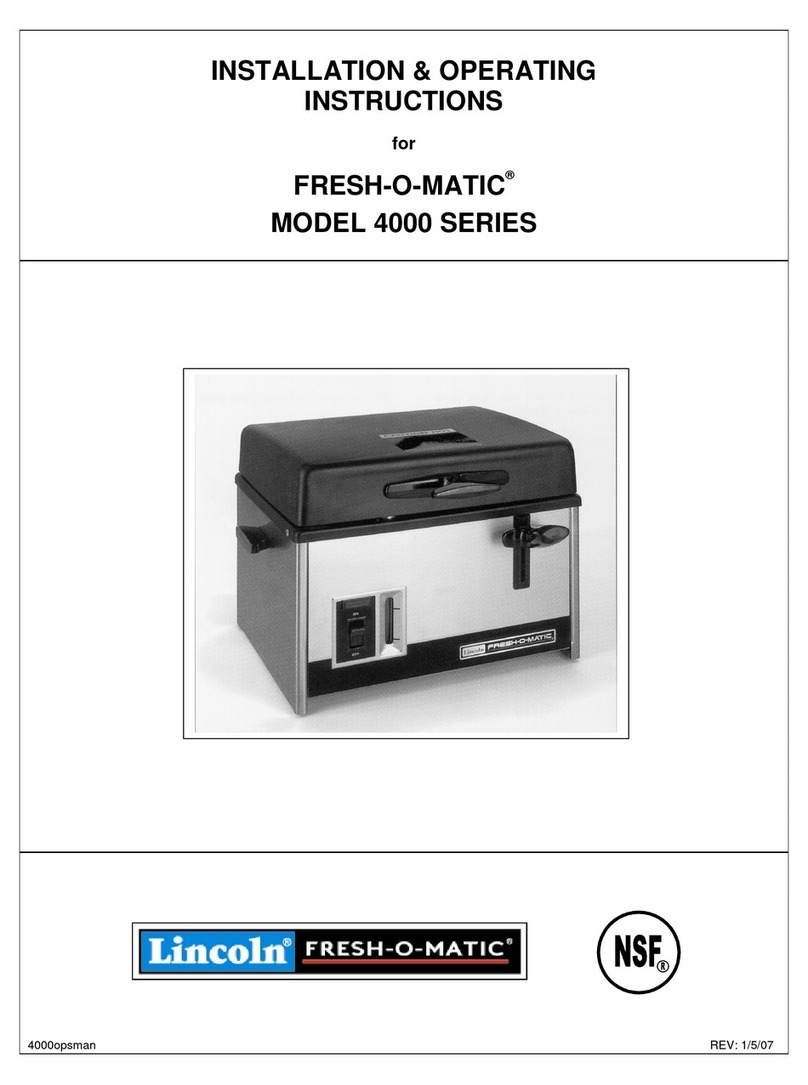
Lincoln 4000 Series Installation & operating instructions

Lincoln

Lincoln 4000 Series Installation & operating instructions

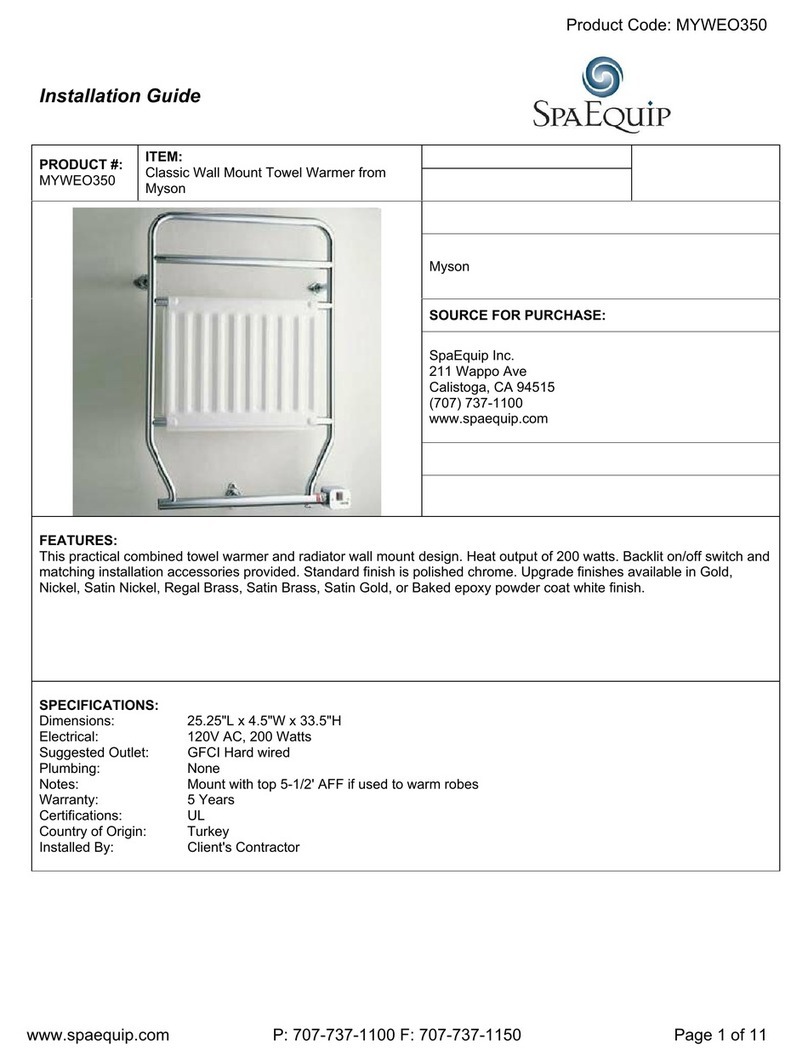
Myson WEO100 Installation & operating instructions

Myson

Myson WEO100 Installation & operating instructions

Hendi 240502 user manual

Hendi

Hendi 240502 user manual

EXHeat MFH T4 Installation, operation & maintenance instructions

EXHeat

EXHeat MFH T4 Installation, operation & maintenance instructions

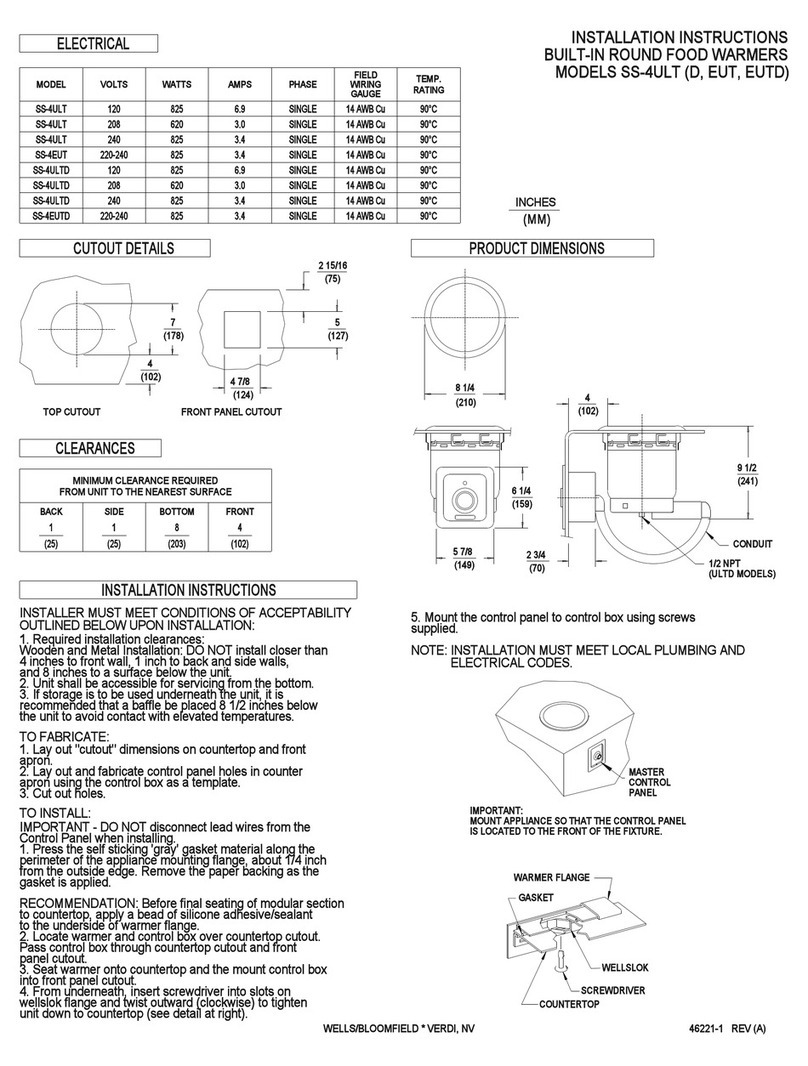
Bloomfield SS-4ULT installation instructions

Bloomfield

Bloomfield SS-4ULT installation instructions

manuals.online logo
manuals.online logoBrands
  • About & Mission
  • Contact us
  • Privacy Policy
  • Terms and Conditions

Copyright 2025 Manuals.Online. All Rights Reserved.