Spirit i-SENS TEE2 User manual

PC24 SOP/ OP0274 & CL072 / Blood Glucose Monitoring (TEE2 Blood Glucose Monitors) / v1 / November 2020
STANDARD OPERATING PROCEDURE DOCUMENT (SOP)
Title
Blood Glucose Monitoring (TEE2 Blood
Glucose Monitors)
Doc. No.
OP0274
/ CL072
Scope
Operational and Clinical Directorate
Purpose
To ensure that the TEE2 Blood Glucose Monitors are used according the
manufactures instructions.
Guidelines
TTE2 manual
PROCEDURE
RESPONSIBILITY
1
TEE2 blood glucose meters should be used in accordance with the manufacturer’s
instructions (attached)
2
If the meter or test strips do not function properly or if you
drop or damage the meter then you should undertake a
control test.
Follow the manufacturer’s guidance on undertaking the test
and comparing the results.
3
Control tests can be found at Wavertree PC24 Headquarters or at the Litherland
site for the Sefton practices.

PC24 SOP/ OP0274 & CL072 / Blood Glucose Monitoring (TEE2 Blood Glucose Monitors) / v1 / November 2020
®
TM
®
Spirit Healthcare Ltd.
Spirit House, Selbury Drive, Oadby,
Leicester, LE2 5NG
CustomerSupportTel:08008815423
www.spirit-healthcare.co.uk
i-SENS, Inc.
27-36, Gwangun-ro, Nowon-gu
Seoul 139-845, Korea
www.i-sens.com
Medical Technology Promedt
Consulting GmbH
Altenhofstrasse 80, D-66386
St. Ingbert, Germany
© 2015 i-SENS, Inc. All Rights Reserved PGC8E3060 REV0 03/2015

PC24 SOP/ OP0274 & CL072 / Blood Glucose Monitoring (TEE2 Blood Glucose Monitors) / v1 / November 2020
-----
----
--
----
----
--
----
---
--
----
-----
-----
----
----
-----
-----
-----
----
----
--
-----
----
-----
--
---
---
---
----
---
Table of Contents
Information
Important Information: Read this First! --------------------------------------------- 4
Specifications 6
TEE2 Blood Glucose Monitoring System-------------------------------------------- 7
Inserting or Replacing the Batteries --------------------------------------------------- 8
Caring for Your System 9
TEE2 Blood GlucoseTest Strip 10
TEE2 Blood Glucose Meter 12
TEE2 Blood GlucoseMeter Display----------------------------------------------------13
Preparation
Setting up Your System 14
Adjusting the Date and Time 14
Setting the Sound On/OFF 17
Checking the System 18
Control Solution Testing 19
Comparing the Control Solution Test Results -21
Testing
Using the Lancing Device 22
Preparing the Lancing Device 23
Preparing the Meter andTest Strip --------------------------------------------------25
Marking Post-mealTest Results ------------------------------------------------------25
Applying Blood Sample 26
Discarding Used Lancets 28
Alternative Site Testing 29
HI and Lo Messages 32
Target Blood Glucose Ranges 33
Transferring Test Results 34
Additional Functions
Meter Memory 35
Setting the Post-meal Alarm(PP2 alarm)--------------------------------------------38
Maintenance
Understanding Error and Other Messages------------------------------------------39
General Troubleshooting 41
Performance Characteristics 42
Warranty Information 44

PC24 SOP/ OP0274 & CL072 / Blood Glucose Monitoring (TEE2 Blood Glucose Monitors) / v1 / November 2020
Welcome to the TEE2
Blood Glucose Monitoring System
Thank you for choosing the TEE2 Blood Glucose
MonitoringSystem.Thesystem providesyou withsafe,fast,and
convenient blood glucose in vitro (i.e., outside the body)
diagnostic monitoring. You can obtain accurate results
in just 5 seconds with a small (0.5 μL) blood sample.
*
No part of this document may be reproduced in any form or by any
means without the prior written consent of i-SENS.
*
The information inthis manual iscorrect at the time of printing. However,
i-SENS reserves the right to make any necessary changes at any time
without notice as our policy is one of continuous improvement.

4
www.i-sens.com
www.spirit-healthcare.co.uk
5
Downloaded from www.Manualslib.com manuals search engine
Important Information: Read this First!
To receive safe and optimum system benefits, please read the
entire manual contents before using the system. Please note the
following instructions:
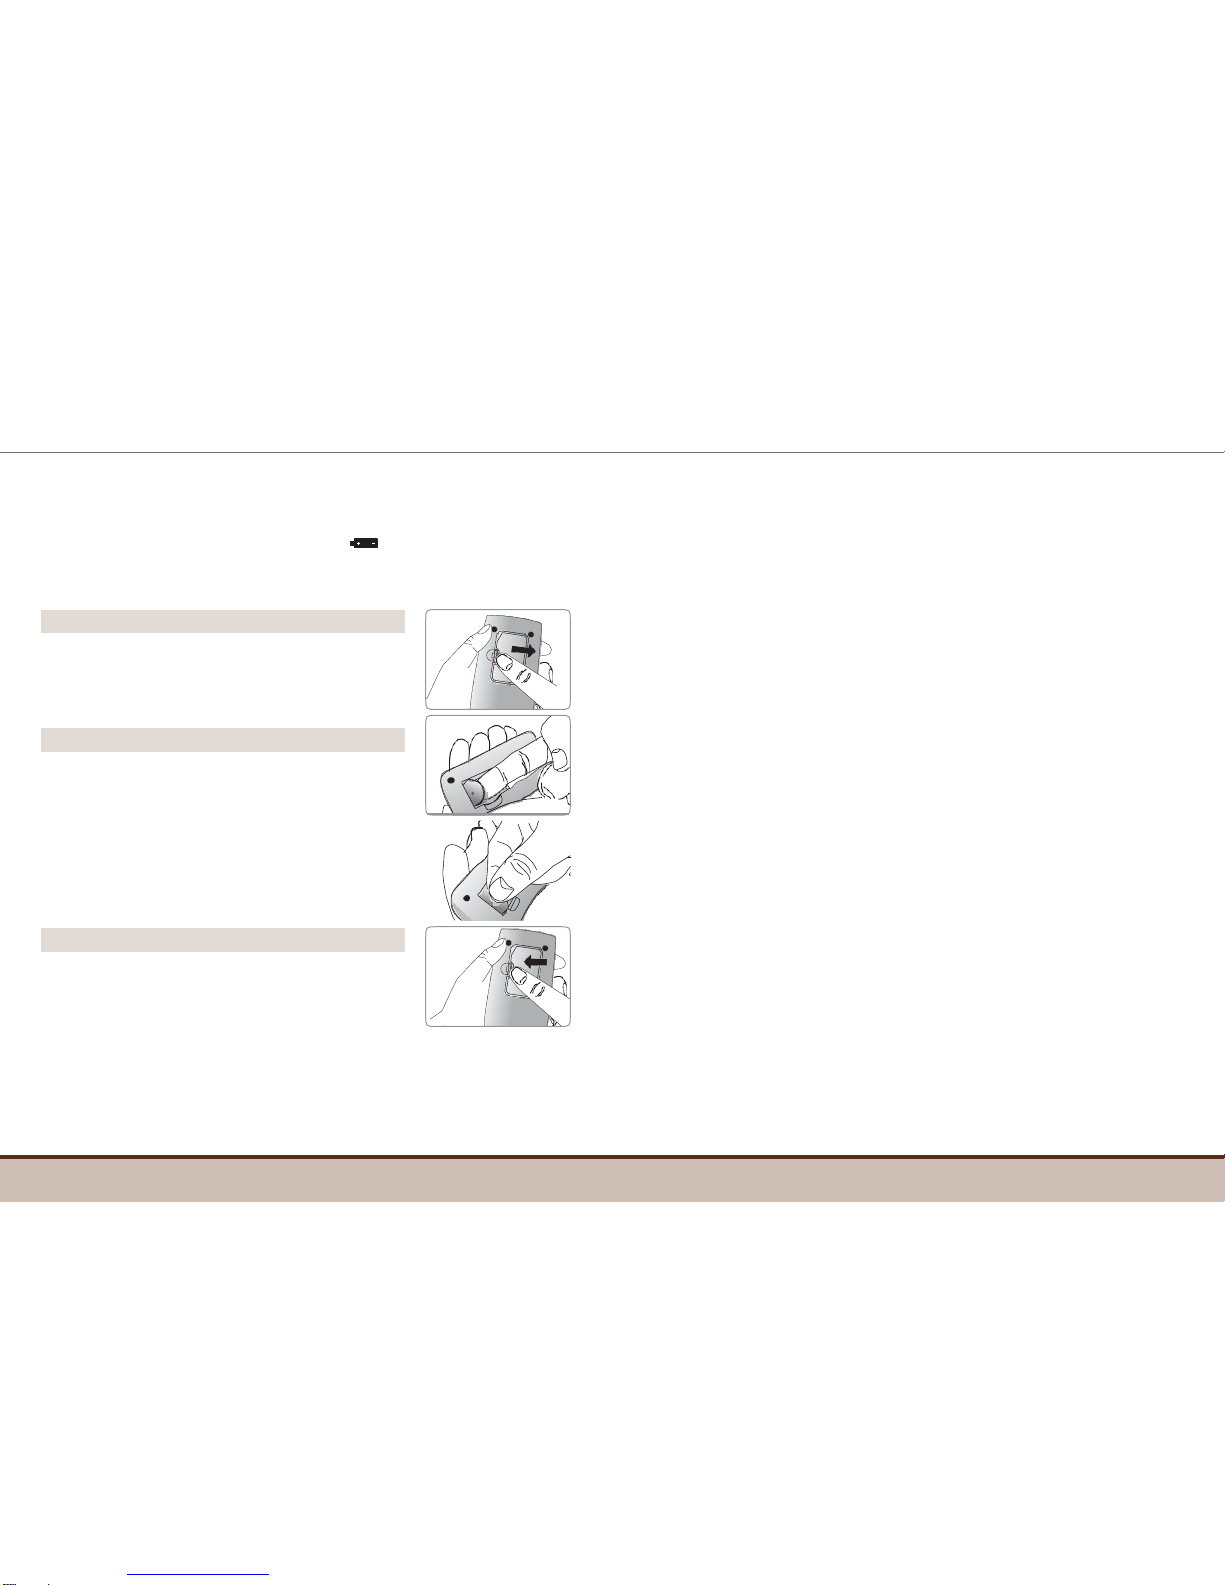
The following chart explains the symbols you’ll find in the
TEE2 Owner’s Booklet, product packaging, and product inserts.
For in vitro diagnostic use
ThisproductfulfillstherequirementsforDirective98/79/
EC on in vitro diagnostic medical devices
Cautions for safety and optimum product use
Consult instruction for use
Do not discard this product with other household-type
waste
Use by (unopened or opened test strip vial)
Manufacturer Temperature limitations
Do not reuse
Batch code
Serial number Authorised representative
Important Information
•
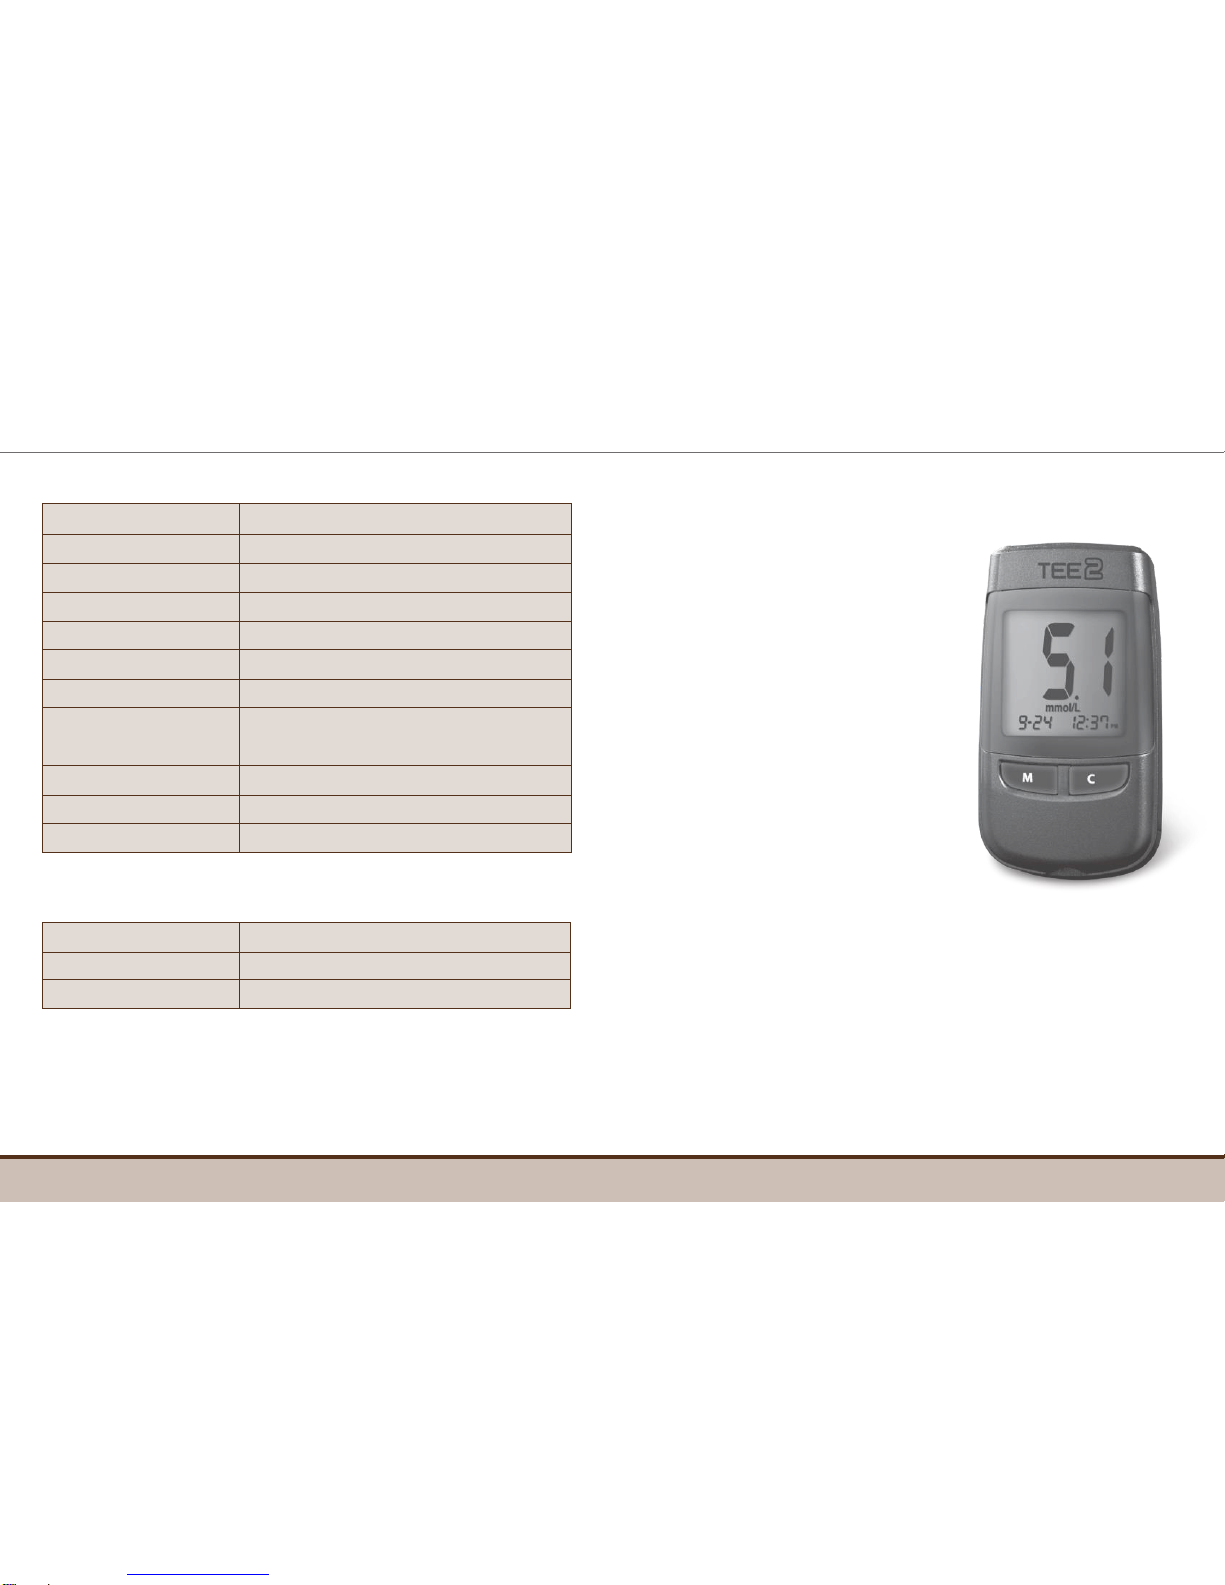
The TEE2 Blood Glucose Monitoring System is intendedfor
self-testing outside the body (in vitro diagnostic use).
•
The glucose in the blood sample mixes with special
chemicals on the test strip to produce a small electrical
current. The TEE2 meter detects this electrical current and
measures the amount of glucose in the blood sample.
•
The TEE2 Blood Glucose Meter is designed to minimise
code related errors in monitoring by using the no-coding
function.
•
The TEE2 Blood Glucose Meter should be used only withthe
TEE2 Strip.
•
An abnormally high or low red blood cell count (hematocrit
level over 60% or below 20%) may produce inaccurate
results.
•
If your test result is below 3.3 mmol/L or above 13.3 mmol/L,
consult a healthcare professional immediately.
•
Inaccurate results may occur in severely hypotensive
individuals or patients in shock. Inaccurate low results
may occur for individuals experiencing a hyperglycaemic-
hyperosmolar state, with or without ketosis. Critically ill
patients should not be tested with blood glucose meters.
•
Inaccurate results may occur in patients undergoing oxygen
therapy.
Ifyouneedassistance, pleasecontacttheSpiritHealthcare24/7
Freephone Support Line at 0800 881 5423 or go to
www.spirit-healthcare.co.uk.
Intended use:
TEE2 Blood Glucose Monitoring System is used for the
quantitative measurement of the glucose level in capillary whole
blood as an aid in monitoring diabetes management effectively
at home or in clinical settings.
TEE2 Blood Glucose Monitoring System should be used only for
self-testing outside the body (in vitro diagnostic use only). A TEE2
Blood Glucose Monitoring System should not be used for the
diagnosis of diabetes or for testing newborns. Testing sites
include the traditional fingertip testing along with alternate sites
testing on forearm, palm, thigh and calf.

6
www.i-sens.com
www.spirit-healthcare.co.uk
7
Downloaded from www.Manualslib.com manuals search engine
Specifications TEE2BloodGlucoseMonitoringSystem
•
Productspecifications
•
Operating ranges
Components
*
TEE2 Blood GlucoseMeter
*
TEE2 Blood Glucose Test Strips (10)
*
Owner’s Booklet
*
Quick ReferenceGuide
*
Logbook
*
Lancing Device
*
Lancets(10)
*
Batteries(2)
*
Carrying Case
•
Certain components may not be included depending onthe
place of purchase.
•
Check all the components after opening the TEE2 blood
glucose monitoring system package. The exact contents are
listed on the mainbox.
Reported result range
1.1-33.3 mmol/L
Sample size
Minimum 0.5 µL
Test time
5 seconds
Sample type
Fresh capillary whole blood
Calibration
Plasma-equivalent
Assay method
Electrochemical
Battery life
5,000 tests
Power
Two 3.0 V lithium batteries
(disposable, type CR2032)
Memory
500 test results
Size
90 X 48.5 X 14 (mm)
Weight
50.1 g (with batteries)
Temperature
5-50˚C (41-122˚F)
Relative humidity
10-90%
Hematocrit
20-60%

8
www.i-sens.com
www.spirit-healthcare.co.uk
9
Downloaded from www.Manualslib.com manuals search engine
Inserting or Replacing the Batteries
The TEE2 Meter comes with two 3.0 V lithium batteries.
Before using the meter, check the battery compartment and
insert batteries if empty.
Whenusingyourmeter andseeingthe symbol appear on the
displayforthefirsttime,thebatteriesshouldbereplacedassoonas
possible.Thetestresultsmightnotbesavedifthebatteriesrunout.
Step1
Make sure the meter is turned off. Push the
cover in the direction of the arrow to open
the battery compartment.
Step2
Remove the old batteries one by one by
lifting with the index finger and pulling it
out with your thumb and index fingers as
shown in the figure on the right. Insert two
new batteries with the + side facing up and
make sure the batteries are inserted firmly.
Step3
Place the cover on the battery
compartment. Push down until you hear
the tab click into place.
Caring for Your System
Use a soft cloth or tissue to wipe the meter exterior. If necessary,
the soft cloth or tissue might be dipped in a small amount of
alcohol.
Do not use organic solvents such as benzene, or acetone, or
household and industrial cleaners that may cause irreparable
damage to the meter.
Caution:
•
Do not expose the meter to direct sunlight heat, or excessive
humidity for an extended period of time.
•
Do not let dirt, dust, blood, or water enter into the meter’s
test strip port.
•
Do not drop the meter or submit it to strongshocks.
•
Do not try to fix or alter the meter in any way.
•
Keep the meter away from strong electromagnetic fields
such as cell phones and microwave ovens.
•
TEE2 meter should be used only withTEE2 strips.
•
Keep the meter in a cool and well ventilatedplace.
•
Store all the meter components in the portable caseto
prevent loss and help keep the meter clean.

PC24 SOP/ OP0274 & CL072 / Blood Glucose Monitoring (TEE2 Blood Glucose Monitors) / v1 / November 2020
TEE2 Blood Glucose Test Strip
The TEE2 blood glucose monitoring system measures
blood glucose quickly and accurately. It automatically absorbs
the small blood sample applied to the narrow edge of the strip.
Contact bars
Gently push the test strip, with its
contact bars facing up, into the test
strip port of meter
Confirmation window
Check here to see whether
sufficient blood sample has been
applied
Edgetoapplybloodsample
Apply blood sample here for
testing
Warning!
•
TheTEE2 Test Strip should be used only with fresh capillary
whole blood samples.
•
Do not reuse teststrips.
•
Do not use test strips past the expiration date.
•
Test strips in new, unopened vials and test strips in vials that
have been opened can be used up until the expiration date
printed on the test strip box and vial label if the test strips
are used and stored according to its storage and handling
methods.
•
Store test strips in a cool and dry place at a temperature of
1-30˚C (34-86˚F).
•
Keep test strips away from direct sunlight or heat and do not
freeze.
•
Store test strips only in their original vial.
•
Close the vial tightly after taking out a test strip for testing and
use the strip immediately.
•
Handle test strips only with clean and dry hands.
•
Do not bend, cut, or alter test strips in any way.
•
For detailed storage and usage information, refer to theTEE2
Test Strip package insert.

PC24 SOP/ OP0274 & CL072 / Blood Glucose Monitoring (TEE2 Blood Glucose Monitors) / v1 / November 2020
Caution :
•
Keep the meter and testing supplies away from young
children.
•
The test strip vial contains drying agents that are harmful if
inhaled or swallowed and may cause skin or eye irritation.

12
www.i-sens.com
www.spirit-healthcare.co.uk
13
Downloaded from www.Manualslib.com manuals search engine
TEE2 Blood Glucose Meter
Data Port
Used to transfer data
from the meter to a
computer with the
cable available from
your authorised
i-SENS representative
Display
Shows results,
messages
TEE2 Blood Glucose MeterDisplay
alarm
appears when the
time alarm has been
set
Test results
test results
displaying panel
Battery symbol
indicates meter
battery is running
low and needs to be
replaced
Post-meal test mark
appears during post-
mem
appears when test
results stored in
the memory are
displayed
Mute symbol
appears only when
the sound is set to
OFF
check
appears when the
control solution test
results are saved or
displayed
Blood insertion
M Button
Turns the meter
on/off and
confirms
menu selections
Test Strip Port
Insert test strip here
C Button
Selects or
changes
information
meal testing and
when post-meal test
results are displayed
mmol/L
unit for measuring
blood glucose
Month
Day
Hour
Minute symbol
indicates meter
is ready for the
application of a drop
of blood or control
solution
Decimal point
appears when the
blood glucose
measuring unit is set
to mmol/L
Note:
•
The cable for data management software can be ordered
separately. Please contact your authorised i-SENS sales
representative.
•
The unit of measurement is fixed and it cannot be changed
by the user.

12
www.i-sens.com
www.spirit-healthcare.co.uk
13
Downloaded from www.Manualslib.com manuals search engine
Note: It is recommended to check if the display screen on the
meter matches the illustration above every time the meter
turns on. Do not use the meter if the display screen does not
exactly match the illustration as the meter may show incorrect
results.

14
www.i-sens.com
www.spirit-healthcare.co.uk
15
Downloaded from www.Manualslib.com manuals search engine
Setting up Your System
Press and hold the M button for 3 seconds to switch on the
meter. After all settings are finished, press and hold the M
button for 3 seconds to turn off the meter.
Press Cbutton to reach the accurate value. Press and hold Cto
scroll faster.
Adjusting the Date and Time
Step1EnteringtheSETMode
Press and hold the M button for 3 seconds
to switch on the meter. After all the
segments flash across the screen, the ‘SET’
character will be displayed on the screen.
Press the M button again to progress to
setting the year.
Step 2 Setting theYear
Press and release C button to adjust until
the correct year appears. Press and hold
C button to scroll through the numbers
quickly. After setting the year, press the
M button to confirm your selection and
progress to setting the month.
Step3SettingtheMonth
A number indicating the month will be
blinking on the left corner of the screen.
Press
C
button until the correct month
appears.Pressthe
M
buttontoconfirmyour
selection and progress to setting the date.
Step4SettingtheDate
Press Cbutton until the screen displays the
correct date. Press the M button to confirm
the date and progress to setting the time.
Step5Setting theTime
The meter can be set in the AM/PM 12-hour
or the 24-hour clock format. Press Cbutton to
select a format. The AM/PM symbol is not
displayed in the 24-hour format.
After selecting the format, press theM
button to progress to setting the hour.

16
www.i-sens.com
www.spirit-healthcare.co.uk
17
Downloaded from www.Manualslib.com manuals search engine
Step 6 Setting the Hour
Press C button until the correct hour
appears.
After the hour is set, press the M button to
progress to setting the minute.
Step7SettingtheMinute
Press C button until the correct minute
appears. After setting the minute, press
the M button to progress to setting the
sound.
Setting the Sound On/OFF
Step8
On pressing Cbutton, the screen will display
the On or OFF. Press the M button to confirm
the selection.
The meter will beep in the following instances,
if set to On.
•
When the test strip is inserted in the meter
•
When the blood sample is absorbed into the
test strip and the test starts
•
When the test result is displayed
•
When you push the M button or C button to
turn on themeter
•
When you push the C button to set the
post-meal (PP2)alarm
•
When it is time for a preset blood glucose test
If the sound is set to OFF,none of the sound
functions will work.
To confirm all settings, press and hold the M button and the
screen will switch off.
Note :
Only when the sound is set to OFF,
the display.
symbol appears on
At any stage, if the M button is pressed for 3 seconds, Time
and Date setting mode will finish and the meter will be
turned off. Press and hold C to scroll through numbers
quickly.

18
www.i-sens.com
www.spirit-healthcare.co.uk
19
Checking the System
You may check your meter and test strips using the
TEE2 Control Solution(control A and/or B).
The TEE2 Control Solution contains a known amount
of glucose and is used to check that the meter and the
test strips are working properly.
The test strip vials have TEE2 Control Solution ranges
printed on their labels. Compare the result displayed
on the meter to the TEE2 Control Solution range
printed on the test strip vial.
Before using a new meter or a new vial of test strips,
you may conduct a control solution test following the procedure
on pages 19-20.
Notes:
•
Use only the TEE2 Control Solution (available for purchase
separately).
•
Check the expiration datesprinted onthe bottle.When youfirst
open a control solution bottle, record the discard date (date
openedplusthree(3)months)inthespaceprovidedonthelabel.
•
Make sure your meter, test strips, and control solution are at
roomtemperaturebeforetesting.Controlsolution testsmustbe
done at room temperature (20-25˚C, 68-77˚F).
•
Before using the control solution, shake the bottle, discard the
first few drops and wipe the tip clean.
•
Close the control solution bottle tightly and store at a
temperature of 8-30˚C(46-86˚F).
You may do a control solution test:
•
When you want to practice the test procedure using thecontrol
solution instead of blood,
•
When using the meter for the first time,
•
Whenever you open a new vial of test strips,
•
If the meter or test strips do not function properly,
•
If your symptoms are inconsistent with theblood glucose test
results and you feel that the meter or test strips are not working
properly,
•
If you drop or damagethe meter.
Control Solution Testing
Step1
Insert a test strip into the meter’s test strip port,
with the contact bars facing upwards.
Gently push the test strip into the port until the
meter beeps. Be careful not to bend the strip
while pushing it in.
The symbol will be displayed on the screen.
Step2
Shake the TEE2 Control Solution
bottle before each test.
Remove the cap and squeeze the
bottle to discard the first drop. Then
wipe the tip with a clean tissue or
cloth. After the symbol appears
on the display, apply the solution to
the narrow edge of the test strip until the meter beeps. Make
sure the confirmation window fills completely.
LOT
Discard Date :
Manufacturer : i-SENS, Inc.
Note:
The meter may switch off, if the control solution sample is
not applied within 2 minutes of the symbol appearing on
the screen. Ifthe meter turns off, remove the strip, reinsert,
and start from step1.

20
www.i-sens.com
www.spirit-healthcare.co.uk
21
Downloaded from www.Manualslib.com manuals search engine
Step3
A test result will appear after the meter counts
down from 5 to 1.
After your control solution result appears on
the display, press Cfor 3 seconds till the‘check’
symbol appears on the display.
When the ‘check’ symbol is displayed, the result
is stored in the meter’s memory and is not
included.
Step4
Compare the result displayed on the meter
to the range printed on the test strip vial.
The result should fall within that range.
Used strips should be discarded safely in
disposable containers.
Comparing the Control Solution Test Results
The test result of each control solution should be within the
range printed on the label of the test strip vial. Repeat the
control solution test if the test result falls outside of this range.
Out of range results may occur due to the following factors:
Situations
Actions
•
When the control solution bottlewas
not shaken well,
•
When the meter, test strip, or the control
solution were exposed to high or low
temperatures,
•
When the first drop of the control
solution was not discarded or the tipof
the bottle was not wiped clean,
•
When the meter is not functioning
properly.
Repeat the
control solution
test by referring
to the “Notes”
on page 18.
•
When the control solution is past the
expiration date printed on thebottle,
•
When the control solution is past its
discard date (the date the bottlewas
opened plus three (3) months),
•
When the control solution is
contaminated.
Discard the used
control solution
and repeat the
test using a new
bottle of control
solution.
If results continue to fall outside the range printed on the test
strip vial, the TEE2 Test Strip and Meter may not be working
properly. Do not use your system and contact Spirit Healthcare
24/7 Freephone Support Line at 0800 881 5423.
Note:
•
The TEE2 Control Solution can be purchased separately.
Please contact Spirit Healthcare on 0800 881 5423.
Caution:
•
The range printed on the test strip vial is for the TEE2
Control Solution only. It does not have any connection to
your blood glucoselevel.

22
www.i-sens.com
www.spirit-healthcare.co.uk
23
Downloaded from www.Manualslib.com manuals search engine
Using the Lancing Device
You will need a lancing device in order to collect a blood sample.
You may use the lancing device contained in the TEE2 Blood
Glucose Monitoring System or any other medically approved
lancing device.
Preparing the Lancing Device
Step1
Wash hands and sample site with
AdjustableTip Lancet Holder
Ejection System
soap and warm water. Rinse and dry
thoroughly.
Lancet
Release Button
Sliding Barrel
Step2
•
The lancing device should not be used by more than one
individual. Ensure the lancing device is not shared among
different users.
•
Use a soft cloth or tissue to wipe the lancingdevice.
If necessary, a small amount of alcohol on a soft clothor
tissue may be used.
Unscrew and remove the lancing
device tip.
Step3
Firmly insert a new lancet into the
lancet holder. Hold the lancet firmly.
Gently twist to pull off protective disk.
Save disk to recap lancet after use.
Replace lancing device tip.
Caution:
To avoid infection when drawing a sample, use a lancet only
one time, and:
•
Do not use a lancet that has been used byothers.
•
Always use a new sterilelancet.
•
Keep the lancing device clean.

24
www.i-sens.com
www.spirit-healthcare.co.uk
25
Downloaded from www.Manualslib.com manuals search engine
Step4
Select a desired depth of one-to-five
(1- 5) on the lancing device's adjustable
tip. Choose a depth by rotating the top
portion of the adjustable tip until the
setting number matches the arrow.
A beginning setting of three (3) is
recommended.
Step5
To cock the lancing device, hold the
body of lancing device in one hand. Pull
the sliding barrel with the other hand.
The lancing device is cocked when you
feel a click.
Preparing the Meter and Test Strip
Step6
Insert a test strip with the contact bars facing upwards into the
meter’s test strip port. Push the strip in gently until the meter
beeps. Be careful not to bend the test strip. The symbol will
appear on the screen.
Step7
If you want to attach a post-meal mark
( ) to a test result, press and hold C for 3
seconds after inserting the test strip. The
post-meal mark ( ) and the symbol will
appear on the screen.
The test result will also be displayed with the
post-meal mark ( ).
If you do not want to save the result as a post-meal test, move
on to step 8 after step 6.
Marking Post-meal Test Results
TheTEE2 meter allows you to mark a result of a post-meal test
with symbol. The post-meal test mark ( ) can be attached
just before applying the blood sample. Once you attach the
post-meal mark ( ) to the test results, it cannot be deleted.
Note:
•
The skin depth to get blood samples will vary for
various people at different sample sites. The lancing
device's adjustable tip allows the best depth to get an
adequate sample size. A beginning setting of three (3) is
recommended.

26
www.i-sens.com
www.spirit-healthcare.co.uk
27
Downloaded from www.Manualslib.com manuals search engine
Applying Blood Sample
Step8
Obtain a blood sample using the lancing
device. Place the device against the pad
of the finger. The best puncture sites are
on the middle or ring fingers. Press the
release button. Remove the device from
the finger. Wait a few seconds for a blood
drop to form. A minimum volume of 0.5 microliter is needed to
fill the confirmation window. (Actual size of 0.5 µL : )
Step9
After the symbol appears on the screen, apply the blood
sample to the narrow end of the test strip till the meter beeps.
If the confirmation window is not filled in time because of
abnormal viscosity (thickness and stickiness) or insufficient
volume, the Er4 message may appear.
It is recommended that the application of blood sample to the
test strip be performed virtually vertical to the sample site as
shown in the diagram below.
Step10
The test result will appear after the
meter counts down from 5 to 1. The
result will be automatically stored in
the meter’s memory.
If the test strip is removed after the
test result is displayed, the meter
will automatically switch off after 3
seconds. Discard used test strips safely
in disposable containers.
Good Sample Insufficient
Sample
Note:
The meter may switch off if the blood sample is not applied
within 2 minutes of the symbol appearing on the screen. If
the meter turns off, remove the strip, reinsert it and apply
blood sample after symbol appears on the screen.
Table of contents
Other Spirit Blood Glucose Meter manuals