SPROLINK VS2 User manual

USER MANUAL
www.sprolink.com
VS2
3 WINDOWS DISPLAY BASED ON 4K1K PIXEL TO PIXEL SPLIT
4:4:4 10BIT 60HZ PROCESSING

1
Content
1. Product Features.................................................................................2
2. Product Introduction........................................................................ 3
3. Hardware Overview........................................................................... 4
3.1 Front Panel........................................................................................ 4
3.2 Back Panel......................................................................................... 6
4. Operations.............................................................................................8
4.1 Menu Structure................................................................................8
4.2 Output Resolution.......................................................................... 9
4.3 Two Port Split.................................................................................10
4.4 Four Port Split................................................................................12
4.4 Multi-layer.......................................................................................14
4.5 Preview Mode................................................................................ 16
4.6 EDID Management.......................................................................17
4.7 System..............................................................................................18
2
1. Product Features
Support 4 Port Split in Any Configuration
Seamless Switching Between Any Signals
Smooth Fade in Fade out Transition
Support 4Kx2K 8Kx1K 2Kx4K Pixel to Pixel Split
Flexible Quad Layers display
Support 4 Optional Module
RCA Audio Output Jack
Third Party Control with Open Protocol
Optional Genlock Input for Cascade Split
3
2. Product Introduction
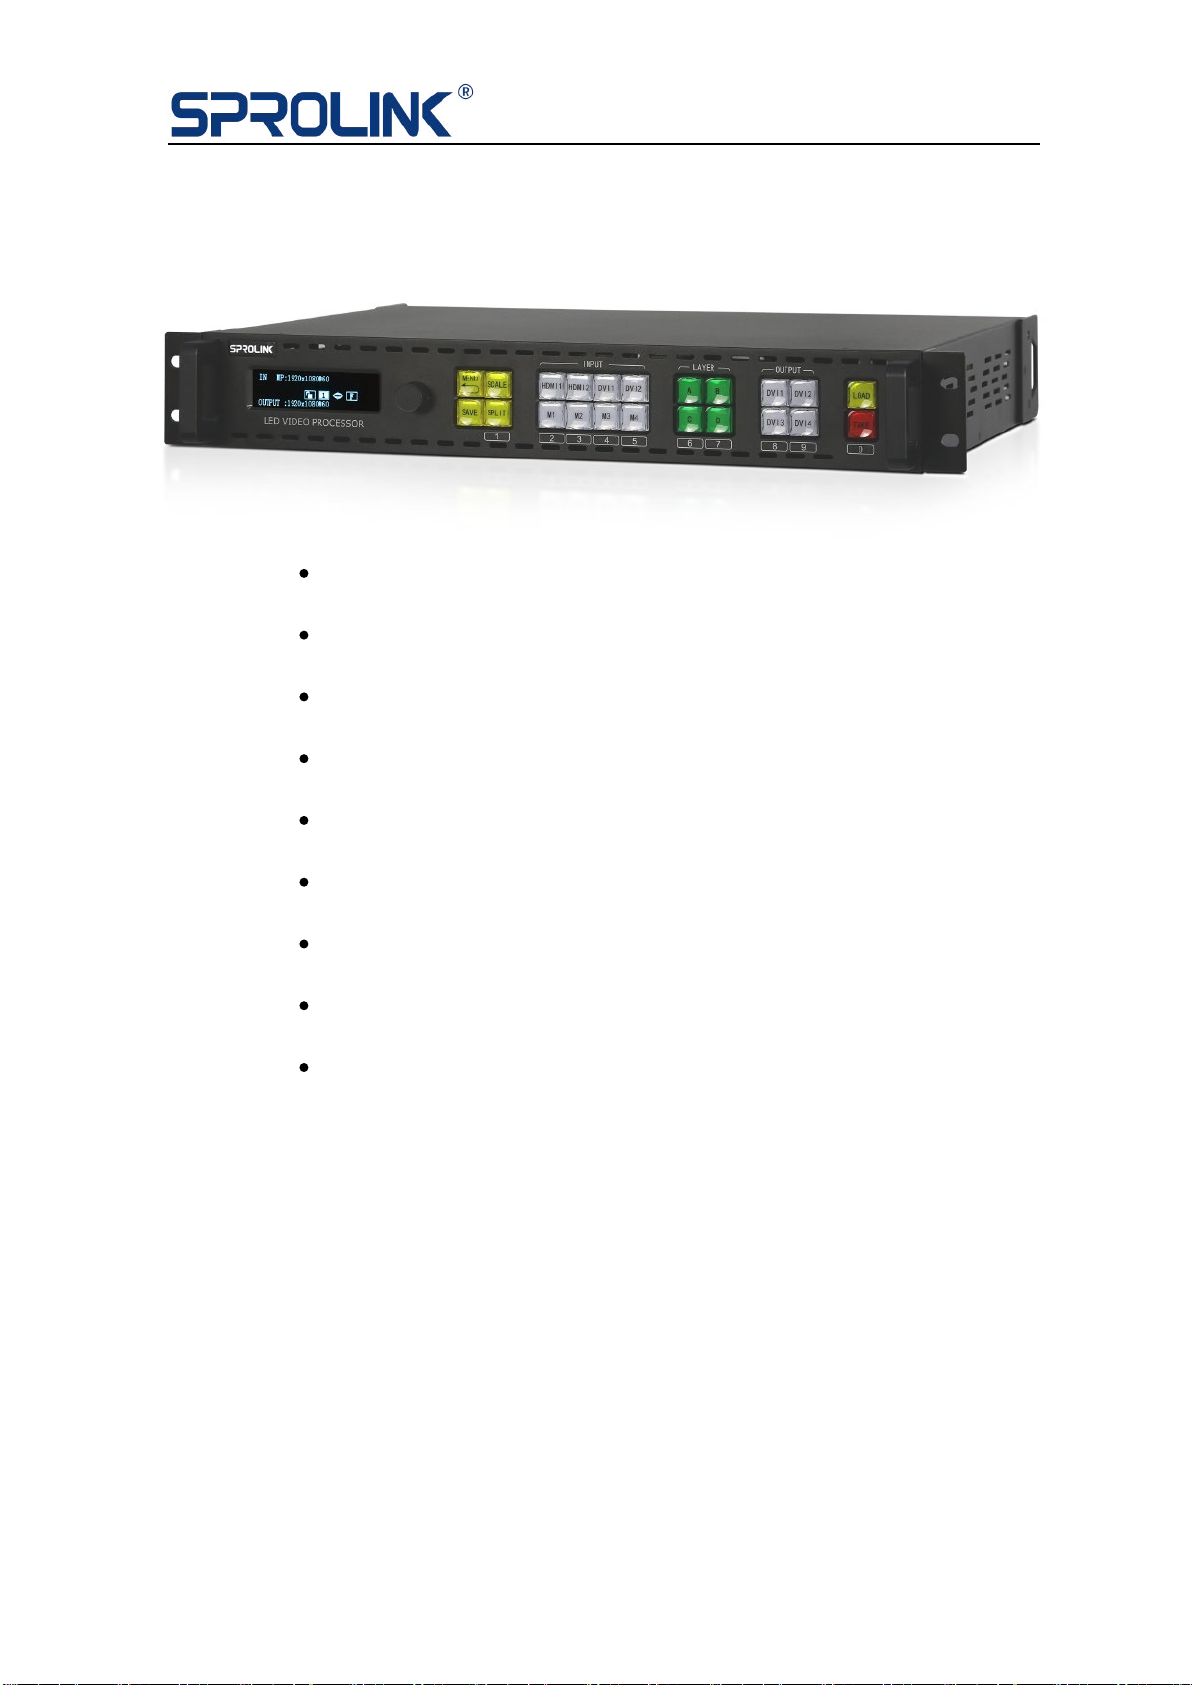
VS2 is a 4 output channels video processor. Can support flexible 4 port
split with 4 layers configuration. It can realize 3 Windows Display based
On 8Kx1K Split. Ideal for large scale or multiple layers project.
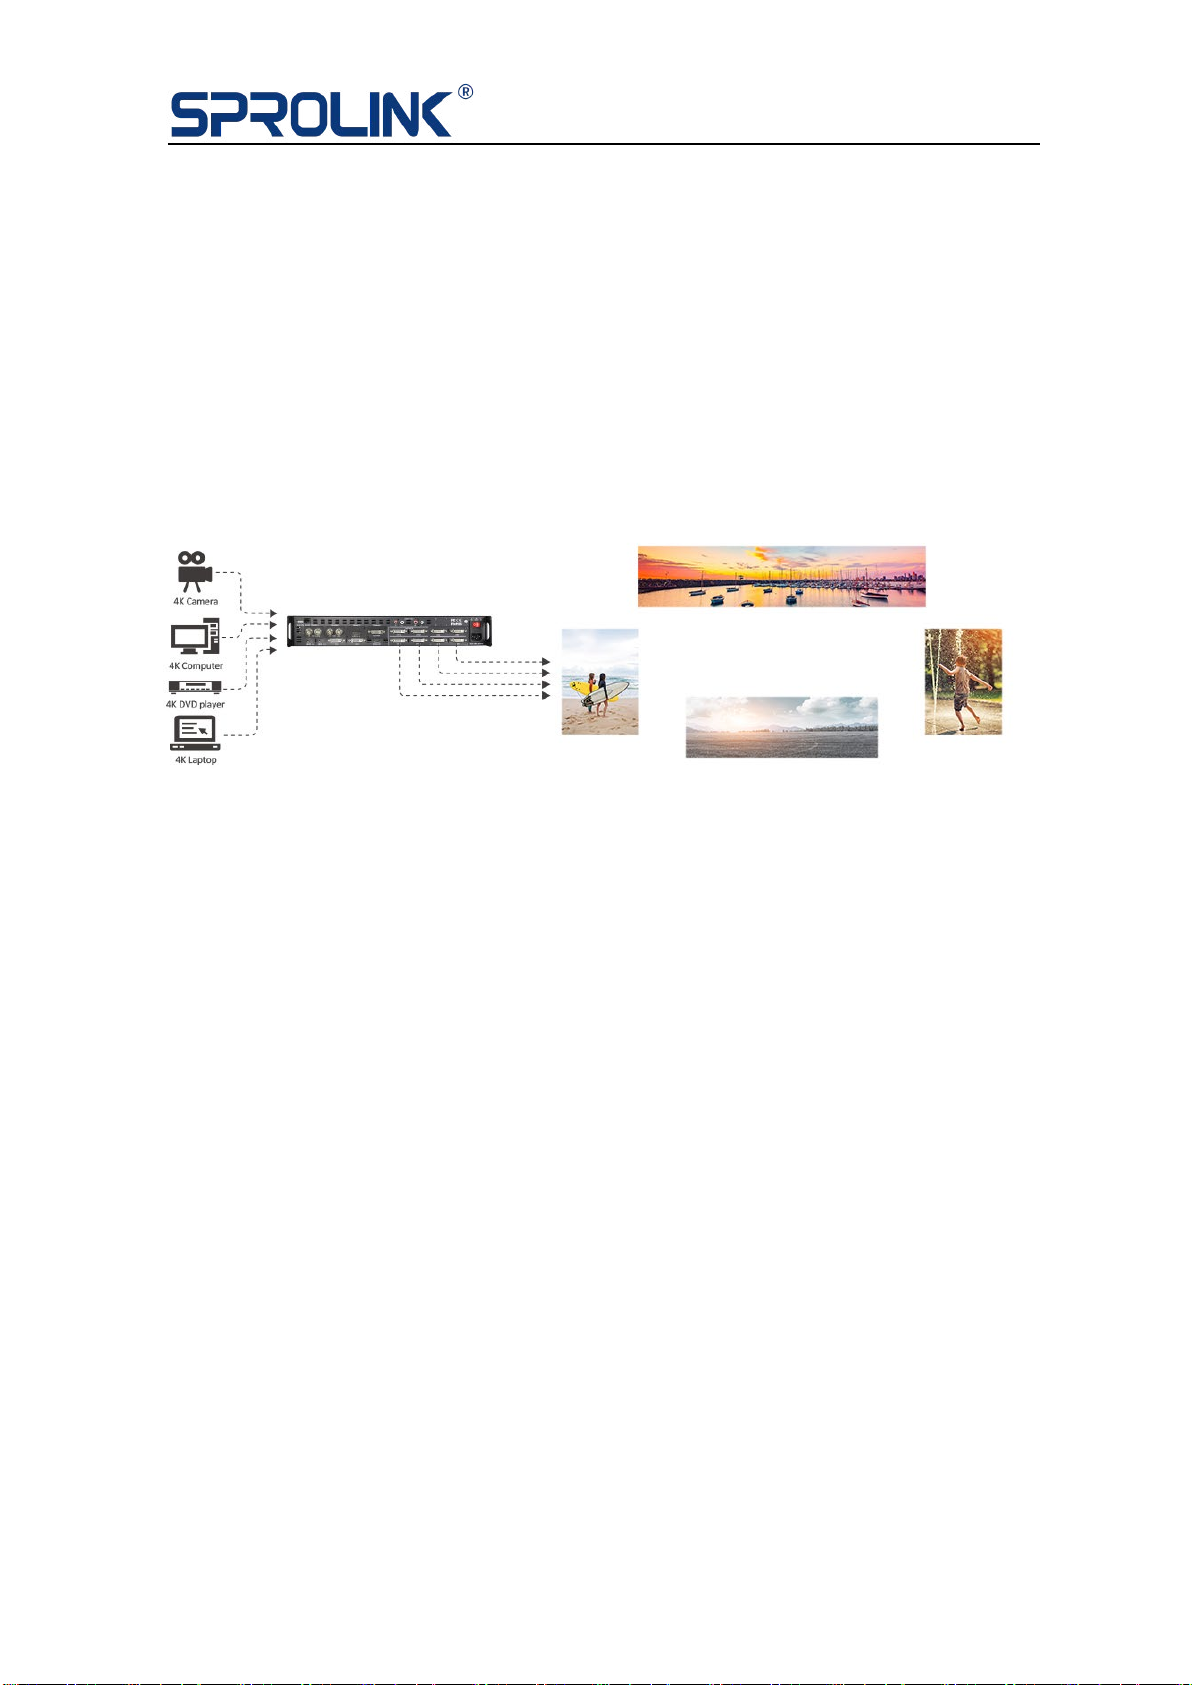
VS2 Diagram Solution
4
3. Hardware Overview
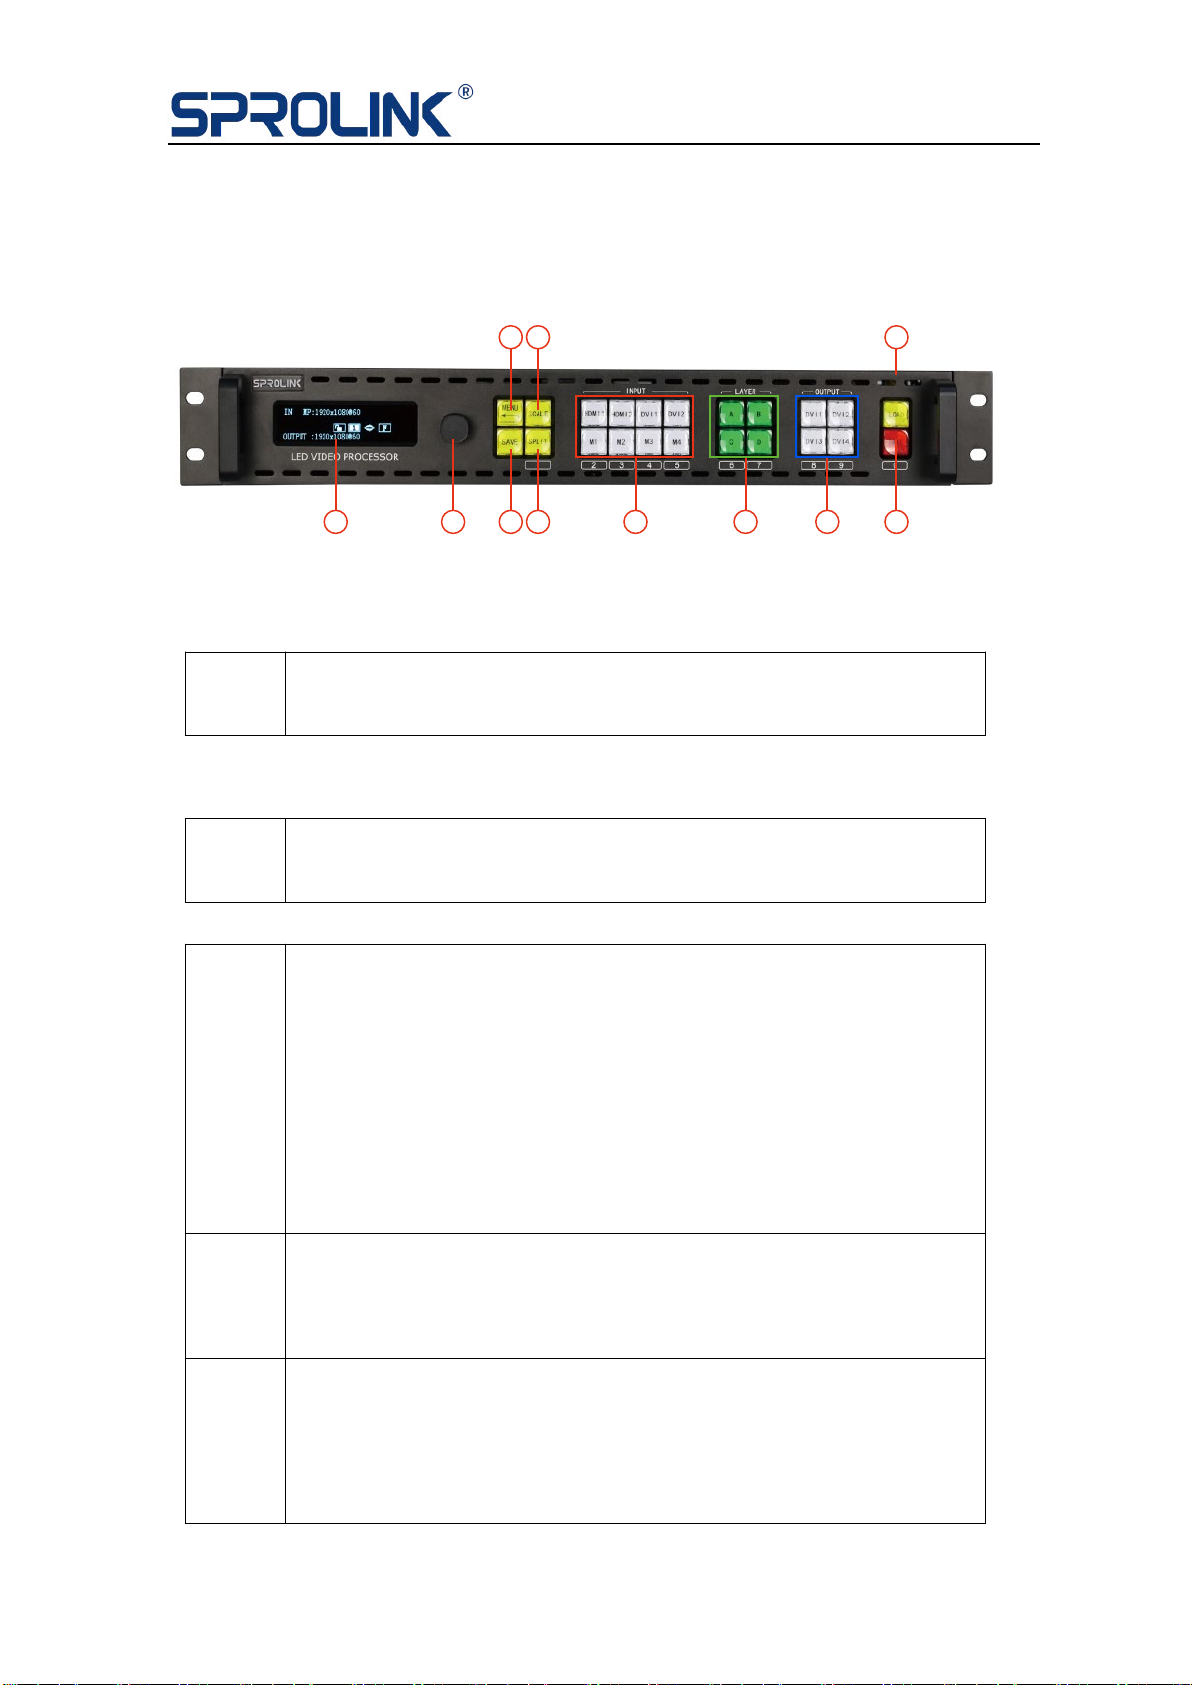
3.1 Front Panel
OLED Display Panel
1Display the current working status and menu for buttons
control.
Knob
2For menu selection: rotating knob to find the option &
press the knob to confirm.
Buttons
3
SAVE Button
To save the parameters after setting, by using “LOAD”
to load the saved data.
Press SAVE, the buttons“SCALE…..BLACK”are
representing saving modes of 1\2\3\4\5\6\7\8\9\0
separately, press any button to save the current
parameters to the specified saving mode.
4
SPILT Button
Enter to the cascade split model and set the split
parameters
5
MENU Button
Press to enter to the menu, by using knob to find the
specified menu, press MENU again to return to the
previous menu
1 2 3 4
5 6
7 8 9 10
11

5
6
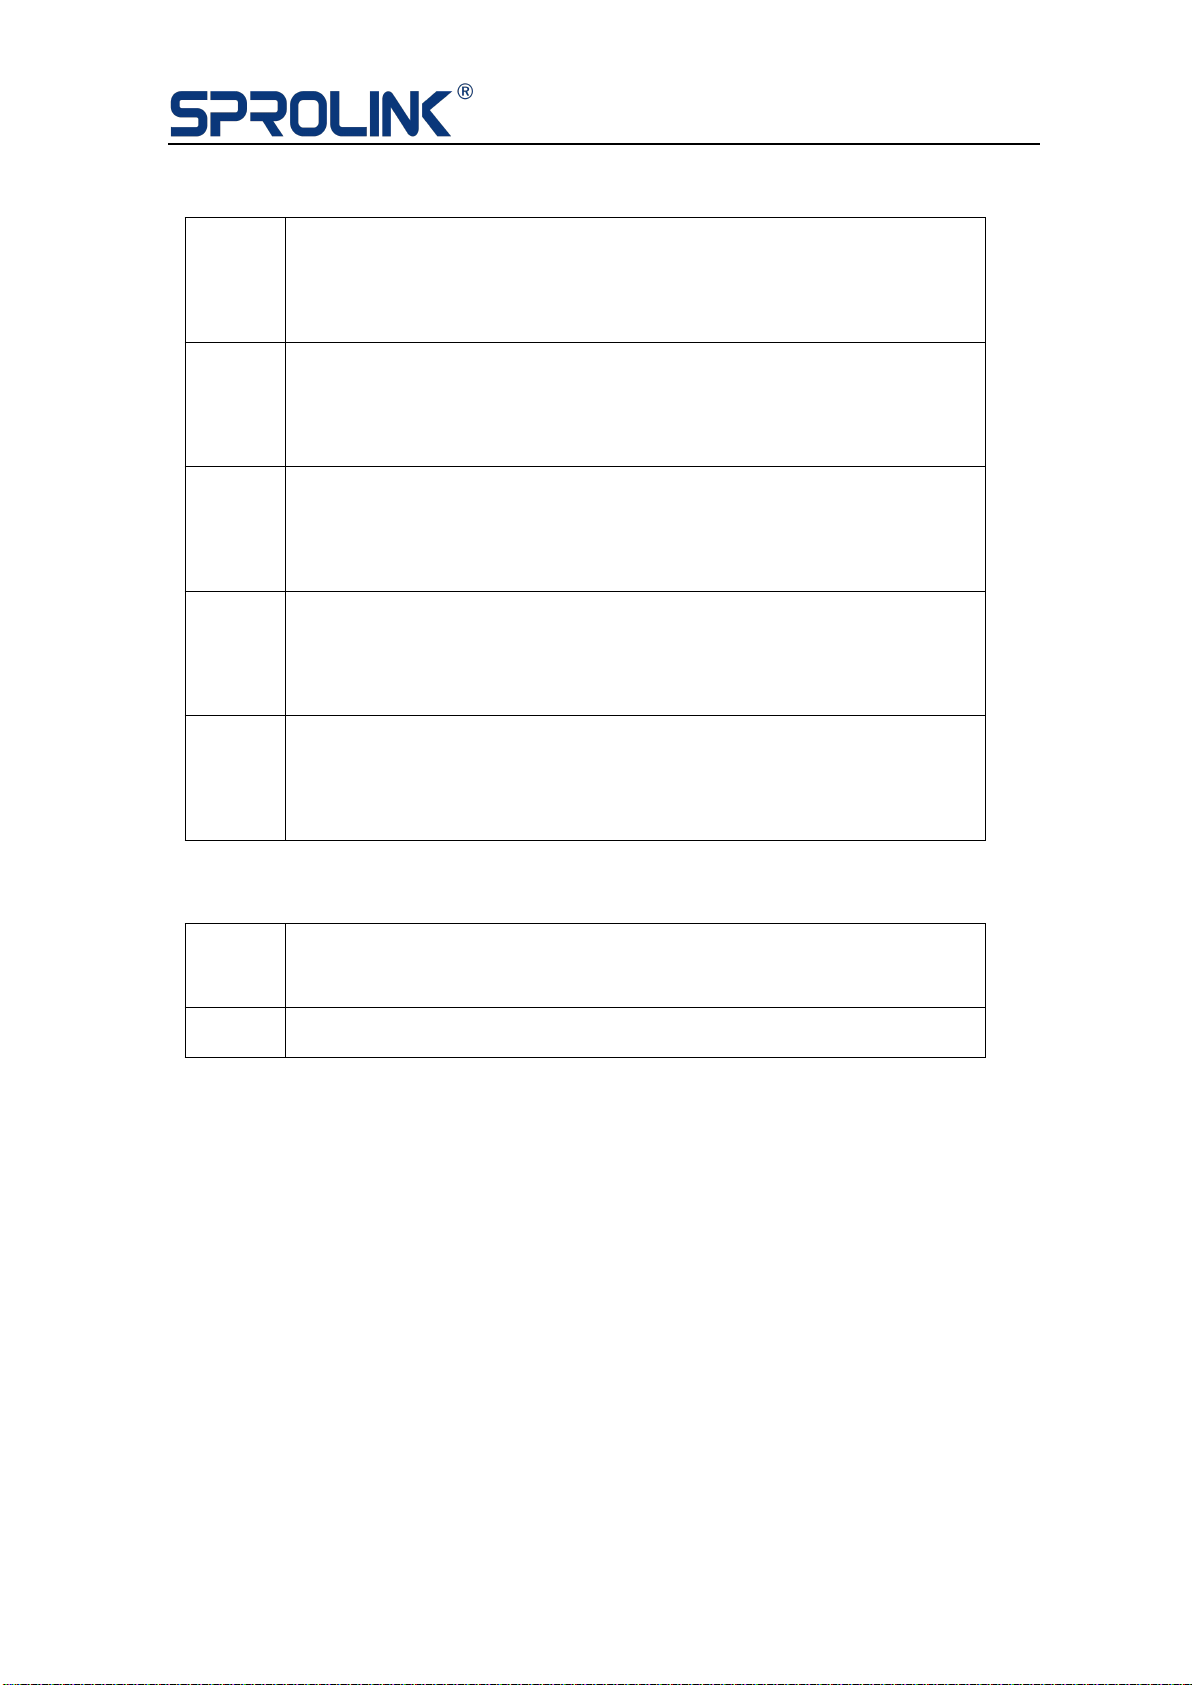
Scale Button
To adjust the size and position of the image by the
number buttons”1-0” under M1-DVI4, or using the knob
to adjust the number.
7
INPUT Button
To select source signal, the button lights up while used as
input.
When there are more than 2 buttons lighting up, the one
flashing is the one just be chosen, and the steady lighting
one is the source signal displayed, M1 represents SDI
input.
8
ABCD Layer Button
For the use of layer editing, adding and size changing
9
DVI1 & DVI2 Output Buttons
For the use of adding layers A,B,C and D in corresponding
output.
10
TAKE Button
Program and preview switching under Preview model
11
LOAD Button
To load the preset saving modes.
Press LOAD, buttons of “SCALE---BLACK” are
representing saving modes of 1\2\3\4\5\6\7\8\9\0, press
any of the key to load the corresponding saving modes.

6
3.2 Back Panel
Comm & Update Connector
1USB port for update
2
RS232 port for the use of communication and API and
Third-Party control
Input Connector
3
Optional input module
Support 4 input modules with
HDMI\DVI\VGA\SDI\USB
4
HDMI1.4 input
Support 3840*2160@30HZ & 4K1K\2K1K inputs and
customized input
5HDMI1.3 input
Support 2K1K input and customized input resolution
6DVI3 Input
Support 2K1K input and customized input resolution
7DVI4 Input
Support 2K1K input and customized input resolution
7
Output connectors
8
HDMI Loop
The current image or window will be looped automatically
without output processing
9
DVI1 Output
Support 2.5million pixels with widest 3840 pixels or
highest 1920 pixels
10
DVI2 Output
Support 2.5million pixels with widest 3840 pixels or
highest 1920 pixels
11
RCA1 Audio Output
External (LR stereo) output port match with the DVI1
output video
12
RCA2 Audio Output
External (LR stereo) output port match with the DVI2
output video
Power Supply
13
IEC- Power connector:AC 85-264V,50/60HZ,maximum
power 45W
14
Power switch
8
4. Operations
Menu structure
Output Resolution
Two Split
Four Split
Multi Picture
Preview Mode
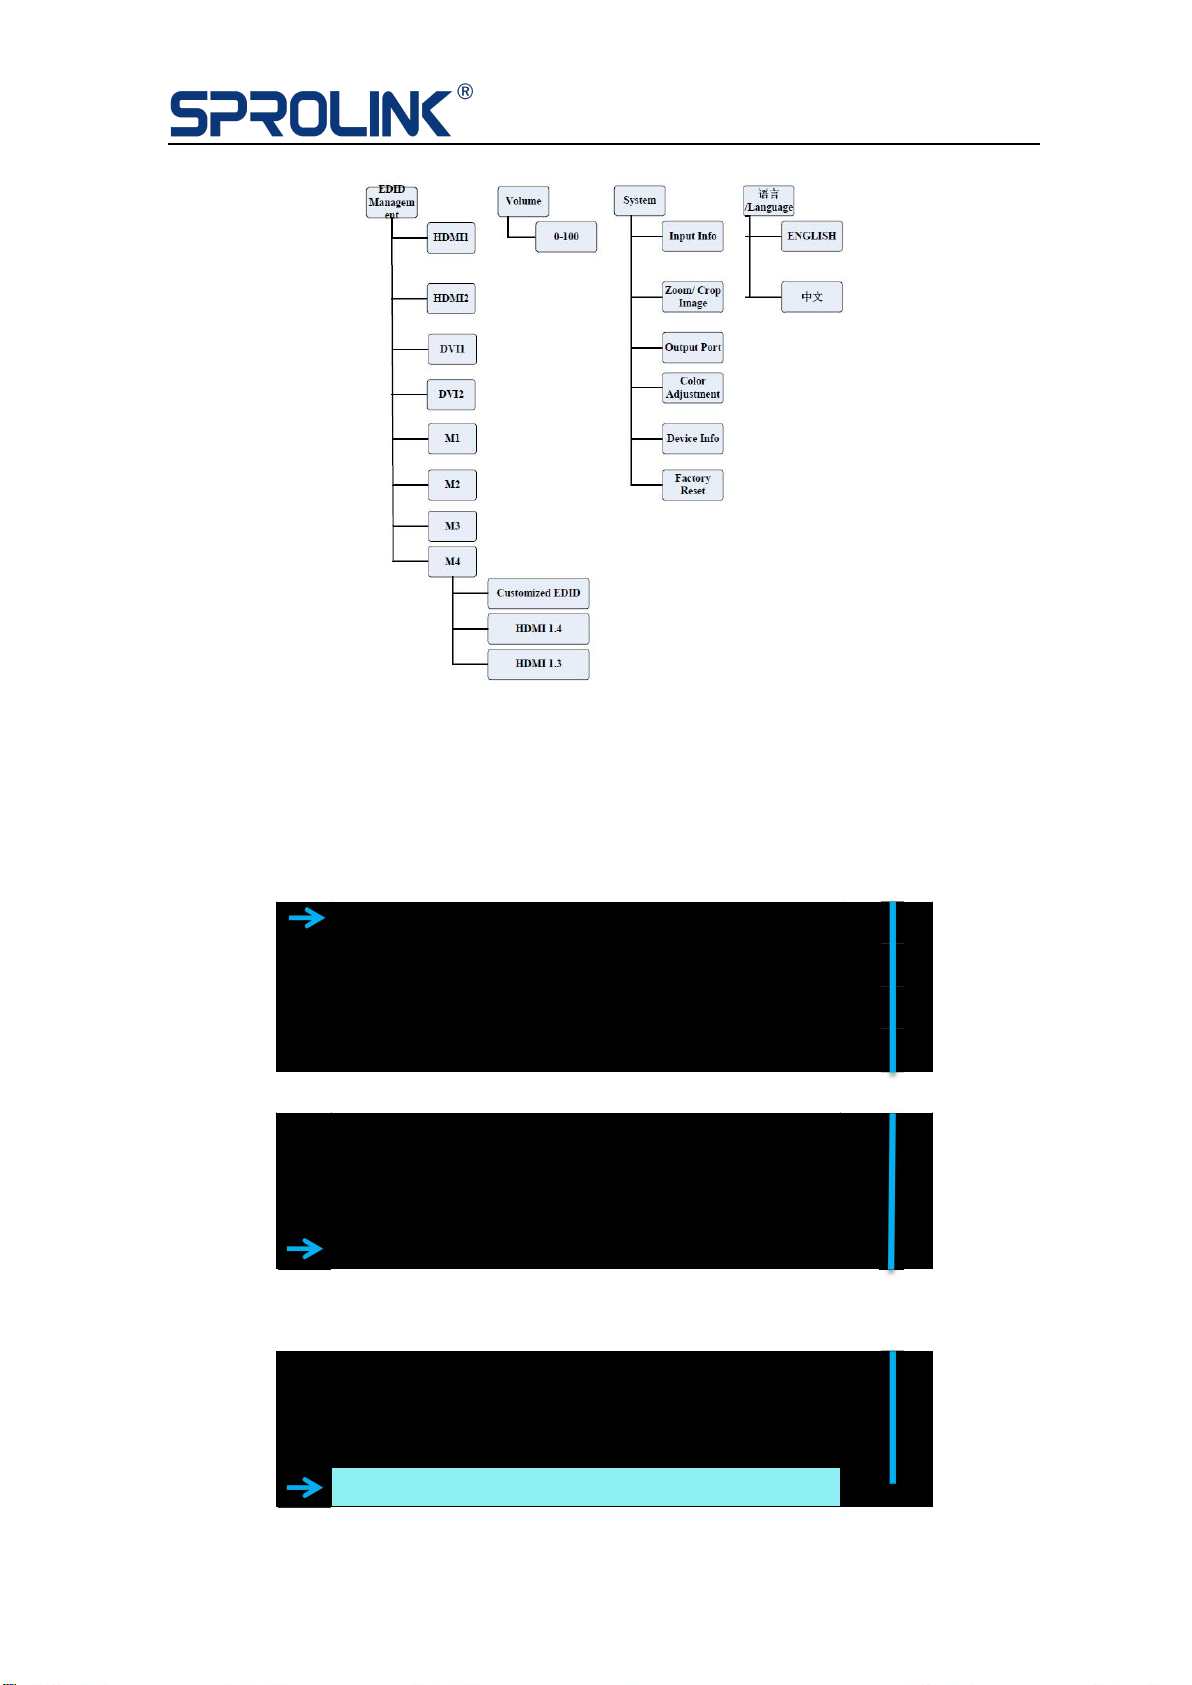
EDID Management
Volume
System
Factory reset
Language
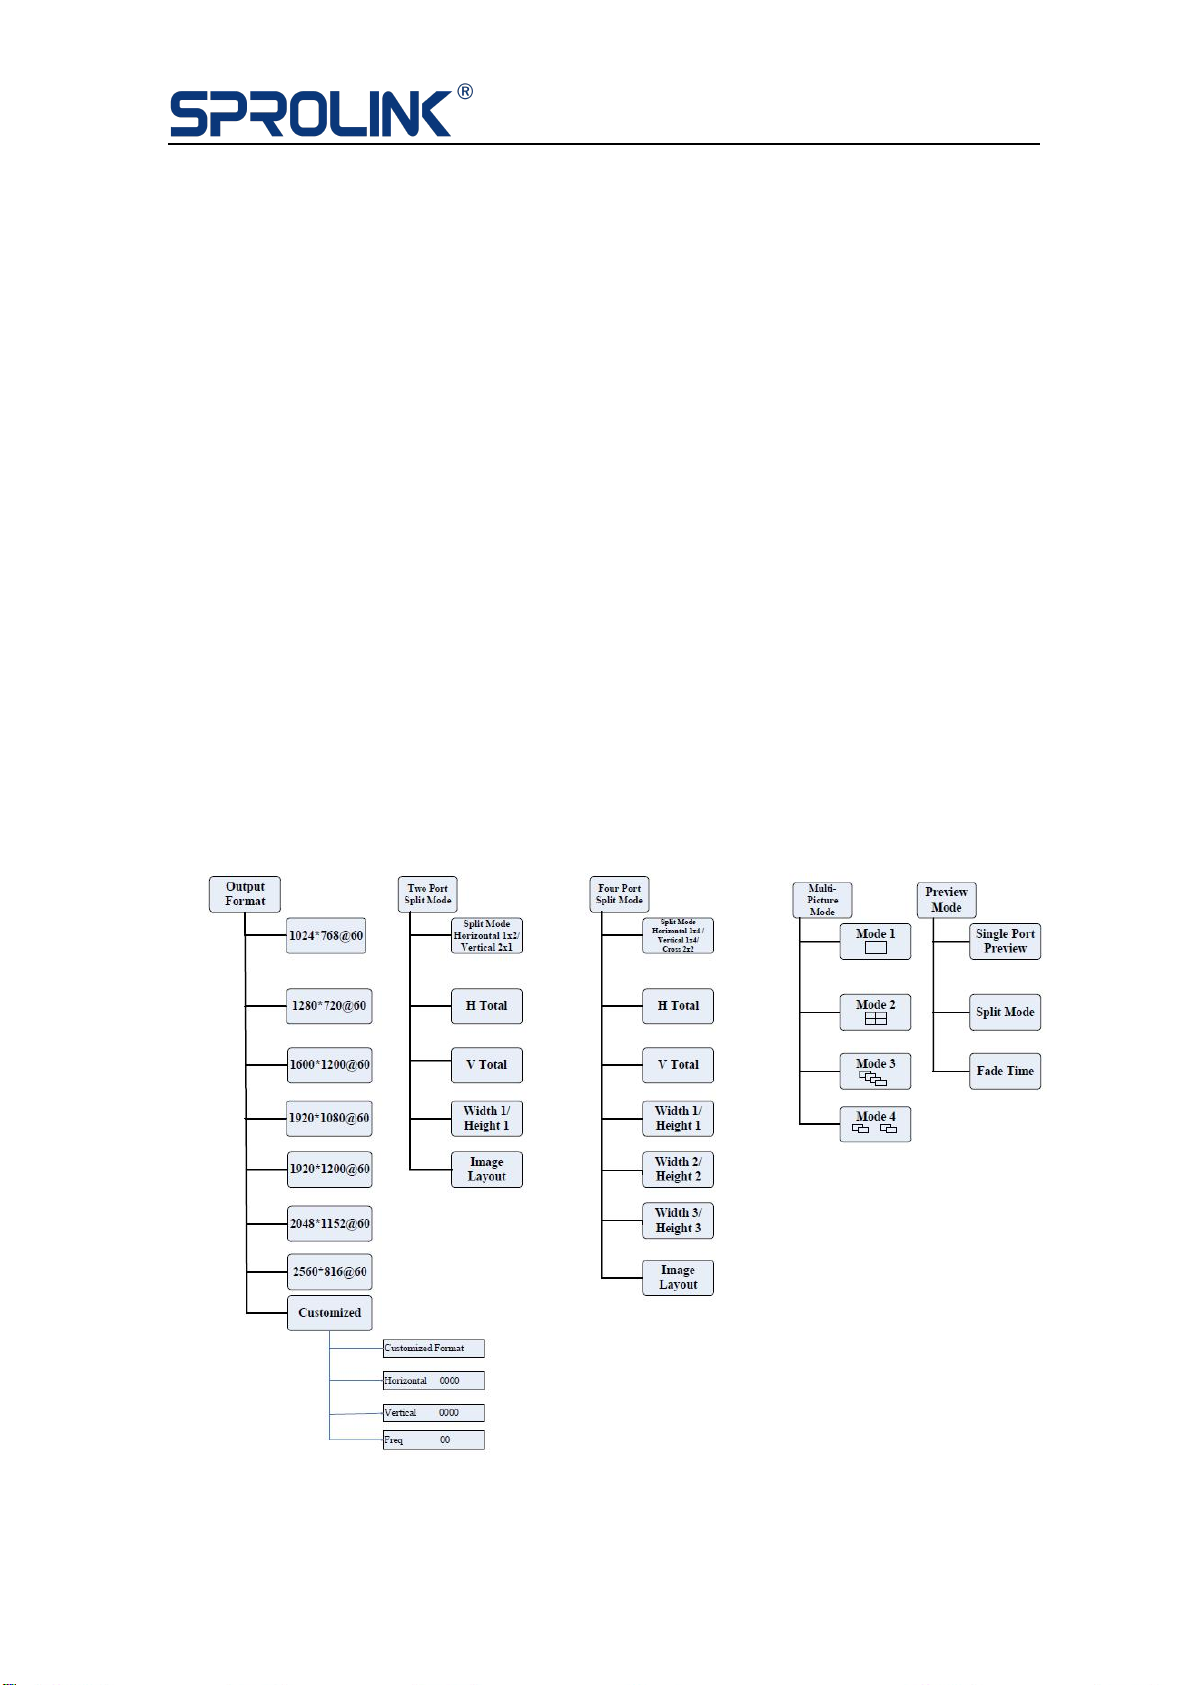
4.1 Menu Structure
9
4.2 Output Resolution
VS2 default output resolution is 1920*1080@60Hz, if user would like to
change to 1536*1536@60Hz, the steps are as follows:
1.Press MENU button to find the output resolution and press knob to
confirm.
output Format
》
Two Split
》
Four Split
》
Multi Picture
50
2.Rotate the knob to find “CUSTOMIZED” resolution.
1920*1200@60
Hz
2048*1152@60
Hz
2560*816@60
Hz
Customized
Hz
3.Click the knob to set the width 1536, height 1536 and frequency 60fps
with numeric buttons and click the knob to confirm.
Customized Format
Hz
Width 1536
Hz
Height 1536
Hz
Freq 60 [> ]
Hz
Table of contents
Other SPROLINK Media Converter manuals


