Stairmaster StepMill 7000PT User manual

1
STEPMILL 7000 PT
ASSEMBLY
INSTRUCTIONS
PART NUMBER 27698

2
ASSEMBLY INSTRUCTIONS
TOOLS REQUIRED:
•KNIFE
•2-9/16” WRENCHES
•5/32” ALLEN WRENCH
1. USE KNIFE TO CUT AND REMOVE
PLASTIC STRAPS.
TOP COVER
PLASTIC STRAPS
2. REMOVE TOP COVER FROM CARTON,
THEN REMOVE CARTON. DISCARD COVER
AND CARTON.
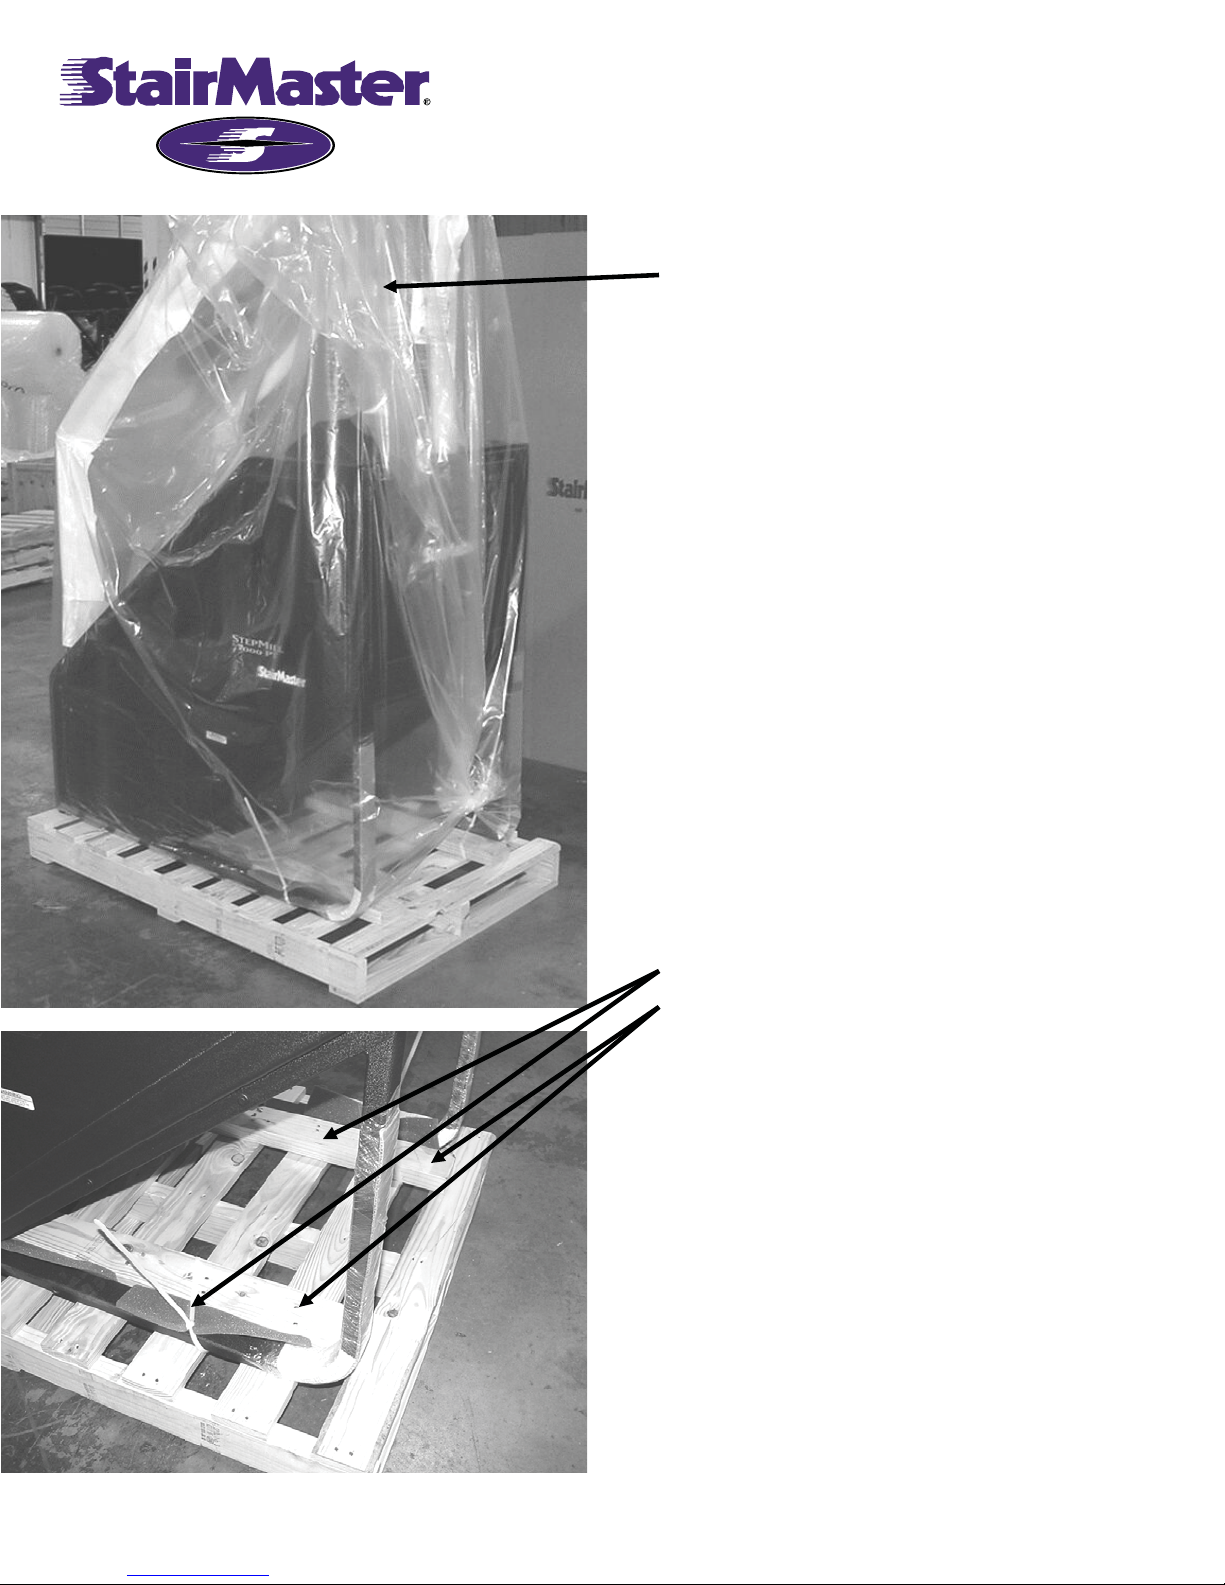
3
ASSEMBLY INSTRUCTIONS
3. REMOVE PLASTIC BAG FROM
STEPMILL.
PLASTIC BAG
4. USE KNIFE TO REMOVE PLASTIC
TYRAPS SECURING FRAME TO PALLET.
USE CLAW HAMMER TO REMOVE
WOODEN PACKING BLOCKS
WOOD BLOCK
TYRAPS
5. REMOVE STEPMILL FROM PALLET:
SLIDE THE MACHINE FORWARD SO THAT
THE FRONT EDGE OF THE MACHINE
HANGS OFF THE FRONT OF THE PALLET.
CAREFULLY TIP THE STEPMILL FORWARD
UNTIL THE FRONT EDGE OF THE MACHINE
TOUCHES THE FLOOR. CONTINUE TO
PULL THE MACHINE FORWARD UNTIL IT
IS CLEAR OF THE PALLET. GENTLY TIP
THE STEPMILL BACK SO THAT THE
MACHINE RESTS ON THE BASE OF THE
FRAME. DISCARD PALLET.

4
ASSEMBLY INSTRUCTIONS
6. REMOVE BUBBLE PACK AND CARTON
FROM STEPMILL. ALSO REMOVE
PACKING MATERIALS FROM HANDRAILS.
PACKING MATERIAL
CARTON
BUBBLE PACK
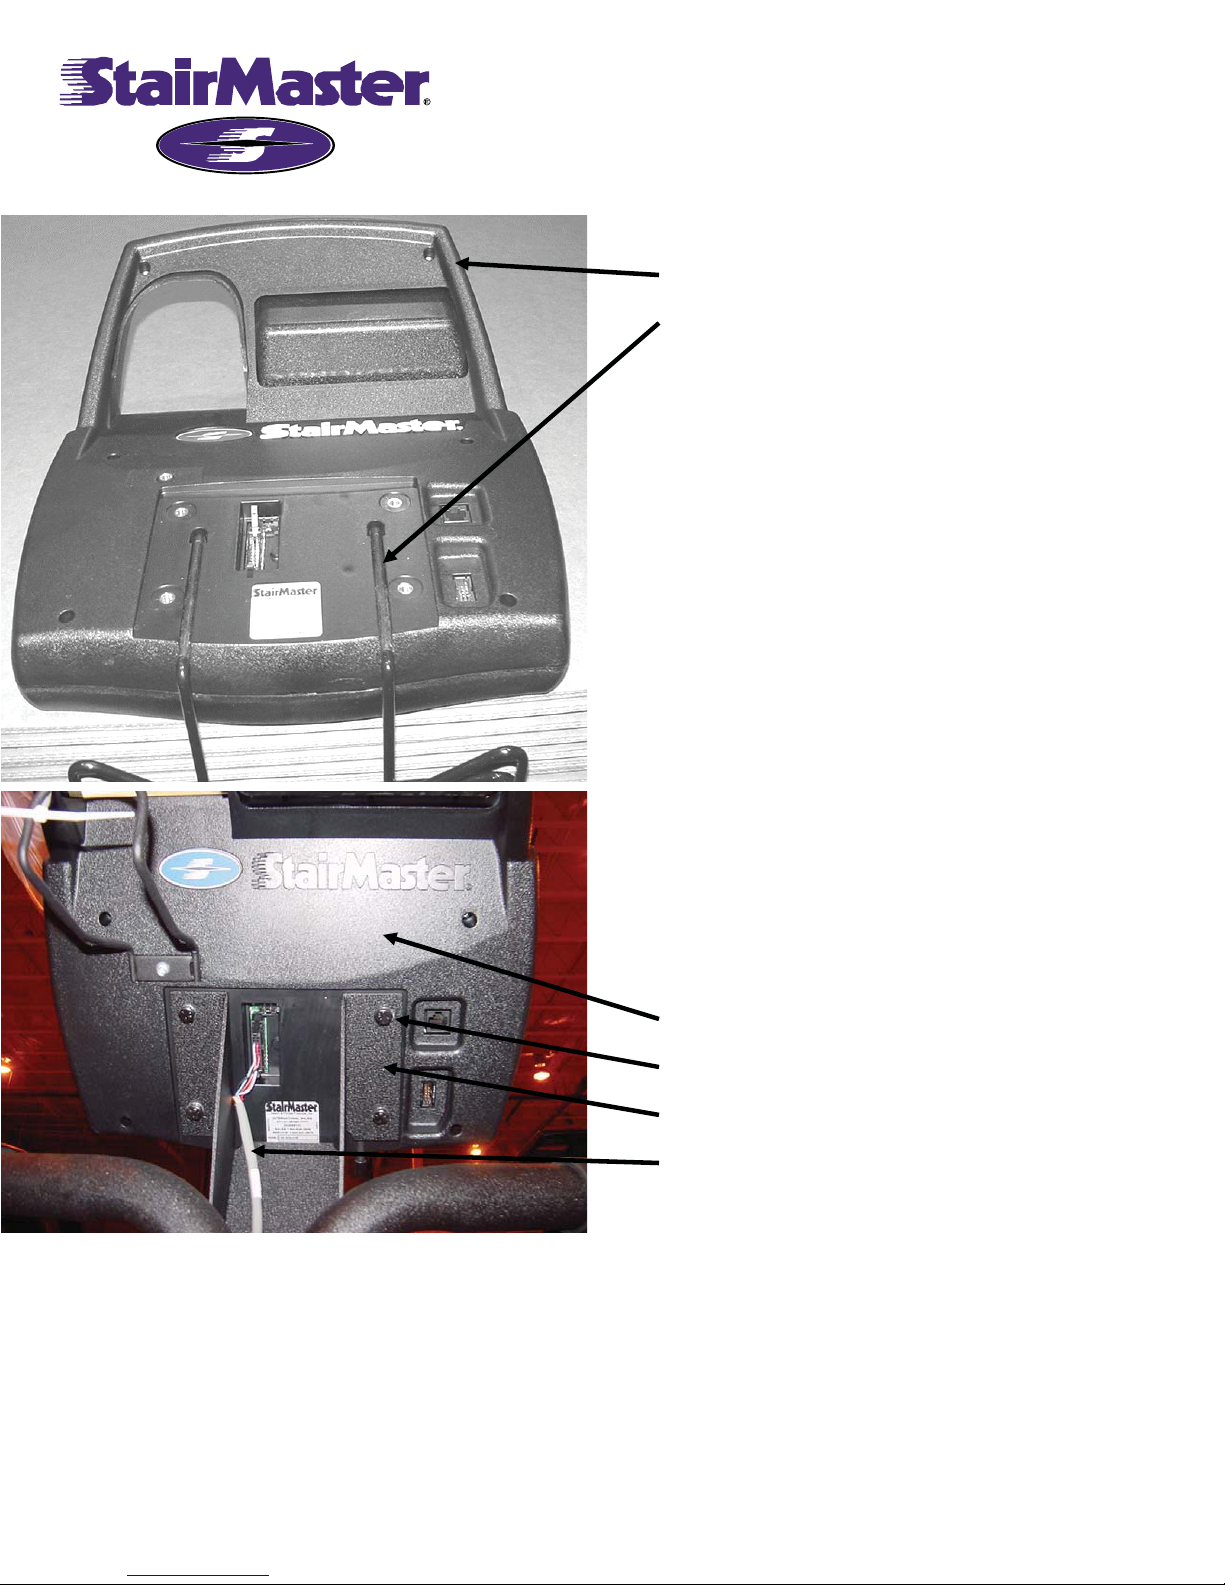
7. REMOVE CONSOLE FROM BUBBLE
WRAP. DISCARD BUBBLE WRAP.
CONSOLE
5
ASSEMBLY INSTRUCTIONS
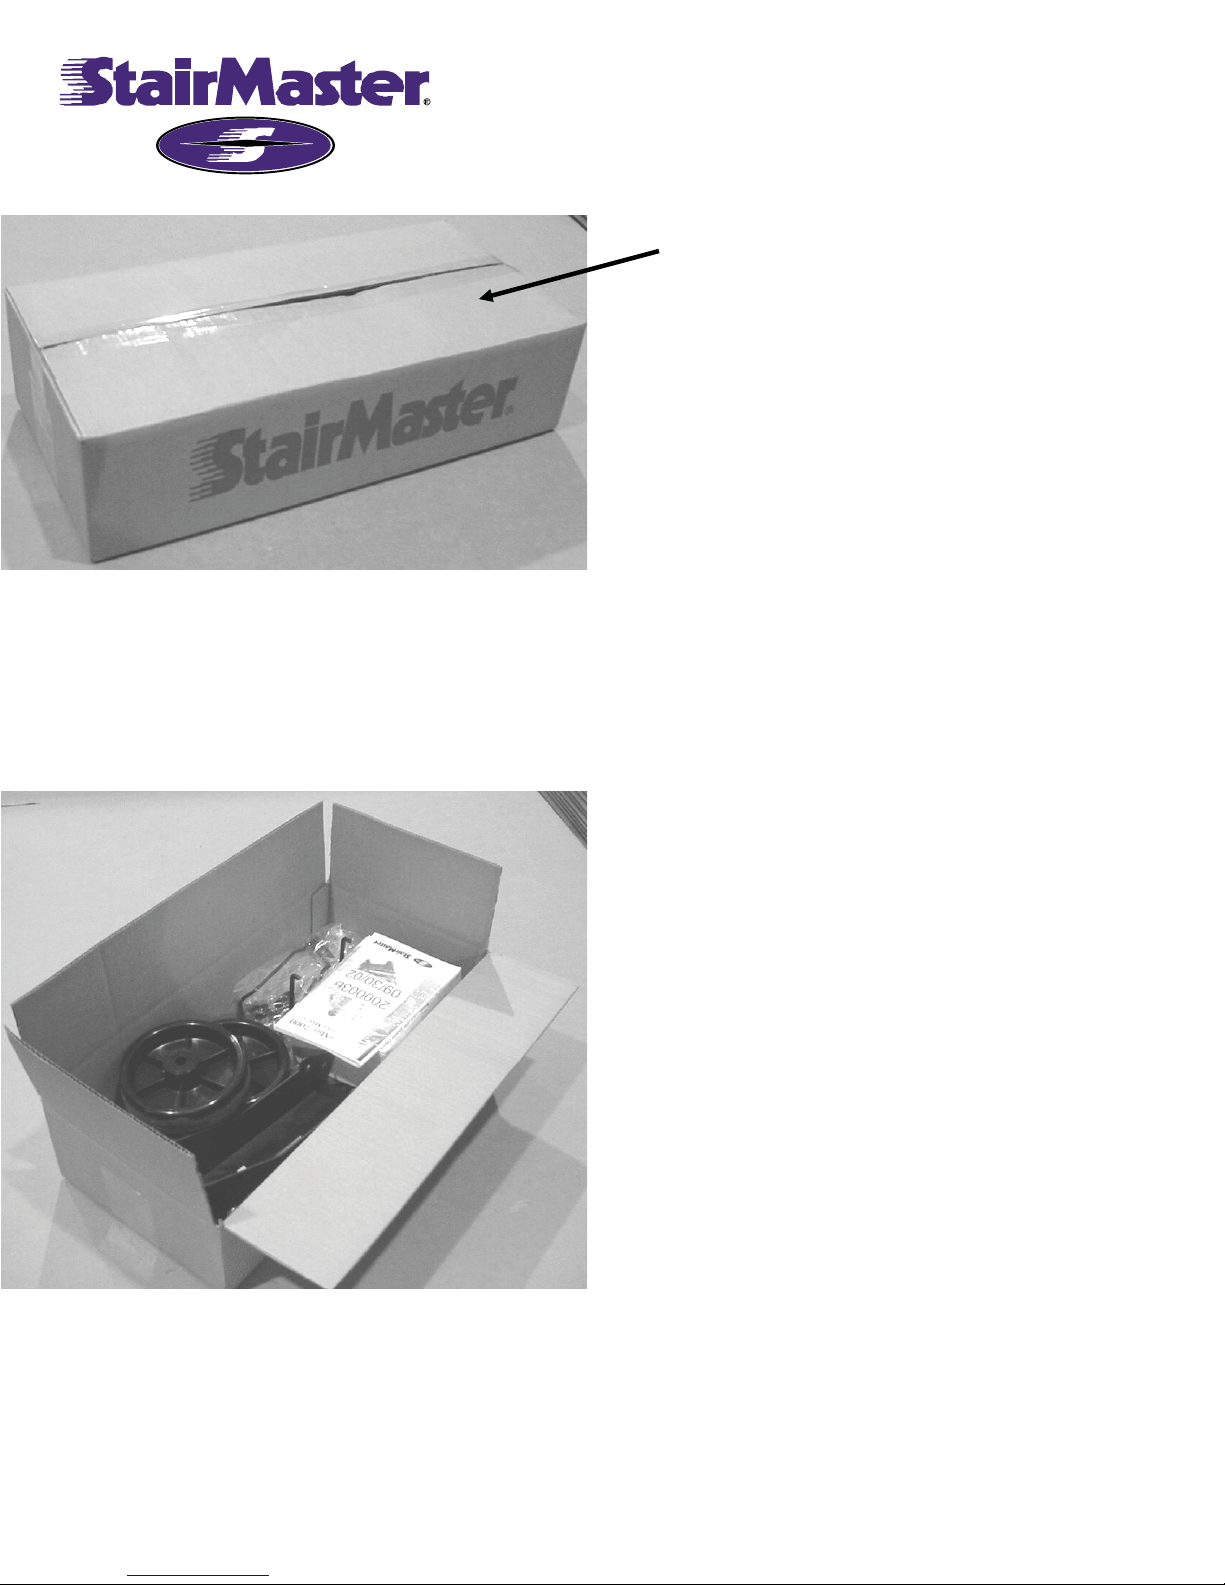
8. USE A KNIFE TO OPEN CARTON.
CARTON
9. THE CARTON CONTAINS OWNER’S
MANUAL, WHEELS, HARDWARE PLASTIC
BAG, MAGAZINE RACK, CONSOLE
BRACKET, AND POWER SUPPLY CARTON.

6
ASSEMBLY INSTRUCTIONS
10. THE HARDWARE PLASTIC BAG
CONTAINS DRINK HOLDER BRACKET,
SCREW FOR MOUNTING DRINK HOLDER
BRACKET, WHEEL AXLES, CLIPS,
CONSOLE SCREWS, LOCK WASHERS, AND
PLASTIC COVERS.
DRINK HOLDER BRACKET SCREW
DRINK HOLDER BRACKET
PLASTIC COVER
CONSOLE SCREW
LOCK WASHER
CLIPS
WHEEL AXEL
11. TWO WHEELS ARE USED TO MOVE
THE STEP MILL TO IT’S FINAL LOCATION.
WHEEL
CONSOLE BRACKET

7
ASSEMBLY INSTRUCTIONS
12. USE KNIFE TO REMOVE STRETCH
WRAP FROM POWER SUPPLY BOX AND
OWNER’S MANUAL. SAVE OWNER’S
MANUAL FOR LATER USE. OPEN POWER
SUPPLY CARTON.
OWNER’S MANUAL
POWER SUPPLY CARTON
13. THE POWER SUPPLY CARTON
CONTAIN FOUR LEVELING PADS, BAG OF
SPARE PUSH RIVETS, RIVET REMOVAL
TOOL, AND POWER SUPPLY.
POWER SUPPLY
LEVEL PAD
BAG OF SPARE PUSH RIVETS
RIVET REMOVAL TOOL

8
ASSEMBLY INSTRUCTIONS
14. USE TWO 9/16” WRENCHES AND
REMOVE TWO BOLTS , FOUR FINISH
WASHERS, AND TWO NUTS FROM
HANDRAILS.
BOLT
FINISH WASHER
NUT
15. GET CONSOLE BRACKET FROM
CARTON AND POSITION OVER
HANDRAILS. INSTALL BOLTS, FINISH
WASHERS, AND NUTS TO SECURE
CONSOLE BRACKET TO HANDRAILS. USE
9/16” WRENCHES TO TIGHTEN BOLTS.
HANDRAIL
CONSOLE BRACKET
BOLT
FINISH WASHER

9
ASSEMBLY INSTRUCTIONS
16. GET FOUR PLASTIC COVERS AND SNAP
ONTO THE FINISH WASHERS TO COVER
THE TWO BOLT HEADS AND NUTS.
PLASTIC COVER
17. USE A 5/32” ALLEN WRENCH TO
ATTACH THE DRINK HOLDER BRACKET
TO THE CONSOLE USING THE DRINK
HOLDER BRACKET SCREW.
DRINK HOLDER BRACKET
DRINK HOLDER BRACKET SCREW
CONSOLE
10
ASSEMBLY INSTRUCTIONS
18. GET MAGAZINE RACK AND POSITION
IN GROOVES IN REAR OF CONSOLE.
CONSOLE
MAGAZINE RACK
19. GET FOUR CONSOLE SCREWS AND
LOCK WASHERS. HOLD MAGAZINE RACK
INTO GROOVES IN CONSOLE WHILE
POSITIONING THE CONSOLE OVER THE
CONSOLE BRACKET. USE THE CONSOLE
SCREWS AND LOCK WASHER TO SECURE
THE CONSOLE TO THE CONSOLE
BRACKET. ATTACH THE FEMALE
CONNECTOR ON THE CABLE TO THE
MALE CONNECTOR AT THE REAR OF THE
CONSOLE. MAKE SURE TO POSITION THE
CONNECTORS CORRECTLY WITH THE
ALIGNING TAB ON THE FEMALE
CONNECTOR WITH TH ALIGNING SLOT ON
THE MALE CONNECTOR.
CONSOLE
CONSOLE KNOB
CONSOLE BRACKET
CABLE

11
ASSEMBLY INSTRUCTIONS
20. GET TWO WHEELS, TWO AXLES, AND
TWO CLIPS. SLIDE AXLE INTO HOLE IN
BOTTOM OF FRAME. TILT STEPMILL TO
ONE SIDE, SLIDE WHEEL ONTO AXLE.
WHEEL
AXLE
FRAME
21. INSTALL CLIP INTO HOLE IN AXLE TO
RETAIN WHEEL ON AXLE.
WHEEL
CLIP
22. SLIDE AXLE INTO HOLE ON OTHER
SIDE OF STEPMILL BOTTOM FRAME, TILT
STEPMILL TO ONE SIDE, SLIDE WHEEL
ONTO AXLE. INSTALL CLIP INTO HOLE IN
AXLE TO RETAIN WHEEL ON AXLE.
WHEEL
CLIP

12
ASSEMBLY INSTRUCTIONS
23. REMOVE ALL PACKING MATERIALS
FROM STEPMILL. ROLL STEPMILL TO
FINAL LOCATION.
24. INSTALL FOUR LEVELING PADS INTO
THREADED HOLES IN THE BOTTOM
SURFACE OF THE STEPMILL. TILT
STEPMILL AND REMOVE THE WHEELS,
AXLES, AND CLIPS. RETAIN THESE ITEMS
FOR FUTURE USE IF THE STEPMILL WILL
BE MOVED TO A NEW LOCATION. PLUG IN
POWER SUPPLY TO RIGHT SIDE OF
STEPMILL AND POWER SOURCE.
POWER SUPPLY
LEVEL PADS
25. SEE OWNER’S MANUAL FOR SET UP
AND OPERATING INSTRUCTIONS.
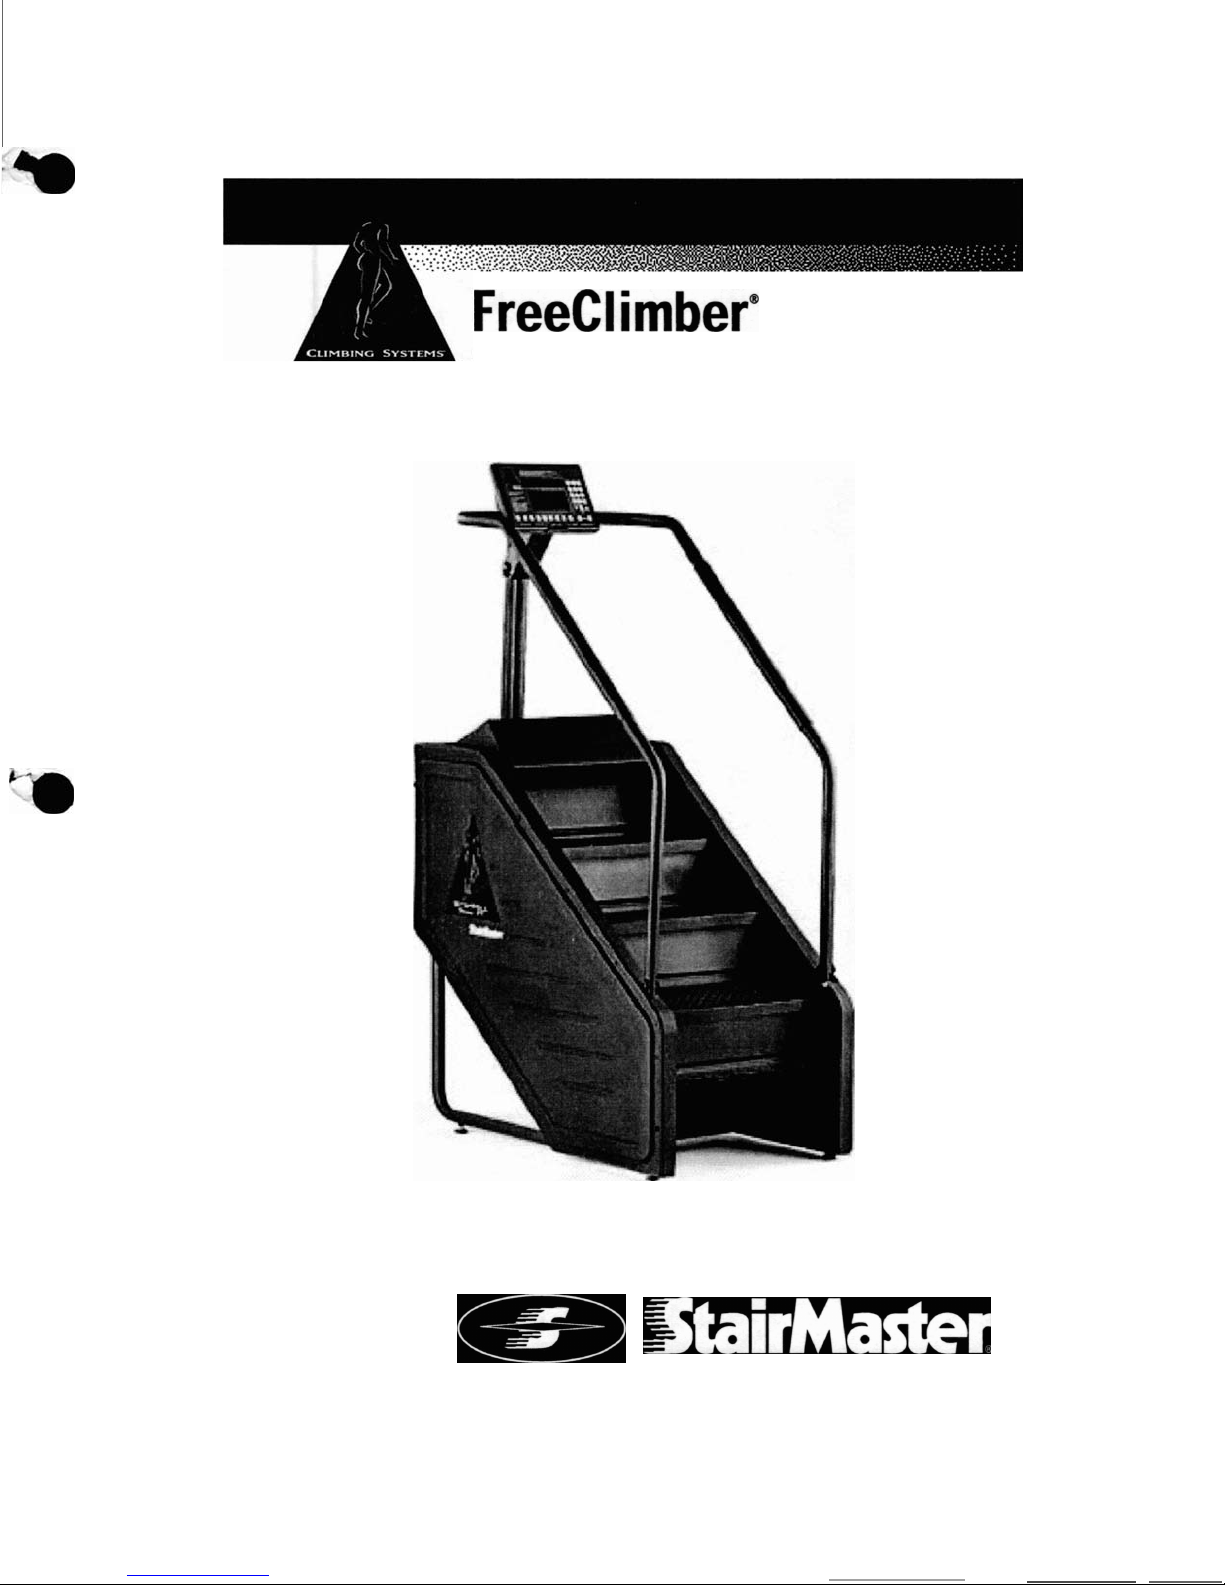
FreeClimber
~
7000
PT
Owner's
Manual
~
StairMaster

•
Printed
in
the
United
States.
©
1996
StairMaster
~
Sports/Medical
Products,
Inc.
All
rights
reserved.
Corporate
Headquarters
12421
Willows
Road
N.E.,
Suite
100
Kirkland,
WA
98034
(800)
635-2936
(425)
823-1825
Fax
(425)
823-9490
II
I
PIN
22440-A
©
1996
Sta
i
rMaster
Sports
/
Med
i
cal
Pr
oduct
s,
Inc
..
Sta
i
rMaster
and
Stepm
ill
are
reg
ist
ered
trad
e
marks
and
7000
PT
is
a
trademark
of
Sta
i
rMaster
Spo
rt
s/
Med
i
ca
l
Products
.
In
c.
Page
iii

•
•
•
WARRANTY
Th
is
is
to
certify
that
the
StairMaster
@
Stepmill
@
7000
PT
™
exercise
system
is
war-
ranted
by
StairMaster
Sports/Medical
Products,
Inc.
to
be
free
of
all
defects
in
materials
and
workmanship.
This
warranty
does
not
apply
to
any
defect
caused
by
negligence,
misuse,
accident,
alteration,
improper
maintenance,
or
an
"act
of
God
".
This
warranty
is
non-transferable
from
the
original
owner.
If,
within
three
years
from
the
date
of
purchase
,
any
part
of
the
StairMaster
Stepmill
7000
PT
exercise
system
should
fail
to
operate
properly
contact
our
Customer
Service
Department
to
report
the
problem
.
International
customers
may
contact
their
local
distributor.
When
calling
,
please
be
prepared
to
provide
the
customer
service
representa-
tive
with
the
following
i
nformation
:
•
Your
name
,
shipping
address,
and
telephone
number
;
•
The
model
and
serial
number
of
the
inoperable
machine
;
•
The
date(s)
of
purchase
for
the
inoperable
machine(s)
;
•
Your
billing
address
.
This
information
will
ensure
that
you
are
the
only
one
ordering
parts
under
your
warranty
protection
.If
warranty
replacement
parts
are
shipped
to
you
,
you
may
be
required
to
return
the
inoperable
part
.
To
facilitate
this
process
,
the
following
policy
has
been
established
:
•
Please
call
our
Customer
Service
Department
to
receive
a
return
goods
authorization
prior
to
shipment.
•
StairMaster
Sports/Medical
Products
,
Inc
.will
incur
all
freight
charges
for
warranty
parts
ordered
for
a
machine
that
is
less
than
45
days
old.
The
parts
will
be
shipped
to
you
via
an
overnight
courier.
*
•
You
are
responsible
for
freight
charges
on
warranty
parts
for
machines
that
are
more
than
45
days
old.
You
will
not
be
responsible
for
the
return
shipment
of
the
inoperable
parts.
•
Some
inoperable
warranty
parts
must
be
promptly
returned
to
our
Customer
Service
Department.
We
will
pay
the
return
shipping
cost
for
the
inoperable
warranty
parts
.
Detailed
shipping
instructions
are
included
with
each
warranty
replacement
part
.
StairMaster
Sports
/
Medical
Products,
Inc.
neither
makes
,
assumes
nor
authorizes
any
representative
or
other
person
to
make
or
assume
for
us,
any
other
wa
r
ranty
whatsoever
,
whether
expressed
or
implied
,
in
connection
with
the
sale
,
service
,
or
shipment
of
our
products
.
We
reserve
the
right
to
make
changes
and
improvements
in
our
products
without
incurring
any
obligation
to
similarly
alter
products
previously
purchased
.
In
order
to
maintain
your
product
warranty
and
to
ensure
the
safe
and
efficient
operation
of
your
machine,
only
authorized
replacement
parts
can
be
used
.
This
warranty
is
void
if
parts
other
than
those
provided
by
StairMaster
Sports/Medical
Products
,
Inc.
are
used
.
*
Note
:
Aerosol
products
cannot
be
transported
via
ai
r.
Pageiv

•
•
•
INTRODUCTION
The
StairMaster
®
Stepmill
®
7000
PT
™
exercise
system
is
a
safe,
functional,
and
effective
exerc
i
se
modal
i
ty
for
developing
aerobic
fitness
and
increasing
the
strength
of
the
major
muscle
groups
of
the
lower
body.
It
is
designed
for
use
by
individuals
of
all
ages
and
fitness
levels.
Your
purchase
of
this
machine
is
a
positive
affirmation
of
your
commitment
to
use
the
best
available
methods
for
enhancing
your
functional
fitness
capabilities.
In
order
to
derive
optimal
benefits
from
your
machine,
you
should
read
this
manual
thoroughly
and
adhere
closely
to
the
instructions.
WHAT
IS
IN
THIS
MANUAL?
Following
the
information
on
installation
and
a
brief
explanation
of
how
the
Stepmill7000
PT
exercise
system
works
,
this
manual
contains
two
major
sections.
The
first
section
provides
an
explanation
of
how
the
machine
should
be
used
to
achieve
maximum
results.
The
second
section
offers
instructions
and
advice
on
how
to
properly
maintain
your
machine.
The
"Appendix"
contains
additional
information
for
the
owner.
Throughout
this
Manual
,
whenever
you
are
required
to
enter
information
into
the
console,
the
console
keypad
keystrokes
are
enclosed
in
[].
The
names
of
the
buttons
and
special
console
operational
modes
are
shown
in
capital
letters.
For
example
,
your
ma
c
hine
is
ready
for
use
when
the
console
is
in
the
ATIRACT
mode.
You
are
then
reqUired
to
press
the
[MANUAL]
button
to
start
the
MANUAL
exercise
program
..
WHAT
IS
THE
STAIRMASTER
STEPMILL
7000
PT
EXERCISE
SYSTEM?
The
StairMaster
Stepmill7000
PT
exercise
system
is
a
vertical
climbing
machine
with
a
rotating
staircase
which
provides
an
aerobic
workout
equivalent
to
climbing
stairs,
without
the
impact
loads
and
skeletal
trauma
common
to
most
aerobic
activities.
RegUlar
use
of
the
Stepmill
7000
PT
exercise
system
strengthens
and
conditions
the
heart
and
the
following
lower
body
muscle
groups
:
gluteals,
quadriceps
,
hamstrings
,
and
calf
muscles.
Page
v
Other manuals for StepMill 7000PT
1
Table of contents
Other Stairmaster Home Gym manuals


