Starline EG User manual
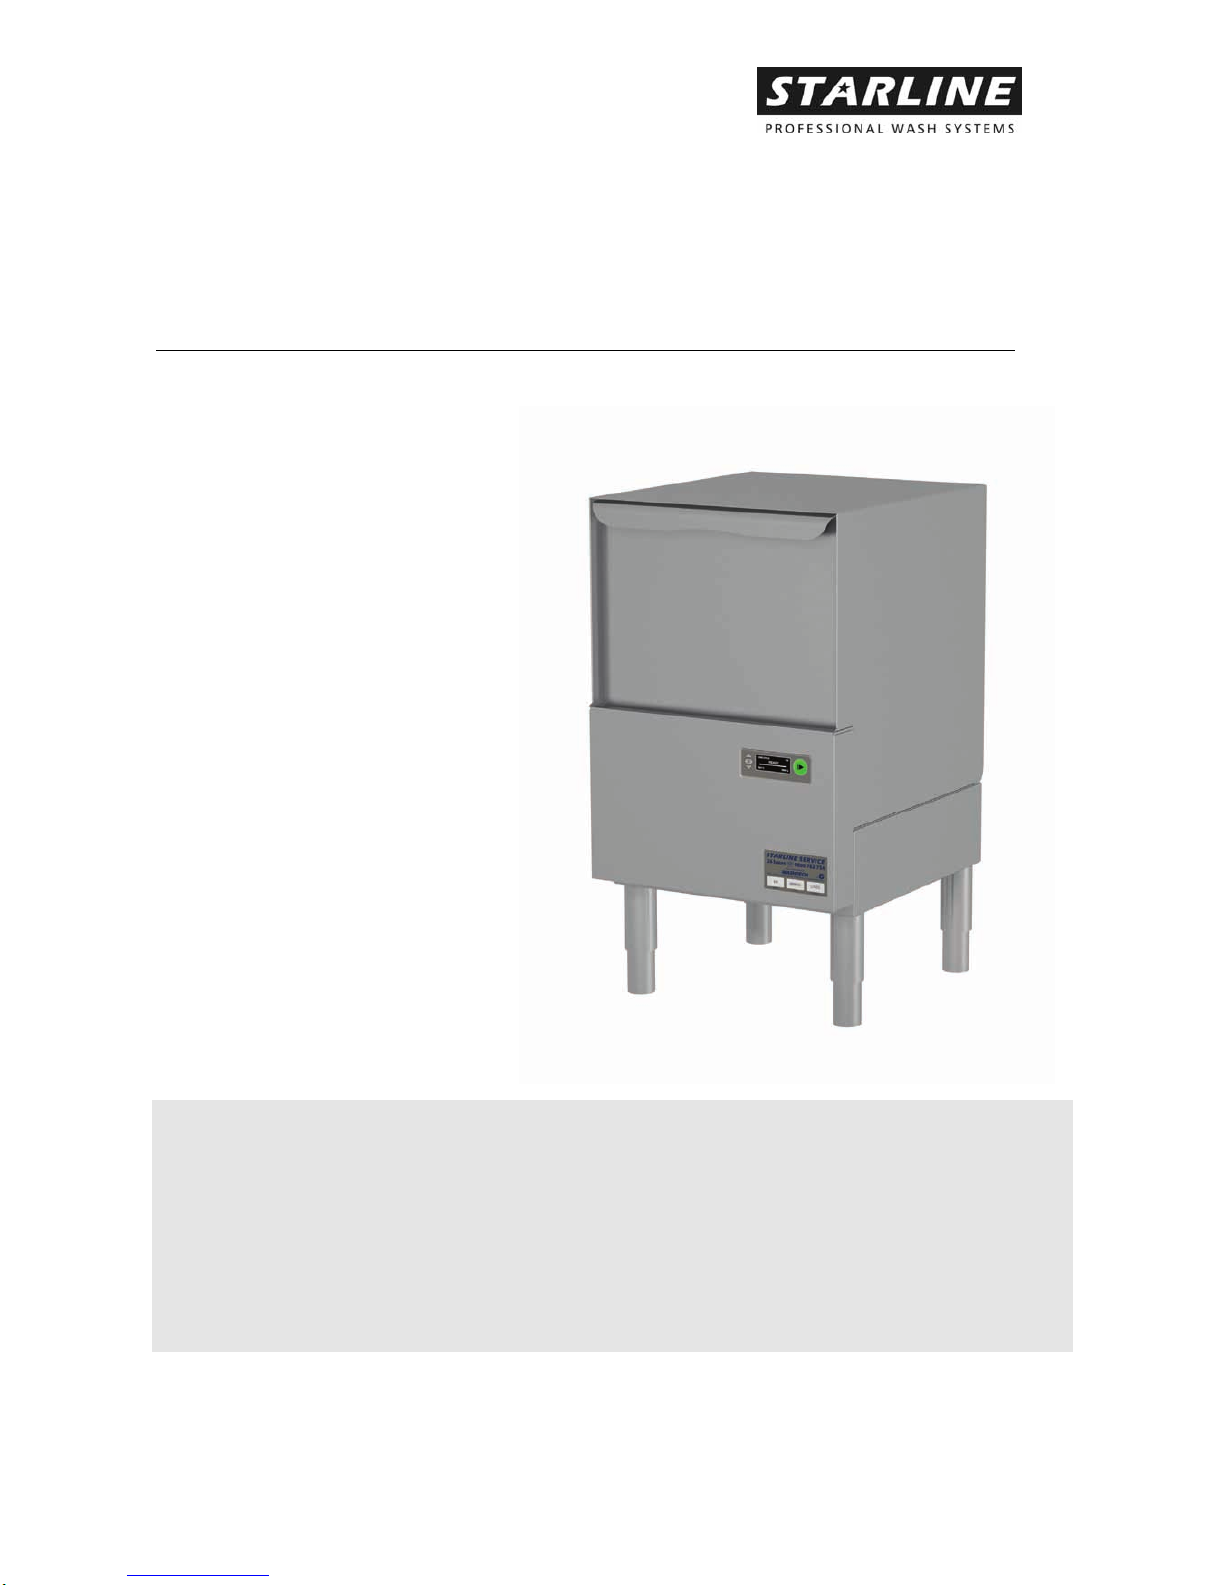
eG
UNDERCOUNTER GLASSWASHER
OperatorManual
Foreword
User documentation
Please read this manual and keep it in a safe place for future reference.
WARNING
Before installation and commissioning, you must read the safety instructions and
warnings carefully and all the warning labels attached to the equipment.
IMPORTANT
Failure to comply (even partially) with the instructions given in this manual will
invalidate the product warranty and relieves the manufacturer of any responsibility.
IMPORTANT
The alteration of machine operation, design or the replacement of parts not
approved by the manufacturer may void warranties and approvals.
Warranty Registration
Complete the information below for quick reference.
Model Number_______________Serial Number________________
Purchased from______________ Date of Purchase______________
If you require further information regarding authorised service providers or
recommended detergent suppliers in your region, or have any other queries, please
do not hesitate to contact us.
IMPORTANT
TO VALIDATE YOUR WARRANTY, PLEASE COMPLETE AND
RETURN THE WARRANTY REGISTRATION CARD WITHIN 30
DAYS FROM THE DAY OF PURCHASE.
Information supplied in this manual is copyright. No part of this work may be reproduced
or copied in any form or by any means, electronic or mechanical without the express
permission of the author / publisher. Document subject to change without prior notice.
!
!
!

Safety Instructions
WARNING
Equipment contains dangerous voltages and can be hazardous if installed or
operated incorrectly. Non-compliance with Warnings or failure to follow the
instructions contained in this manual can result in loss of life, severe personal
injury or serious damage to property.
Installation
Use qualified, skilled personnel
Follow installation instructions
Connect to correct voltage and supply current
Provide fully accessible Electrical Isolation Switch & water supply valves
Training and Supervision
Read and Understand the Operating instructions and train all staff
This appliance must not be operated by children or infirm persons
Machine panels must only be removed by suitably qualified and trained
personnel – internal hazards include live electrics and very hot surfaces
This appliance is not intended for use as a stepladder
Hot Surfaces
Some surfaces may be hot or very hot
Chemicals
Commercial dishwashing detergents are hazardous – handle with care
Read and follow the safety information found on the labels of detergent
containers and Material Safety Data Sheets
Use protective eyewear and clothing if decanting containers
Hot Water
Do not put hands in wash water which may be over 60°C and contain
hazardous caustic detergent
Rinse water can be over 90°C
Door safety switches are designed for emergency use only
Cleaning
Do not hose down the machine or splash water over the exterior
Watch for broken glass etc when cleaning the inside of the machine
Power Cord Replacement
If the supply cord is damaged, it must be replaced by the manufacturer
or its service agent or a similar qualified person in order to avoid a
hazard

Installation
WARNING
Installer must be suitably qualified and ensure compliance with all local codes and
standards including AS/NZS 3500.1.
Failure to comply even partially with installation instructions may void the
warranty.
Positioning
Unpack machine, check for damage and complete delivery. Install machine on
sound waterproof self-draining floor and use adjustable feet to level machine.
Adjacent surfaces should be heat resistant and moisture proof, especially benchtop
lower surfaces above undercounter machines. Allow room for detergent to one
side of machine or in adjacent cupboard. 20litre container requires about 450H x
250W x 350D, but smaller containers are available from many suppliers.
Hot Water Supply
Temperature 65°C ± 5°C
Pressure 200-350KPa = 30-50 Psi.
Connection 20 mm (3/4” BSP) male
Flow rate minimum 20 litres per minute
Water consumption 2 litres per cycle approximately
Backflow prevention Atmospheric Vacuum Breaker fitted standard
Pressure limiter may be required. . Don’t use small diameter plastic supply lines.
FLUSH supply line before connection. Poor quality supply or excessive water
hardness may affect performance or damage machine – filtration and/or softening
is recommended.
Waste Drain pump is fitted standard – see installation diagram.
Power Electrical supply required is 13A 230V 50Hz via switched outlet adjacent to
machine, which is supplied with cord set including 15A plug.
Detergent Insert detergent pump inlet hose into container of commercial low foam detergent.
The detergent hoses will be primed during filling of the wash tank.
Detergent pump is set to run continuously during filling of the machine. It is also
set to operate for 12 seconds at the beginning of the wash cycle. This time can be
adjusted in User Settings of the keypad controller. Press both Up and Down keys
on the keypad for a few seconds to access the User Setting menu and follow
onscreen instructions.
Commercial detergents can be hazardous – read instructions and handle with care.
Installation Checklist
Complete attached Installation Checklist to ensure machine is installed and
running correctly, and operator is familiar with operating procedures.
!

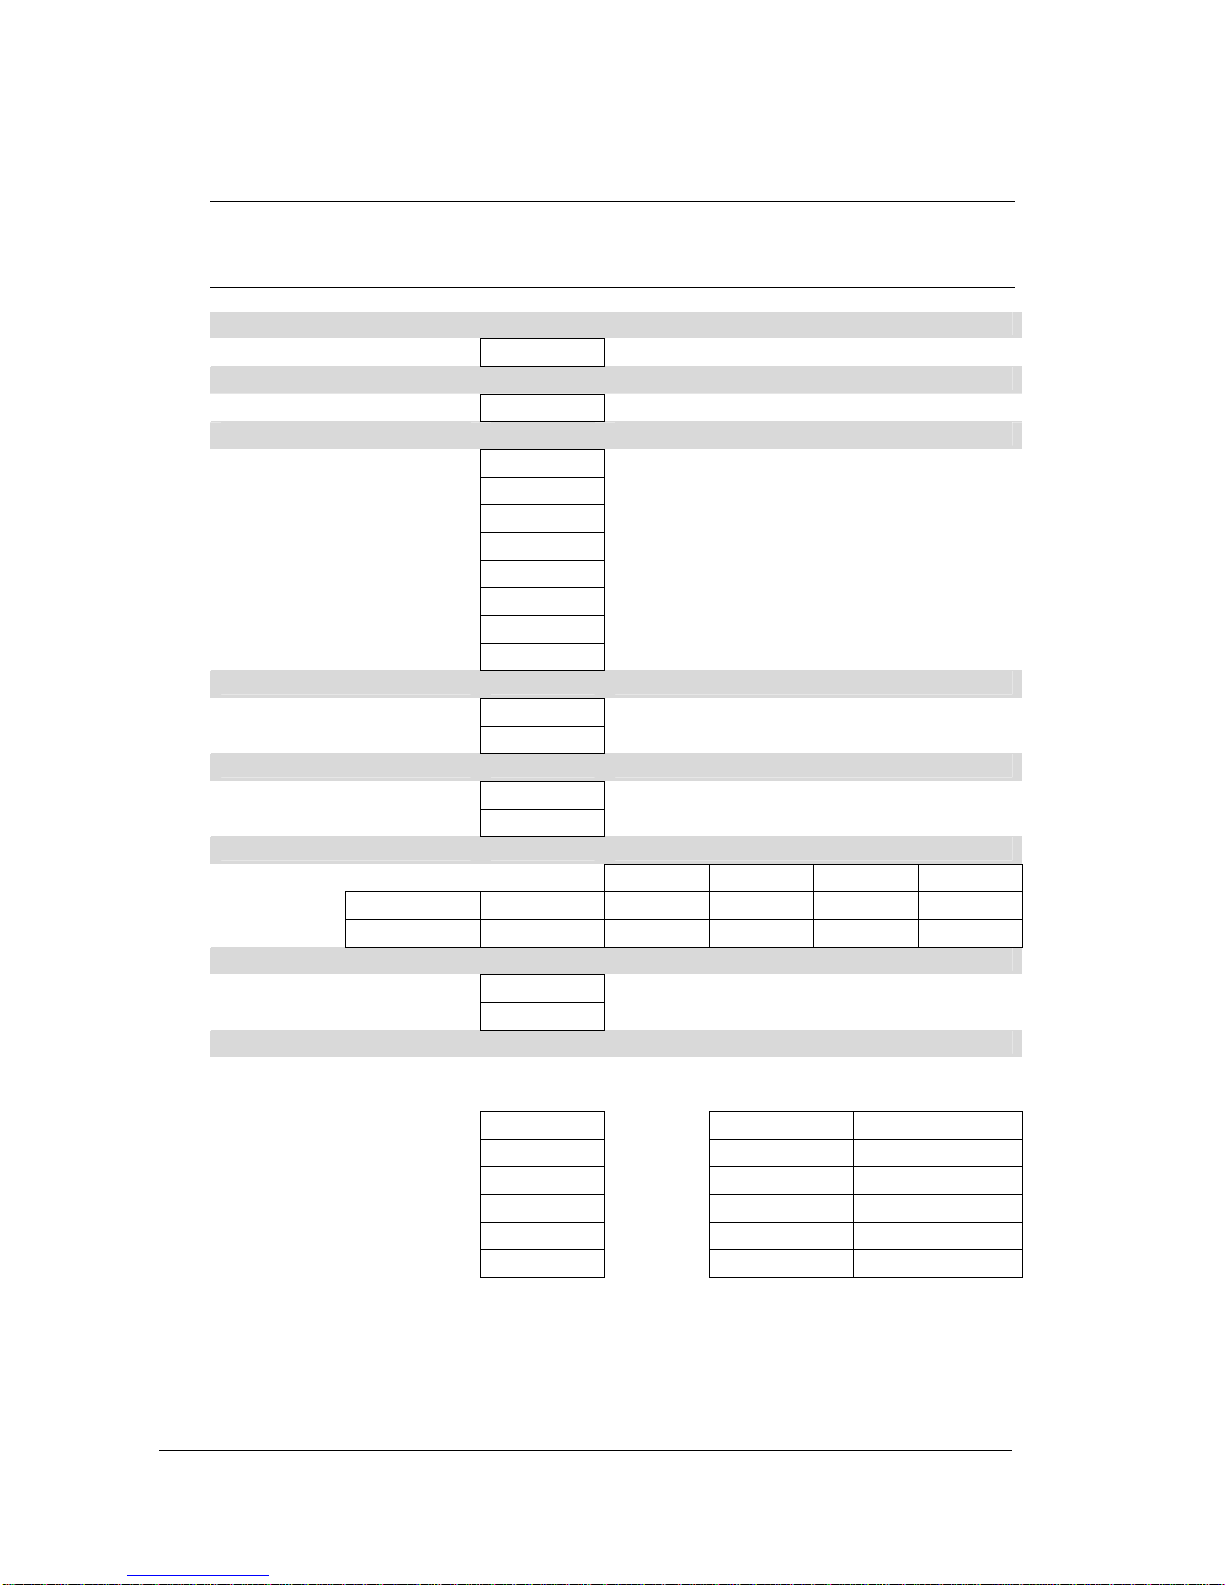
Installation Checklist
CHECK OK / NOTES
Delivery
Supplied complete no transit damage
Position
Level and stable on sound, waterproof, self draining floor
Water
Isolator valve fitted Accessible, all fittings sound, no leaks
DCVs fitted (Washtech only) Correct direction
Temperature 65 ± 5°C
Flow rate Minimum 20 litres per minute
Pressure 200-350 kpa, limiter fitted if above this range
Booster fitted if below this range
Cold water when required Pressure not above 350 kpa
Hardness Filter or softening if required
Power
Isolating switch Fitted, functional and accessible
Supply as specified Voltage, current, circuit breaker
Waste
Usually 40 mm Sound, no leaks
Air gap on pumped drain
Chemicals
product name container no leaks primed conc.OK
Detergent
RinseAid
Machine operation
Run several cycles
Confirm correct operation Including correct fill levels
Operator training
Confirm Operator has copy of Operator Manual and is familiar with procedures
Start-up Model / Serial
Pre-rinse and racking Owner
Machine operation Location
Drain Technician
Clean Date
Shut-down Signed
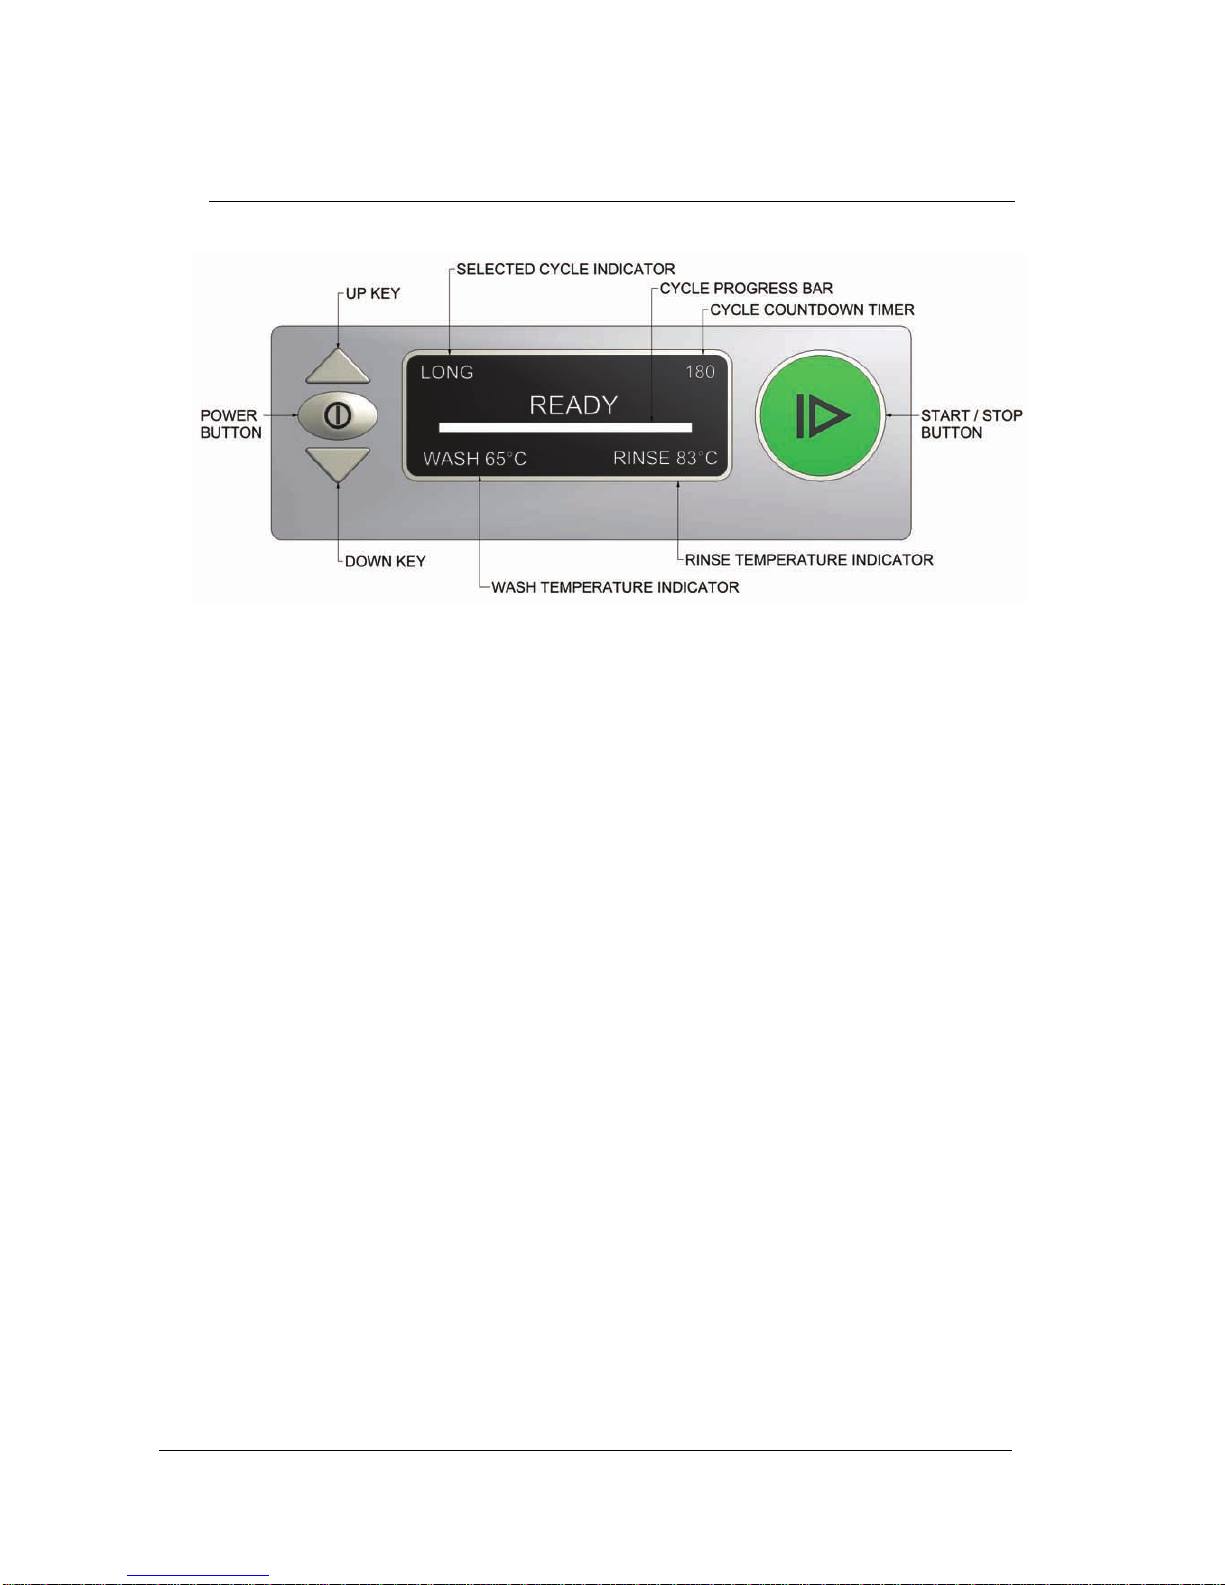
Operating Instructions
Start up Fit wash pump filter, drain upstand and scrap trays, and shut door.
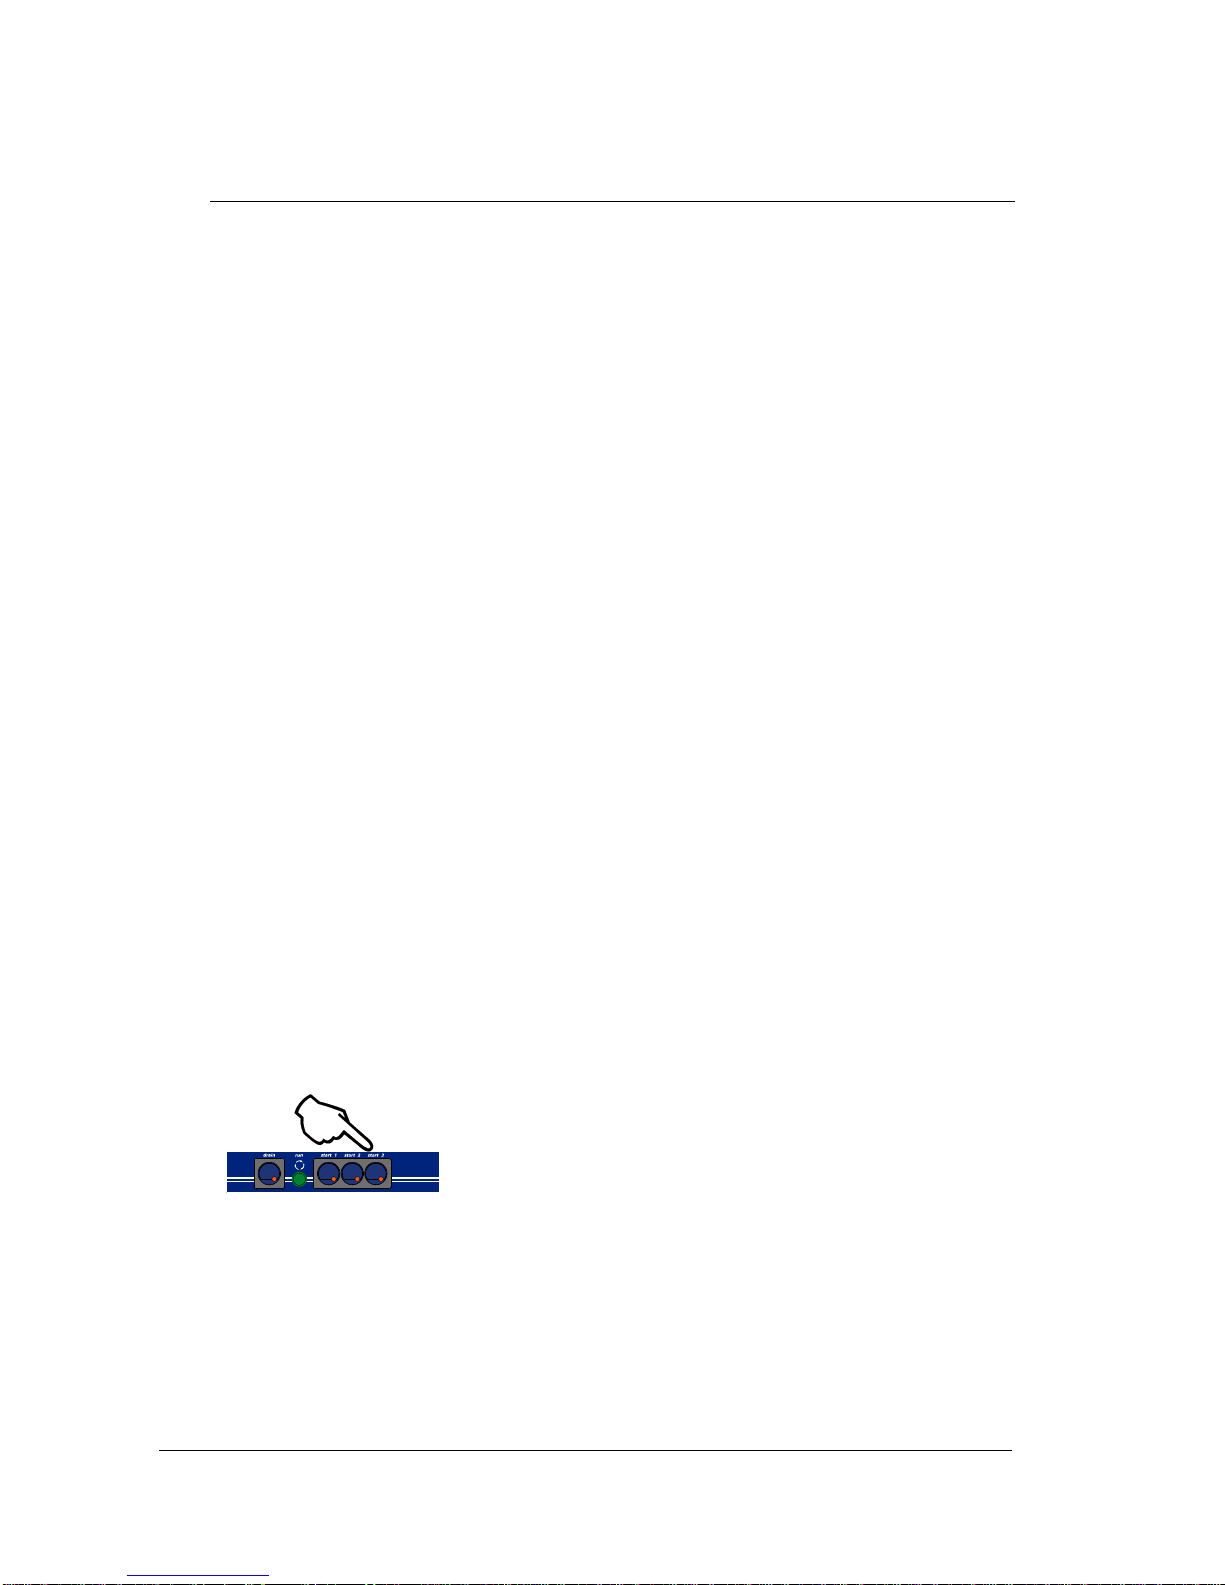
Turn wall power switch on and press machine Power Button for 1 second.
Start/Stop button glows white and machine fills automatically.
Machine starts heating when wash tank is full.
Start/Stop button glows orange while heating.
Start/Stop button glows green when rinse temperature is up to required.
Operation Select SHORT, MEDIUM, LONG or MANUAL CYCLE by pressing Up or
Down keys. SHORT, MEDIUM and LONG CYCLES correspond to 1, 2 and
3 minute cycles accordingly.
Load rack into machine and shut door to start the cycle.
For undecounter models press Start/Stop button to start the cycle.
The Start/Stop button glows red while machine operates.
Pressing the Start/Stop button during operation will terminate the cycle.
When red light goes out, cycle is complete.
When MANUAL WASH is selected the washing cycle is not timed.
The MANUAL WASH is started by pressing the Start/Stop button.
Washing continues until the Start/Stop button is pressed again.
Rinsing and draining follow washing to complete the dishwashing cycle.
NOTE: The cycle time might be longer than specified if water supply
temperature is below required.
Shut down every night
Select DRAIN & STANDBY CYCLE by pressing Up or Down keys.
Remove drain upstand, close door and press Start/Stop button.
Machine will drain for 100 seconds with a cleaning rinse in a middle of cycle.
When drain & clean are complete machine will go in to standby mode.
Remove scrap trays and filter and rinse clean.
Replace filter, drain upstand and scrap trays.
Dishwashing Procedures forbestresults
Note: these are general instructions to assist in getting the best performance from Starline dishwashers – some
comments and / or illustrations may not apply to every unit.
Installation
Read the Operator Manual. Correct installation, including an adequate supply of
water at the correct temperature and pressure is essential for effective operation of
your machine. Refer installation instructions for details. Drain hose outlet height
is important on some models. Always install on a sound self-draining floor.
Water softening is recommended in hard water areas - especially for glasswashing.
Pre-rinsing
Pre-scraping of dishes is required by hygiene regulations.
The best method is to pre-rinse with a pre-rinse spray unit -
or alternatively by scraping or dunking in water.
Cutlery Procedures
Pre-soak cutlery in warm water, preferably containing cutlery
pre-soak compound - refer your chemical supplier.
Do not overfill cutlery containers. Cutlery should be loose with
handles down. Sort after washing rather than before. Cutlery
of only one type nests together and obscures wash water.
Racking Procedures
Do not overload racks, minimize the overlap
of crockery. Cycle times are short and water
consumption per cycle low - so there is no
advantage in overloading racks.
Cycle Times
For multi-cycle machine use the longest
cycle whenever possible. Note that water
consumption does not increase with
longer cycles. Only choose shorter, faster
cycles when necessary.
Detergent
Use of correct type and quantity of low foaming commercial grade
detergent is essential to the performance of the machine. We
strongly recommend that you use a professional dishmachine
chemical supplier - and will be pleased to recommend a supplier in
your region. Discuss with them the use of cutlery pre-soak
solution, detergent and drying agent.

Dishwashing Procedures forbestresults
Drying
Single tank commercial dishwashers do not have a drying
cycle. However, the machines do rinse at high temperatures
which promote fast drying particularly when drying agents are
used. We recommend prompt removal of the rack from the
machine - leave the rack on the bench for 2 to 3 minutes
before emptying. This time will be reduced with correct use
of drying agent (rinse fluid) which reduces water surface
tension and allows water to drain quickly from washware.
For advice on drying agents and injectors refer to your
chemical supplier.
Daily Cleaning
It is essential that the machine is drained and cleaned at the end of each day. Drain
the machine then remove, clean and replace filters as per the operating
instructions. Regularly check the wash and rinse jets and clean them if necessary –
see below.
Regular Cleaning
Remove scrap trays1and wash pump inlet filter2, where
fitted, and rinse or brush clean.
Remove wash and rinse arms by undoing the central
thumbscrews3. If necessary, remove the end cap screws4
from the wash arms and the end screws5from the rinse
arms and flush the arms with water and/or use a toothpick or
paperclip to clear jets.
Note: arms and filters vary with model and may appear
different from this illustration e.g. those models with plastic
wash arms have removable jets for ease of cleaning.
Regular Servicing
Regular servicing of the dishwasher is absolutely essential to
keep the machine in top working condition and obtain the
best performance.
Please contact Washtech or your Authorised Service
Provider to organize regular servicing of the dishwasher -
discuss a Preventative Maintenance Agreement for optimum
performance and long machine life.
Note: these are general instructions to assist in getting the best performance from Starline dishwashers – some
comments and / or illustrations may not apply to every unit.

Warranty
WASHTECH warrants that new STARLINE products are free from defects in material or
workmanship for a period of one year from the date of purchase.
EXTENT OF WARRANTY
Washtech shall repair or, at its discretion, replace any part of the machine found to be defective.
The labour for the repairing or the replacement of defective parts shall be provided during normal
office hours at no cost to the user.
Washtech shall not otherwise be liable for any other loss or damage arising out of any person’s use
or inability to use the machine.
Washtech shall not be liable for the cost of work done outside normal office hours, and for travel
costs outside regional centres.
Washtech shall not be liable for detergent related issues, including detergent pump adjustment or
squeeze tube replacement, drain pump blockages and other related damages.
CONDITIONS OF WARRANTY
This warranty shall not be binding on Washtech unless the warranty registration card is
completed and received by Washtech within 30 days from the date of purchase
This warranty shall be void if:
The equipment has not been properly installed by an authorised Washtech Service Provider.
Persons other than Washtech Service Providers have undertaken repairs or attempts at repair.
The equipment has not been operated and maintained in accordance with the Operator Manual.
Damage has resulted from shipment, handling, fire, water, accident, abuse, detergent equipment
fitted by others or any other event beyond the control of Washtech.
Any defect must be notified to Washtech or its authorised dealer within 30 days of the
discovery of the defect.
IF YOU WISH TO MAKE A WARRANTY CLAIM
First check the things you can do for yourself. Refer to the Operator Manual provided to ensure
that the machine is correctly installed and that you are familiar with its operation. If a service
technician calls and determines that the equipment is not defective you will be charged with the
cost of the call-out.
If you need service during the warranty period, first contact the dealer from whom you purchased
the equipment. The Dealer will arrange service by Washtech or an authorised Starline Service
Provider.
If you have a problem contacting your dealer or if your dealer is unable to assist, then please
contact the Service Department, Washtech, telephone 09 829 0923.
When you write or call you will need to provide your name and address, the model and serial
number (refer lower front cover) and the date of purchase so that your warranty claim may be
validated.

Information supplied in this manual is copyright. No part of this work may be
reproduced or copied in any form or by any means, electronic or mechanical
without the express permission of the author / publisher.
Table of contents
Other Starline Dishwasher manuals


