Starmobile UP User manual

www.starmobile.com.ph
Happy Man by Starmobile
@happymanph
@happymanph
USER MANUAL

01
02
08
09
10
12
14
15
16
17
20
22
23
25
26
28
Introduction
About Android
Battery Information
Installing the SIM and Memory Card
Device Controls
Basic Operation
Connecting to the Internet
Setting up your Google Account
Communication
Built-in Apps and Functions
USB and Bluetooth Connectivity
Android Settings
Special Features
Safety and Notice
Troubleshooting
Starmobile Warranty
Table of Contents

Thank you for purchasing the Starmobile UP Max.
Please read the instructions in this user manual prior to operating your
device. Starmobile does not assume any liability from improper operation
or accidental damage of the unit.
If setup and usage of your unit dier from what is detailed in this user
manual, please visit the Starmobile website (www.starmobile.com.ph) for
the latest product information or email us at info@starmobile.com.ph
NOTE: Copyright laws and regulations protect the content of this user
manual. You may not, by any means, copy any part of this guide in any
form or through any cable or wireless network for transmission, or have this
user manual translated into any language without permission from
Starmobile.
1
Introduction

2
Introducing Android: The world's most powerful mobile platform
There's no other software quite like Android. Google engineered Android,
and Google’s own apps run best on it. And with millions of apps, games,
songs, and videos on Google Play, Android is great for fun, and for getting
things done. Android devices come in all kinds of sizes, with all sorts of
features, and at all sorts of prices. With Android, you’re in control of your
mobile experience.
Your stu, always available, no wires needed
When you sign in to your phone or tablet with Google, you can access all
of your Google stu (contacts, photos, Gmail and more) quickly and easily.
You can also enjoy all of your favorite entertainment across your Android
devices and even your computer — no wires, no syncing.
Play everywhere you go
Google Play is the easiest way to enjoy all your favorites: more than
700,000 apps and games, millions of songs, thousands of movies and TV
shows, the world's largest collection of eBooks, and a growing selection of
magazines. With Google Play, there's no wires, no hassle, just pure
entertainment. You can now read, listen and watch anywhere you want—on
your tablet, phone, or in any browser at play.google.com.
Powerful, simple, and beautiful
Millions of people use Android because it’s so powerful yet still so easy. The
home screen, apps, and widgets are simple to use right out of the box, but
completely customizable. With Android, you can create a unique mobile
experience that’s just right for you.
Widgets
Put the important stu right within reach and interact with your favorite
apps directly from your home screen with widgets — see the latest sport
scores, view your favorite photos, check the weather or peek at your inbox
all without having to open dierent apps or leave the home screen.
Notifications
An easy-to-read notification tray gives you quick access to your calls,
incoming texts, and new emails in a non-intrusive way.
About Android
(Source: www.android.com)

3
Multi-tasking
With Android, you can quickly and seamlessly switch between apps and
pick up whatever you were doing. Juggling multiple tasks at once on a
mobile device has never been easier.
Voice typing and actions
Control your Android device with your voice. Simply touch the microphone
on the keyboard and start talking to write emails, SMS, or any other text —
more than 30 languages supported. Text appears in real time, so there’s no
waiting.
Photos and videos
Capture special moments with great photos and videos, explore your shots
and quickly share your favorites in any way that you want.
WHAT’S NEW WITH ANDROID 5 LOLLIPOP?
Material Design
A bold, colorful, and responsive UI design for
consistent, intuitive experiences across all your devices.
Responsive, natural motion, realistic lighting and shadows,
and familiar visual elements make it easier to navigate your device.
Vivid new colors, typography, and edge-to-edge imagery help to focus
your attention.
Notifications
New ways to control when and how you receive messages - only get
interrupted when you want to be.
View and respond to messages directly from your lock screen. Includes the
ability to hide sensitive content for these notifications.
For fewer disruptions, turn on Priority mode via your device’s volume
button so only certain people and notifications get through. Or schedule
recurring downtime like 10pm to 8am when only Priority notifications can
get through.
With Lollipop, incoming phone calls won’t interrupt what you’re watching or
playing. You can choose to answer the call or just keep doing what you’re
doing
(source: www.android.com)

4
Control the notifications triggered by your apps; hide sensitive content and
prioritize or turn o the app’s notifications entirely.
More intelligent ranking of notifications based on who they’re from and the
type of communication. See all your notifications in one place by tapping
the top of the screen.
Battery
Power for the long haul.
A battery saver feature which extends device use by up to 90 mins.
Estimated time left to fully charge is displayed when your device is
plugged in.
Estimated time left on your device before you need to charge again can
now be found in battery settings.
Security
Keep your stu safe and sound.
SELinux enforcing for all applications means even better protection against
vulnerabilities and malware.
Use Android Smart Lock to secure your phone or tablet by pairing it with a
trusted device like your wearable or even your car.
New Quick Settings
Get to the most frequently used settings with just two swipes down from
the top of the screen.
New handy controls like flashlight, hotspot, screen rotation and cast screen
controls.
Easier on/o toggles for Wi-Fi, Bluetooth, and location.
Manually adjust your brightness for certain conditions. Then, adaptive
brightness will kick in based on ambient lighting.
Connectivity
A better internet connection everywhere and more powerful Bluetooth low
energy capabilities.

5
Improved network handos resulting in limited interruption in connectivity.
For example, continue your video chat or VoIP calls without interruption as
you leave the house and switch from your home Wi-Fi back to cellular.
Improved network selection logic so that your device connects only if there
is a verified internet connection on Wi-Fi.
Power-ecient scanning for nearby Bluetooth low energy (“BLE”) devices
like wearables or beacons.
New BLE peripheral mode.
Runtime and Performance
A faster, smoother and more powerful computing experience.
ART, an entirely new Android runtime, improves application performance
and responsiveness.
Up to 4x performance improvements.
Smoother UI for complex, visually rich applications.
Compacting backgrounded apps and services so you can do more at
once.
Support for 64 bit devices, like the Nexus 9, brings desktop class CPUs to
Android.
Support for 64-bit SoCs using ARM, x86, and MIPS-based cores.
Shipping 64-bit native apps like Chrome, Gmail, Calendar, Google Play
Music, and more.
Pure Java language apps run as 64-bit apps automatically.
Media
Bolder graphics and improved audio, video, and camera capabilities.
Lower latency audio input ensuring that music and communication
applications that have strict delay requirements provide an amazing
realtime experience.
Multi-channel audio stream mixing means professional audio applications
can now mix up to eight channels including 5.1 and 7.1 channels.

6
USB Audio support means you can plug USB microphones, speakers, and
a myriad of other USB audio devices like amplifiers and mixers into your
Android device.
OpenGL ES 3.1 and Android extension pack brings Android to the forefront
of mobile graphics putting it on par with desktop and console class
performance.
A range of new professional photography features for Android Lollipop
that let you:
Capture full resolution frames around 30 fps.
Support raw formats like YUV and Bayer RAW.
Control capture settings for the sensor, lens, and flash per individual frame.
Capture metadata like noise models and optical information
State of the art video technology with support for HEVC to allow for UHD
4K video playback, tunneled video for high quality video playback on
Android TV and improved HLS support for streaming.
OK Google
Easy access to information and performing tasks.
Even if your screen is o, you can say "OK Google" on devices with digital
signal processing support such as Nexus 6 and Nexus 9.
Talk to Google on the go to get quick answers, send a text, get directions
and more.
Android TV
Support for living room devices.
User interface adapted for the living room.
Less browsing, more watching with personalized recommendations for
content like movies and TV shows.
Voice search for Google Play, YouTube and supported apps so you can just
say what you want to see.
Console-style Android gaming on your TV with a gamepad.
Cast your favorite entertainment apps to your big screen with Google Cast

7
support for Android TV devices.
Accessibility
Enhanced low vision and color blind capabilities.
Boost text contrast or invert colors to improve legibility.
Adjust display to improve color dierentiation.
Now in 68+ languages
15 new additions
Basque, Bengali, Burmese, Chinese (Hong Kong), Galician, Icelandic,
Kannada, Kyrgyz, Macedonian, Malayalam, Marathi, Nepali, Sinhala, Tamil,
Telugu.
Device set up
Get up and running in no-time
Tap & go: instant set up of your new Android phone or tablet by simply
tapping it to your old one (requires NFC).
Whenever you get a new Android phone or tablet, you can bring over your
apps from Google Play automatically from any of your old Android devices.
And a whole lot more
Tap & pay: easily manage multiple payment apps by quickly switching
between them.
Print preview and page range support.
Revamped display for battery, Bluetooth, data usage, and Wi-Fi settings
and new search functionality in settings.
New device level feedback for Nexus devices in Settings > about phone >
send feedback.
Easier sharing with improved ranking of your options within the share
menu.
Android Beam: lets you share a file with someone nearby by gently tapping
the two devices together.
Where supported by the hardware, your device will wake up as soon as you

8
Battery Information
pick it up or tap the screen twice.
Improved hardware keyboard accessory support including support for
multilingual, emoji input, search key, and improved app and system key
chords.
INSTALLING THE BATTERY
1. Make sure the unit is turned o.
2. Gently lift the battery cover.
3. Align the metal connectors of the battery with the terminals.
4. Push the battery in until it locks into the slot.
5. Put the battery cover back in place.
REMOVING THE BATTERY
1. Make sure the unit is turned o.
2. Gently lift the battery cover.
3. Raise the battery from one end to remove it from the slot.
4. Put the battery cover back in place.
CHARGING THE BATTERY
The Starmobile UP Max needs to be fully charged prior to first use.
1. Make sure the unit is turned o.
2. Plug one end of the charger into the USB/charging port then plug the
other end into a standard AC power outlet.
3. Once connected, the battery icon will repeatedly flash on the screen.
4. If the device has been depleted of battery life, it will take a while before a
charging indicator appears on screen after it has been plugged to a
power source.
5. When the battery level icon has stopped flashing, this means that
charging is complete. Disconnect the charger from both the electrical
outlet and the device.
ATTENTION
* Charging must be performed in well-ventilated areas with temperatures
ranging between -10 degrees Celsius and +45 degrees Celsius.
* It is normal for the device and charger to become warm during charging.
* Use only the supplied Starmobile charger
* Using accessories of other manufacturers or vendors may invalidate

9
Installing the SIM Card/s
any approval or warranty applicable to the device. It may result in
non-operation of the device or loss of information.
* If the device shuts down automatically or indicates “Battery is Low”,
charge the battery.
* If the battery has not been entirely used up before recharging, the
charging time may decrease.
OPTIMIZING BATTERY PERFORMANCE
You can extend your battery's life between charges by turning o features
that are not in use. You can also monitor how apps and system resources
consume battery power.
To adjust the settings described here, first touch the Settings icon on the
Home or All Apps screen.
Extending battery life
1. If Wi-Fi, Bluetooth, or GPS are not in use, disable or deactivate the
function. The GPS setting is located in Settings > Personal > Location
services.
2. Don't leave the Maps or Navigation apps open on the screen when not in
use. They use GPS (and thus more power) only when they're running.
2. Don't leave the Maps or Navigation apps open on the screen when not in
use.
3. Turn down screen brightness and set a shorter Sleep timeout: Settings >
Device > Display.
4. If you don't need it, turn o automatic syncing for all apps: Settings >
Personal > Accounts & Sync. Note that this means you need to sync
manually to collect messages, email, and other recent information,
and won't receive notifications when updates occur.
5. If a mobile or Wi-Fi network is inaccessible, switch to Airplane mode.
Press and hold the power switch until the options dialog appears. Select
Airplane Mode.
INSTALLING THE SIM CARD/S
The Starmobile UP Max can accommodate two SIM cards (1 Micro + 1
Regular)
1. To install the SIM cards, make sure that the unit is turned o.
2. Open the back casing gently and remove the battery.
3. Slide in the SIM cards with the beveled edges properly aligned with

the card slot/s.
4. Once the SIM card/s are in place, reinstall the battery and the cover.
INSTALLING THE MEMORY CARD
The Starmobile UP Max supports Micro SD cards of up to 32GB in capacity.
1. To install, make sure that the unit is turned o.
2. Open the back casing gently and remove the battery.
3. Insert the memory card into the designated slot with the beveled edge
properly aligned.
4. Once the memory card is in place, reinstall the battery and the cover.
PORTS AND KEYS
Please refer to the Quick Start Card (included in the box) for the location of
control keys and ports.
Power Key
* Press and hold to switch on/o the device. If device is in use, press once
to turn o screen backlight. If device is on sleep mode, press once to
activate screen display.
Volume Key
* Press to adjust ringer volume, call volume, and media volume during
music and video playback.
Micro USB Port
* Allows you to connect a Micro USB cable for charging or for data
exchange/transfer.
Earphone Port
* Allows you to plug in an earphone or any external audio device with
a 3.5mm jack.
NAVIGATION BUTTONS
The navigation buttons are located below the touchscreen.
Back Key
* Touch to return to the previous screen you were working in, even if it was
in a dierent app. Once you back up to the Home screen, you can’t go
back any further in your history.
10
Device Controls

11
Home Key
* Opens the Home screen. If you're viewing a left or right Home screen,
this opens the central Home screen.
Recent Apps
* View recently-used applications
FAVORITES TRAY
The favorites tray is located in the screen just above the navigation buttons.
It displays the same set of functions regardless of which home screen you
are viewing.
* Dialer -place a call or see your call log.
* Contacts - view your phonebook.
* All Apps - see all your apps and widgets.
* Messaging - create or read text messages.
* Camera – turn on the camera.
HOME SCREEN
The middle of your Home Screen can hold app and widget icons, plus
folders.
* To open an app, folder, or widget, touch its icon.
* To see additional Home screens, swipe your finger quickly left or right.
NOTIFICATIONS BAR
The notifications bar is located at the top of your screen. Here, you'll see
icons, which display the current wireless and network connection strength,
battery level, time, and other reminders.
Icons on the left tell you which apps have sent you notifications; for
example, that a message has arrived, or it's time for a meeting.
Icons on the right display the current wireless and network connection
strength, battery level, time, and more.
To see the entire notifications bar, swipe your finger down from the top of
the screen.

12
TURNING THE POWER ON AND OFF
1. Press and hold the Power Key until the device switches on.
2. To turn the unit o, press and hold the Power Key and select “Power O”
or “Restart”.
USING THE LOCK SCREEN
To protect personal information, you can adjust your device’s lock screen
settings:
1. From the Home or All Apps screen, touch the “Settings” icon.
2. Scroll down and go to “Security”.
3. Select Screen lock.
4. Choose the type of lock you wish to use and follow the on-screen
instructions.
Once enabled, a lock screen display will show up whenever your screen
wakes up, prompting you to enter the pattern, PIN, or other specified key.
While the screen is locked, you can respond to incoming calls in three ways.
Touch the white phone icon and slide over the answer, reject, or send
message option.
* Answer call - start talking to the caller.
* Reject call - decline the call.
* Send a message - opens a list of default text messages. Touch one to
send it to the caller immediately.
TOUCHSCREEN GESTURES
Touch or tap to manipulate icons, buttons, menus, the onscreen keyboard,
and other items on the touchscreen. You can also change the screen's
orientation.
To select or activate something onscreen, touch it.
To type something such as a name, password, or search terms, just tap
where you want to type. A keyboard pops up that lets you type into the
field.
Other common gestures include:
* Touch & hold: Touch & hold an item on the screen by touching it and not
lifting your finger until an action occurs.
Basic Operation

13
* Drag: Touch & hold an item for a moment and then, without lifting your
finger, move your finger on the screen until you reach the target position.
For example, you can drag to reposition shortcuts on the Home screen.
* Swipe or slide: Quickly moves your finger across the surface of the
screen, without pausing when you first touch (so you don't drag
something instead). For example, you can slide a Home screen left or
right to view the other Home screens.
* Double-tap: Quickly tap a screen to zoom in. Double tap again to zoom
out.
* Pinch: When viewing maps, web pages or photos, place two fingers on
the touchscreen at once and pinch them together to zoom out or spread
them apart to zoom in.
* Rotate the screen: The orientation of the screen rotates with the device
as you turn it from upright to its side and back again. You can turn this
feature on and o.
GOOGLE SEARCH
Google Search can help you find anything you need on your device or on
the web.
* At the top of any Home screen, touch the Google Search Bar to type
your search term, or the Microphone button to make a voice command.
As you type, suggestions from Google web search will appear below the
Search Box, and results from your device (such as apps and contacts) will
appear below that.
Touch a suggestion to search for it immediately, or touch its arrow just to
add the term to the search field without starting to search.
To change the way Google searches on your device or the web:
1. Touch Google at the top of the screen.
2. Select the Menu key at the lower left corner of the screen.
3. Select Settings.
4. Choose either Searchable Items or Google Search.
CHANGING THE WALLPAPER
1. Touch & hold anywhere on a Home screen that's not occupied. A list of
options will appear.
2. Select a wallpaper source:
*Gallery: displays pictures that you've taken with your Camera or
downloaded to your device.
*Video Wallpapers: displays selection of videos stored in your device.
Select the Camera icon to capture and record a new video.

14
Connecting to the Internet
*Live Wallpapers: displays a scrolling list of animated wallpapers.
*Wallpapers: displays thumbnails of default images. Touch a thumbnail
to see a larger version.
3. For wallpapers selected from the Gallery, you will be asked to crop out
the desired portion of the image before setting it as your wallpaper.
WI-FI CONNECTION
Connect to the Internet via a Wi-Fi router or access point.
1. Go to the Settings menu and select Wi-Fi.
2. Swipe the slider to enable Wi-Fi connectivity.
3. Select your preferred network. If the network is open or free for public
use, you will be automatically connected.
4. If the network is secure, a pop-up window will then appear, prompting
you to type in the network password.
5. Click “Connect” after typing in the password. Your device will obtain the
network IP address automatically.
6. If your device does not automatically detect wireless networks to
connect to, click “Scan” to search for networks manually.
7. To manually add Wi-Fi networks, click “Add” and input the Network SSID,
Security, Type and Password.
8. Click on the options key to access advanced Wi-Fi options, which allow
you to modify network notification and sleep mode, as well as check the
device’s MAC and IP addresses.
9. Once your device is connected to a Wi-Fi network, you can open the
browser and input web addresses to access the Internet.
CELLULAR CONNECTION
The Starmobile UP Max is capable of connecting to cellular data services.
To activate the cellular connection:
1. Go to the Settings menu and select More.
2. Click on Mobile networks.
3. Select Data connection and choose which mobile network you wish to
use.
4. If there is still no data connection contact your mobile service provider
and ask for the full details of the data service.
NOTE: Only one SIM card at a time can be used for data connection.

15
Setting up your Google Account
Wi-Fi TETHERING (HOTSPOT)
Use the Starmobile UP Max as a portable Wi-Fi hotspot to share mobile
Internet connectivity with other mobile devices.
1. Go to the Settings menu.
2. Under Wireless & Networks, select More > Tethering & Portable Hotspot.
3. Click on the word “Wi-Fi Hotspot” to open the Wi-Fi Hotspot settings
menu.
4. Click on “Set Up Wi-Fi Hotspot” and assign your desired Network SSID
(hotspot name), security type, and password. Click Save afterwards.
5. Slide the Wi-Fi Hotspot button at the top of the screen from “O” to “On”.
CAUTION:
* Standard mobile data rates apply. Contact your mobile service provider
for more information.
* Frequent use of the Wi-Fi Hotspot and mobile Internet aect battery life.
NOTE: This step requires you to be connected to the Internet. Read
“Connecting to the Internet” for more information.
1. Go to the Android Settings menu and select “Add Account”.
2. Select Google and a series of screens will take you through the setup
process.
3. If you already have a Google or Gmail account, use your Gmail address
and password to log in.
4. If you don't have Gmail or any other Google Account, you may create
one by clicking on “New” or by going to www.gmail.com on your Android
Web Browser or on your PC.
Why use a Google Account?
A Google Account lets you organize and access your personal information
from any computer or mobile device:
Use Google Play. With a Google Account, you can play music, view movies,
read books, and shop for more in the Google Play store no matter what
computer or mobile device you’re using – as long as you have a Wi-Fi
connection. The same goes for your email, text messages, or social stream.
Synchronize and back up everything. Whether you draft an email, add a
contact's phone number, add an event to your calendar, or take a photo,

16
Communication
your work gets backed up continuously by Google and synchronized with
any computer where you use the same Google Account.
Access from anywhere. Check your latest calendar, email, text messages, or
social stream, wherever you are, no matter what computer or mobile device
you're using.
Keep your stu secure and available. Google works round the clock to
protect your personal data from unauthorized access and to ensure that
you get it when you need it, wherever you need it.
Simplify shopping. You can connect your Google account with Google
Wallet, which makes it easy to purchase music, books, apps, and more on
Google Play and other online stores.
Use other Google services. Your Google Account also lets you take full
advantage of any other Google apps and services that you may want to
use, such as Gmail, Google Maps Navigation, YouTube, Google Talk,
Messaging, and many more.
Source: support.google.com
CONTACTS
The Contacts application stores and manages all your contacts.
In the phonebook list interface, input the first character of the name you are
searching for in the cursor to display all records meeting the conditions.
Search results will be dierent due to dierent input content.
Select a contact and touch the contact's name. Options will allow you to
call or write a message to the contact. If you touch and hold the contact
number, additional options will be available to you such as Copy to
Clipboard, Associate SIM card and IP call contact.
MAKING A CALL
You can place calls from the Phone app, the Contacts app, or other apps or
widgets that display contact information. Wherever you see a phone
number, you can just touch it to dial.

17
Built-in Apps and Functions
CALL LOG
The Call log displays all the calls you've placed, received, or missed. It
provides a convenient way to redial a number, return a call, or add a
number to your Contacts. Within the Phone app, the Call log is under the
middle tab.
Touch a number to call back, or touch the icon beside it for more
information about the call.
Arrow icons beside a call indicate the type of call. Multiple arrows indicate
multiple calls:
* Red: Missed incoming call
* Blue: Received incoming call
* Green: Outgoing call
MESSAGING
You can compose, send, and receive text messages from your phone. You
can also compose, send, and receive multimedia messages, which contain
media files such as pictures, videos, and audio files.
To compose a text message:
1. Open the Messaging app
2. Click on the new message icon.
3. Type the name or the number of the recipient/s.
4. Type the text message.
5. Press send when finished.
FM RADIO
1. To begin, insert the supplied headset to the 3.5mm earphone port.
2. Click on the FM Radio icon in the Apps menu
3. Scan for available radio frequencies. It is recommended to go outdoors
when searching for frequencies to get a stronger reception.
4. To record, by pressing the menu located at the upper right corner of the
screen > select ‘Record FM’.
CAMERA
1. Click on the Camera icon in the Apps menu
2. Click on the settings icon to customize flash, exposure, resolution
settings, etc.

18
3. Press the shutter button to take photos or press the camera button to
take videos.
4. Press the switch camera button to toggle between the front and the rear
cameras.
NOTE: To take a screen shot, press and hold the Power key and the
Volume down button simultaneously. This function allows you to take a
photo of the entire screen displayed on your device.
GALLERY
The Gallery lets you view photos and pre-loaded videos. From the Gallery,
you can also share your photos and videos with your friends via messages,
Bluetooth, or email.
1. Click on the Gallery icon in the Apps menu
2. Select the folder you wish to view.
3. Swipe to view your photos and videos.
4. Select a photo or video you wish to view.
5. To share via Bluetooth or to an online account, click on the share button
on the upper right.
EMAIL
The email application allows you to compose, send, and receive emails
through your regular email account. You can configure and access multiple
email accounts using this application.
1. To configure an email account, connect to the Internet first (see
connecting to the Internet).
2. Go to Settings > Add Account > Email
3. Follow the onscreen instructions. Make sure you have your email details
such as the full address and password.
4. To read or compose emails, tap on the email icon in the All Apps menu.
PLAY STORE
To use Play Store to download Android apps, you'll need to have a Google
account with a Google email (either Gmail or a Google-hosted domain)
associated with your device.
NOTE: For any download attempts from Play Store on the web, you must
have strong connectivity on your device at the time you push the
download from play.google.com - connecting your device to the computer
via USB cable is not sucient. It is not possible to download the app first to
your computer and then transfer the app later to your device.
Other manuals for UP
1
Table of contents
Other Starmobile Cell Phone manuals
Starmobile
Starmobile FEATURESMART MINI User manual

Starmobile
Starmobile ROAR User manual
Starmobile
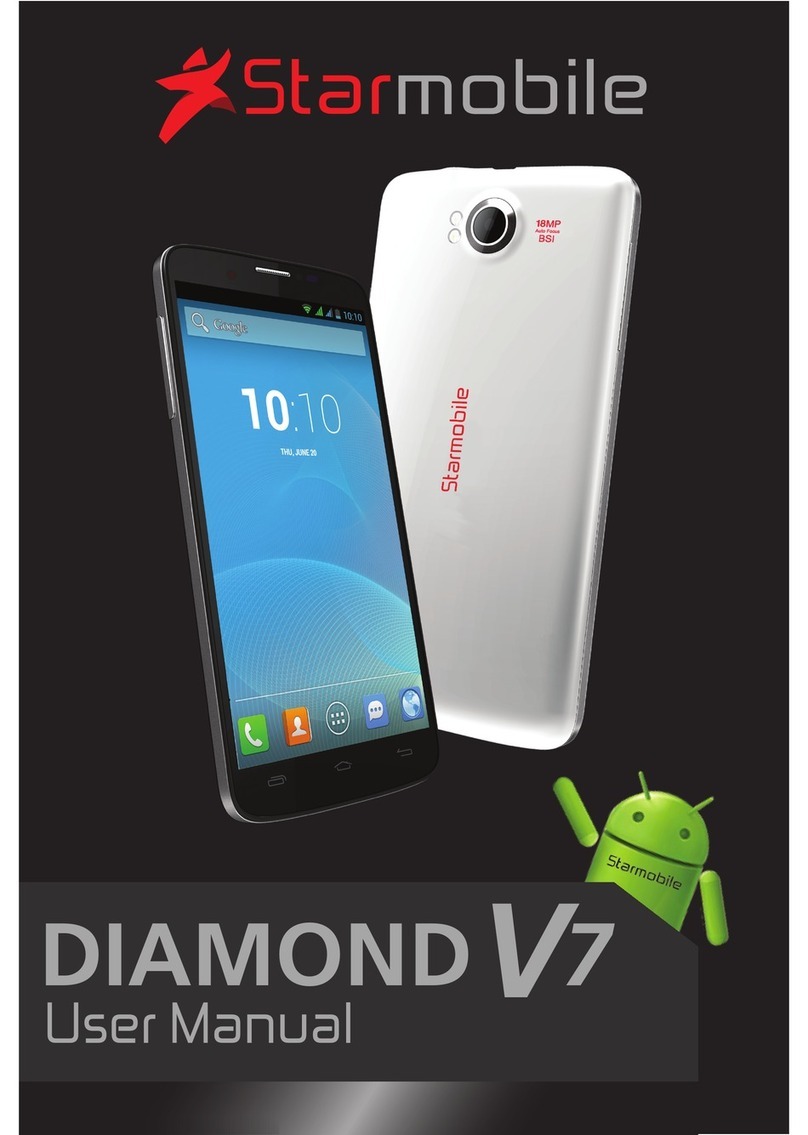
Starmobile DIAMOND V7 User manual
Starmobile
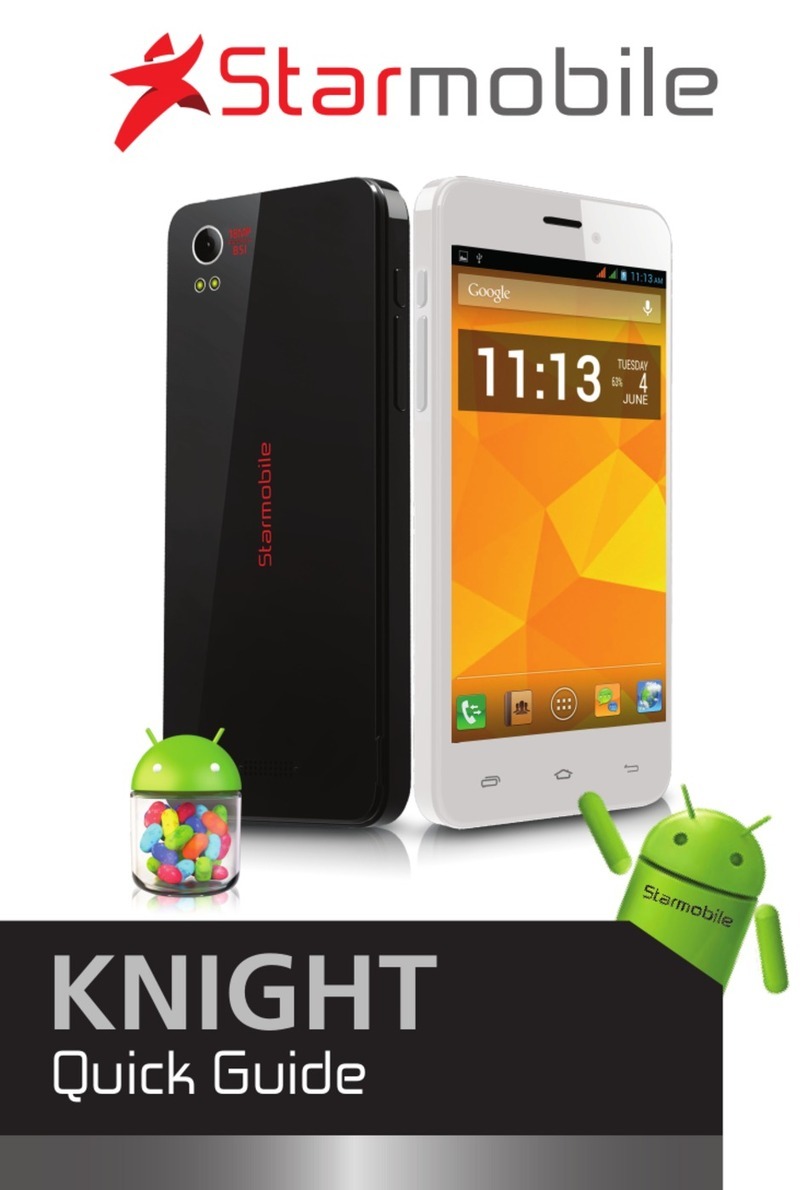
Starmobile KNIGHT User manual
Starmobile
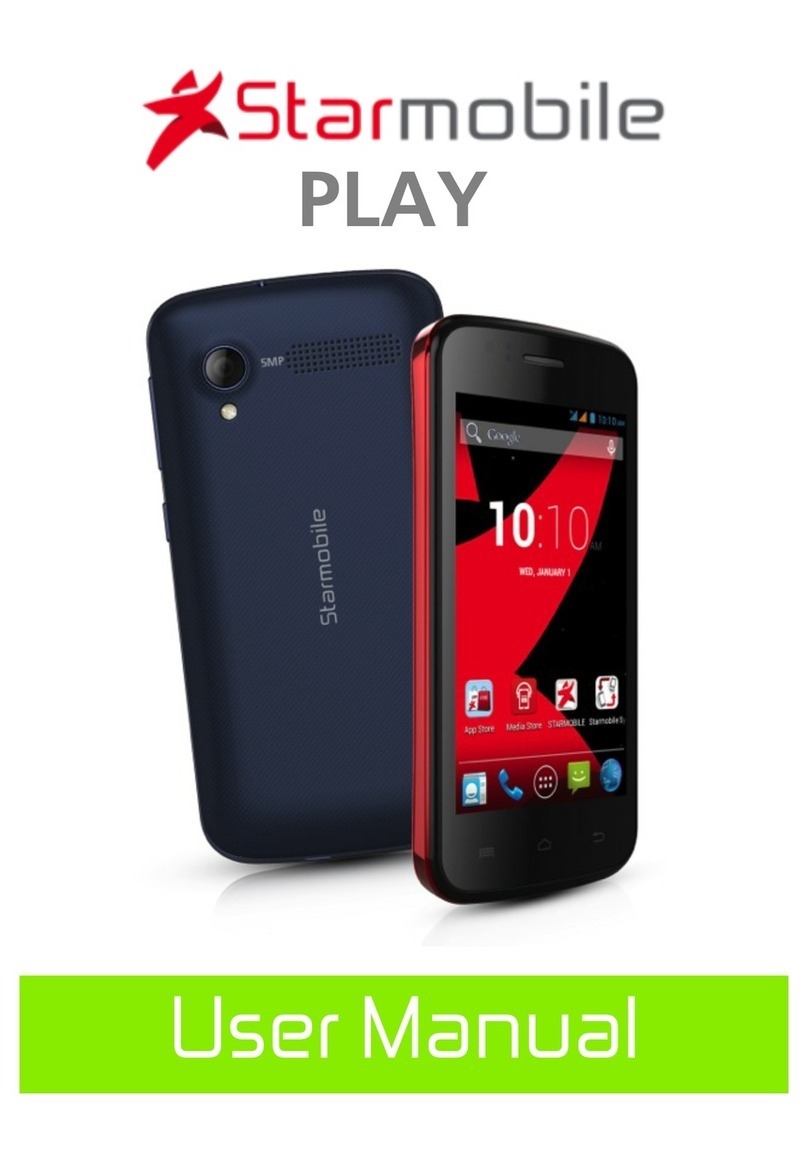
Starmobile Play User manual
Starmobile
Starmobile KNIGHT Luxe User manual
Starmobile
Starmobile diamond d1 User manual
Starmobile
Starmobile UP User manual
Starmobile
Starmobile MUSE User manual
Starmobile
Starmobile Neptune B503 User manual
