HHaarrddwwaarreeIInnssttaallllaattiioonn
Notes:
1. Please ensure that the power adapter included with PM1115UMF is the only
power adapter used with this product, as any variation could damage the Print
Server.
2. When installing the Print Server, please be sure to power on the Print Server
prior to powering the multifunction printer/printer.
3. Prior to installing the Multifunction Print Server, please ensure that the software
for the printer has been installed. This will facilitate Print Server installation, as
it will simplify the identification of the multifunction printer/printer software.
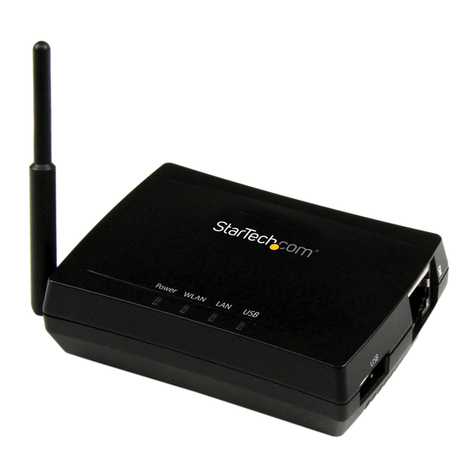
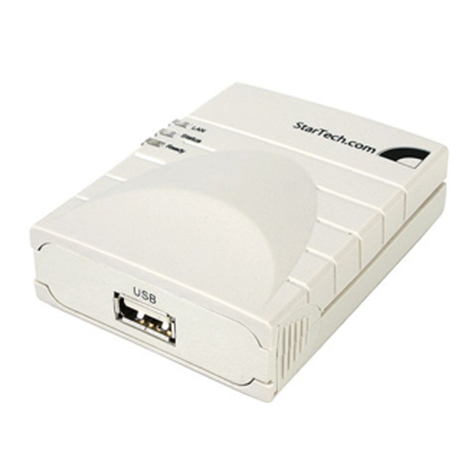
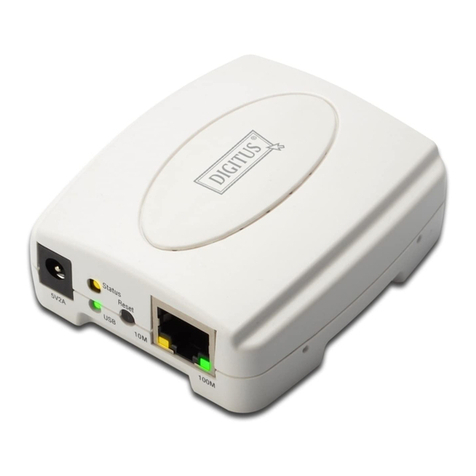
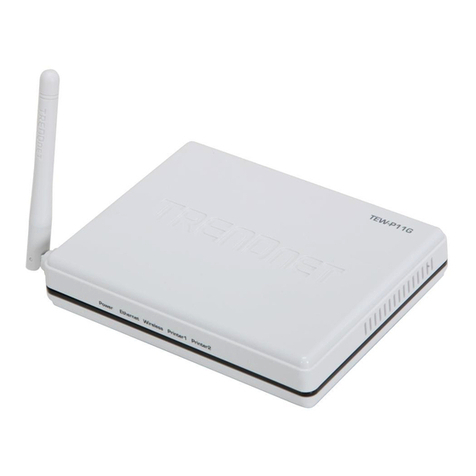
1. Connect one end of the USB cable to the USB port located on the front of
the Print Server.
2. Connect the opposite end of the USB cable to the multifunction Printer/Printer.
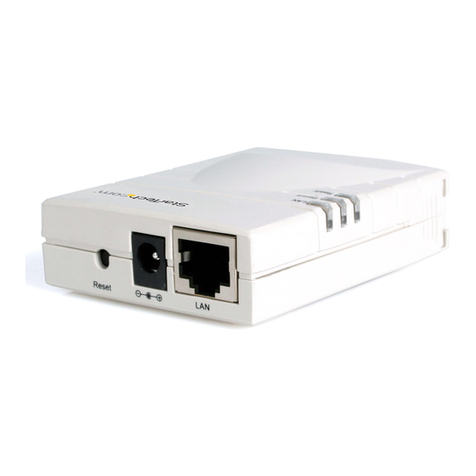
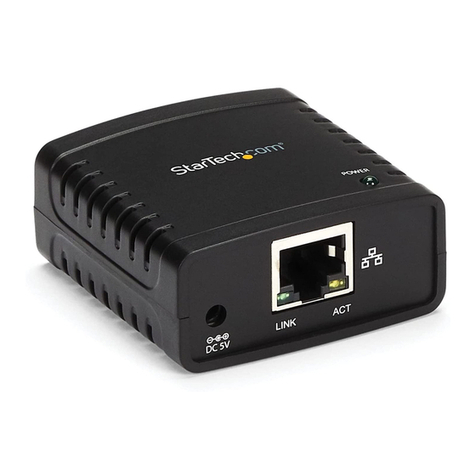
3. Connect one end of a Cat5 Ethernet cable to the RJ45 port, located on the back of
the Print Server.
4. Attach the remaining end of the Cat5 Ethernet cable to your network.
5. Connect the circular connecter located on the power adapter to the power port on the
Printer Server.
6. Connect the opposite end of the power adapter to an available power outlet. Once
power has been applied to the Printer Server, it will perform a Power-On-Self-Test.
Once the test is complete, the Status light on the Printer Server will turn off,
indicating that the Print Server is now connected.
7. Turn on the multifunction printer / printer.
WWiinnddoowwssXXPP//22000000MMuullttiiffuunnccttiioonnPPrriinnttSSeerrvveerrSSooffttwwaarreeIInnssttaallllaattiioonn
1. Insert the drivers CD into the CD-ROM / DVD-ROM drive.
2. Once the installation utility loads, you will be prompted to select the type of
installation (MFP Server Setup or Print Server Setup), as well as the desired
language. Please select MFP Server Setup, and English respectively.
3. After the selections have been made, the MFP Server Utilities - InstallShield
Wizard will be displayed. Please click on Next to advance.
4. The next screen allows you to specify the destination of the installation files. In most
cases, this will be left as the default location (C:\Program Files\MFP Server
Utilities), unless there are special circumstances requiring installation elsewhere.
Click Next to begin installing the MFP Server Utilities.
5. Following installation, the MFP Server Configuration screen will be displayed, and
provide the option to configure the MFP Server. Please select Yes, I want to
configure the MFP Server now, and click Next.
Instruction Manual
2
