Stec Archer N6004H Service manual

Archer N6004H S-TEC System Twenty Autopilot
System Overview
The S-TEC autopilot is a more
functional and modern replacement
than the original Piper Autocontrol IIIb
autopilot installed in our aircraft.
While the old autopilot was “state-
based” in that it sensed the angle of the
aircraft’s orientation in relation to vertical,
the S-TEC is “rate-based” and senses
the rate of roll and turn. This results in
much smoother and more accurate
corrections to the ailerons while the
autopilot is in control, and also means
that when a turn needs to be made
under autopilot control, it happens at
standard rate rather than at unpredictable
bank angles. To sense roll and turn rate
requires a turn coordinator (TC) gyro, and in
fact a turn coordinator instrument is built into
the autopilot and the entire assembly replaces
the TC on the instrument panel.
The TC component of the autopilot operates exactly as the
instrument it replaces, complete with a red flag indicating that electrical power to the
instrument has been lost. The TC powers up along with the battery master as usual.
The autopilot component is powered separately and has its own power switch, so both the
battery master and the AP MASTER switch need to be on for the autopilot to power up. It
takes many seconds for the autopilot to become ready after power-on, because it has to wait
for the TC to become stable and align its own platform in addition to performing its own
computer self-checks. The expected sequence of indications at power-up is given in the
Power-Up Test below.
Our autopilot does not have pitch axis control, but since it was an option, pitch control lights
appear on the face of the instrument. Do not be confused by their presence; there is no
altitude or pitch control capability and the ALT and TRIM UP/DN lights will remain off at all
times.
The ability of the autopilot to provide optimum assistance and performance is
directly proportional to the pilot's knowledge of its operating procedures.
Therefore, pilots should develop a thorough understanding of the autopilot and its
operating procedures in practice flight under Visual Meteorological Conditions
(VMC) prior to using it IFR or in busy airspace with heavy pilot workloads.
N6004H S-TEC Autopilot Reference![ page 1 / 5]!cvk 1/29/13

Controls
Controls for the autopilot appear in three places in the cockpit:
•On the front of the autopilot bezel itself is a L/R TURN knob used to manually
command turns while the autopilot is in stabilization mode. Pressing on this
knob also cycles the autopilot through its four modes of operation, discussed
below.
•The left seat control yoke has been modified to include an AP MODE SEL
switch, which performs the exact same function as the mode select button on
the autopilot bezel, and a red AP DISC switch which will immediately
disconnect the autopilot. The push-to-talk switch for the radios has been moved
to the left side of the yoke.
•On the instrument panel where the old autopilot was located (beneath the
oil pressure and temperature gauges) are two switches. AP MASTER is the
power switch for the autopilot. Next to it is an AP NAV SELECT switch which
controls which navigation radio is to be used for the course tracking modes.
This functions similarly to the DME SELECT switch on the panel, indicating
whether the top (NAV 1) or bottom (NAV 2) radios and CDIs are to be used.
Pilots should remember to turn the AP MASTER switch ON as a part of
normal engine start when the autopilot is to be used, and also to turn it OFF
before shutting down the engine. Pilots should add this step to the shutdown
checklist immediately before turning the avionics master switch off.
Engaging the Autopilot
After power-on via the AP MASTER switch (and executing the power-up tests as
recommended), the green RDY light should be illuminated. To engage the autopilot in any of
its flight modes, press either the AP MODE SEL switch on the yoke, or the L/R TURN knob
(also labeled PUSH MODE) on the autopilot bezel. Pressing AP MODE SEL sequences the
autopilot through its four operational modes.
If use of the autopilot during a flight is not anticipated, it is recommended that the autopilot
remain powered off (AP MASTER switch left in the OFF position).
Modes of Operation
The S-TEC System Twenty autopilot has four modes of operation. The active mode is
displayed on the face of the autopilot by a yellow lamp. When the autopilot is disengaged
(not in control of the roll axis), all these lamps will be off, and only the green RDY lamp will
remain lit.
N6004H S-TEC Autopilot Reference![ page 2 / 5]!cvk 1/29/13

The four modes are as follows:
Mode
Use
Stabilizer (ST)
Used to hold wings level, or to perform manually-commanded left or right turns
by rotating the L/R TURN knob
Heading (HD)
Used to fly along a heading as selected by the heading bug on the directional
gyro. Since the autopilot is rate-based, it is possible to move the heading bug
to a new heading while the autopilot is engaged; the autopilot will command a
standard-rate turn to the new heading.
Low-sensitivity
course track
(LO TRK)
Used to fly along a navigation course selected by one of the NAV radio CDIs.
Use the AP NAV SELECT switch to select the NAV1 or NAV2 CDI for tracking.
Low sensitivity means the autopilot will ignore short term needle excursions
due to radio interference or VOR station passage. Maneuver the aircraft to a
heading within ±10º of the selected course with the CDI no more than one dot
deflected from center before engaging the autopilot in this mode.
High-sensitivity
course track
(HI TRK)
Also used to fly along a navigation course selected by one of the NAV radio
CDIs. High sensitivity means the autopilot will track with maximum authority
making this mode ideal for VOR or Localizer approaches but less so for VOR
tracking since the autopilot will track all needle excursions and may behave
badly during VOR station passage. Maneuver the aircraft to a heading within
±10º of the selected course with the CDI no more than one dot deflected from
center before engaging the autopilot in this mode.
Disengaging the Autopilot
The autopilot can be disengaged normally by any of the following three actions:
•Pressing the red AP DISC switch on the yoke
•Pressing and holding for three seconds the AP MODE SEL switch on the yoke
•Pressing and holding for three seconds the L/R TURN knob on the autopilot
bezel
The RDY light will flash rapidly for five seconds to indicate that the autopilot has disengaged.
In addition, a beeping audio alert issues while the RDY light flashes to call further attention to
the disengagement. However, in flight with a noise-canceling headset, the audio alert may
not be loud enough to be audible.
Using the AP MASTER switch to remove power from the autopilot will also disengage the roll
servo, but this should be considered only as an emergency procedure should the three
normal methods fail to disengage the autopilot.
Again, be sure to turn AP MASTER switch OFF before engine shutdown; the autopilot power
is not removed when the avionics master switch is turned off. It’s a good idea to add this as a
separate item on the shutdown checklist.
N6004H S-TEC Autopilot Reference![ page 3 / 5]!cvk 1/29/13
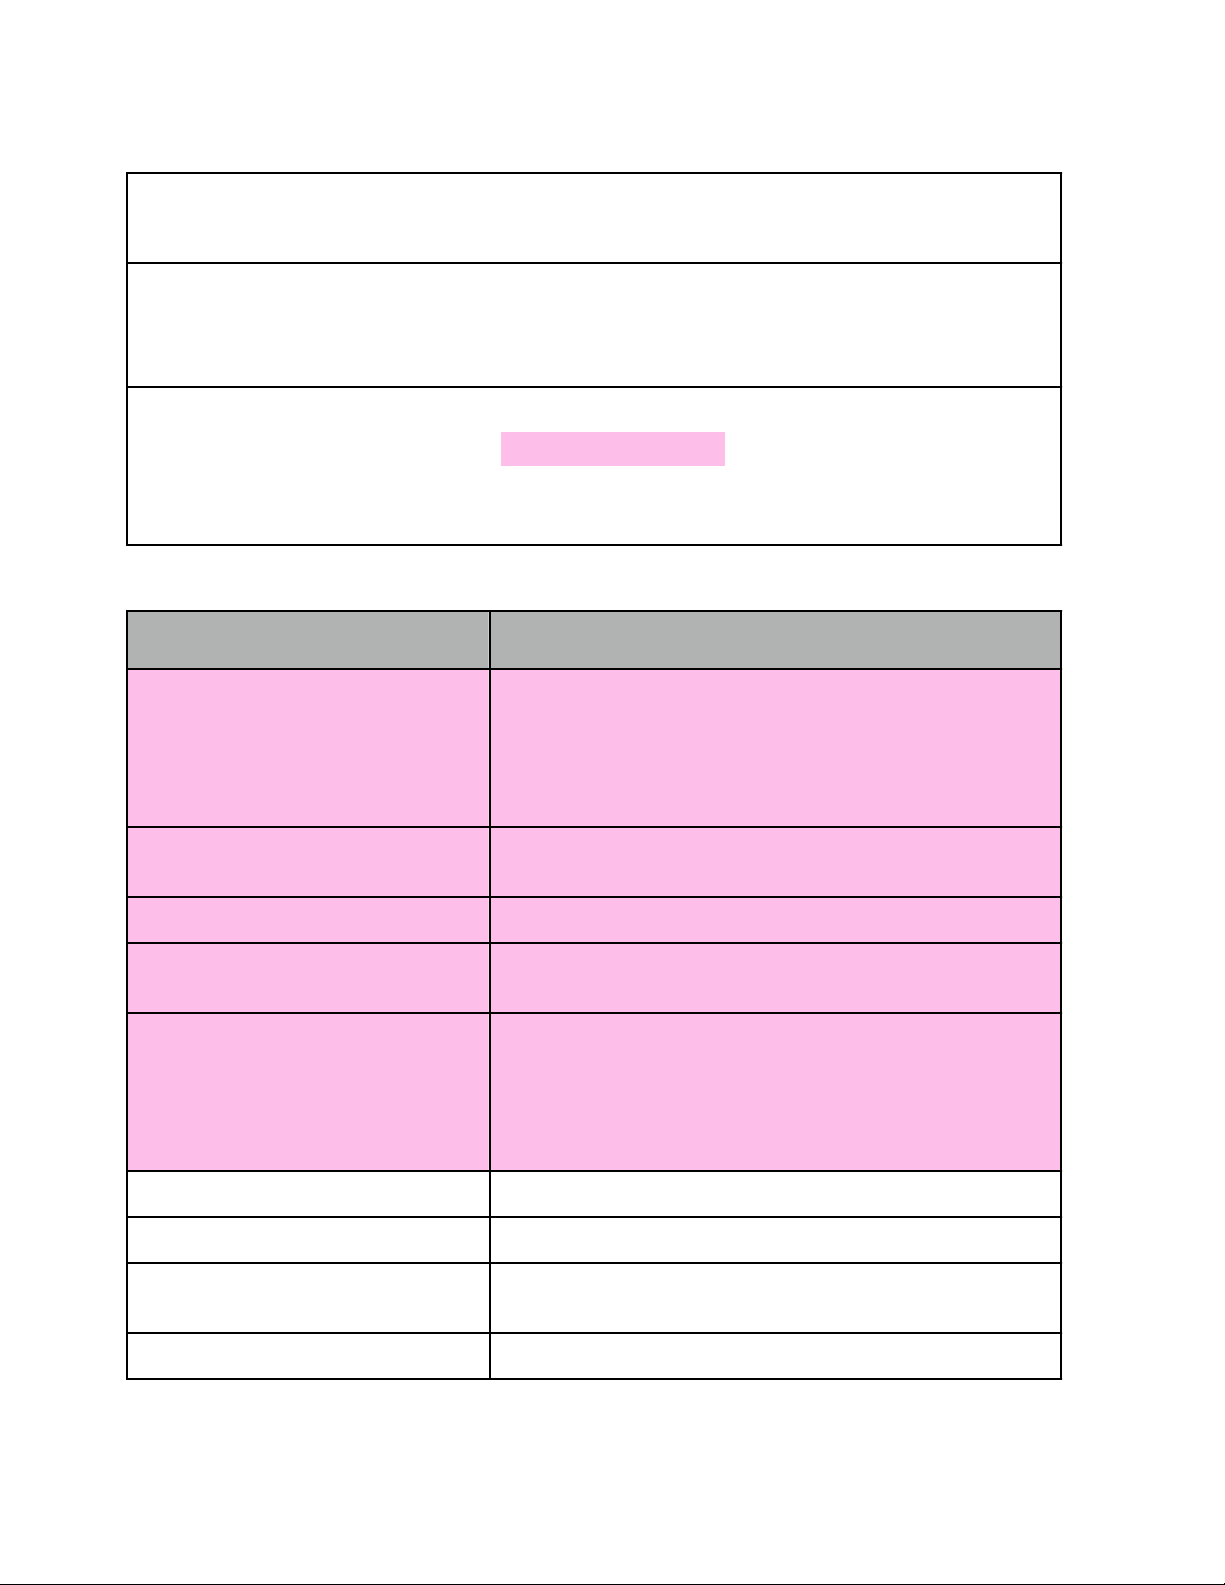
Power-Up Test for Archer N6004H
If Autopilot will not be used during the flight (i.e. for touch-and-gos or VFR
airwork), leave AP MASTER switch OFF.
If Autopilot will be used during flight, turn AP MASTER switch ON after
AVIONICS MASTER switch is turned ON during the engine startup
checklist.
It is recommended that the Power-Up Test be executed (and highly
recommended that the items highlighted in pink be performed) to ensure
proper operation of the autopilot. It is NOT practical nor recommended to
execute the Power-Up Test in flight.
Action
Response
Turn AP MASTER switch ON
All lamps on autopilot (RDY, ST, HD, LO TRK, HI TRK)
illuminate for seven seconds, then extinguish, indicating
computer self-test has passed.
Within three minutes, RDY light alone will illuminate,
indicating autopilot readiness.
Move yoke left and right to sense
normal freedom of movement
—
Set L/R TURN knob to neutral position
—
Press AP MODE SEL once to engage
stabilization (wing leveler) mode
ST lamp alone illuminates, indicating stabilization (wing
leveler) mode active
Move yoke left and right to sense
servo and verify manual override
Yoke should resist movement indicating autopilot servo is
engaged.
Verify that autopilot servo can be overridden by stronger
pressure on yoke. If NOT, turn AP MASTER switch OFF and
DO NOT USE AUTOPILOT.
Turn L/R TURN knob to the left
Yoke should turn to the left under servo control.
Turn L/R TURN knob to the right
Yoke should turn to the right under servo control.
Return L/R TURN knob to neutral
position
Yoke movement should stop.
Set DG heading bug under lubber line
—
N6004H S-TEC Autopilot Reference![ page 4 / 5]!cvk 1/29/13

Action
Response
Press AP MODE SEL once to engage
heading mode
HD lamp alone illuminates, indicating heading track mode
active
Turn DG heading bug to the left side
of the lubber line
Yoke should turn to the left under servo control.
Turn DG heading bug to the right side
of the lubber line
Yoke should turn to the right under servo control.
Set DG heading bug under lubber line
Yoke movement should stop.
Select local VOR frequency on NAV1
radio
—
Set AP NAV SELECT switch to NAV1
—
Turn NAV1 OBS until CDI needle is
centered
—
Press AP MODE SEL once to engage
low tracking mode
LO TRK lamp alone illuminates, indicating low-sensitivity
course track mode active
Press AP MODE SEL once to engage
high tracking mode
HI TRK lamp alone illuminates, indicating high-sensitivity
course track mode active
Turn NAV1 OBS until CDI needle is
deflected 2 dots right of center
Yoke should turn to the right under servo control.
Turn NAV1 OBS until CDI needle is
deflected 2 dots left of center
Yoke should turn to the left under servo control.
Turn NAV1 OBS until CDI needle is
centered
Yoke movement should stop.
Disconnect autopilot using one of the
following means:
•Press red AP DISC button on yoke
•Press and hold AP MODE SEL on
yoke for three seconds
•Press and hold L/R TURN knob on
autopilot bezel for three seconds
RDY lamp flashes rapidly and audible alert sounds for five
seconds (alert may not be audible if ANR headset is being
used)
After five seconds, audible alert stops and RDY lamp
illuminates steadily. All other lamps are off.
Move yoke left and right to sense
freedom of movement
Yoke should no longer resist movement and should move
freely, indicating that autopilot servo has disengaged.
N6004H S-TEC Autopilot Reference![ page 5 / 5]!cvk 1/29/13
Table of contents
Other Stec Autopilot System manuals


