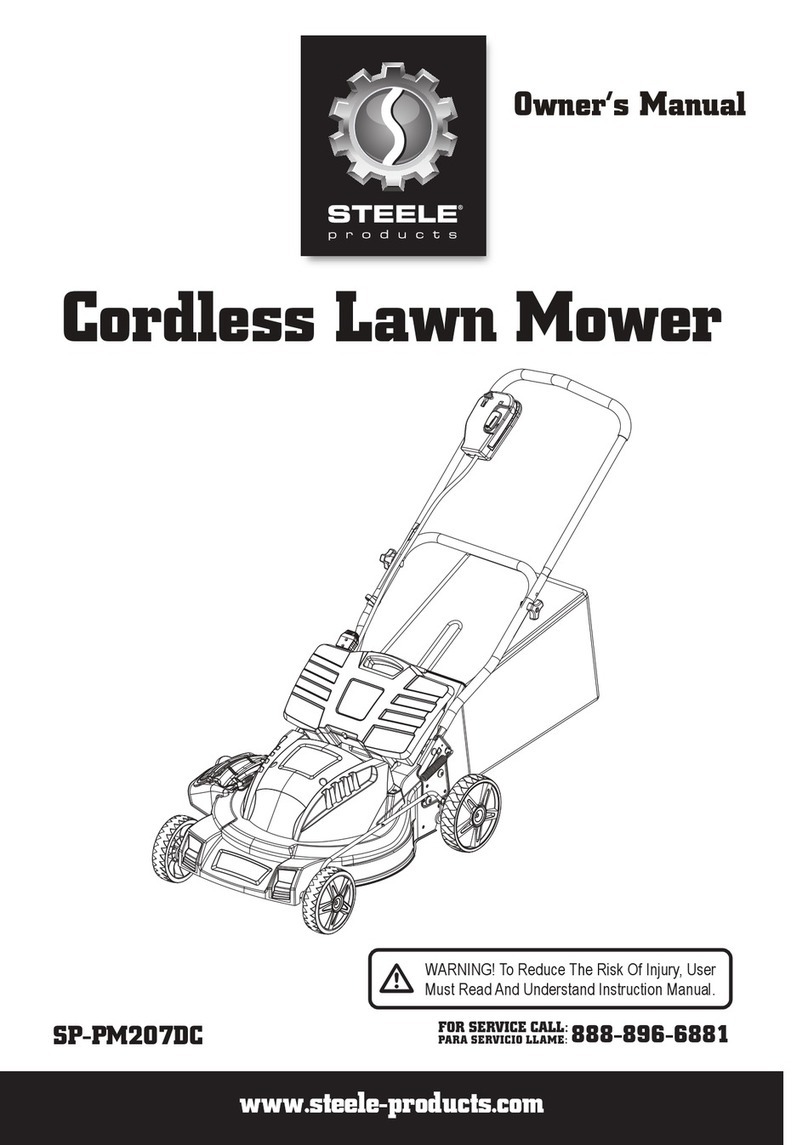
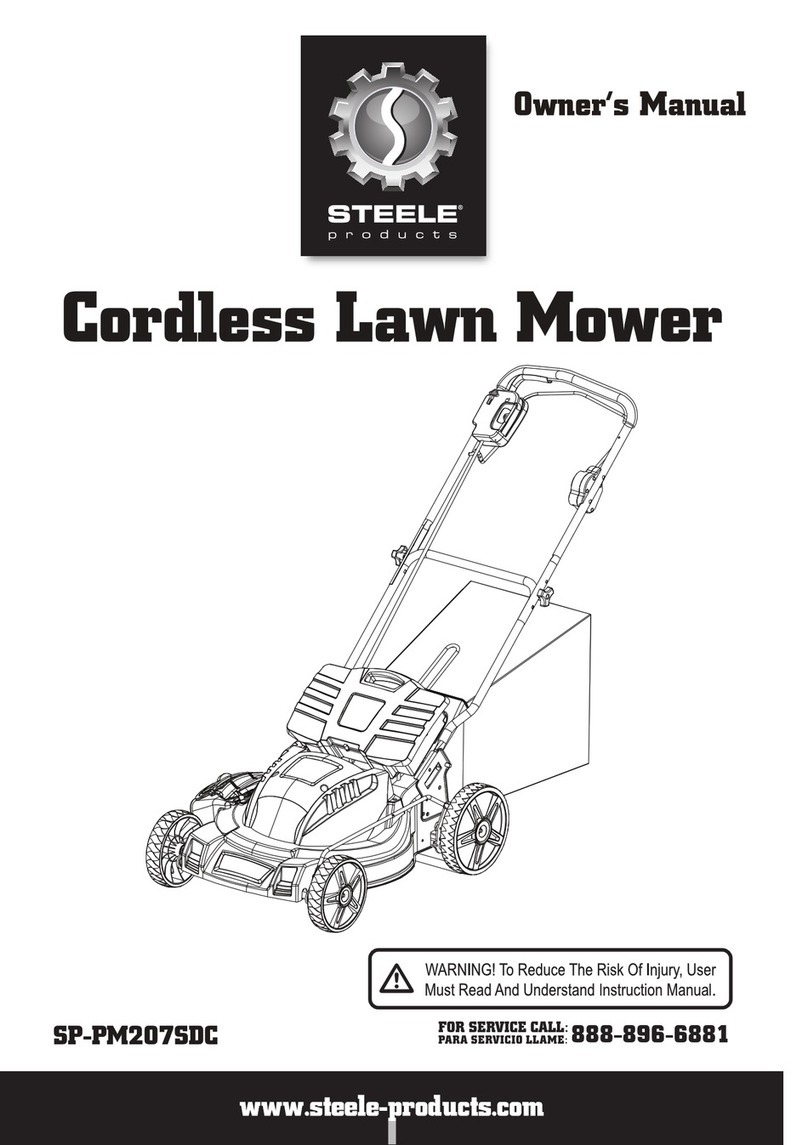
STEELE PRODUCTS SP-PM207AC User manual


SYMBOL
Serving of toes or fingers-rotary
mower blade.
SYMBOL NAME SYMBOL NAME
Thrown objects from mower deck.
Keep bystanders/children away. Safety alert.
Slip on slope.
Read the operator’s manual.
CPSC Danger label.
Please Read And Understand This entire manual before attempting to assemble, operate or install the
product. These safety instructions are not meant to cover every possible condition that could occur.
SpecificationsComponent
120 V Ac 60 Hz 12 AmpMotor
MPR006,3No-load Speed
20 in. (508 mm)Cutting Path
1-3/4–3-3/4 in. (45 mm-95 mm)Height Adjustment
7 in. (Front)/ 8 in. (Rear)Wheels Size
26 KgUnit Weight
PRODUCT SPECIFICATION
1

WARNING: Read all instructions when using electric gardening appliances. Basic safety
precautions should always be followed to reduce the risk of fire,electric shock, and personal injury.
FOR ALL LAWN MOWERS
a) Avoid Dangerous Environment
Don’t use appliances in damp or wet locations.
b) Don’t Use In Rain.
c) Keep Children Away
All bystanders (visitors) should be kept at a safe distance from work area.
d) Dress Properly
Do not wear loose clothing or jewelry. They can be caught in moving parts. Use of rubber gloves and
substantial footwear is recommended when working outdoors.
Wear protective hair covering to contain long hair.
e) Use safety glasses
Always use face or dust mask if operation is dusty.
f) Use right appliance
Do not use appliance for any job except that for which it is intended.
g) Don’t force appliance
It will do the job better and safer at the rate for which it was designed.
h) Don’t overreach
Keep proper footing and balance at all times.
i) Stay alert
Watch what you are doing. Use common sense. Do not operate appliance when you are tired.
j) Store idle appliances indoors
When not in use, appliances should be stored indoors in dry, and high or locked-up place-out of reach
of children.
k) Maintain appliance with care
Keep cutting edge sharp and clean for best and safest performance and to reduce the risk of injury.
Follow instructions for lubricating and changing accessories. Keep handles dry, clean, and free from
oil and grease.
l) Check damaged parts
Before further use of the appliance, a guard or other part that is damaged should be carefully checked
to determine that it will operate properly and perform its intended function. Check for alignment of
moving parts, binding of moving parts, breakage of parts, mounting, and any other condition that may
affect its operation. A guard or other part that is damaged should be properly repaired or replaced by
an authorized service center unless indicated elsewhere in this manual.
m) Keep guards in place and in working order.
n) Keep blades sharp.
o) Keep hands and feet away from cutting area.
p) Objects struck by the lawn mower blade can cause severe injuries to persons.
The lawn should always be carefully examined and cleared of all objects prior to each mowing.
q) If lawn mower strikes a foreign object, follow these steps:
i) Stop lawn mower. Remove the safety key.
ii) Inspect for damage.
iii) Repair any damage before restarting and operating the lawn mower
r) Use identical replacement blades only.
SAFETY INSTRUCTIONS
2

SAFETY INSTRUCTIONS FOR WALK-BEHIND MOWERS
I. GENERAL OPERATION
1. Read, understand, and follow all instructions on the machine and in the manual (s) before starting.
2. Do not put hands or feet near or under the machine. Keep clear of the discharge opening at all times.
3. Only allow responsible adults, who are familiar with the instructions, to operate this machine.
4. Clear the area of objects such as rocks, wire, toys, etc., which could be thrown by the blade.
Stay behind the handle when the motor is running.
5. Be sure the area is clear of bystanders before operating. Stop machine if anyone enters the area.
6. Do not operate machine barefooted or while wearing sandals. Always wear substantial footwear.
7. Do not pull machine backward unless absolutely necessary. Always look down and behind before
and while moving backward.
8. Never direct discharged material toward anyone. Avoid discharging material against a wall or obstruction.
Material may ricochet back toward the operator. Stop the blade when crossing gravel surfaces.
9. Do not operate machine without the entire grass catcher, discharge guard, rearguard, or other safety
protective devices in place and working.
10. Never leave a running machine unattended.
11. Stop the motor, remove the safety key and wait until the blade comes to a complete stop before
cleaning the machine, removing grass catcher, or unclogging the discharge guard.
12. Operate machine only in daylight or good artificial light.
13. Do not operate machine while under the influence of alcohol or drugs.
14. Never operate mower in wet grass. Always be sure of your footing; walk; never run.
15. Disengage the drive system, if so equipped, before starting the motor.
16. If the machine should start to vibrate abnormally, stop the engine (motor) and check for the cause
immediately. Vibration is generally a warning of trouble.
17. Always wear eye protection when operating machine.
18. See manufacturer’s instructions for proper operation and installation of accessories.
Only use accessories approved by the manufacturer.
II. SLOPE OPERATION
Slopes are a major factor related to slip and fall accidents, which can result in severe injury.
Operation on all slopes requires extra caution. If you feel uneasy on a slope, do not mow it.
1. Mow across the face of slopes; never up and down. Exercise extreme caution when changing
direction on slopes.
2. Watch for holes, ruts, bumps, rocks, or other hidden objects. Uneven terrain could cause a slip and
fall accident. Tall grass can hide obstacles.
3. Do not mow on wet grass or excessively steep slopes. Poor footing could cause a slip and fall accident.
4. Do not mow near drop-offs, ditches, or embankments. You could lose your footing or balance.
SAFETY INSTRUCTIONS
3

III. CHILDREN
Tragic accidents can occur if the operator is not alert to the presence of children.
Children are often attracted to the machine and the mowing activity.
Never assume that children will remain where you last saw them.
1. Keep children out of the mowing area and under the watchful care of a responsible adult other than
the operator.
2. Be alert and turn mower off if a child enters the area.
3. Never allow children to operate the machine.
4. Use extra care when approaching blind corners, shrubs, trees, or other objects that may block your
view of a child.
IV. SERVICE
GENERAL SERVICE
1. Keep all nuts and bolts tight to be sure the equipment is in safe working condition.
2. Never tamper with safety devices. Check their proper operation regularly.
3. Keep machine free of grass, leaves, or other debris build-up.
4. If you strike a foreign object, stop, remove the safety key and inspect the machine.
Repair, if necessary, before starting.
5. Never make any adjustments or repairs with the motor running.
6. Check grass catcher components and the discharge guard frequently and replace with
manufacturer’s recommended parts, when necessary.
7. Mower blades are sharp. Wrap the blade or wear gloves, and use extra caution when servicing them.
8. Maintain or replace safety and instruction labels, as necessary.
IMPORTANT SAFETY INSTRUCTIONS
READ AND UNDERSTAND ALL INSTRUCTIONS. Failure to follow all instructions listed below may
result in electric shock, fire, and or serious personal injury.
READ THESE INSTRUCTIONS BEFORE USING THE MOWER
gases, or dust. Power tools create sparks which may ignite the dust or fumes.
• Toreduce therisk of electric shock, this tool has apolarized plug(onebladeiswider than the other)and
• Do not operate power tools in explosive atmospheres, such as in the presence of flammable liquids,
will require the use of a polarized extension cord. The plug will fit into apolarized extension cord only
one way. If the plug does not fit fully into the extension cord, reverse the plug. If the plug still does
not fit, obtaina correct polarized extension cord. A polarized extension cord will require the use of
apolarized wall out let. This plug will fit into the polarized wall out let only one way. If the plug does
not fit fully into the wall outlet,reverse the plug. If the plug still does not fit, contact a qualified electrician
to install the proper wall outlet. Do not change the equipment plug, extension cord receptacle, or
extension cord plug in any way.
• Avoid body contact with grounded surfaces such as pipes, radiators, ranges, and refrigerators.
There is an increased risk of electric shock if your body is grounded.
• Don’t expose power tools to rain or wet conditions. water entering a power tool will increase the risk
of electric shock.
• Do not handle plug or tool with wet hands.
• Use out door extension cords marked W-A, W, SW-A, SOW-A, STW-A, STOW-A, SJW-A, SJTW-A, or
SJTOW-A. These cords are rated for outdoor use and reduce the risk of electric shock.
• Never allow children to operate the equipment. Never allow adults to operate the equipment without proper
instruction.
SAFETY INSTRUCTIONS
4

T z
W
k
• Always wear safety glasses with side shields. Every day glasses have only impact resistant lenses. They
are NOT safety glasses. Following this rule will reduce the risk of eye injury. Use face mask if operation is dusty.
• Wear eye protection which is marked to comply with ANSI Z87.1 when operating this product.
SAFETY INSTRUCTIONS
5

Double insulated lawn mower This mower is "DOUBLE INSULATED"
1. Replacement Parts: When servicing use only identical replacement parts.
2. Polarized Appliance Connections: To reduce the risk of electric shock, this appliance has a polarized
plug (one blade is wider than the other) and will require the use of a polarized extension cord.
The appliance plug will fit into a polarized extension cord only one way. If the plug does not fit fully
into the extension cord, reverse the plug. If the plug still does not fit, obtain a correct polarized extension
cord. A polarized extension cord will require the use of a polarized wall outlet. This plug will fit into
the polarized wall outlet only one way. If the plug does not fit fully into the wall outlet, reverse the plug.
If the plug still does not fit, contact a qualified electrician to install the proper wall outlet. Do not
change the equipment plug extension cord receptacle, or extension cord plug in any way.
GUIDELINES FOR USING EXTENSION CORDS
USE THE PROPER EXTENSION CORD. Make sure your extension cord is in good condition.
When using an extension cord, be sure to use one heavy enough to carry the current your product
will draw. An undersized cord will cause overheating. The table below shows the correct size to use
depending on cord length and nameplate ampere rating. If in doubt, use the next heavier gauge.
The smaller the gauge number, the heavier the cord. Minimum Gauge for Extension Cords (AWG)
(when using 120 V only)
Make sure your extension cord is properly wired and in good electrical condition. Always replace a
damaged extension cord or have it repaired by a qualified person before using it. Keep your extension
cords away from sharp objects, excessive heat and damp or wet areas.
Use a separate electrical circuit for your tools. This circuit should not be less than #12 wire and should
be protected with a 15 A time delayed fuse. Before connecting the motor to the power line, make sure
the switch is in the OFF position and the electric current is rated the same as the current stamped
on the motor nameplate. Running at a lower voltage will damage the motor.
WARNING : ALTHOUGH THIS TOOL IS DOUBLE INSULATED, THE EXTENSION CORD AND
RECEPTACLE MUST STILL BE GROUNDED WHILE IN USE TO PROTECT THE OPERATOR FROM
ELECTRICAL SHOCK.
Ampere Rating Total Length of Cord in Feet (meters)
More
Than
Not More
Than
25 ft.
(7.6m)
50 ft.
(15 m)
100ft.
(30.4 m)
150ft.
(45.7 m)
12 Not Recommended16 14 12
0 6 18 16 16 14
6 10 18 16 14 12
10 12 16 16 14 12
SAFETY INSTRUCTIONS
6

Read this owner's manual and safety rules carefully before operating the mower.
Compare the illustration below to the mower in order to become familiar yourself with the location of
the various controls and adjustments. Save this manual for future reference.
Handle grip
Upper handle
switch Lower handle
Rear bag
Height adjustment lever
Motor housing
Wheels
Power button
KNOW YOUR PRODUCT
7

Parts List
Note:
ASSEMBLING THE HANDLE
3
2
1
3
2
ASSEMBLING YOUR LAWN MOWER
8

INSTALLING THE GRASS CATCHER BAG (see Fig.4)
1. UNPLUG THE POWER CORD, AND WAIT FOR BLADE TO COME TO A COMPLETE STOP.
2. Lift the chute cover (1).
3. While holding up the cover (1), place the grass catcher bag hanger hooks (2) into the opening on the
chute cover (1) to allow the hanger hooks to attach to the rod (3) which secures the chute cover.
2
13
Fig.4
NOTE: For optimal performance empty grass bag often during use.
A full grass bag will inhibit performance of the mower and collection of grass clippings.
ASSEMBLING YOUR LAWN MOWER
9

INSTALL THE SIDE DISCHARGE CHUTE (see Fig.5)
This mower has 3different functions -mulch, sidedischarge, andrearbag. If youwish todischarge the
clippings rather thanmulch, perform these steps.
1. UNPLUG THE POWER CORD, AND WAIT FOR BLADE TO COME TO A COMPLETE STOP.
2. Lift the side discharge cover (1).
3. Align the grooves on the discharge chute (2) with the pins on the underside of the discharge cover (1).
4. Lower the discharge chute (2) until the hooks on the mower deck are secured in the openings in
the discharge chute (2).
5. Release the side discharge cover (1).
Fig.5
2
1
2
ASSEMBLING YOUR LAWN MOWER
10

INSTALLATION OR REMOVAL OF THE MULCH PLUG (see Fig.6)
1. UNPLUG THE POWER CORD, AND WAIT FOR BLADE TO COME TO A COMPLETE STOP.
2. To remove the mulch plug lift the chute cover (1) and pull out on the handle.
3. The mulch plug (2) is inserted on an angle so it will require some force when removing.
Fig.6
1
2
ASSEMBLING YOUR LAWN MOWER
11

ADJUST THE UPPER HANDLE HEIGHT (see Fig.7)
1. Loosen the upper handle knob.
2. Adjust the handle to the most comfortable of the 3 positions.
3. Tighten the upper handle knob as tight as you can.
Fig.7
ASSEMBLING YOUR LAWN MOWER
12


ADJUST THE CUTTING HEIGHT ( see Fig.10)
1. Simply depress the lever (1) towards the wheel and move to desired position. This sets all wheels
to the same position.
2. To raise the height, pull the height adjustment lever from the current stop position towards the back
of the mower.
3. To lower the height, pull the height adjustment lever from the current stop position towards the front
of the mower.
7-Position Height Adjustment
1. 1-3/4 in.
2. 2 in.
3. 2-1/4 in.
4. 2-1/2 in.
5. 3 in.
6. 3-1/4 in.
7. 3-3/4 in.
1
HIGH
LOW
Fig.10
OPERATING YOUR MOWER
14

WARNING: Do not mow a slope that has an angle of greater than 15° (a rise of approximately2-1/2 ft. [ 75 m]every 10
ft. [3m]).Mow a cross the face of a slope, and never up and down.
MOWING TIPS
NOTE: A sharp blade will greatly enhance the performance of the mower, especially when cutting high grass.
Be sure to check the blade and to sharpen it at least once per year, as described in the Maintenance section
operator and to others.
clippings. For a healthy lawn, always cut off one-third or less of the total length of the grass. The average lawn should be
there is growth, the lawn should be cut in the fall.
MULCHING TIPS
blade).
3. For effective mulching, do not cut wet grass, because it tends to stick to the underside of the deck, preventing proper
highest cutting position and work down to the desired cutting height.
indication of damage. Thoroughly inspect the mower and repair any damage before operating the mower.
( Using a 15-mm wrench or socket, turn the blade nut “CLOCKWISE” to secure the blade.)
5. Please install the mulch plug When mulching. (See page 11)
CUTTING BLADE REPLACEMENT (see Fig.11 & Fig.12)
WARNING: Always protect your hands by wearing heavy gloves and/or wrapping the cutting edges with
rags or other materials when performing any maintenance on the blades.
the blade from turning when the nut is being removed.
5. To re-install the blade, position the blade with the cutting edges toward the ground. Assemble the blade nut, the square
OPERATING YOUR MOWER
15

Loosen
Tighten
1
2
3
Fig.11 Fig.12
NOTE: Be sure to replace the parts in the exact order in which they were removed. When installing the cutting blade,
verify that it is installed with the curved ends pointing toward the mower deck.
CLEAN THE MOWER
WARNING: To reduce the risk of electric shock, do not expose the mower to water.
The underside of mower deck should be cleaned after each use as grass clippings, leaves, dirt and other debris will
accumulate causing rust and corrosion.
Remove any buildup of grass and leaves on or around the motor cover (do not use water). Wipe the mower clean with a
dry cloth occasionally.
mower forward, or on its side, and scrape it clean with an appropriate tool.
STORAGE
The following steps should be taken to prepare the lawn mower for storage.
in any way.
Plastic coverings trap moisture around the mower causing corrosion.
The handle may be folded away completely for storage.
OPERATING YOUR MOWER
16

1. When servicing the mower, use only replacement parts that are available from the manufacturer.
In order to obtain replacement parts, call the toll-free helpline. The use of parts that do not meet the
original equipment specifications may lead to improper performance, and may compromise safety.
2. Before cleaning, repairing, or inspecting, verify that the blade and all moving parts have come to a
complete stop, and remove the safety key. In order to prevent accidental start-ups, remove the safety
key when the mower is not in use. Remove the battery when making any adjustments or when any of
the four wheels must be lifted off the ground.
3. Keep the handles dry, clean, and free of oil and grease.
4. In order to reduce the risk of fire, keep the motor free of grass, leaves, and debris build-up.
5. Frequently check the blade and motor mounting bolts for proper tightness. Visually inspect blade
for damage (e.g.: bent, cracked, or worn).
6. For best and safest performance, maintain the mower with care. Keep the mower blade sharp and
clean. Mower blades are sharp, and can cut. Wrap the blades or wear gloves, and use extra caution
when servicing.
7. Keep all nuts, bolts, and screws tight in order to be sure that the equipment is in safe working
condition.
8. Never tamper with safety devices. Check them regularly for proper operation.
9. After striking a foreign object, stop the motor and remove the safety key. Thoroughly inspect the
mower for any damage. Repair any damage before operating the mower.
10. Lawn mower components are subject to wear and damage, which could expose moving parts or
allow objects to be thrown. As a safety precaution, frequently check components and replace those
that show signs of wear or damage.
11. When it is not in use, store the mower indoors in a dry area, with the safety key removed, and out
of the reach of children.
SERVICE
17

PARTS
18

PARTS LIST
APA Part No.
PM207AC-01-QQ-1
PM207AC-02-QQ-2
PM207AC-03-QQ-3
PM207AC-04-QQ-4
PM207AC-05-QQ-5
PM207AC-06-QQ-6
PM207AC-07-QQ-7
PM207AC-08-QQ-8
PM207AC-09-QQ-9
PM207AC-10-QQ-10
PM207AC-11-QQ-11
PM207AC-12-QQ-12
PM207AC-13-QQ-13
PM207AC-14-QQ-14
PM207AC-15-QQ-15
PM207AC-16-QQ-16
PM207AC-17-QQ-17
PM207AC-18-QQ-18
PM207AC-19-QQ-19
PM207AC-20-QQ-20
PM207AC-21-QQ-21
PM207AC-22-QQ-22
PM207AC-23-QQ-23
PM207AC-24-QQ-24
PM207AC-25-QQ-25
PM207AC-26-QQ-26
PM207AC-27-QQ-27
PM207AC-28-QQ-28
PM207AC-29-QQ-29
PM207AC-30-QQ-30
PM207AC-31-QQ-31
PM207AC-32-QQ-32
PM207AC-33-QQ-33
PM207AC-34-QQ-34
PM207AC-35-QQ-35
PM207AC-36-QQ-36
PM207AC-37-QQ-37
PM207AC-38-QQ-38
PM207AC-39-QQ-39
PM207AC-40-QQ-40
PM207AC-41-QQ-41
PM207AC-42-QQ-42
Part No.
8220502
8240112
8412501
8220401
8321301
8419001
8221101
8430201
8221001
8411101
8247501
8331601
8228401
8411301
8220801
8411401
8331801
8220601
8320801
8320201
8220501
8330801
8322901
8320401
8440201
8321401
8410501
8220102
8220202
8331901
8321001
8238301
8331101
8331001
8412701
8410101
8330401
8220302
8410601
8330601
8227502
8320901
Description
Hexagon Lock Nut M8
Wash 8
Hang Hook
Cap Screw M5 14
Height Adjustment Shaft
Height Adjustment Handle
Cap Screw M4 14
Rear Shield
Hex lock nut M4
Rear Cover
Open Circlip 7
Spring Board
Hexagon Lock Nut M5
Side-Discharge Deflector
Tapping Screw ST 4.8 18-F
Side-Discharge Cover
Side-Discharge Bracket
Bolt M6 15
Side Compression Spring
Side-Discharge-Pin
Bolt M10 20
Right Height Adjustment Board Assy
Back Cover Spring Right
Shaft For Rear Cover
Grass Collection Bags
Bracket For Grass Catcher
Knob
Lock Shaft Nut
Putters Bolt
Blade Fix Stand
Left back cover Spring
Flange Nut M10
Support Plate Right
Support Plate Left
Fan
Motor Housing
Fan Gasket
Hexagon Bolt M8 20
Motor Bracket
Shaft For Rear Cover
Flange Nut M8
Tension Springs
19
QTY
4
7
1
4
1
1
2
1
2
1
2
1
4
1
20
1
1
2
1
1
4
1
1
1
1
1
4
1
2
1
1
4
1
1
1
1
1
3
1
1
3
1
Table of contents
Other STEELE PRODUCTS Lawn Mower manuals
Popular Lawn Mower manuals by other brands

Go-On
Go-On RMA 37 Kit Translation of the original instructions

Bad Boy
Bad Boy MZ BMZ4219KO OWNER’S OPERATOR SERVICE MANUAL

Yard Works
Yard Works 060-3864-2 owner's manual

FLORABEST
FLORABEST FRM 1800 A1 original operation manual

Avantco
Avantco I500 Operator's manual for Attachment

Craftsman
Craftsman 917.376400 owner's manual