Stinger S650 User manual

OWNER’S MANUAL
STINGER S650
ALL-BAND RADAR AND LASER DETECTOR
WITH VG-2, POP™ AND ULTRA-X /
ULTRA-K MODES RADAR DETECTION

Stinger S650
2
Radar detector
Contents
• Content 2
• Congratulation ! 3
• Package Content 3
• Identifying part of the unit 3
• Ba ic Feature and Control 4
• Feature de cription 5
• In talling the Unit 5
Mounting guideline 5
Wind hield mounting 5
Hook-and-Loop Mounting 6
Changing the Panel 6
• Operation 7
• Power On 7
• Volume control 7
• Blue backlit di play 7
• Mute on/off election (Mute mode) 7
• Highway/City mode election 7
• Tutorial mode 8
• Compa Calibration Set-up 10
• Menu Mode 10
1. Voice Alert Language election 11
2. VG-2 detection On/Off election 11
3. Voice Alert On/Off election 11
4. Tone election 11
5. Compa di play election 11
• Pul e Protection 11
• Memory confirmation 11
• Trouble hooting 12
• Care and Maintenance 13
• Specification 14

Stinger S650
3
Radar detector
Congratulations
You have purcha ed the STINGER S650, the newe t radar/la er detector.
The STINGER S650, incorporate the advanced new antenna technology
and extremely low power-con uming circuitry to en ure top-cla
performance. The STINGER S650, i a complete integrated la er/radar
detector, which detect all police radar gun , including Ultra-X and Ultra-K
pul e mode radar , a well a la er gun .
Be ide , STINGER S650 i able to detect ignal of VG-2 (device detecting
radar-detector ).
The STINGER S650, provide di tinct vi ual and audio alert to warn you of
the pre ence of X-, K-, Ka- band and VG2 radar ignal a well a la er
ignal in front of you for 180º round.
You can drive with confidence when you bring along the STINGER S650.
Note: Some local region and federal regulation may prohibit the u e of
detection device. Plea e check with authoritie regarding the u e of thi
device in your area before operating it.
Package Contents
Your STINGER radar/la er detector package include the following
component :
• The STINGER S650 radar/la er detector
• Changeable Panel (2ea)
• Wind hield mounting bracket with uction cup (3ea) and bumper
• Coiled 12-volt DC power cord
• Da hboard mounting hook and loop fa tener (1ea)
•
Operation manual
Identifying part of the unit
Power Cord Spare Fuse Mounting Bracket

Stinger S650
4
Radar detector
Fastener Tape Changeable Panel STINGER 50
Basic Features and Controls

Stinger S650
5
Radar detector
Feature descriptions
• protection again t all radar band (X, K, and uper wide Ka)
• 360° la er coverage again t all la er gun
• VG-2 ignal Detection Capabilitie
• pul e ignal Detection Capabilitie
• digital compa di play mode
• city mode to virtually eliminate fal e radar alert
• u er electable brightne and mute on/off
• power on/off and volume control wheel
• BLUE BACKLIT DIGITAL Text Di play
• tutorial mode to demon trate operation
• memory to retain previou ly et operational mode after power-off
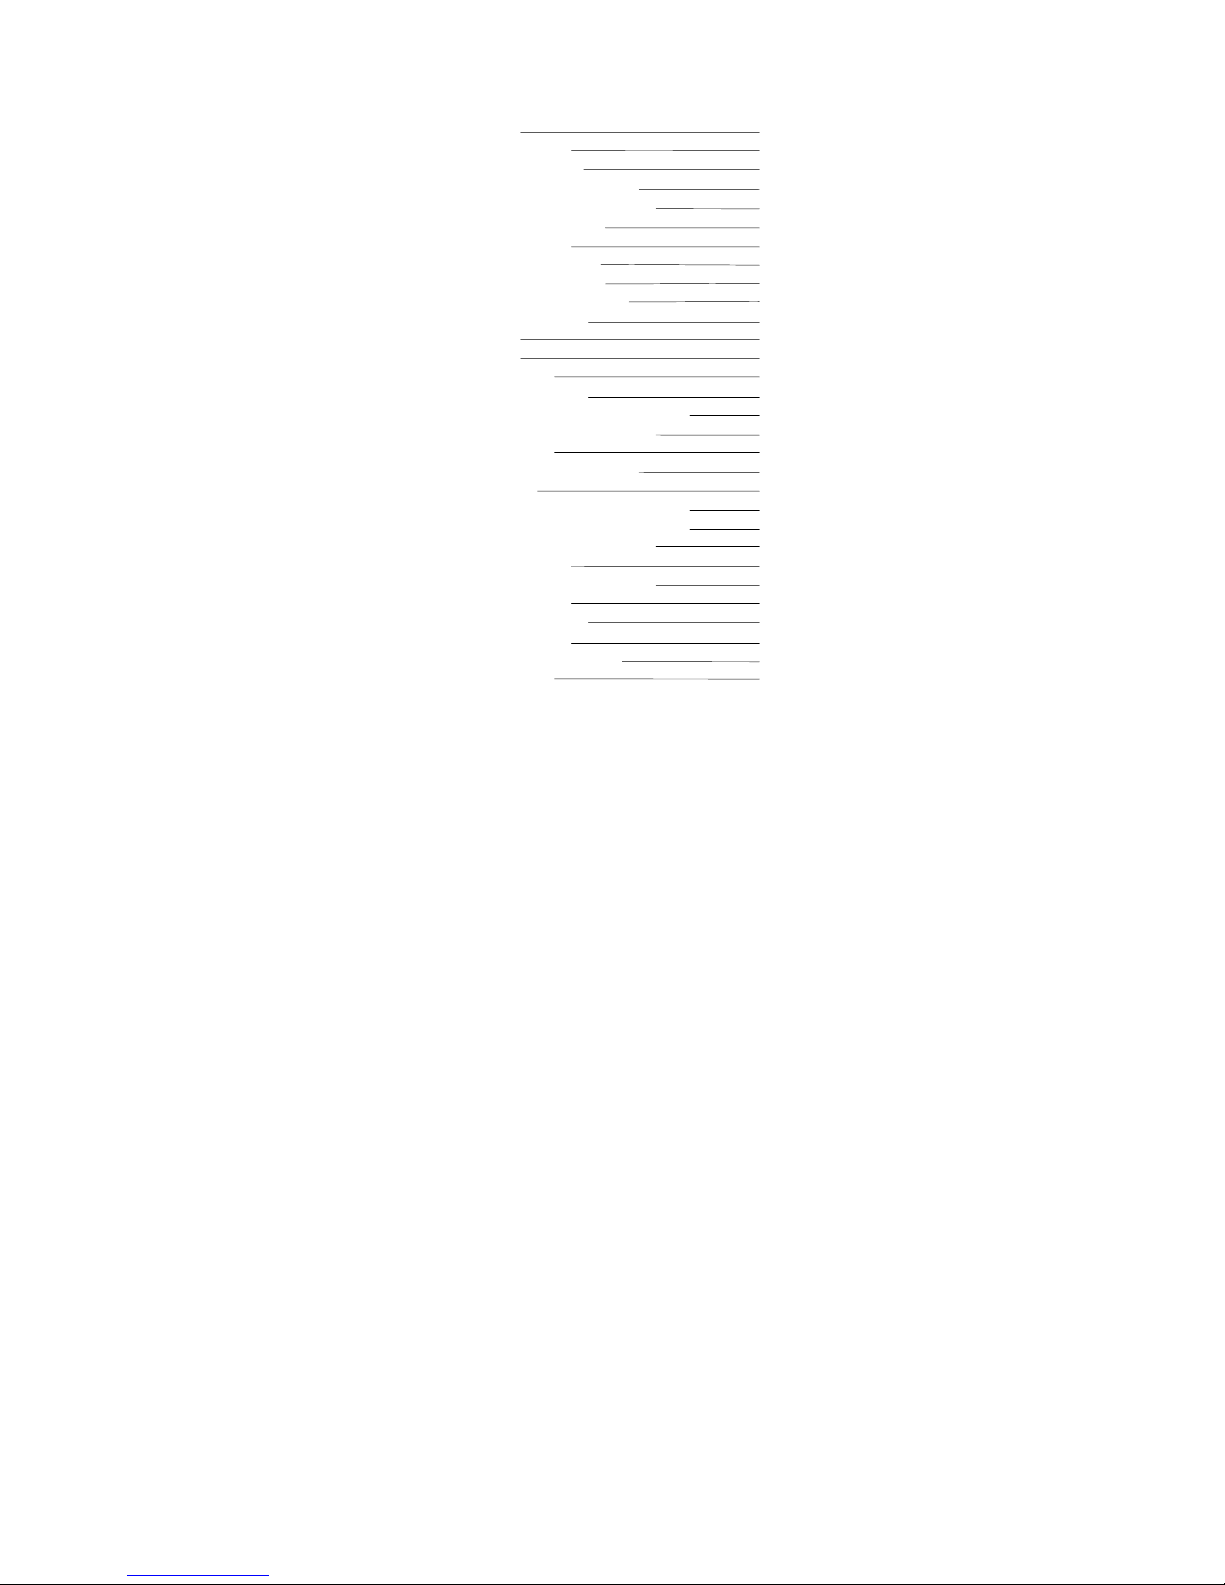
• corded power connection into 12-volt car lighter ocket (Power cord
included)
Installing the Unit
Mounting guidelines
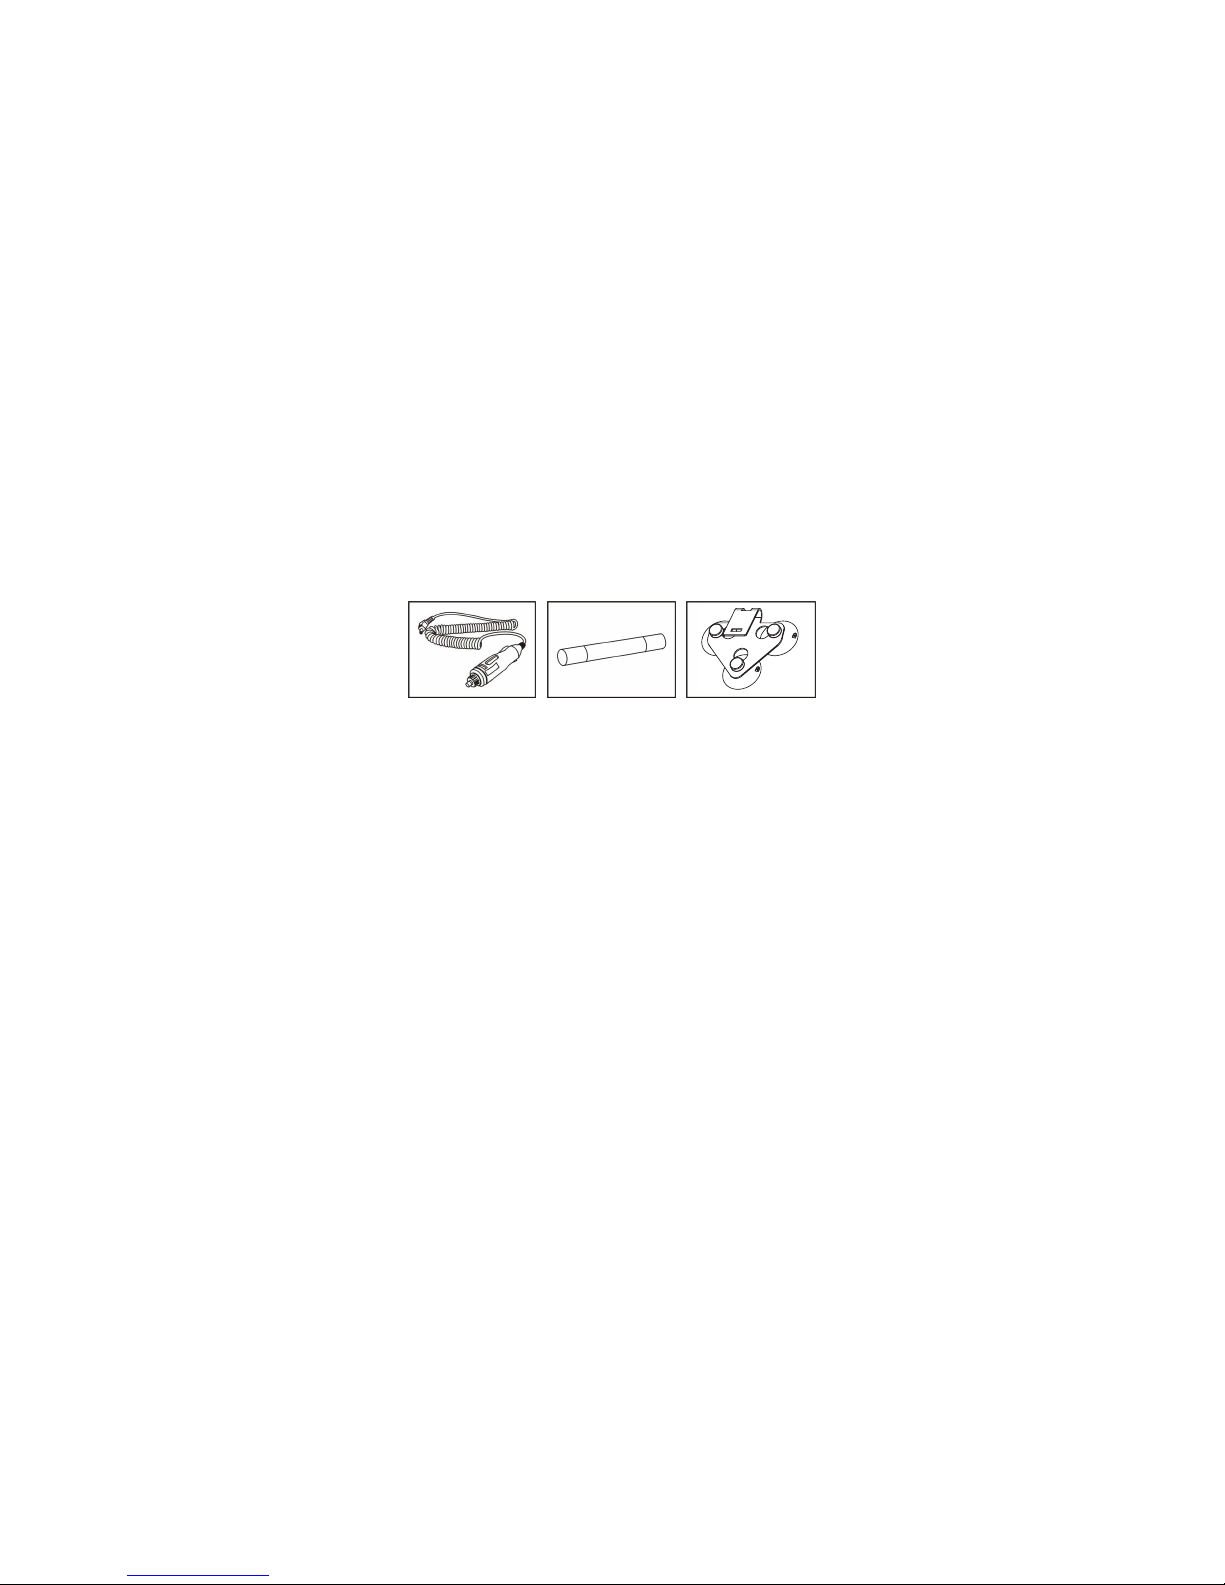
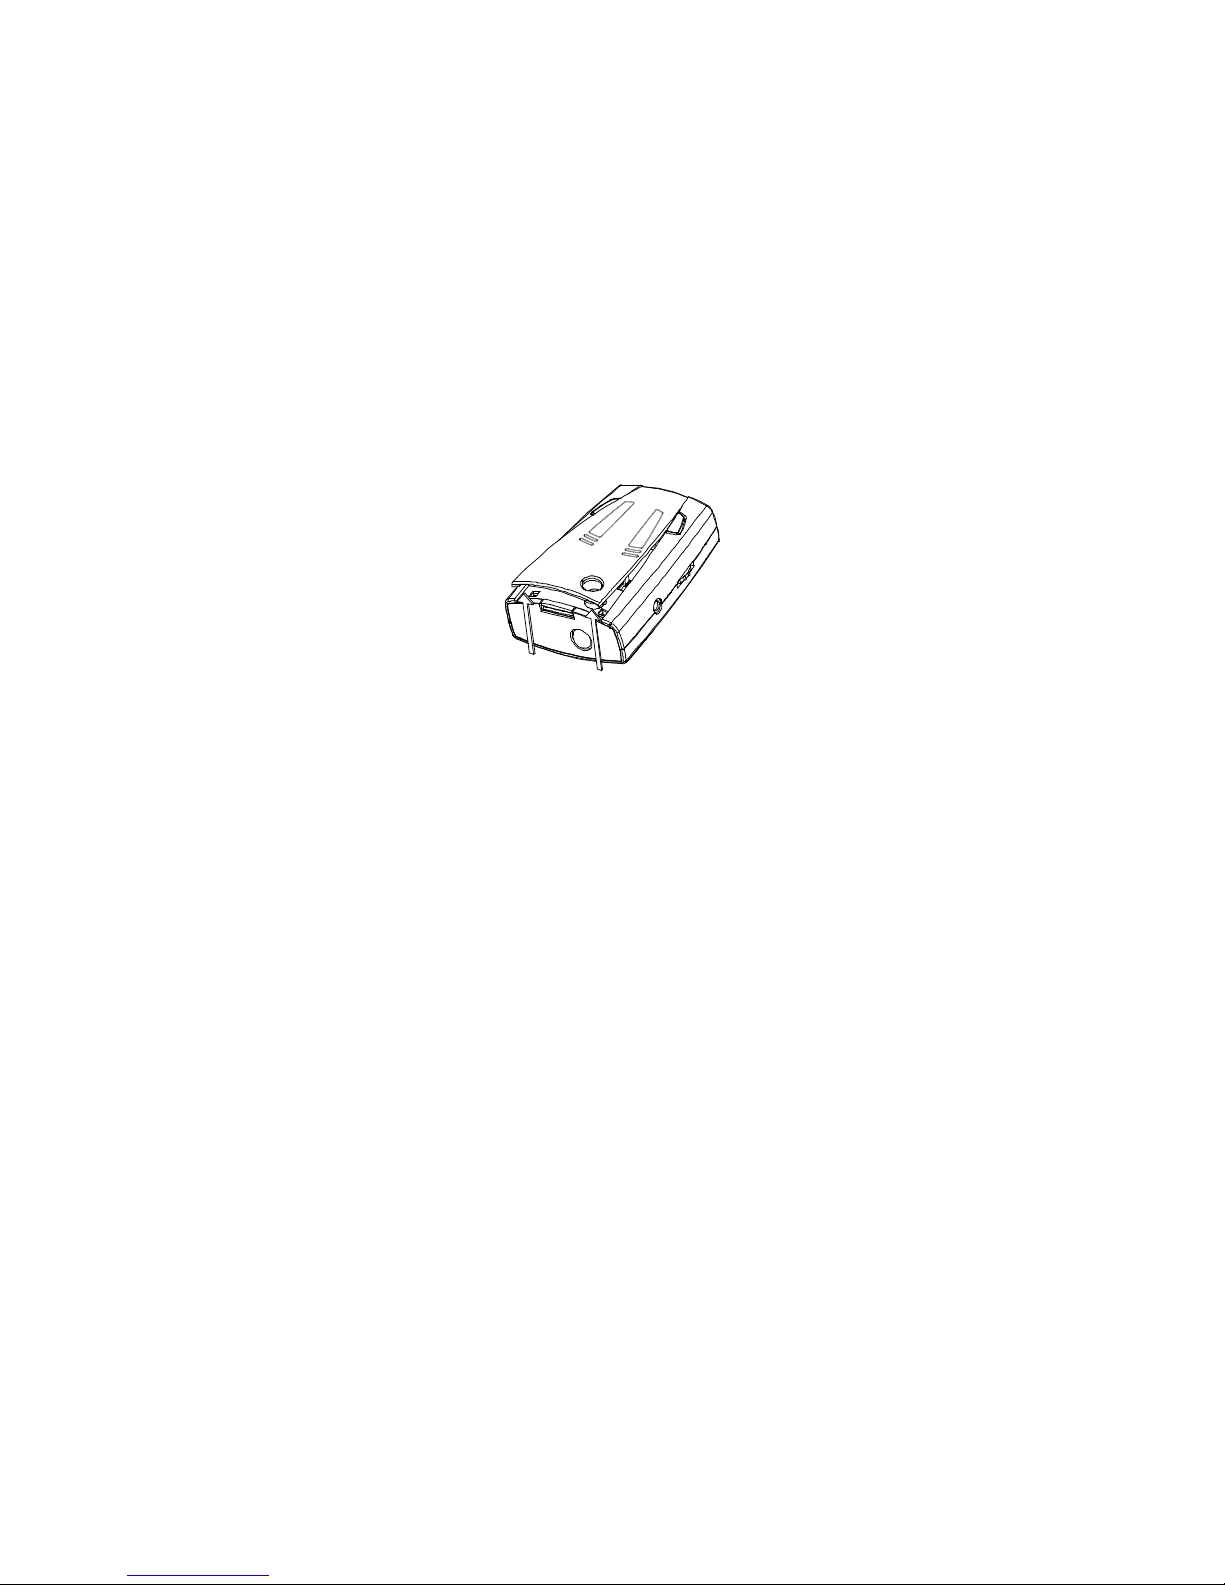
The STINGER radar/la er detector can be mounted on your wind hield or
da hboard u ing the mounting bracket and hook-and-loop fa tener provided.
• Mount on the wind hield in a centered location that will not ob truct the
view of the driver and i within reach, o the button can be ea ily acce ed.
• Do not mount behind wind hield wiper , metal urface , ornament , or
mirrored un creen gla , a the e affect radar/la er ignal . Tinted gla
doe not affect radar/la er ignal reception.
Conceal the STINGER radar/laser detector when you leave your vehicle to
prevent theft and to minimize the unit's e posure to e treme temperatures,
which can temporarily impair performance.
Windshield mounting
1. In tall the uction cup and
bumper onto the wind hield
mounting bracket by liding them
into their hole (if not pre-in talled).
2. Pre the bracket ba e firmly
again t the wind hield until the
uction cup ecurely take hold.
3. Fa ten the bracket at the top ide ’ lot of the unit.

Stinger S650
6
Radar detector
4. Bend the angle of the wind hield mounting bracket, if nece ary, to adju t
for be t viewing and detection angle.
5. When you want to connect power from your vehicle, plug the mall
connector of the power cord into the 12-volt DC power input jack located on
the ide of the detector.
6. Plug the large adapter of the power cord into the lighter ocket of your
vehicle.
Hook-and-Loop Mounting
The hook-and-loop tape included with your detector might be the be t
mounting method for ome da hboard . Follow the e in truction to u e the
hook-and-loop tape.
1. U e a damp cloth to thoroughly clean both the bottom of the detector and
the da hboard.
2. Peel off the tape' paper backing and apply the tape to the bottom of the
detector.
3. Remove the paper backing from the other ide of the tape and pre the
detector onto the da hboard.
Changing the Panel
To change the panel to another one, follow the e tep .
1. Lift up the panel by forefinger or crewdriver from the lot at the mounting
bracket location. The panel will pop out a follow .
2. In ert the tap of replacing panel near the di play into the unit. Gently nap
in the other tap to the back of the unit.

Stinger S650
7
Radar detector
Operation
Power On
Rotate the wheel controller (located on the ide of the detector) until you hear
it click. The STINGER radar/la er detector goe through a elf-diagno i
equence and di play the la t mode previou ly et in memory.
Volume control
U e the volume thumb wheel, located on the ide of the STINGER radar/la er
detector to adju t volume level.
Blue backlit display
Pre DIM/MENU button to turn on the blue backlit.
Mute on/off selection (Mute mode)
Pre the MUTE/CITY button repeatedly to toggle between mute on (1 beep)
and mute off (2 beep) mode . Mute on will ilence the audio alarm for the
remainder of an exi ting ignal and for any new alert received.
You may al o adju t the audio level by u ing the volume thumb wheel.
Highway/City mode selection
Pre the MUTE/CITY button for three econd each time to toggle Highway
(2 beep) and City (1 beep) mode . The CITY mode i indicated by "CITY" at
the di play.
X-band, occupied by police radar, i al o hared for other u e , uch a
automatic door opener like the one u ed at upermarket , burglar alarm ,
terre trial microwave emi ion, RF braking y tem , and other device .
In addition, other radar detector in clo e proximity may fal ely alert your
detector. To reduce fal e alert , the STINGER radar/la er detector ha city
filtering etting . City mode will give you the rejection of X-band alarm by
approximately 20%.
highway mode city mode
H I G H W A Y
K
a
C I T Y
X
K

Stinger S650
8
Radar detector
When the Compa mode i engaged, it will di play a compa heading a
follow . When u er change the HIGHWAY/CITY mode, it will be di played
‘HIGHWAY’ or ‘CITY’ for two econd and will di play compa heading again.
Tutorial mode
The STINGER S650 radar/la er detector ha a tutorial mode intended to
familiarize you with the variou vi ual di play and di tinct audible alert the
unit perform .
To begin the tutorial mode turn the radar/la er detector on while holding the
‘DIM/MENU’ button and it will demon trate how it operate when each radar
and la er band ignal i detected.
Tutorial mode start
X band signal detected operation
(weak ignal)
( trong ignal)
T u t o r i a l
X
►
1
X
►►
3
X
►►►
5
X
►►►►
7
X
►►►►►
9
N E 4 5
°
°°
°

Stinger S650
9
Radar detector
K band signal detected operation
(weak ignal)
( trong ignal)
Ka band signal detected operation
(weak ignal)
( trong ignal)
Laser signal detected operation
VG-2 signal detected operation
It automatically exit from the end of tutorial mode and go to ‘HIGHWAY/
CITY’ mode.
K
►
1
K
►►
3
K
►►►
5
K
►►►►
7
K
►►►►►
9
Ka
►
1
Ka
►►
3
Ka
►►►
5
Ka
►►►►
7
Ka
►►►►►
9
L A S E R
V G
-
2

Stinger S650
10
Radar detector
Compass Calibration Set-up
Pre ‘DIM/MENU’ and ‘MUTE/CITY’ button imultaneou ly more than 2
econd to go ‘Compa Calibration Mode’.
Perform the calibration on a level urface, following the e tep :
1. When entering ‘Calibration mode’, it peak “ tart your calibration”.
2. The Calibration will be continued until u er pre e any key. Plea e drive 2
circle and pre any key when fini hed. It di play and toggle ‘Drive_2’ and
‘CIRCLE’ during drive. The ize of the circle and the direction you drive doe
not matter. The circle do not need to be perfect circle but mu t be
completed in the ame direction. Each circle hould take a minimum of 20
econd but no more than 1 minute to complete.
3. In ca e ‘Compa Calibration’ i completed ucce fully, it di play
‘COMPLETE’ with voice of ‘Calibration completed’ and exit automatically.
4. In ca e it i not completed ucce fully, it di play ‘CANCELLED’ and exit.
5. If any button i not pre ed during one minute, the calibration i topped
and di play ‘ERROR’ and a ‘CANCELLED’ me age.
Menu Mode
Pre ing ‘DIM/MENU’ button for 3 econd to go to ‘Menu’ mode. You can et
each ub menu a follow .
Pre ‘DIM/MENU’ button again to croll each ub menu and pre ‘MUTE/
CITY’ button to elect ub menu. After electing ub menu, pre ‘DIM/
MENU’ button more than 3 econd to ave and exit. Otherwi e it i
automatically exit after 5 econd with elected ub menu.
SUB MENU SELECTION REMARK
Language Mode
[LANG:ENG] / [LANG:RUS] ENGLISH or RUSSIAN
VG-2 Mode [VG-2:ON] / [VG-2:OFF] VG-2 ON or OFF
Voice Mode [VOICEoN] / [VOICEoFF] VOICE ON or OFF
Tone Mode [TONE:HIG] / [TONE:LOW] High tone or Low tone
Compa Mode [CMPS:ON] / [CMPS:OFF] Compa ON or OFF

Stinger S650
11
Radar detector
1. Voice Alert Language selection
The STINGER S650 ha two voice ver ion , which are Engli h and Ru ian
voice. You can elect one at the Menu mode.
2. VG-2 detection On/Off selection
You can elect VG-2 detection On/Off at the Menu mode. Pre ing ‘DIM/
MENU’ button for 3 econd to go to ‘Menu’ mode.
3. Voice Alert On/Off selection
You can elect Voice Alert On/Off at the Menu mode. When the detector i et
to VOICE ON, you will be notified by voice and vi ual alert . VOICE OFF
turn off all alert-related voice me age but doe not affect any other voice
me age .
4. Tone selection
The STINGER S650 ha two tone of alarm ound (High/ Low). You can et it
at the Menu mode.
5. Compass display selection
You can elect Compa di play at the Menu mode. It di play a follow
when elected.
Pulse Protection
Pul e (or in tant-on) radar i more difficult to detect than conventional radar
becau e it remain “off” until activated to mea ure the peed of a targeted
vehicle.
When a pul e type tran mi ion i detected, your STINGER detector ound
an urgent audio warning and fla he the Alert trength indicator at their
fa te t rate.
Memory confirmation
It will automatically remember your la t etting when the unit i turned off or
removed from the power. All feature elected are retained in the memory
except MUTE. Whenever it re et the power, it make MUTE OFF.
N E 4 5
°
°°
°
S
E
1 6
5
°
°°
°

Stinger S650
12
Radar detector
Troubleshooting
If the detector does not turn on:
• Make ure that the POWER i in the ON po ition.
• Check the power cord or battery. Be ure all power connector are properly
in talled.
• Check the fu e that control power to the cigarette lighter ocket. See your
vehicle owner' manual.
• The cigarette lighter ocket might be dirty. Clean it with fine emery cloth to
en ure a good, clean connection.
• Vehicle electrical problem exi t .
Caution: Do not place any metal object other than the cigarette lighter or a
cigarette lighter plug in the cigarette lighter ocket. Doing o could blow a
fu e in your vehicle or cau e the metal object to become very hot.
If the detector gives a false alert when the vehicle hits or bumps:
• Check the vehicle' electrical y tem, including main battery cable and
alternator connection .
• In tall a filter capacitor (470uF/25volt ) on the back of the cigarette lighter
ocket acro the power connection .
If the receiving signals are weak:
• Check the angle of detector.
• Point to the horizon.
• Radar antenna / la er en or i ob tructed.
• Relocate the detector clear of any ob truction out ide the wind hield, uch
a a wiper blade ( ee mounting manual).

Stinger S650
13
Radar detector
Care and Maintenance
Here are some tips to help you care for your STINGER S650:
• To prevent theft, remove your STINGER radar/la er detector from your
wind hield or da hboard when you leave your vehicle.
• Avoid extended expo ure to direct unlight. Remove your STINGER
radar/la er detector from your wind hield when your vehicle i parked for an
extended period of time. On hot day the temperature in ide your vehicle
can reach level that could damage your STINGER radar/la er detector.
• Do not expo e the STINGER radar/la er detector to rain, moi ture, pray
cleaner , or liquid that could damage the internal circuitry of the detector.
Fuse replacement
The lighter ocket adapter of the power cord ha a replaceable 2-Amp SAG
fu e located below the ilver tip. To check or replace the fu e:
• lowly and carefully un crew the tip of the plug, making ure the pring and
ilver tip located in ide the plug do not fly out when you remove the cap.
• Check fu e and replace if nece ary.

Table of contents
Other Stinger Radar Detector manuals
Popular Radar Detector manuals by other brands

Cobra
Cobra BAND XRS 9640 operating instructions

K40
K40 Defuser EX installation instructions

ETL
ETL MRD-1000 user manual

Cobra
Cobra 12 BAND XRS 9340 operating instructions

IDS GeoRadar
IDS GeoRadar Hydra Series user manual

Cincinnati Microwave
Cincinnati Microwave Laser ShifterPro Installation and owner's manual

Radio Shack
Radio Shack Detector owner's manual

Cobra
Cobra 12 BAND 9375-XRS operating instructions

Whistler
Whistler LASER/RADAR DETECTOR owner's manual

Escort
Escort Passport MAX Quick reference guide

smartmicro
smartmicro UMRR-0F0002 Functional Description/User Manual

Beltronics
Beltronics Vector 985 operating instructions