manuals.online logo
Brands
  1. Home
  2. •
  3. Brands
  4. •
  5. Stirling
  6. •
  7. Dryer
  8. •
  9. Stirling SVDM70 User manual

Stirling SVDM70 User manual

MODEL: SVDM70 | PRODUCT CODE: 10101 | 07/2019
Issue Date: 07/2019IM Version No.: V1.4
MODEL NUMBER SVDM70
INSTRUCTION MANUAL
7KG CLOTHES DRYER
2
MODEL: SVDM70 | PRODUCT CODE: 10101 | 07/2019
Congratulations on choosing to buy a STIRLING® product.
All products brought to you by STIRLING® are manufactured to the highest standards
of performance and safety and, as part of our philosophy of customer service and
satisfaction, are backed by our comprehensive 3 Year In Home Warranty. We hope you
will enjoy using your purchase for many years to come.
Welcome
3
MODEL: SVDM70 | PRODUCT CODE: 10101 | 07/2019
Contents
2 Welcome
5 Warranty
6 General Safety Instructions
10 Product Overview
12 Getting Started: Installation
17 Instructions
20 FAQs
21 Other Useful Information
26 Repair and Refurbished Goods or Parts Notice
27 Warranty Returns
4
MODEL: SVDM70 | PRODUCT CODE: 10101 | 07/2019
This page
is intentionally
left blank
5
MODEL: SVDM70 | PRODUCT CODE: 10101 | 07/2019
The product is guaranteed to be free from defects in workmanship and parts for a period
of 36 months from the date of purchase. Defects that occur within this warranty period,
under normal use and care, will be repaired, replaced or refunded at our discretion. The
benets conferred by this warranty are in addition to all rights and remedies in respect of
the product that the consumer has under the Competition and Consumer Act 2010 and
similar state and territory laws.
Our goods come with guarantees that cannot be excluded under the Australian Consumer
Law. You are entitled to a replacement or refund for a major failure and for compensation
for any other reasonably foreseeable loss or damage. You are also entitled to have the
goods repaired or replaced if the goods fail to be of acceptable quality and the failure does
not amount to a major failure.
7kg Clothes Dryer
Congratulations!
REGISTER YOUR PURCHASE AT www.aldi.com.au/en/about-aldi/product-registration/ TO KEEP UP-TO-DATE WITH IMPORTANT PRODUCT INFORMATION
You have made an excellent choice of this quality product. Our commitment to quality also includes our service. Should you, contrary to
expectations, experience defects due to manufacturing faults, ALDI will provide you with a warranty against defects as follows:
Warranty
The product is guaranteed to be free from defects in workmanship and parts for a period of 36 months from the date of purchase. Defects that occur within this
warranty period, under normal use and care, will be repaired, replaced or refunded at our discretion. The benefits conferred by this warranty are in addition to
all rights and remedies in respect of the product that the consumer has under the Competition and Consumer Act 2010 and similar state and territory laws.
Our goods come with guarantees that cannot be excluded under the Australian Consumer Law. You are entitled to a replacement or refund for a major failure
and for compensation for any other reasonably foreseeable loss or damage. You are also entitled to have the goods repaired or replaced if the goods fail to be of
acceptable quality and the failure does not amount to a major failure.
Proof of Purchase
This warranty is valid for the original purchase and is not transferable. Please keep your purchase docket, tax invoice or receipt as the best proof of purchase, and
as proof of date on which the purchase was made.
Extent of Warranty
This warranty is limited to defects in workmanship or parts. All defective products or parts will be repaired or replaced.
Normal Wear and Tear
This warranty does not cover normal wear and tear to the products or parts.
118 Campbell Street, Collingwood, VIC 3066
Exclusions
This warranty does not cover:
• Any defects caused by an accident, misuse, abuse, improper installation or operation, lack of reasonable care, unauthorised modification, loss of parts,
tampering or attempted repair by a person not authorised by the distributor.
• Any product that has not been installed, operated or maintained in accordance with the manufacturer’s operating instructions provided with the product.
• Any product that has been used for purposes other than domestic use.
• Any damage caused by improper power input or improper cable connection.
To Make a Claim
This warranty against defects is provided by ALDI Stores, Locked Bag 56, St Marys Delivery Centre, NSW 2760, Phone (02) 9675 9000. If a defect in the goods
appears within 36 months, you are entitled to claim a warranty, please contact or send all warranty claims to:
When making a return, please ensure the product is properly packaged so as to ensure that no damage occurs to the product during transit.
Please provide the original or a copy of the proof of purchase. Also please make sure you have included an explanation of the problem.
Please note that the costs of making a warranty claim, including any return postage, will be covered by the supplier identified above.
Please note upon receiving your warranty claim, the supplier will send, via the post or email, a repair and refurbished goods
or parts notice.
Please provide your email address and advise the supplier, if you wish to obtain a repair and refurbished goods or
parts notice via email.
AFTER SALES SUPPORT:
1300 11 4357
AUS
3
Hotline number: 1300 11 4357
Residentia Group Pty Ltd
Email: [email protected]
[email protected]
MODEL: SUC54EEW PRODUCT CODE: 62878 11/2018
IN HOME
6
MODEL: SVDM70 | PRODUCT CODE: 10101 | 07/2019
SVDM70 7
7
MODEL: SVDM70 | PRODUCT CODE: 10101 | 07/2019
SVDM70 7
8
MODEL: SVDM70 | PRODUCT CODE: 10101 | 07/2019
9
MODEL: SVDM70 | PRODUCT CODE: 10101 | 07/2019
10
MODEL: SVDM70 | PRODUCT CODE: 10101 | 07/2019
Door
Window
Start Button
Program Selector/Timer
Heat Selector Knob Door
Gasket
Drum
Lint Filter
-
5
6
7
8
8
Start
Start button
NOTE:
button during the drying process, the dryer will not pause. In order to stop the
dryer, you must turn the timer dial to the O position.
This Start button is only designed to start the dryer working. If you press this
After having set up the Heat Selector and Timer Dial, press the Start button. the dryer
will start and work until the program is nished. If the during this process the door is
opened or power is switched o, the dryer will stop working. In order to start the dryer
again after the door is closed or power is switched back on, you will need to push the
Start button, then the dryer will start working again.
High
120
Low
BackView
11
MODEL: SVDM70 | PRODUCT CODE: 10101 | 07/2019
Door
Window
Start Button
Program Selector/Timer
Heat Selector Knob Door
Gasket
Drum
Lint Filter
-
5
6
7
8
8
Start
Start button
NOTE:
button during the drying process, the dryer will not pause. In order to stop the
dryer, you must turn the timer dial to the O position.
This Start button is only designed to start the dryer working. If you press this
After having set up the Heat Selector and Timer Dial, press the Start button. the dryer
will start and work until the program is nished. If the during this process the door is
opened or power is switched o, the dryer will stop working. In order to start the dryer
again after the door is closed or power is switched back on, you will need to push the
Start button, then the dryer will start working again.
High
120
Low
BackView
12
MODEL: SVDM70 | PRODUCT CODE: 10101 | 07/2019
12mm long screws
Spacers
7.0KG DRYER
7.0KG DRYER
• The dryer comes with legs already installed, ready for use on the oor.
• Stand the dryer on its feet and slide into position, leaving a space of at least 10cm
between the dryer and any wall. All four legs are adjustable. To level the unit, turn
them clockwise or anti-clockwise to go up or down.
13
MODEL: SVDM70 | PRODUCT CODE: 10101 | 07/2019
12mm long screws
Spacers
7.0KG DRYER
7.0KG DRYER
12mm long screws
Spacers
7.0KG DRYER
7.0KG DRYER
12mm long screws
Spacers
7.0KG DRYER
7.0KG DRYER
14
MODEL: SVDM70 | PRODUCT CODE: 10101 | 07/2019
Exhaust connector
Connector base
Wall mounted installation
15
MODEL: SVDM70 | PRODUCT CODE: 10101 | 07/2019
Exhaust connector
Connector base
Wall mounted installation
16
MODEL: SVDM70 | PRODUCT CODE: 10101 | 07/2019
12mm long screws
Spacers
7.0KG DRYER
7.0KG DRYER
17
MODEL: SVDM70 | PRODUCT CODE: 10101 | 07/2019
18
MODEL: SVDM70 | PRODUCT CODE: 10101 | 07/2019
Start
Start button
NOTE:
button during the drying process, the dryer will not pause. In order to stop the
dryer, you must turn the timer dial to the O position.
This Start button is only designed to start the dryer working. If you press this
After having set up the Heat Selector and Timer Dial, press the Start button. the dryer
will start and work until the program is nished. If the during this process the door is
opened or power is switched o, the dryer will stop working. In order to start the dryer
again after the door is closed or power is switched back on, you will need to push the
Start button, then the dryer will start working again.
High
120
Low
BackView
Door
Window
Start Button
Program Selector/Timer
Heat Selector Knob Door
Gasket
Drum
Lint Filter
-
5
6
7
8
8
Door
Window
Start Button
Program Selector/Timer
Heat Selector Knob Door
Gasket
Drum
Lint Filter
-
5
6
7
8
8
19
MODEL: SVDM70 | PRODUCT CODE: 10101 | 07/2019
Start
Start button
NOTE:
button during the drying process, the dryer will not pause. In order to stop the
dryer, you must turn the timer dial to the O position.
This Start button is only designed to start the dryer working. If you press this
After having set up the Heat Selector and Timer Dial, press the Start button. the dryer
will start and work until the program is nished. If the during this process the door is
opened or power is switched o, the dryer will stop working. In order to start the dryer
again after the door is closed or power is switched back on, you will need to push the
Start button, then the dryer will start working again.
High
120
Low
BackView
Door
Window
Start Button
Program Selector/Timer
Heat Selector Knob Door
Gasket
Drum
Lint Filter
-
5
6
7
8
8
Door
Window
Start Button
Program Selector/Timer
Heat Selector Knob Door
Gasket
Drum
Lint Filter
-
5
6
7
8
8
Start
Start button
NOTE:
button during the drying process, the dryer will not pause. In order to stop the
dryer, you must turn the timer dial to the O position.
This Start button is only designed to start the dryer working. If you press this
After having set up the Heat Selector and Timer Dial, press the Start button. the dryer
will start and work until the program is nished. If the during this process the door is
opened or power is switched o, the dryer will stop working. In order to start the dryer
again after the door is closed or power is switched back on, you will need to push the
Start button, then the dryer will start working again.
High
120
Low
BackView
20
MODEL: SVDM70 | PRODUCT CODE: 10101 | 07/2019

Other Stirling Dryer manuals

Stirling STR-CD50 User manual

Stirling

Stirling STR-CD50 User manual

Stirling STR-CD70W User manual

Stirling

Stirling STR-CD70W User manual

Stirling MDR70-VR031 User manual

Stirling

Stirling MDR70-VR031 User manual

Stirling STR-CD50 User manual

Stirling

Stirling STR-CD50 User manual

Stirling STR-CD8C User manual

Stirling

Stirling STR-CD8C User manual

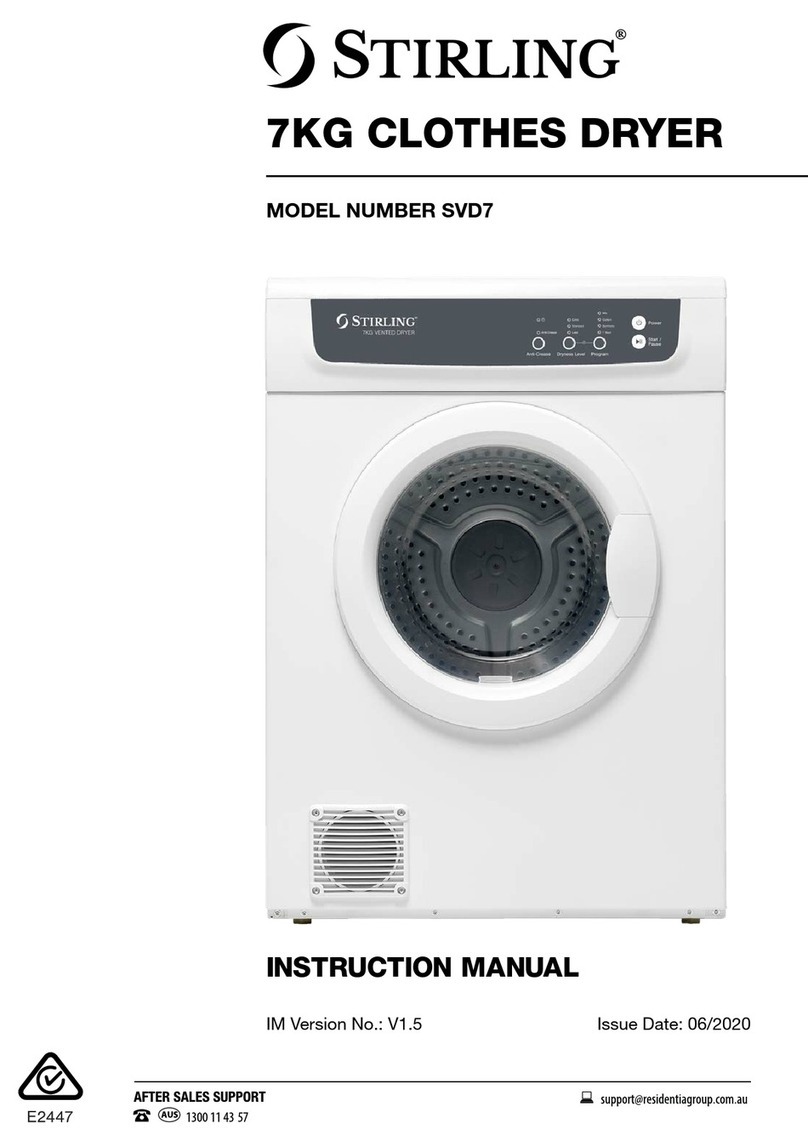
Stirling SVD7 User manual

Stirling

Stirling SVD7 User manual

Stirling GYJ45-68 User manual

Stirling

Stirling GYJ45-68 User manual

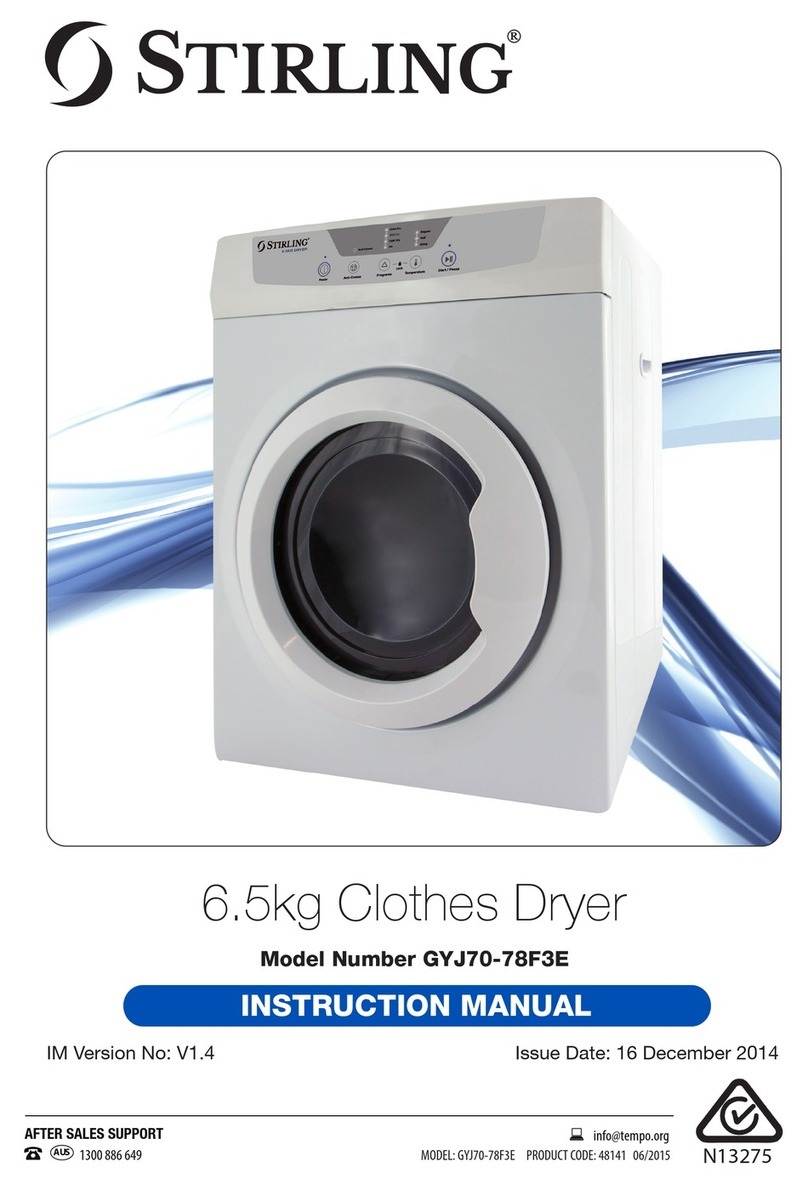
Stirling GYJ70-78F3E User manual

Stirling

Stirling GYJ70-78F3E User manual

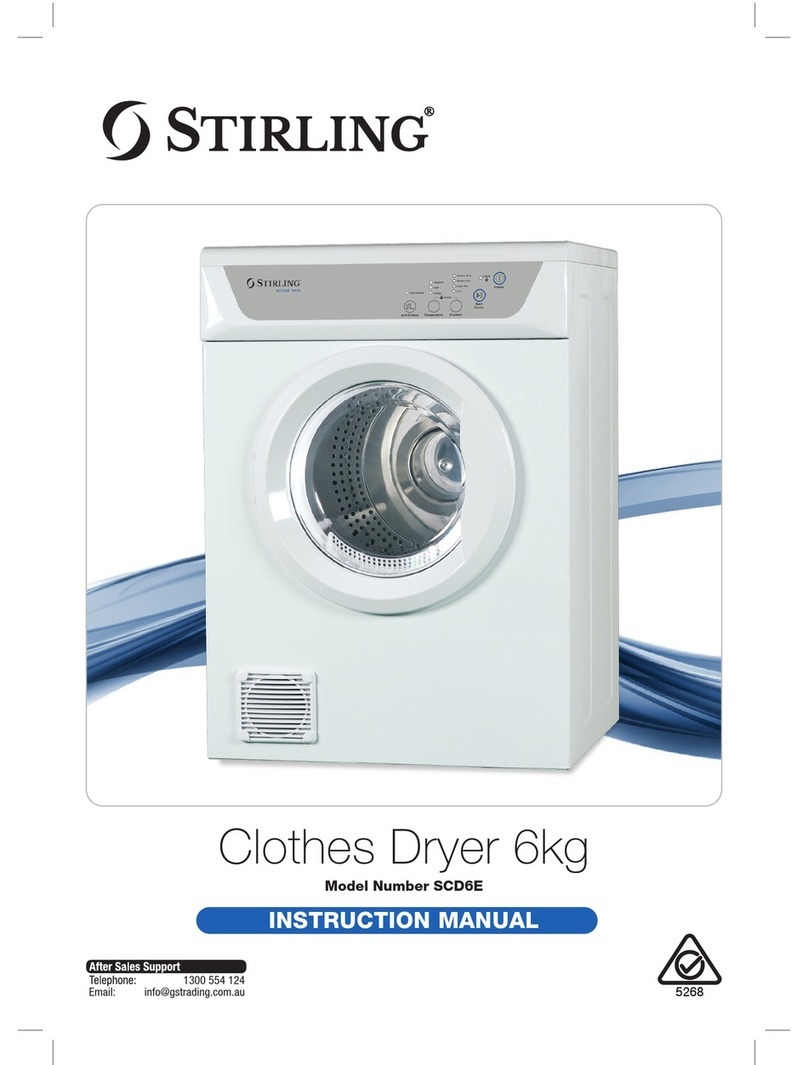
Stirling SCD6E User manual

Stirling

Stirling SCD6E User manual

Stirling MDR70-VR031 User manual

Stirling

Stirling MDR70-VR031 User manual

Stirling GYJ40-88 User manual

Stirling

Stirling GYJ40-88 User manual

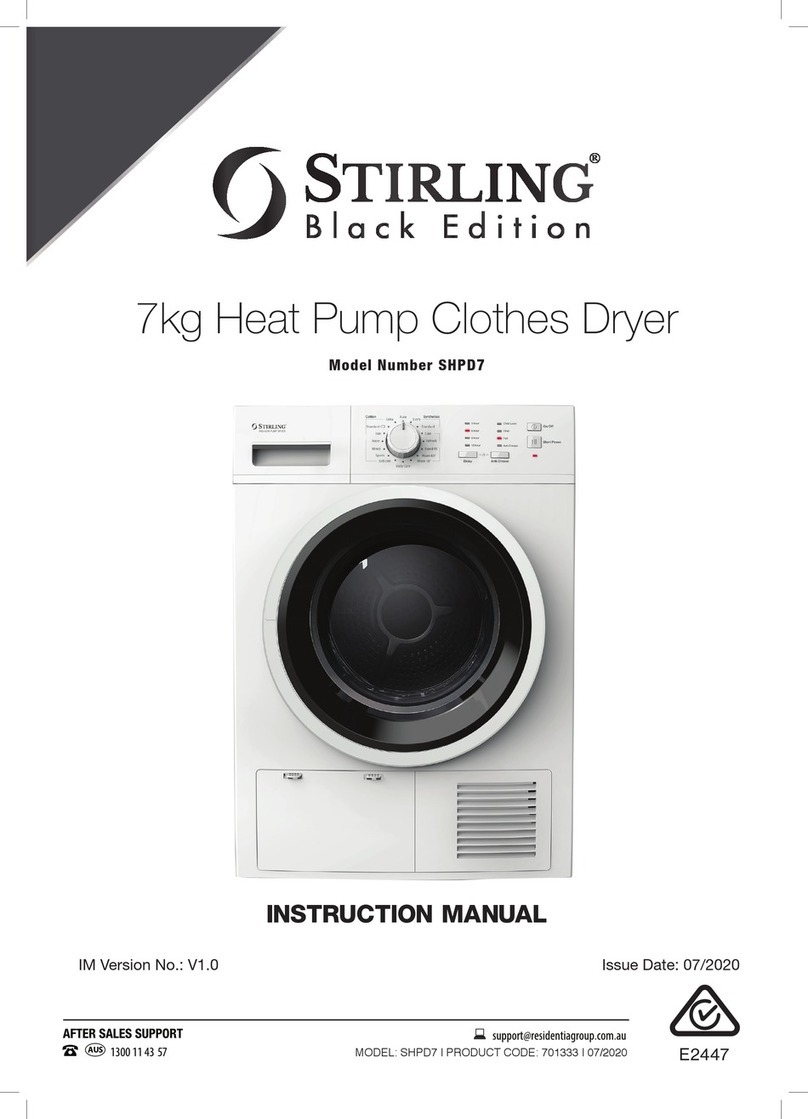
Stirling SHPD7 User manual

Stirling

Stirling SHPD7 User manual

Stirling STR-CD70W User manual

Stirling

Stirling STR-CD70W User manual

Popular Dryer manuals by other brands

Parker PDRD user manual

Parker

Parker PDRD user manual

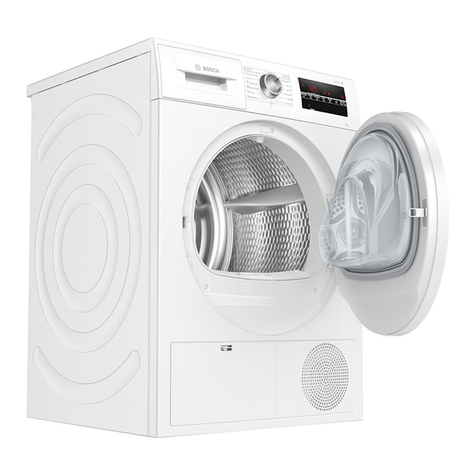
Bosch WTG86263CL Installation and operating instructions

Bosch

Bosch WTG86263CL Installation and operating instructions

GE DDE7209R Use and care

GE

GE DDE7209R Use and care

Maytag MGDE300VF - Performance Series 27-in Gas... Use and care guide

Maytag

Maytag MGDE300VF - Performance Series 27-in Gas... Use and care guide

SPL SUPREME Jet Dry EX II Installation & maintenance instructions
SPL

SPL SUPREME Jet Dry EX II Installation & maintenance instructions

Haier RDE350AW - 6.5 Cu. Ft. Electric Dryer User manual and installation instructions

Haier

Haier RDE350AW - 6.5 Cu. Ft. Electric Dryer User manual and installation instructions

Electrolux Professional QuickDry QDC N1130 Series installation manual

Electrolux Professional

Electrolux Professional QuickDry QDC N1130 Series installation manual

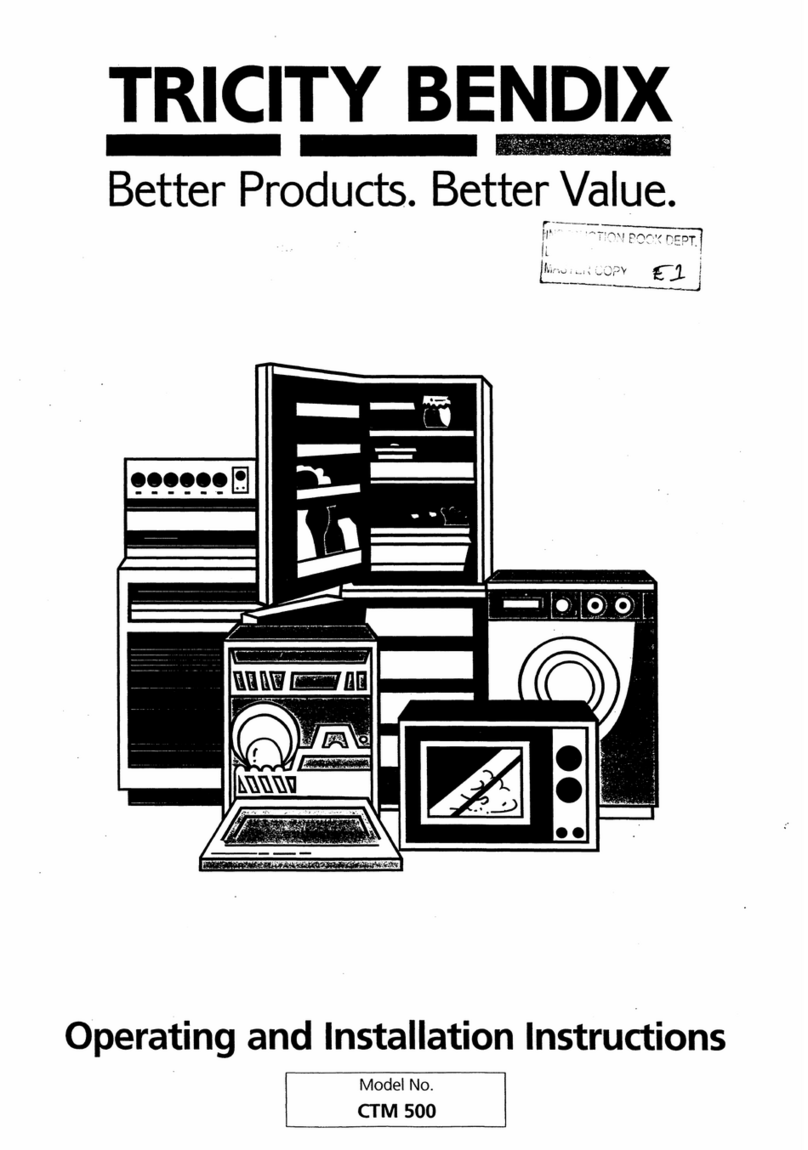
Tricity Bendix CTM500 OPERATING AND INSTALLATION Manual

Tricity Bendix

Tricity Bendix CTM500 OPERATING AND INSTALLATION Manual

LG DLGX3851 Series owner's manual

LG

LG DLGX3851 Series owner's manual

Amana NGD5700B Specifications

Amana

Amana NGD5700B Specifications

Menuett 941-018 User instructions

Menuett

Menuett 941-018 User instructions

Bosch WTYH6790GB Installation and operating instructions

Bosch

Bosch WTYH6790GB Installation and operating instructions

AEG LAVATHERM 33600 Operating and installation instructions

AEG

AEG LAVATHERM 33600 Operating and installation instructions

Kuppersberg DM 560 W Technical Passport

Kuppersberg

Kuppersberg DM 560 W Technical Passport

Schulthess Spirit topLine TC 8230 Instructions for the use

Schulthess

Schulthess Spirit topLine TC 8230 Instructions for the use

AEG LAVATHERM 59800 User information

AEG

AEG LAVATHERM 59800 User information

SP Scientific VIRTIS ADVANTAGE PRO Operator's manual

SP Scientific

SP Scientific VIRTIS ADVANTAGE PRO Operator's manual

Samsung DV210A Series user manual

Samsung

Samsung DV210A Series user manual

manuals.online logo
manuals.online logoBrands
  • About & Mission
  • Contact us
  • Privacy Policy
  • Terms and Conditions

Copyright 2025 Manuals.Online. All Rights Reserved.