3
WARNING: DO NOT USE LEGS FOR AN
INDOOR INSTALLATION. IN
THIS INSTALLATION, THE
VOID BELOW THE FIREBOX
COULD INADVERTANTLY BE
USED FOR STORAGE OF
COMBUSTIBLE MATERIALS,
WHICH COULD CREATE A
FIRE HAZARD.
Select a high temperature fire clay or refractory
cement and mix according to manufacturer’s
instructions. Several companies in the U.S. and
Canada sell refractory cement or fire clay including
Stone Age Manufacturing.
Once the fireplace is constructed you must wait at
least 28 days before building a fire to give the
cement adequate time to cure. This will provide
ample time for any water residue to evaporate,
eliminating the adverse reaction of the combination
of water and fire.
3.2 Assembly of Components
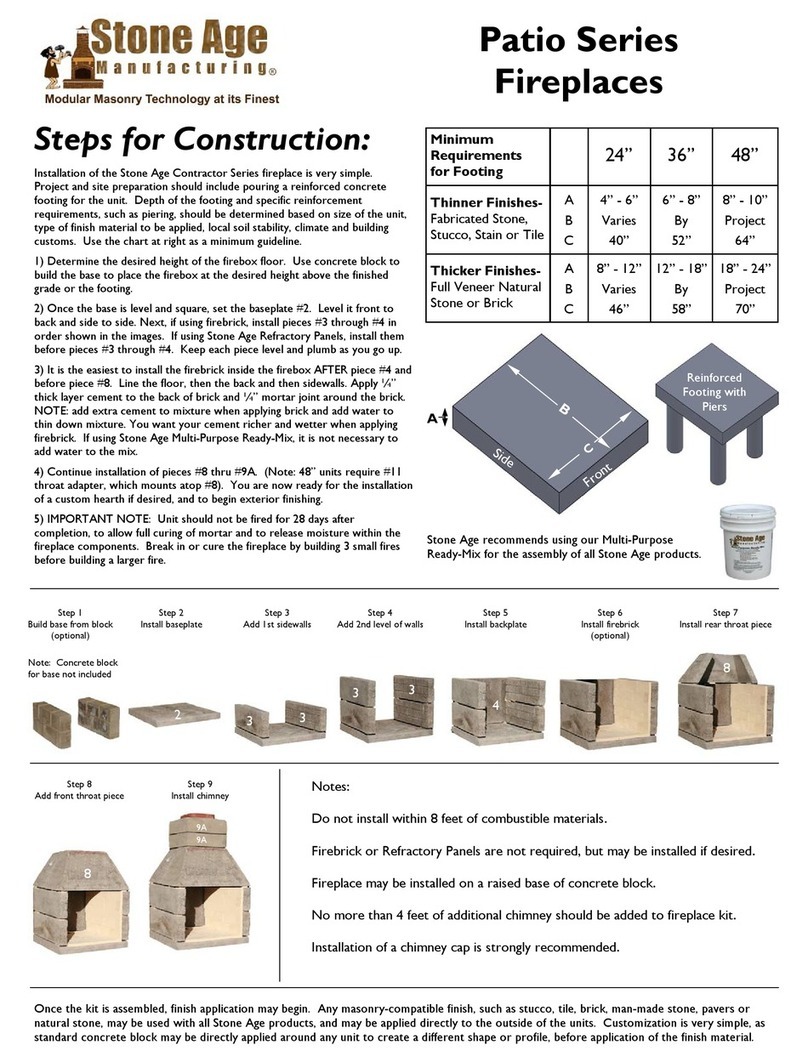
A. When the base is level and square, set the
baseplate (2). Level it from side to side and
front to back.
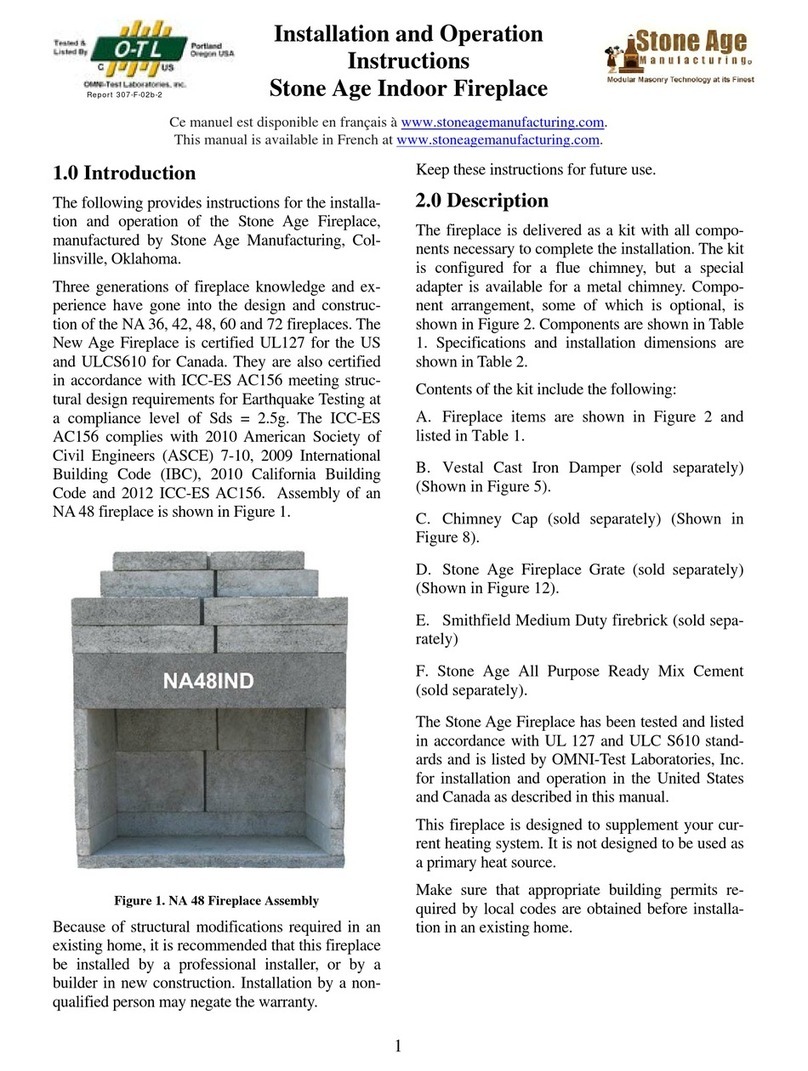
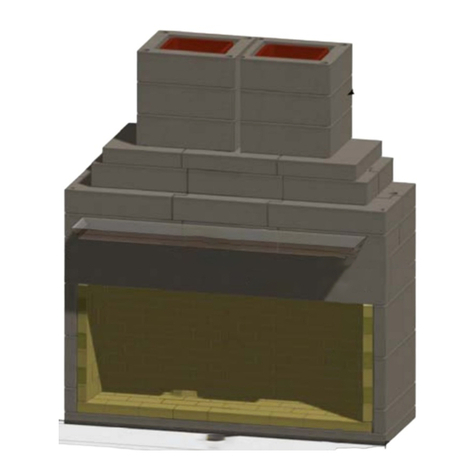
B. As shown in Figure 1, install the four sidewall
pieces (3) and the back header (6). Use one-
half inch of mortar between each section.
Smooth out mortar and make sure sections
remain level.
C. After installation of the back header (6), install
the firebrick inside the firebox. Line the floor,
then the back and then the sides. Apply
approximately ¼ to ½ -inch thick layer cement
to the back of the brick, and approximately 1/4
–inch mortar joint around the brick.
D. Continue with the installation with front
header, throat and flue (7, 8 and 9). The front
header (7) can be arched or straight. Add as
many flue sections (9) to reach desired
chimney height.
E. If installing the SA 48-inch fireplace, install
the throat-to-flue adapter, item 11, shown in
Figure 2 and listed as item 11 in Table 2. It is
installed between items 8 and 9.
F. If installing a mantel and side trim, especially if
it is wood or other combustible materials,
make sure the minimum distances shown in
Table 2 are met.
G. Install the hearth (10). You are now ready to
install the exterior.
3.3 Installation of Additional Equipment
A decorative gas appliance (gas log) may be
installed in this fireplace if it meets the following
requirements.
A.A hole may be cut or drilled in the side, floor or
back wall to install piping for a gas supply.
B. The gas log must have an automatic shutoff
device.
C. Installation must comply with the Standard for
Decorative Gas Appliances for Installation in
Vented Fireplaces, ANSI Z21.60 (1991) or
American Gas Association draft requirements
for Gas-Fired Log Lighters for Wood Burning
Fireplaces, Draft No. 4 dated August, 1993.
D. It must also be installed in accordance with the
National Gas Fire Code, ANSI Z223.1.
3.4 Exterior finishing
The exterior finish may be either fabricated stone,
thin veneer or full bed depth natural stone, stain,
tile, brick, stucco or any material that is compatible
with concrete or masonry.
If exterior finish is going to be stucco, stain, tile or
manufactured thin stone, wrap outside of firebox
with metal lathe. Attach lathe to fireplace using
concrete nails or tapcons. Full bed depth or thin
veneer natural stone, full size brick, concrete
pavers or CMU block etc. do not require metal
lathe.
Make sure same refractory mortar is used.
4.0 Installation of Chimney
The chimney is completed by stacking as many
flue sections (9) as necessary to reach chimney
height. Chimney plumbing can either be straight
through the ceiling and through the roof, or if the
fireplace is installed on an outside wall, the
chimney can be external to the house.
WARNING: THIS FIREPLACE HAS NOT
BEEN TESTED FOR USE
WITH GLASS DOORS. TO
REDUCE THE RISK OF FIRE


