Strech Plastics RX-6-26 User manual
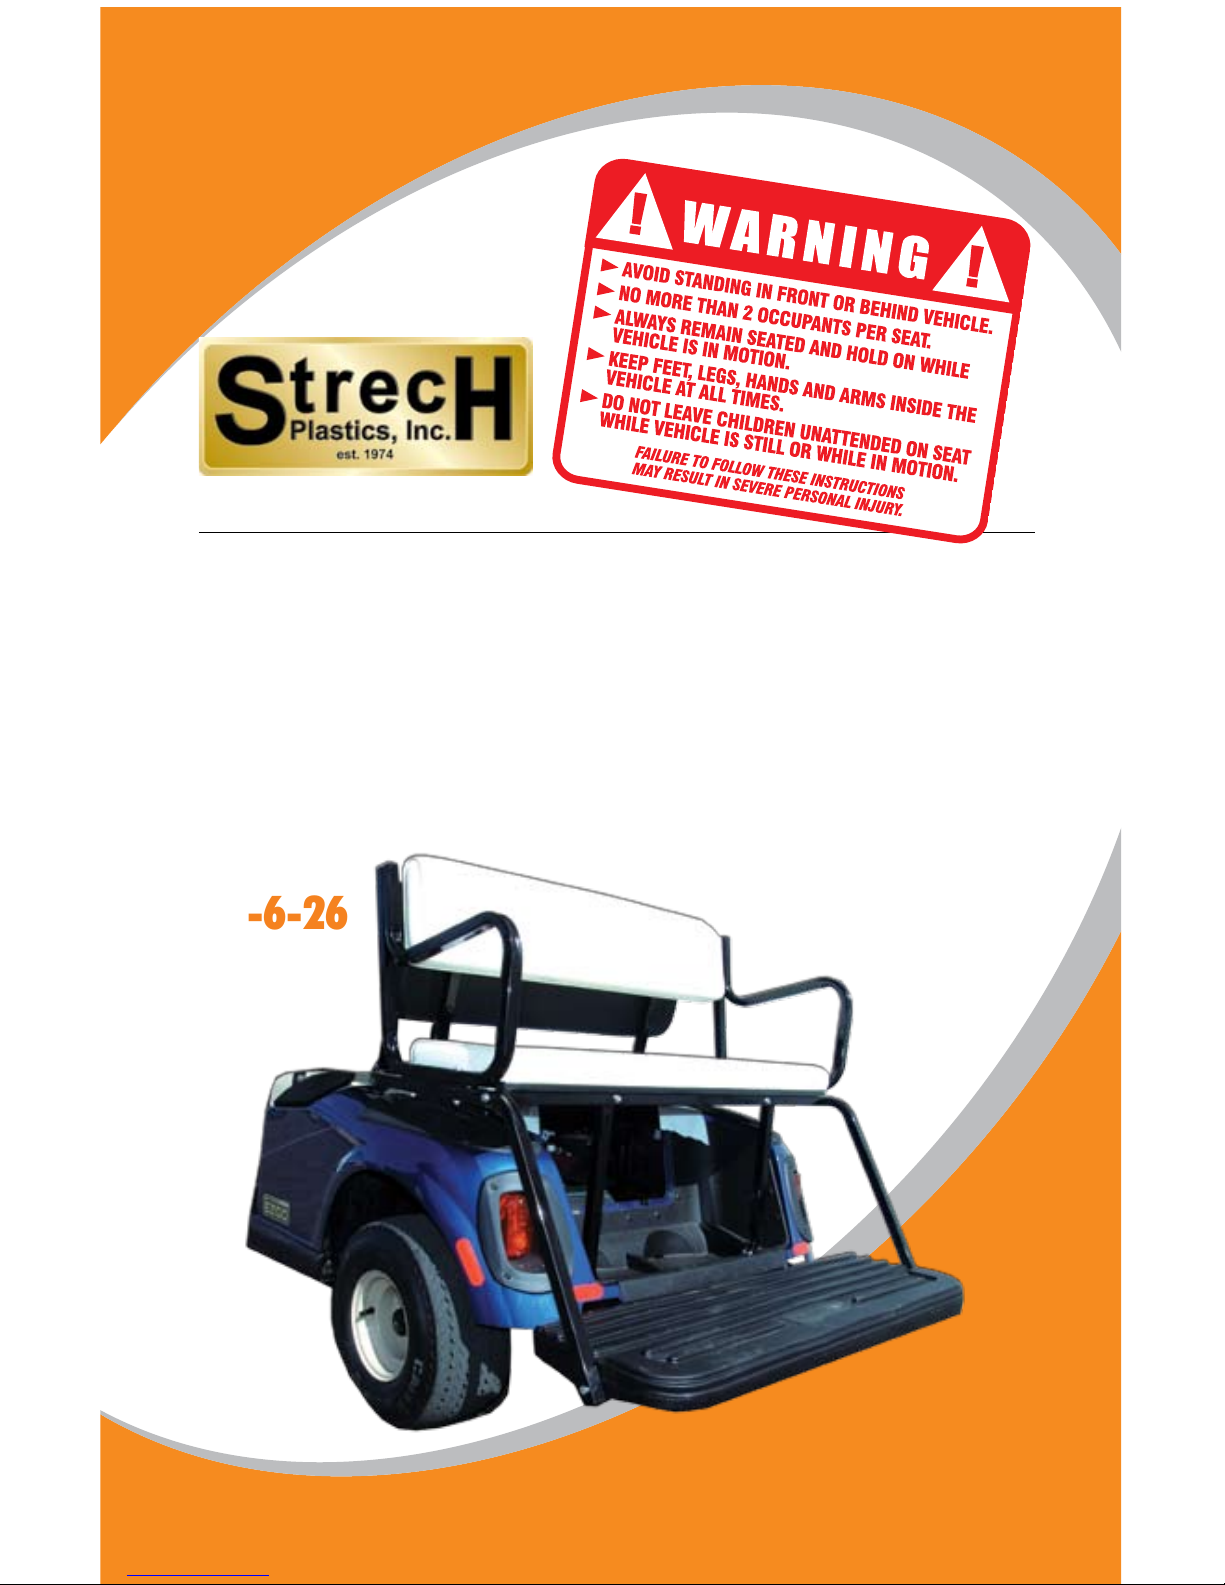
BOLT ON
4 PASSENGER SEAT KIT
FOR E-Z-GO RXV
INSTALLATION INSTRUCTIONS
RX-6-26
Model: EZGO RXV Freedom
VISIT US ON THE WEB TO CHECK OUT MORE GREAT PRODUCTS - WWW.STRECHPLASTICS.COM
Strech Plastics Manufacturers & Distributors of the Highest Quality Golf Car Products
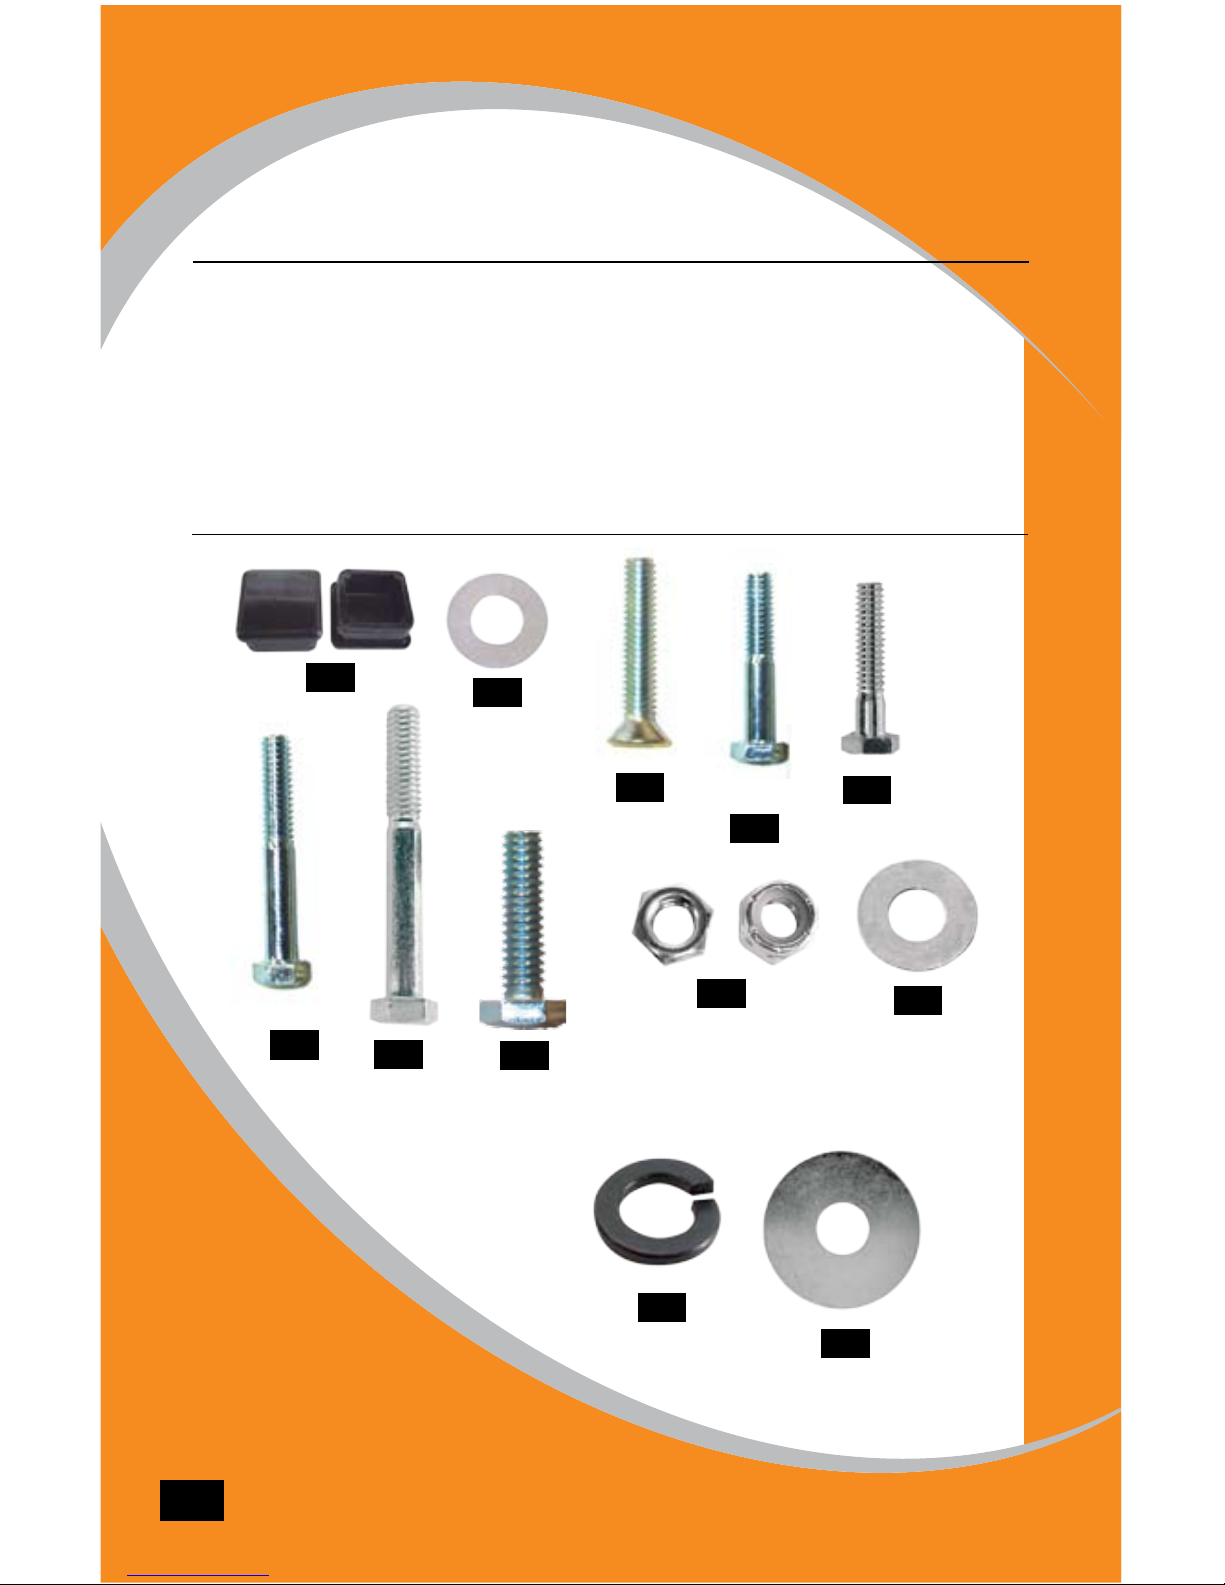
TABLE OF CONTENTS
Table of Contents ............................................................ 1
Kit Contents ................................................................. 1-4
Disassembly ................................................................. 5-6
Assembly ................................................................... 7-18
KIT CONTENTS
AB
C
D
E
1
FG
HI
J
K
L

ID Qty Product # Description
A 8 HW1.0-06 1” Tube End Cap
B 10 HW14-13 1/4” SAE Flat Washer
C 4 HW14-19 1/4”-20 x 1 1/4” Phillips Flat Head
D 6 HW14-34 1/4” X 1 3/4” H.H.C.S. Zinc
E 8 HW14-65 1/4” x 1-1/4” H.H.C.S. Bolt
F 2 HW516-05 5/16”-18 x 2” H.H.C.S Grade 2 Zinc
G 8 HW516-07 5/16” x 2-1/2” H.H.C.S. Bolt/Grade 2
H 10 HW516-17 10 5/16” - 18 Nylon Lock Nut
I 20 HW516-18 24 5/16” SAE Flat Washer
J 4 HW14-105 1/4”-20 X 1” Hex Bolt Zinc
K 10 HW14-14 1/4” Split Lock Washer Zinc
L 8 HW14-88 1/4” x 1” Fender Washer Zinc
2
E
F
C
G
H
I
D
J
3
A
B

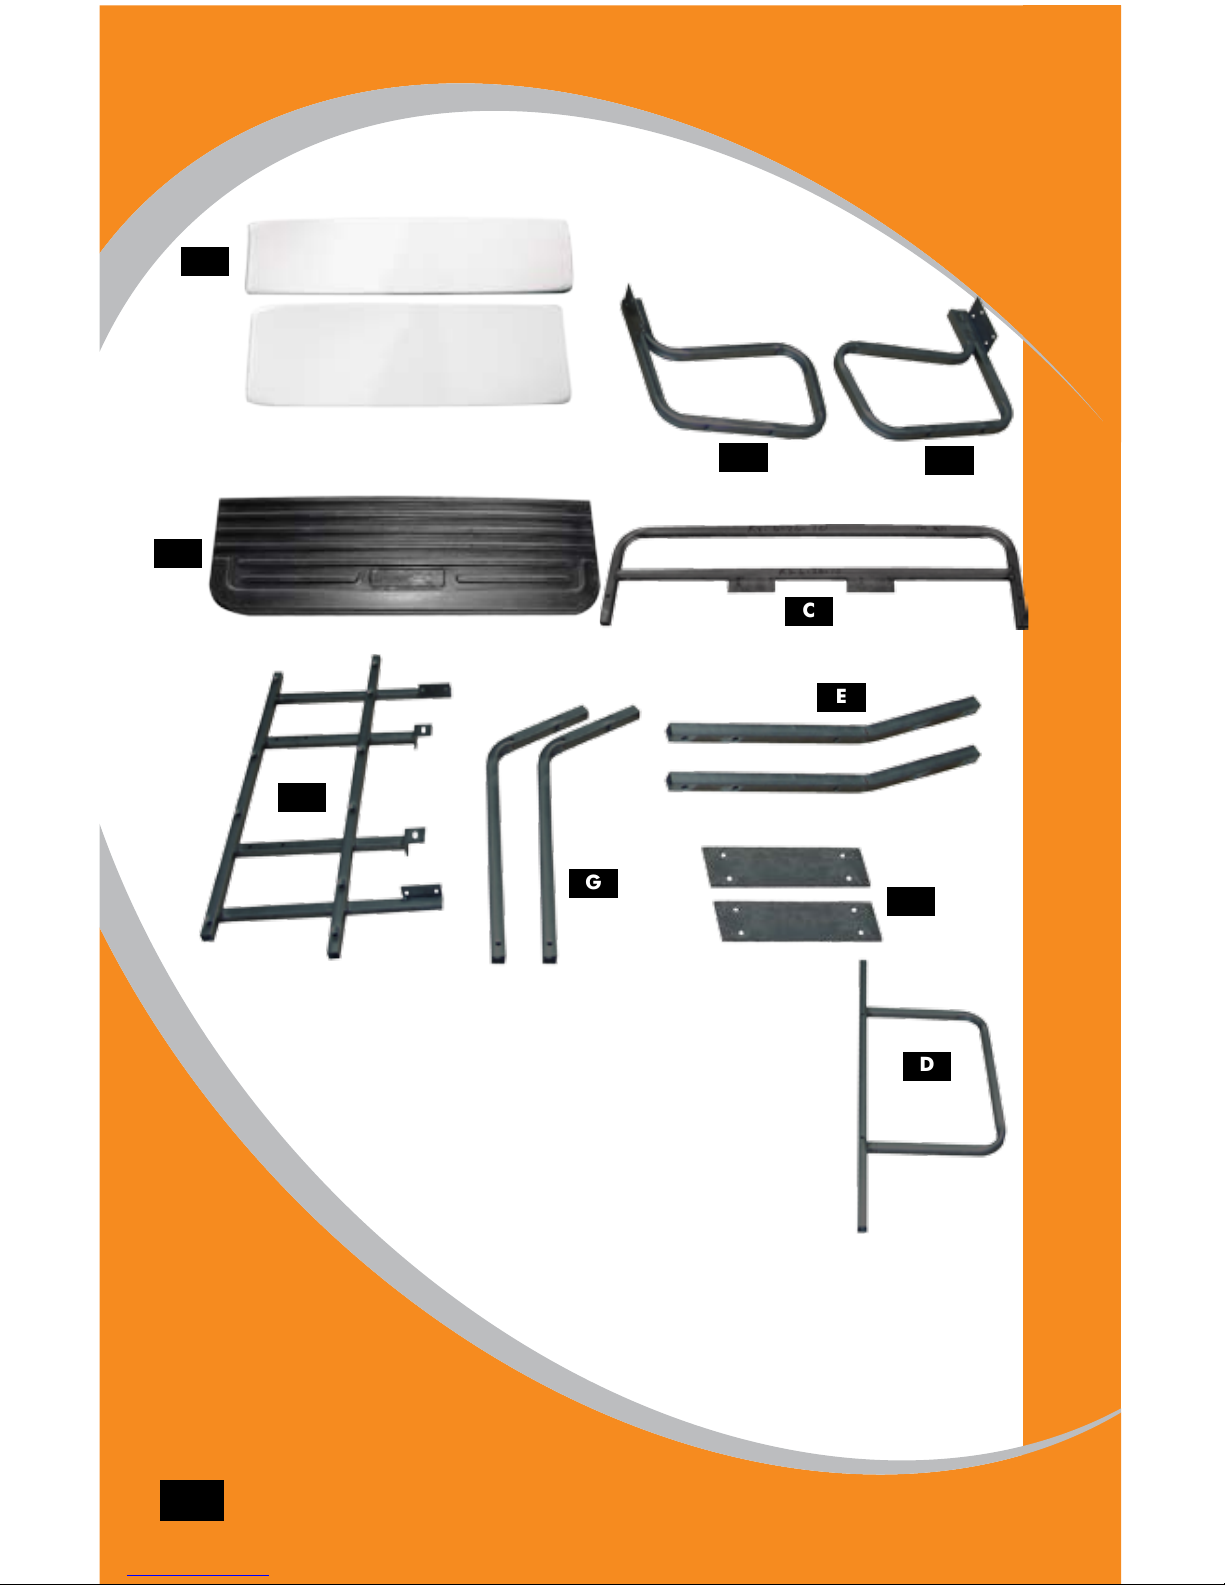
ID Qty Product # Description
A 1 E-6-2000-2L Club Car 4 Seat Arm Rest Left (driver)
B 1 E-6-2000-2R Club Car 4 Seat Arm Rest Right (pass)
C 1 RX-6-26-10 RXV 4 Seat Crossbar Hoop
D 1 RX-6-26-4 RXV 4 Seat Under Seat Brace
E 2 RX-6-26-6 RXV Front Seat Back Supports
F 2 RX-6-26-7-S-8-353 RXV Under Seat Brace Plates
G 2 RX-6-26-7 RXV 4 Seat Step Brace
H 1 RX-6-26-8 RXV4 Seat Step Frame
I 1 *HW-42B *4 Passenger Kit Seat Beige
J 1 MS-6-09 4 Passenger Seat Kit Step Strech Plastics
4
*SEAT KIT ALSO AVAILABLE IN THE FOLLOWING COLORS:
• HW-42A — Antelope
• HW-42B — Beige
• HW-42C — Camouflage
• HW-42I — Ivory
• HW-42T — Tan
• HW-42W — White
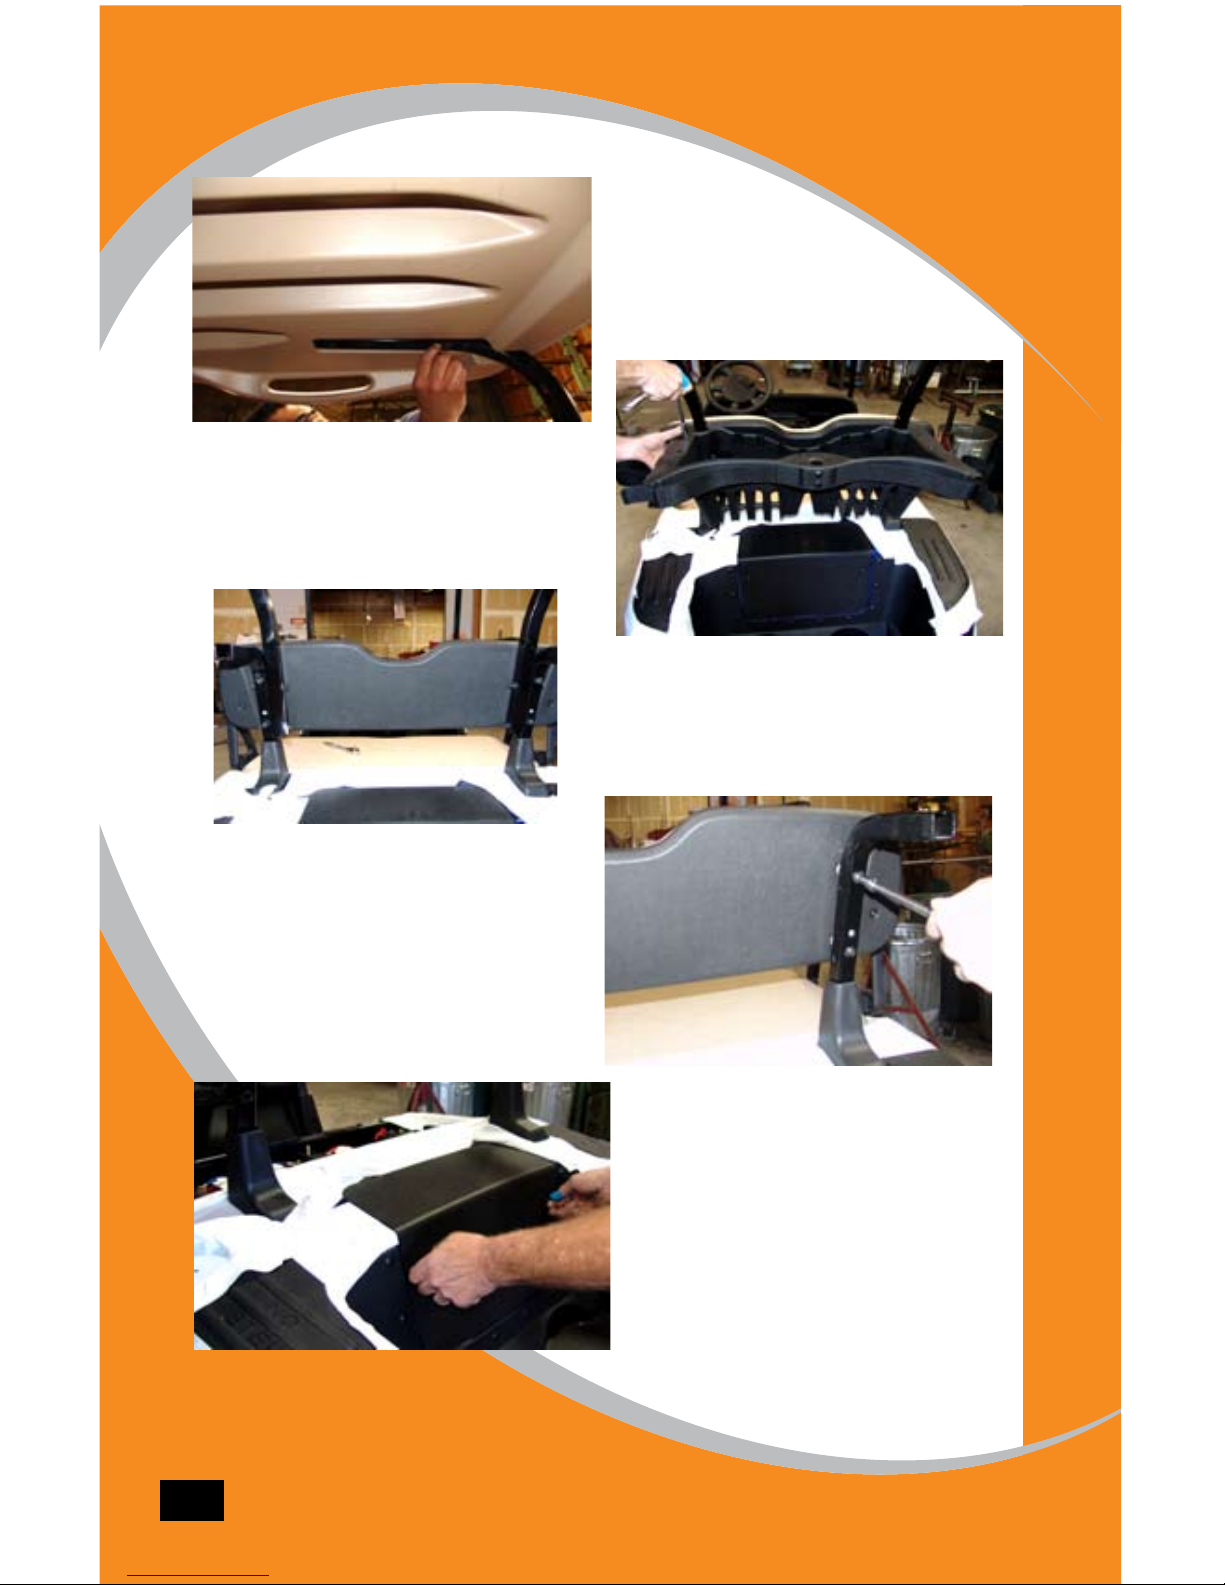
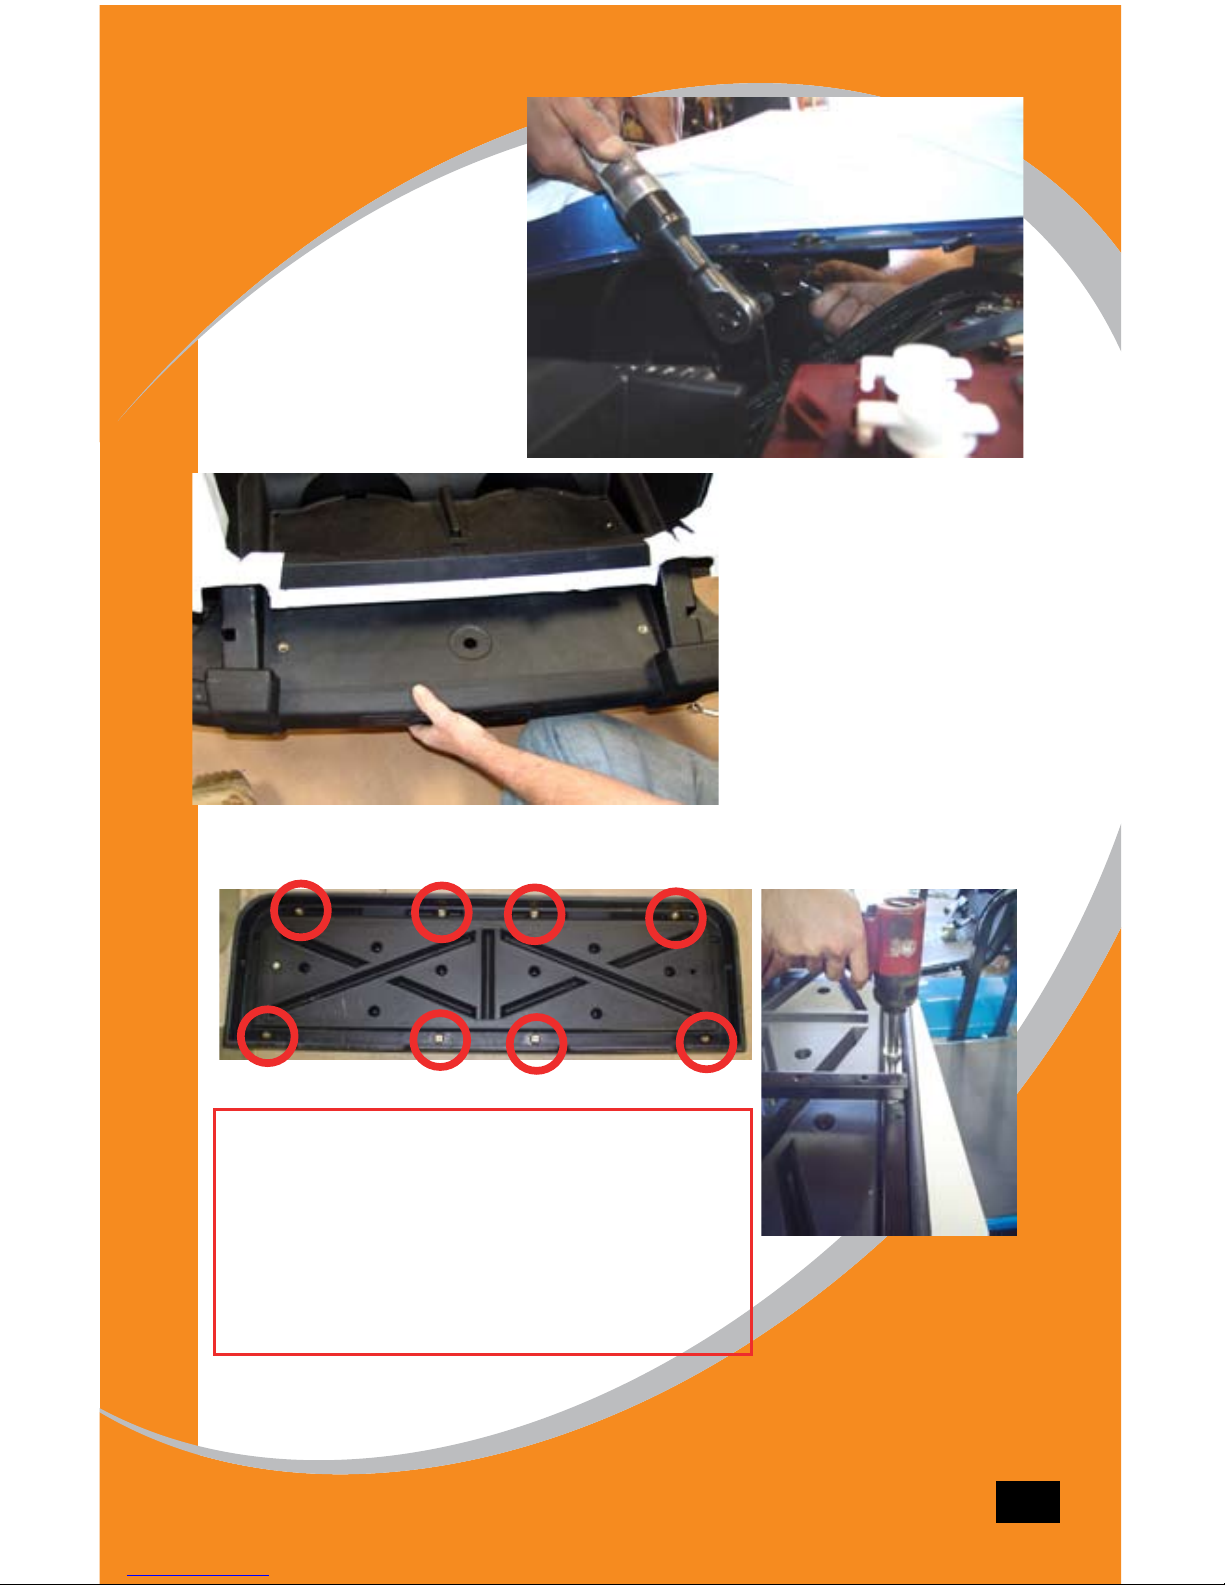
STEP 1:
Remove the top.
STEP 2:
Remove the bag
holder basket.
STEP 3:
Remove the 4 bolts to
the top supports and
remove the top sup-
ports.
STEP 4:
Remove the front seat
back and save the
hardware.
STEP 5:
Then remove the
inspection cover and
front seat for access.
5
Disassembly
STEP 6:
Remove the seat back
support mounts and
plastic support covers.
Save the bolts for
installation.
6
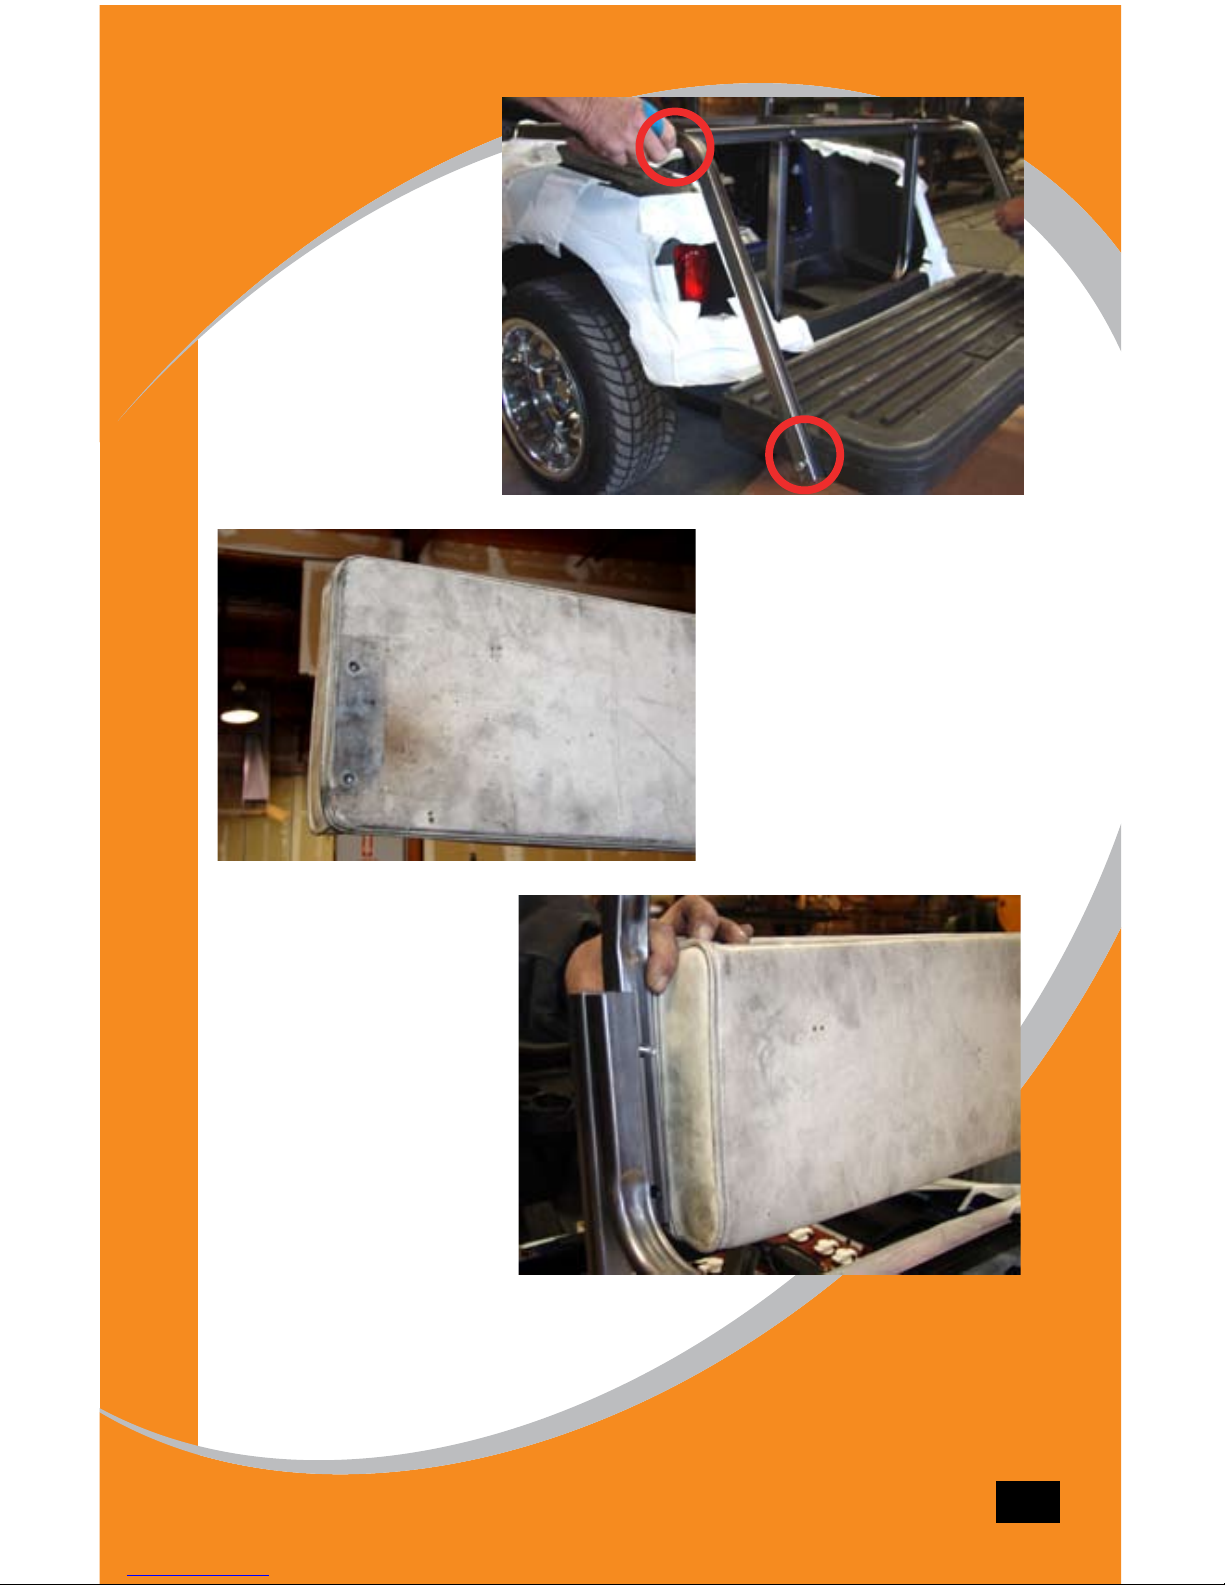
STEP 7:
Remove the rear bum-
per and save the side
bolts for use during
installation.
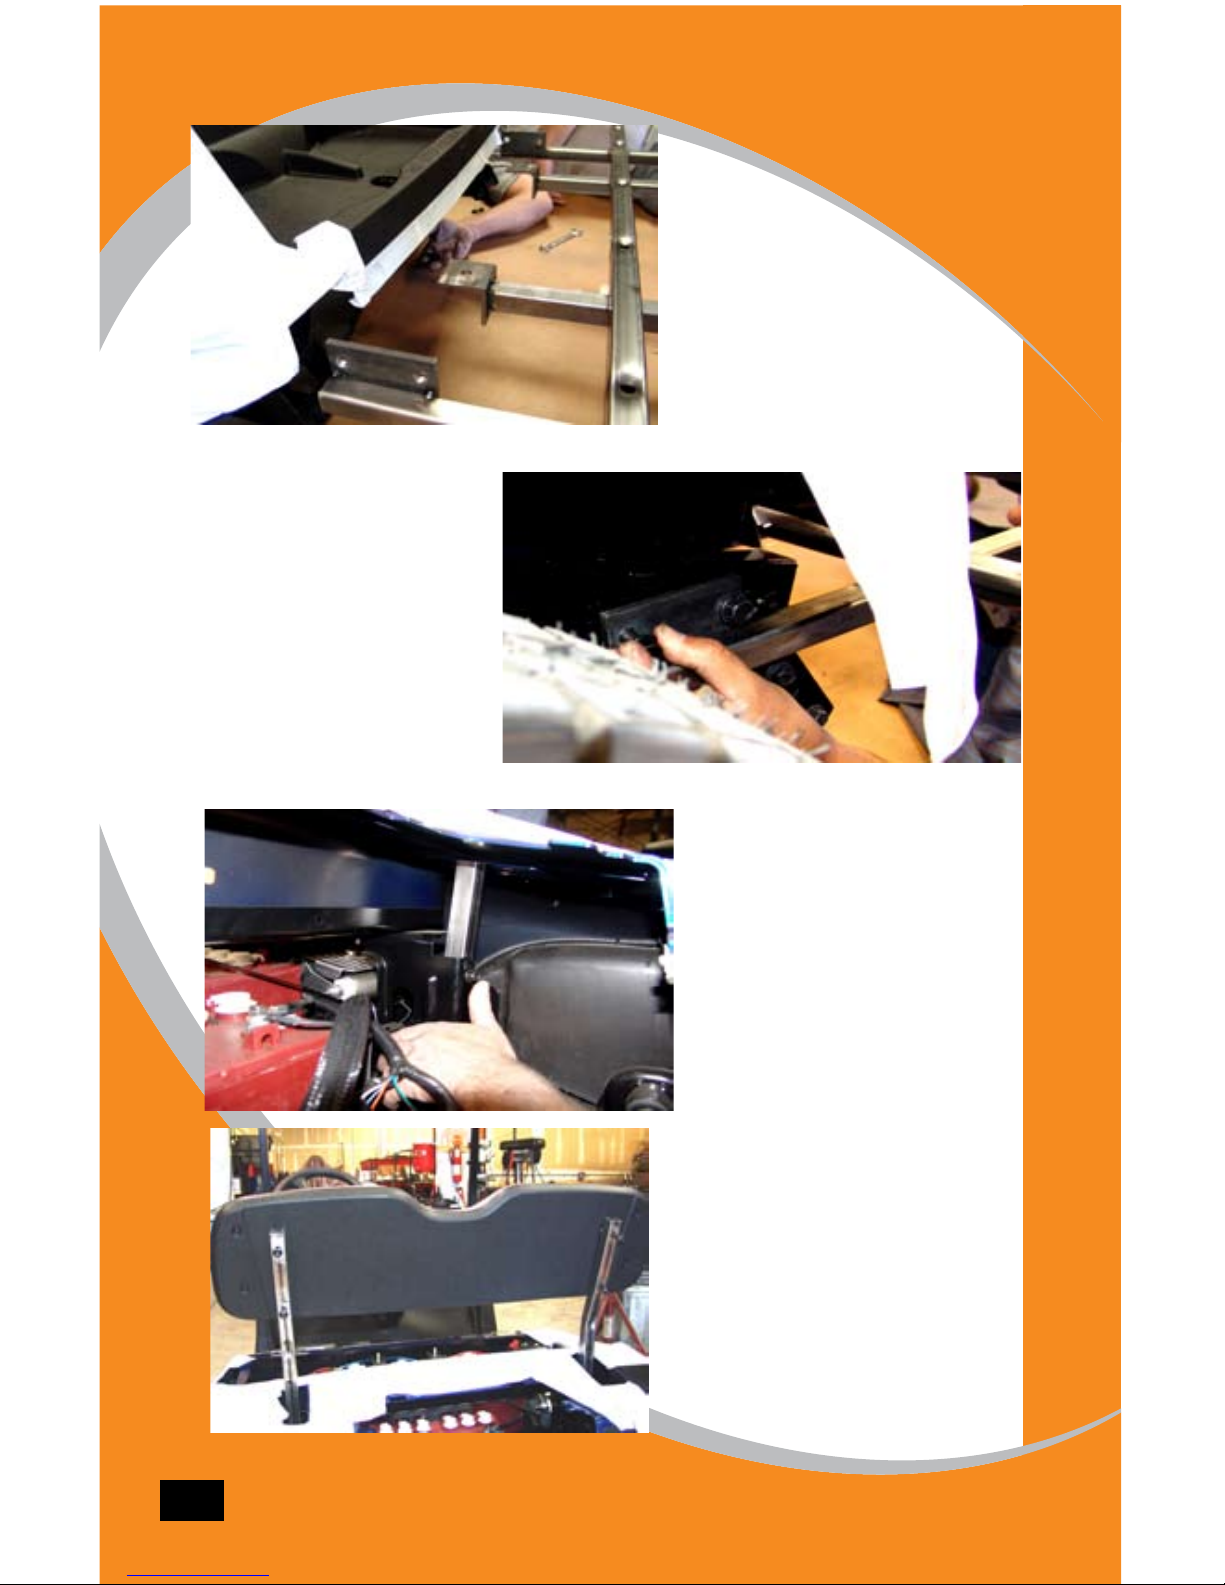
Assembly
STEP 1:
Place the step frame on a table with the
mounting tabs facing up. Place the plastic step
assembly on top of the frame then while hold-
ing on to both pieces flip the assembly over.
Using eight 1/4” x 1-1/4” bolts and eight 1/4”
x 1” fender washers secure the plastic foot rest
to the step assembly.
STEP 4:
Install Front Seat Back
Supports using OEM bolts.
Only finger tighten bolts
allowing some play until
the front seat back is in-
stalled. Install plastic end
caps into the top of the
supports.
STEP 3:
Take the OEM bolts re-
moved from the bumper
and bolt the step frame
into place.
STEP 5:
Install the front seat back
using OEM bolts.
7
STEP 2:
Take the OEM bolts re-
moved from the bumper
and bolt the step frame
into place with the side
tabs facing up.
8
STEP 6:
Install the back frame brace
with the tabs facing down to the
front seat back supports with two
5/16” x 2-1/2” bolts with 5/16”
washers and 5/16” nylock nuts
Then tighten the front seat back
supports, the seat back, and the
back frame brace. Re-install the
inspection cover.
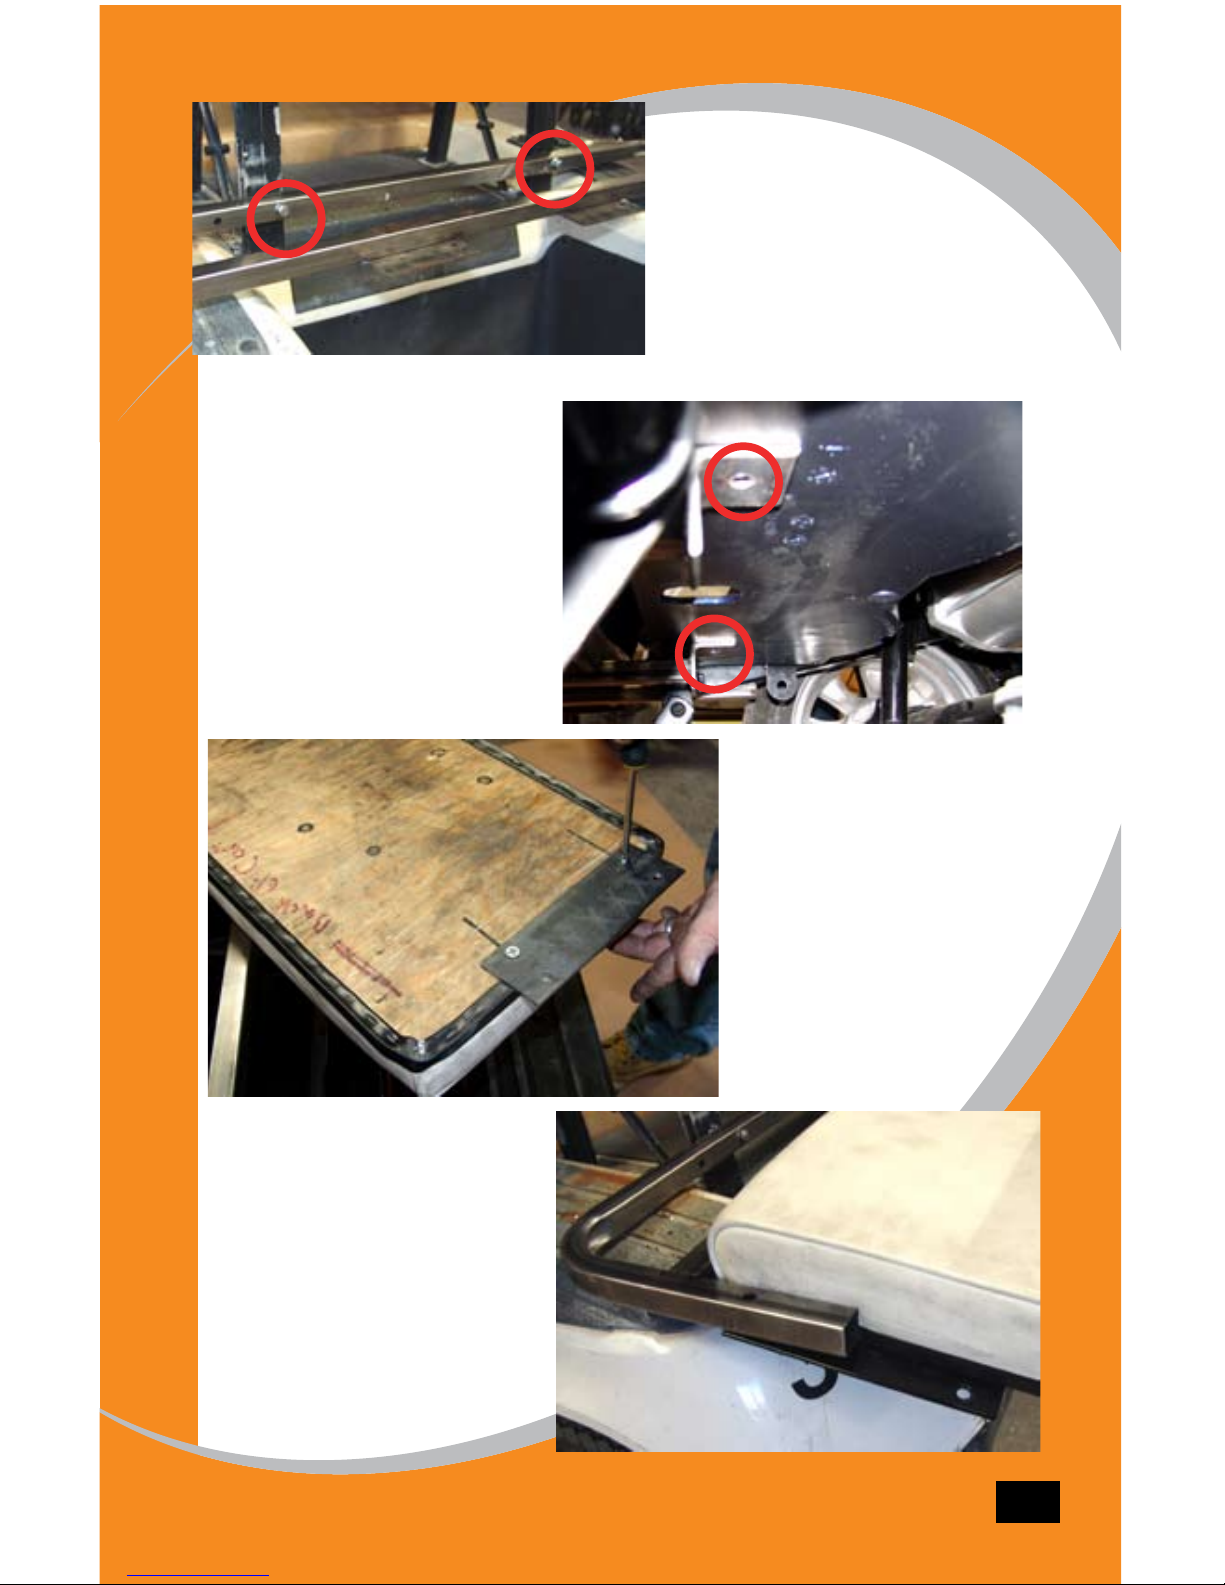
STEP 7:
Under the cart bagwell
drill 2 pilot holes throught
the bagwell with a 3/16”
drill bit at the center of the
tab holes in the footrest
frame.
STEP8:
Flip the rear seat bot-
tom over and install the
under seat brace plate
using four 1/4” x 1” bolts
with 1/4” flat and lock-
ing washers. Only finger
tighten bolts.
STEP9:
Slide the seat into place
with the tabs under the
rear seat frame.
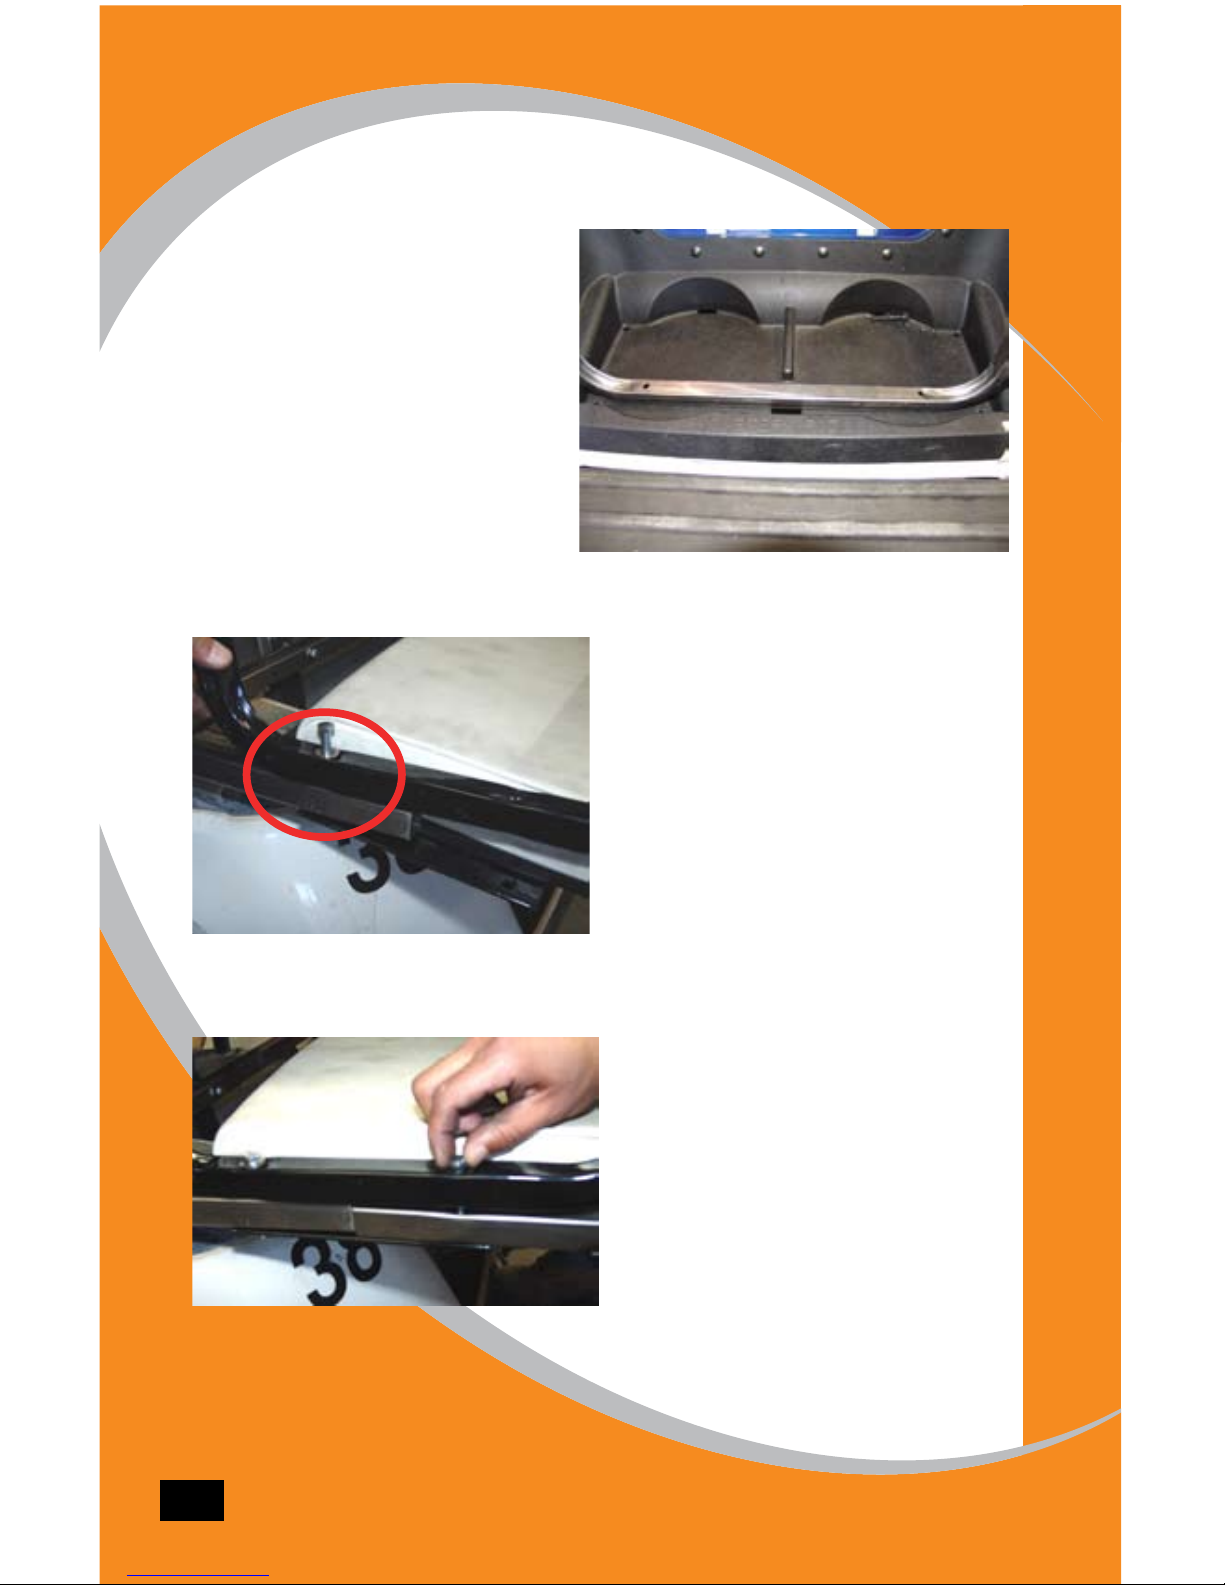
9
STEP10:
Put the main frame support and
line it up to the pilot holes. Then
drill through the top of the bagwell
with a 5/16” drill bit. Then slide
the two 5/16” x 2” bolts with 5/16”
flat washers through the main
frame support, bagwell and step
frame tabs. Then finger tighten the
5/16”bolts with 5/16” flat wash-
ers under the bagwell to hold the
main frame support into place.
STEP11:
Slide one 5/16” x 2 1/2” bolt with
one 5/16” washers through the
armrest holes then place the bolt
through the frame and the seat
plate on the bottom then install
the 5/16” flat washers and 5/16”
nylock nuts and finger tighten.
Repeat procedure for other side.
Note: Make sure the tabs on the
top of the armrests face inward
STEP12:
Then slip the top of the footrest
support in between the seat tab
and the arm rest. Slide one 5/16”
x 2 1/2” bolt with one 5/16”
washers through the armrest
holes then place the bolt through
the frame and the seat plate on
the bottom then install the 5/16”
flat washers and 5/16” nylock-
nuts and finger tighten. Repeat
procedure for other side.
STEP13:
Then secure the top footrest
supports using two 1/4” x 1
3/4 bolts with 1/4” flat and
locking washers. Secure the
bottom of the footrest sup-
ports to the footrest using
two 5/16” x 2 1/2” bolts
with four 5/16” flat washers
and two 5/16” nylock nuts.
Finger tightening only at
this point in the installation.
Install two 1” caps at the
bottom of the supports.
10
STEP14:
Then install the seat
back onto the armrest
tabs using the inner holes
on both sides with 1/4”
philips flat head screws
and fully tighten. Then go
around the entire frame
and tighten all the bolts
that were only finger
tightened earlier in the
instructions.
STEP15: Optional Long-
top Supports.
Then install the long top
supports using the outer
2 holes on the armrest
tabs with L-shape on top
facing toward the back of
the cart.
If you would like an 80”
LongTop and supports
please contact a Strech
Plastics Sales Rep at:
1-800-752-6799
STEP16:
Important: Re-check all of the bolts and
screws and make sure they are tight.
Some may have become loose again
while installing other parts.
Congratulations! Your
finished with the instal-
lation of your new RXV 4
Passenger Seat Kit from
Strech Plastics Inc.

Golf Car Accessories Leader
VISIT US ON THE WEB TO CHECK OUT MORE GREAT PRODUCTS — www.strechplastics.com
STRECH PLASTICS ARE MANUFACTURERS AND DISTRIBUTORS OF THE HIGHEST QUALITY GOLF CAR PRODUCTS
Specializing In:
Dashes • Trays
Steering Wheel Covers • Lift Kits
Windshields • Dash Trays • Lights
Cowls • Rear Seat Kits • Wheels and Tires
Steering Wheels • Billet Accessories
Wheel Covers • Storage Covers • Weather Enclosures
Coolers and Brackets • Ball and Club Washers • Mirrors
Ramps • Storage Covers • Sand and Seed Bottles • And More . . . ©2008 Rev.04/21/08
Table of contents
Other Strech Plastics Golf Car manuals

Popular Golf Car manuals by other brands

Club Car
Club Car Precedent Maintenance and service manual

Ingersoll-Rand
Ingersoll-Rand Club Car ONWARD LIFTED Operator's manual

Peg-Perego
Peg-Perego DESMOSEDICI RIDER Use and care

MadJax
MadJax Storm X Series owner's guide

Fisher-Price
Fisher-Price FORD F-150 C3493 owner's manual

ADVANCED EV
ADVANCED EV A-Series user manual


